How to Add Texture Overlays to Portrait Photos for a Dreamy, Editorial Finish

How to Add Texture Overlays to Portrait Photos for a Dreamy, Editorial Finish

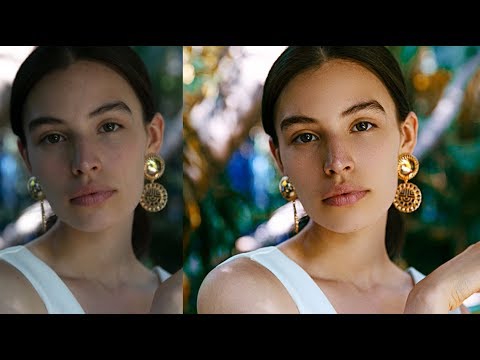
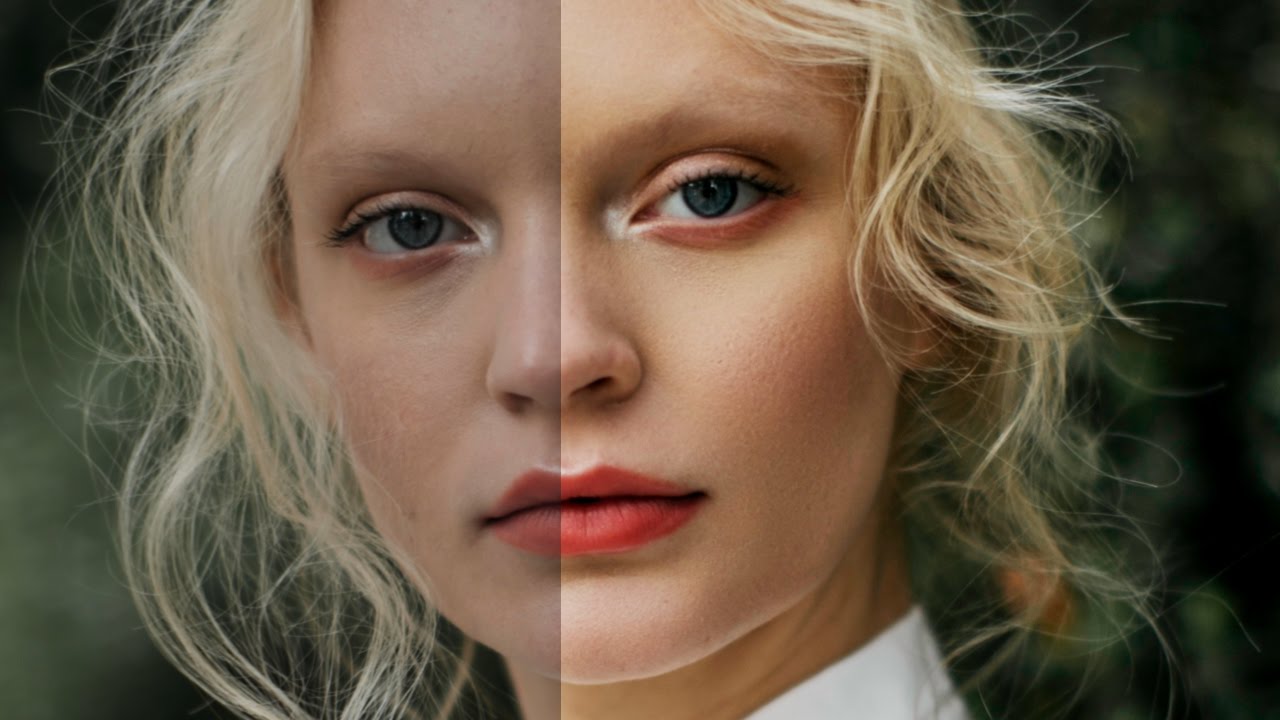
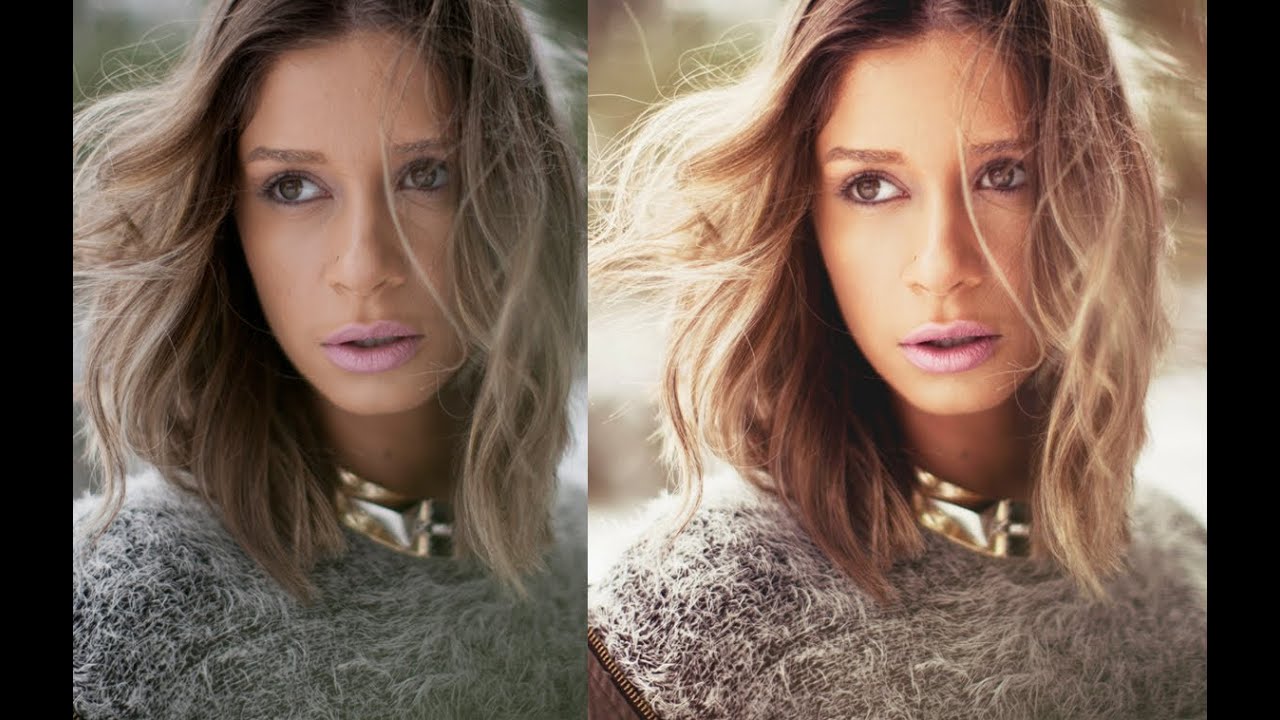
There is a specific kind of portrait that stops you mid-scroll. The skin looks real, the light feels warm, and there is something almost painterly happening in the background or around the edges that you cannot quite name. For a long time, I chased that quality by pushing color grading harder and harder, wondering why my results kept feeling flat. It was not a color problem. It was a texture problem.
Why I Do Almost All My Skin Retouching on One Layer (And How You Can Too)

Why I Do Almost All My Skin Retouching on One Layer (And How You Can Too)

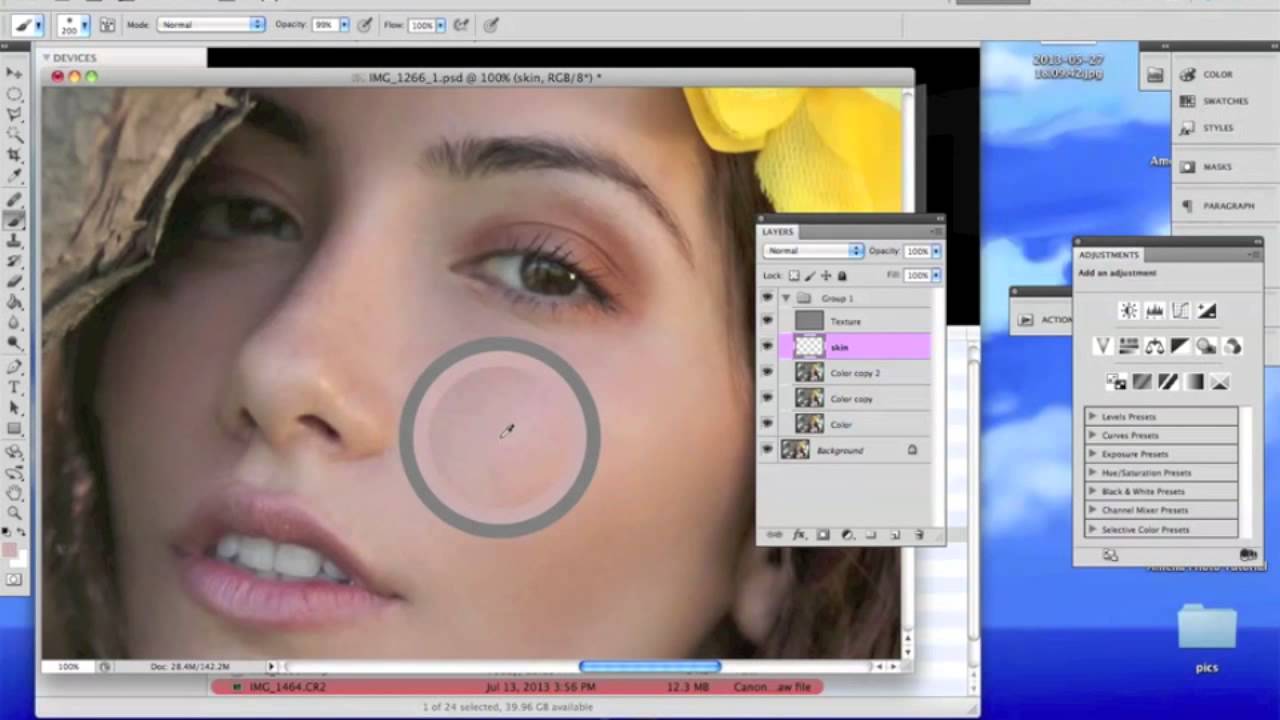
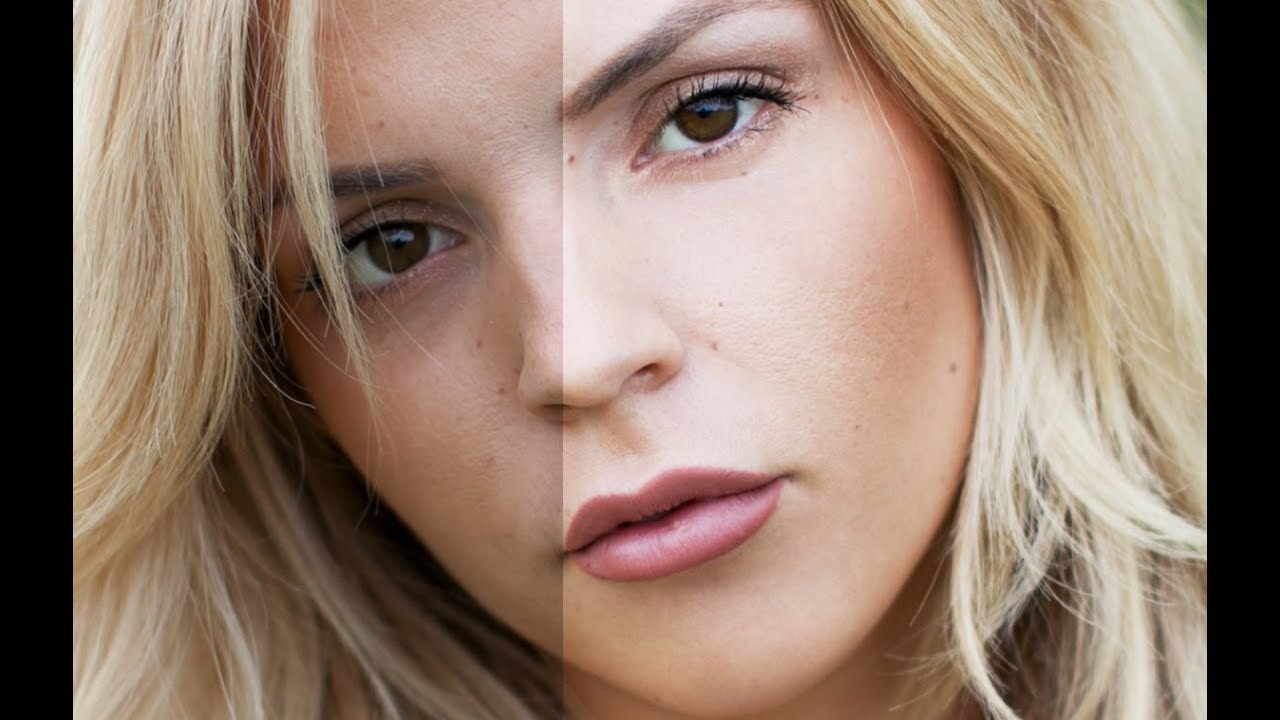
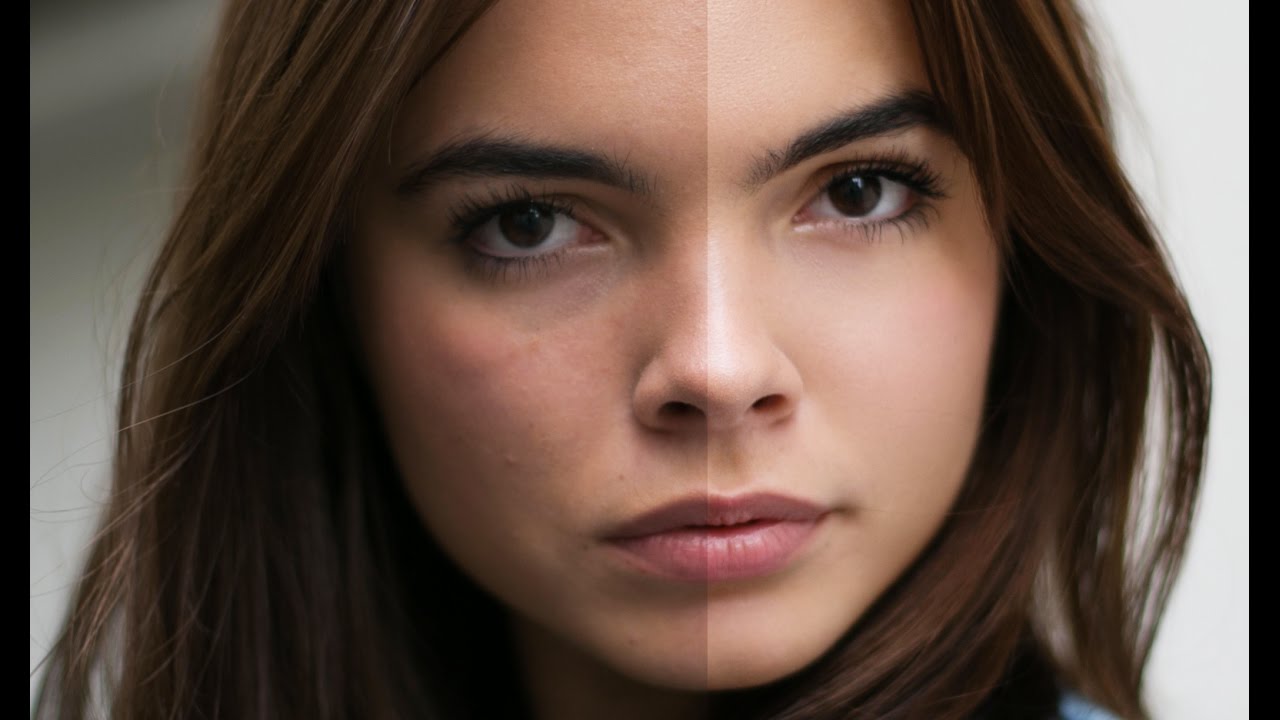
I spent the better part of a year making skin look plastic. Not intentionally, obviously. I was working on beauty campaigns and thinking I was doing good work, until a client gently suggested my edits looked “a little unnatural.” That was the moment I got serious about frequency separation, and more specifically, about understanding which part of frequency separation actually does the heavy lifting. It turns out I had been overcomplicating things in the worst possible way.

The Dodge & Burn Layer Trick That Changed How I Retouch Skin

The Dodge & Burn Layer Trick That Changed How I Retouch Skin

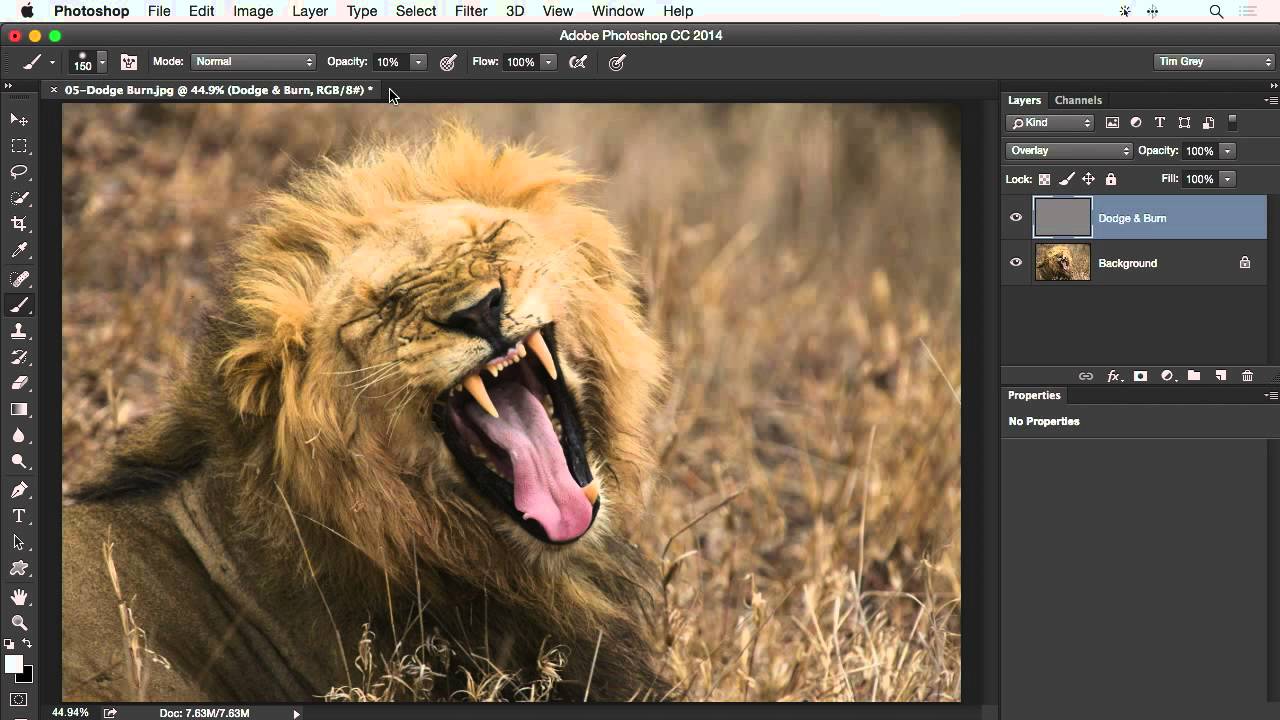
There’s a moment in retouching when you realize that chasing perfection with the wrong tools is actually making things worse. For me, that moment came early in my beauty retouching career, when a client told me my edits looked “plastic.” She wasn’t wrong. I was dodging and burning with Photoshop’s built-in Dodge and Burn tools, directly on the pixel layer, and the results were muddy, flat, and irreversible. One mistake and I was undoing fifteen minutes of work.

What a Misfired Studio Light Taught Me About High Fashion Retouching

What a Misfired Studio Light Taught Me About High Fashion Retouching

There’s a specific kind of panic that hits on set when something goes wrong and everyone looks to you for the answer. I know it well from my wedding days, and apparently so does Aaron Nace. In this PHLEARN high fashion retouching tutorial, Watch the full tutorial on YouTube — Aaron opens with the story of a shoot that started falling apart before a single keeper frame was captured. The model bumped her head, the original setup was scrapped, and what followed was a scramble into an adjacent room with a bare bulb strobe and absolutely no plan.

Split, Slice, and Separate: Inside Photoshop's 3D Extrusion Technique (Plus Why Frequency Separation Changed My Retouching Forever)

Split, Slice, and Separate: Inside Photoshop's 3D Extrusion Technique (Plus Why Frequency Separation Changed My Retouching Forever)

There is a specific kind of client feedback that lives rent-free in your head for years. Mine came early in my retouching career, when someone looked at a portrait I had spent two hours on and said the skin looked “plastic.” They were right. I had been smoothing and blurring with no real system, no understanding of what made skin look like skin rather than a vinyl mask. That moment sent me on a long search for techniques that held up under scrutiny, and frequency separation became the answer I kept coming back to.

Smooth Skin Without the Plastic Look: A Simple Portrait Retouch Walkthrough

Smooth Skin Without the Plastic Look: A Simple Portrait Retouch Walkthrough

There’s a specific kind of client email I dread. It goes something like: “The skin looks a little… airbrushed?” That word, airbrushed, is the polite version of what they actually mean. I learned this the hard way early in my retouching career, back when I thought cranking up a Gaussian Blur and calling it done was a legitimate skin-smoothing strategy. It took me a long time to find techniques that actually hold up, ones that soften without erasing the person underneath.

Frequency Separation, Dodging & Burning: A Complete Portrait Retouching Walkthrough

Frequency Separation, Dodging & Burning: A Complete Portrait Retouching Walkthrough

Early in my retouching career, a client told me my edits looked “plastic.” She wasn’t wrong. I was smoothing skin by painting over it with a low-opacity brush on a normal layer, which flattened everything - the texture, the pores, the tiny details that make a face look alive. That one comment sent me down a months-long rabbit hole, and frequency separation is what I eventually found at the bottom of it.

Start in Camera Raw: How Jessica Kobeissi Builds a Fashion Portrait Edit From the Ground Up

Start in Camera Raw: How Jessica Kobeissi Builds a Fashion Portrait Edit From the Ground Up

There’s a version of me from about five years ago who skipped Camera Raw entirely. I’d double-click a RAW file, immediately dismiss the panel, and jump straight into Photoshop like I was in a hurry to start making mistakes. The result was always the same: I’d spend twice as long pushing sliders around in adjustment layers trying to fix things that Camera Raw could have handled in thirty seconds. Learning to slow down before the “real” editing begins was one of the more humbling lessons of my career.

Frequency Separation in Photoshop: A Step-by-Step Skin Retouching Guide (Based on Jessica Kobeissi's Technique)

Frequency Separation in Photoshop: A Step-by-Step Skin Retouching Guide (Based on Jessica Kobeissi's Technique)

There’s a specific kind of dread that comes from delivering a round of portraits and hearing back that the skin looks “plastic.” I know that dread firsthand. Early in my retouching career, I was so focused on removing every blemish and evening out every tone that I was essentially painting over my subjects’ faces. The results were technically smooth and completely lifeless. Learning frequency separation was the moment that changed everything for me, because it finally let me work on the color and texture of skin as two separate problems instead of one blunt instrument.

Frequency Separation for Beginners: A Working Retoucher's Guide to Jessica Kobeissi's Method

Frequency Separation for Beginners: A Working Retoucher's Guide to Jessica Kobeissi's Method

Early in my retouching career, I had a client look at a finished portrait and tell me the skin looked “like a wax figure.” She wasn’t wrong. I’d been painting over everything on a single merged layer, smoothing out texture along with blemishes, and the result was exactly as plastic as she described. That comment sent me down a long road of learning how to separate what I was fixing from what I needed to preserve.

Frequency Separation the Right Way: A Walkthrough of Jessica Kobeissi's Gaussian Blur Method

Frequency Separation the Right Way: A Walkthrough of Jessica Kobeissi's Gaussian Blur Method

There is a specific kind of client feedback that stays with you. Mine came early in my retouching career, when a beauty brand coordinator replied to a delivered gallery with three words: “looks too plastic.” I had smoothed everything. Pores, texture, the slight variation in tone across the cheekbones. The skin looked like a render, not a person. I had been treating the entire face as one problem to solve instead of two separate problems: color and texture.

How to Retouch Portrait Skin Without Making It Look Fake: A Frequency Separation Walkthrough

How to Retouch Portrait Skin Without Making It Look Fake: A Frequency Separation Walkthrough

There is a specific kind of dread that comes from opening a portrait file and realizing the skin needs work. Not dramatic work, just the quiet, tedious kind: uneven tone here, a stray hair there, texture that reads fine in person but turns into a problem under studio light. Early in my retouching career I used to bulldoze through those issues with heavy blurring and ended up with subjects who looked like they were made of latex.