Video Tutorials
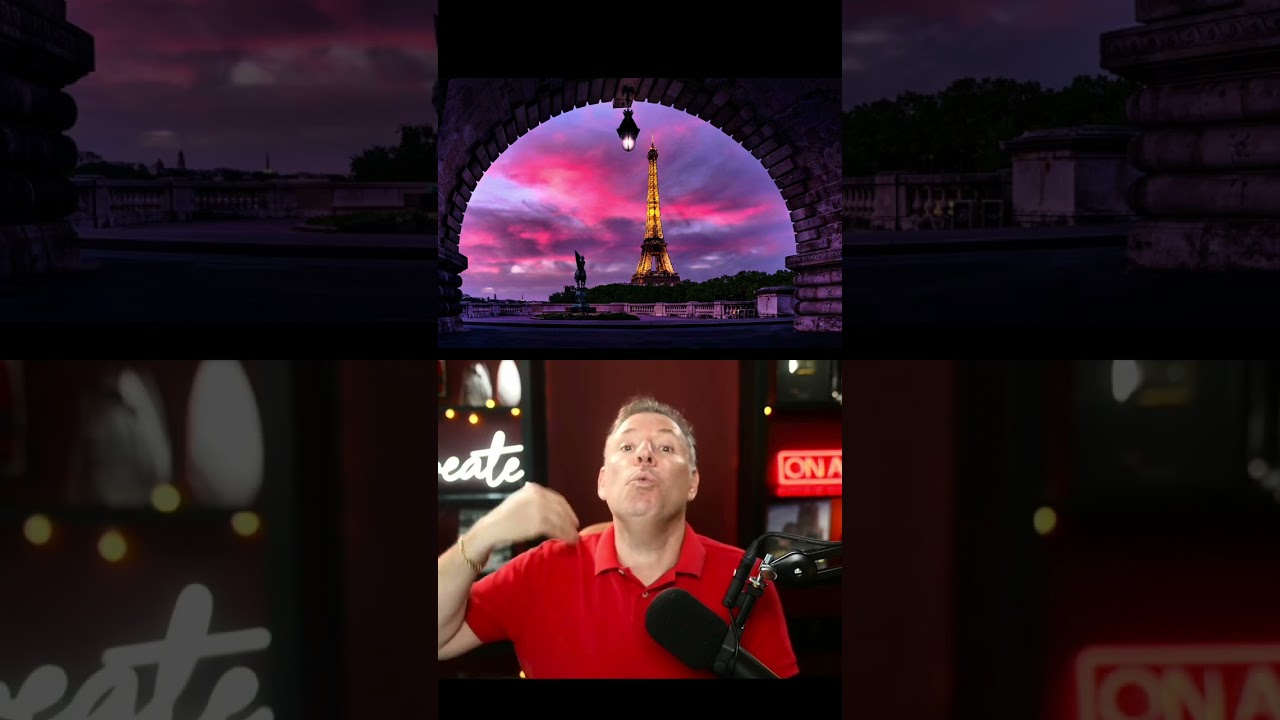
Mastering Urban Portrait Retouching: A Complete Guide to the Bir Hakeim Bridge Technique
Mastering Urban Portrait Retouching: A Complete Guide to the Bir Hakeim Bridge Technique I’ve always found that some of the most transformative retouching lessons come from real-world shooting scenarios—especially when we’re working with the challenging lighting and composition that urban environments throw at us. In this excellent tutorial, Serge Ramelli shows us how to take a portrait shot at the iconic Bir Hakeim Bridge in Paris and transform it into a polished, professional image using systematic retouching and beauty editing techniques.