Portrait Retouching
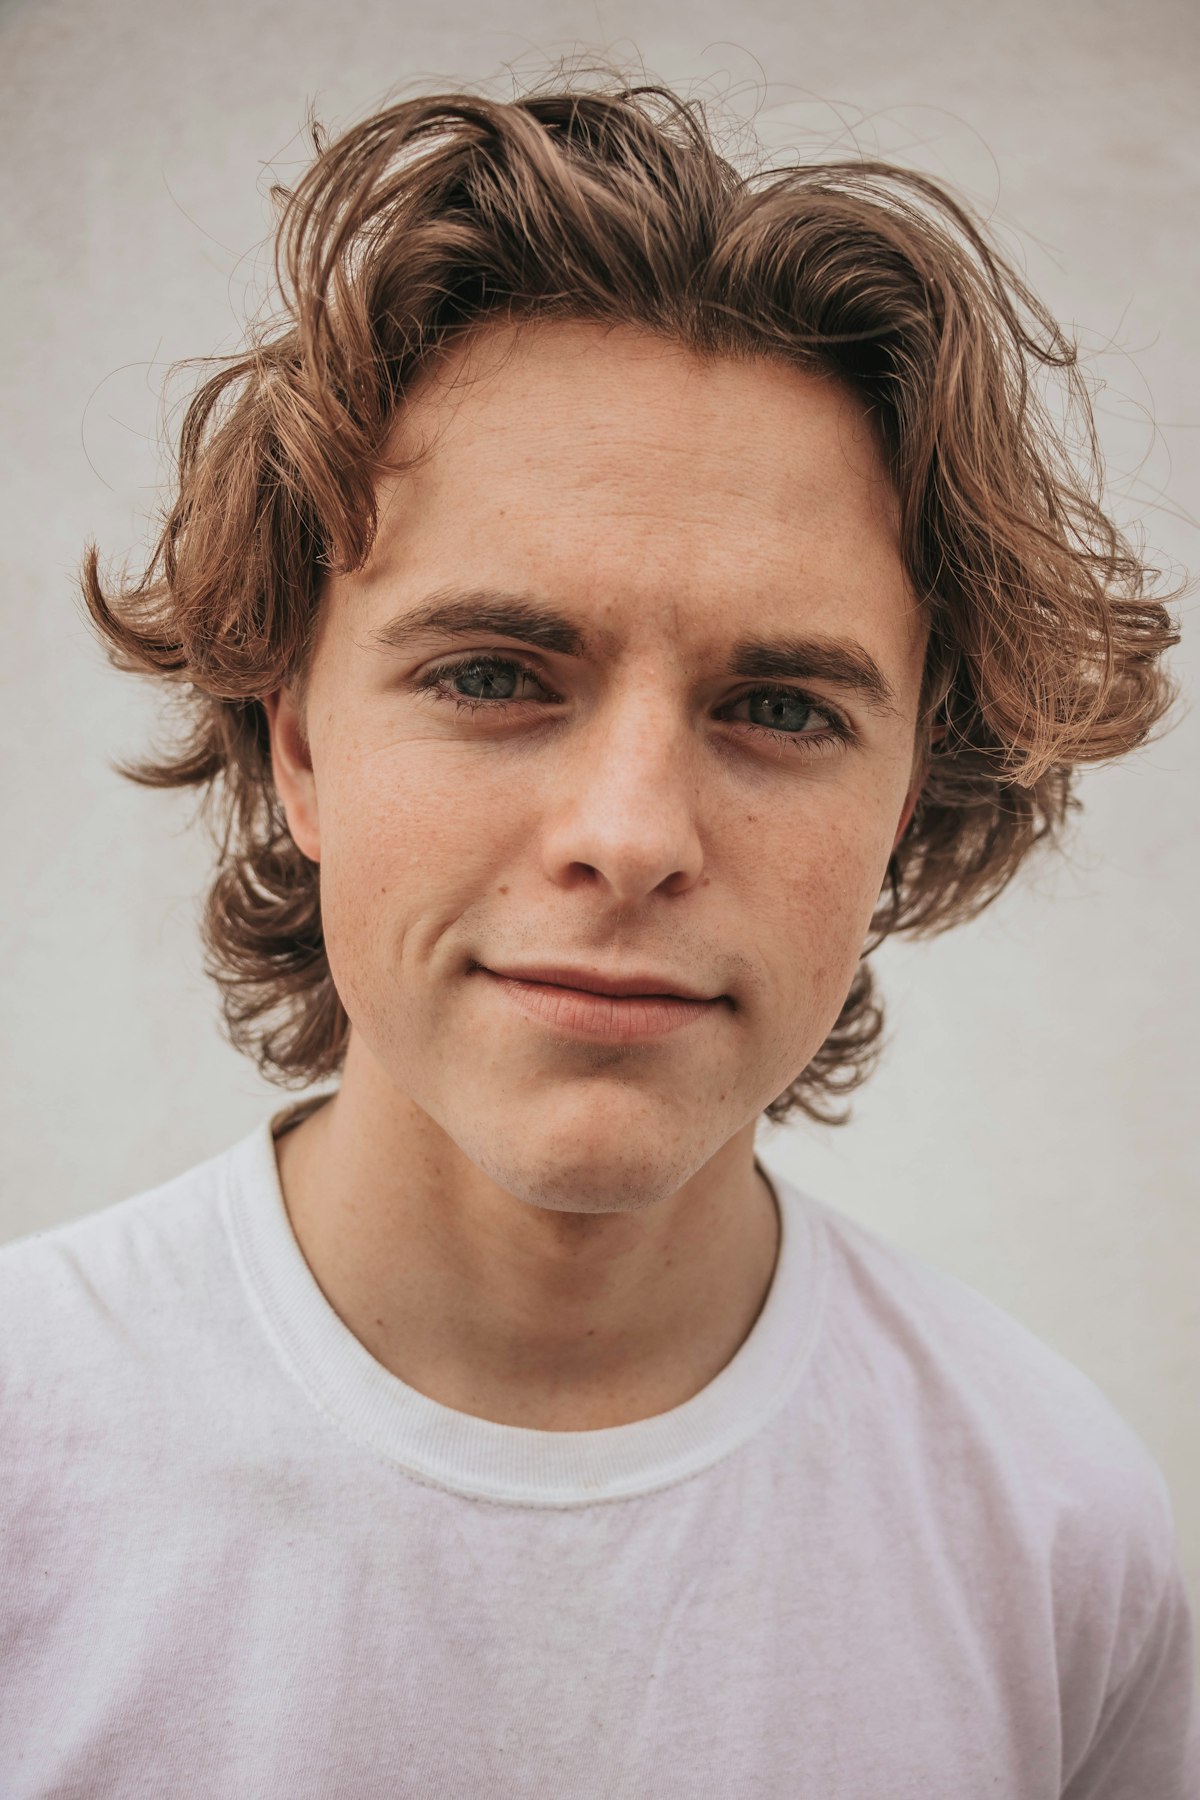
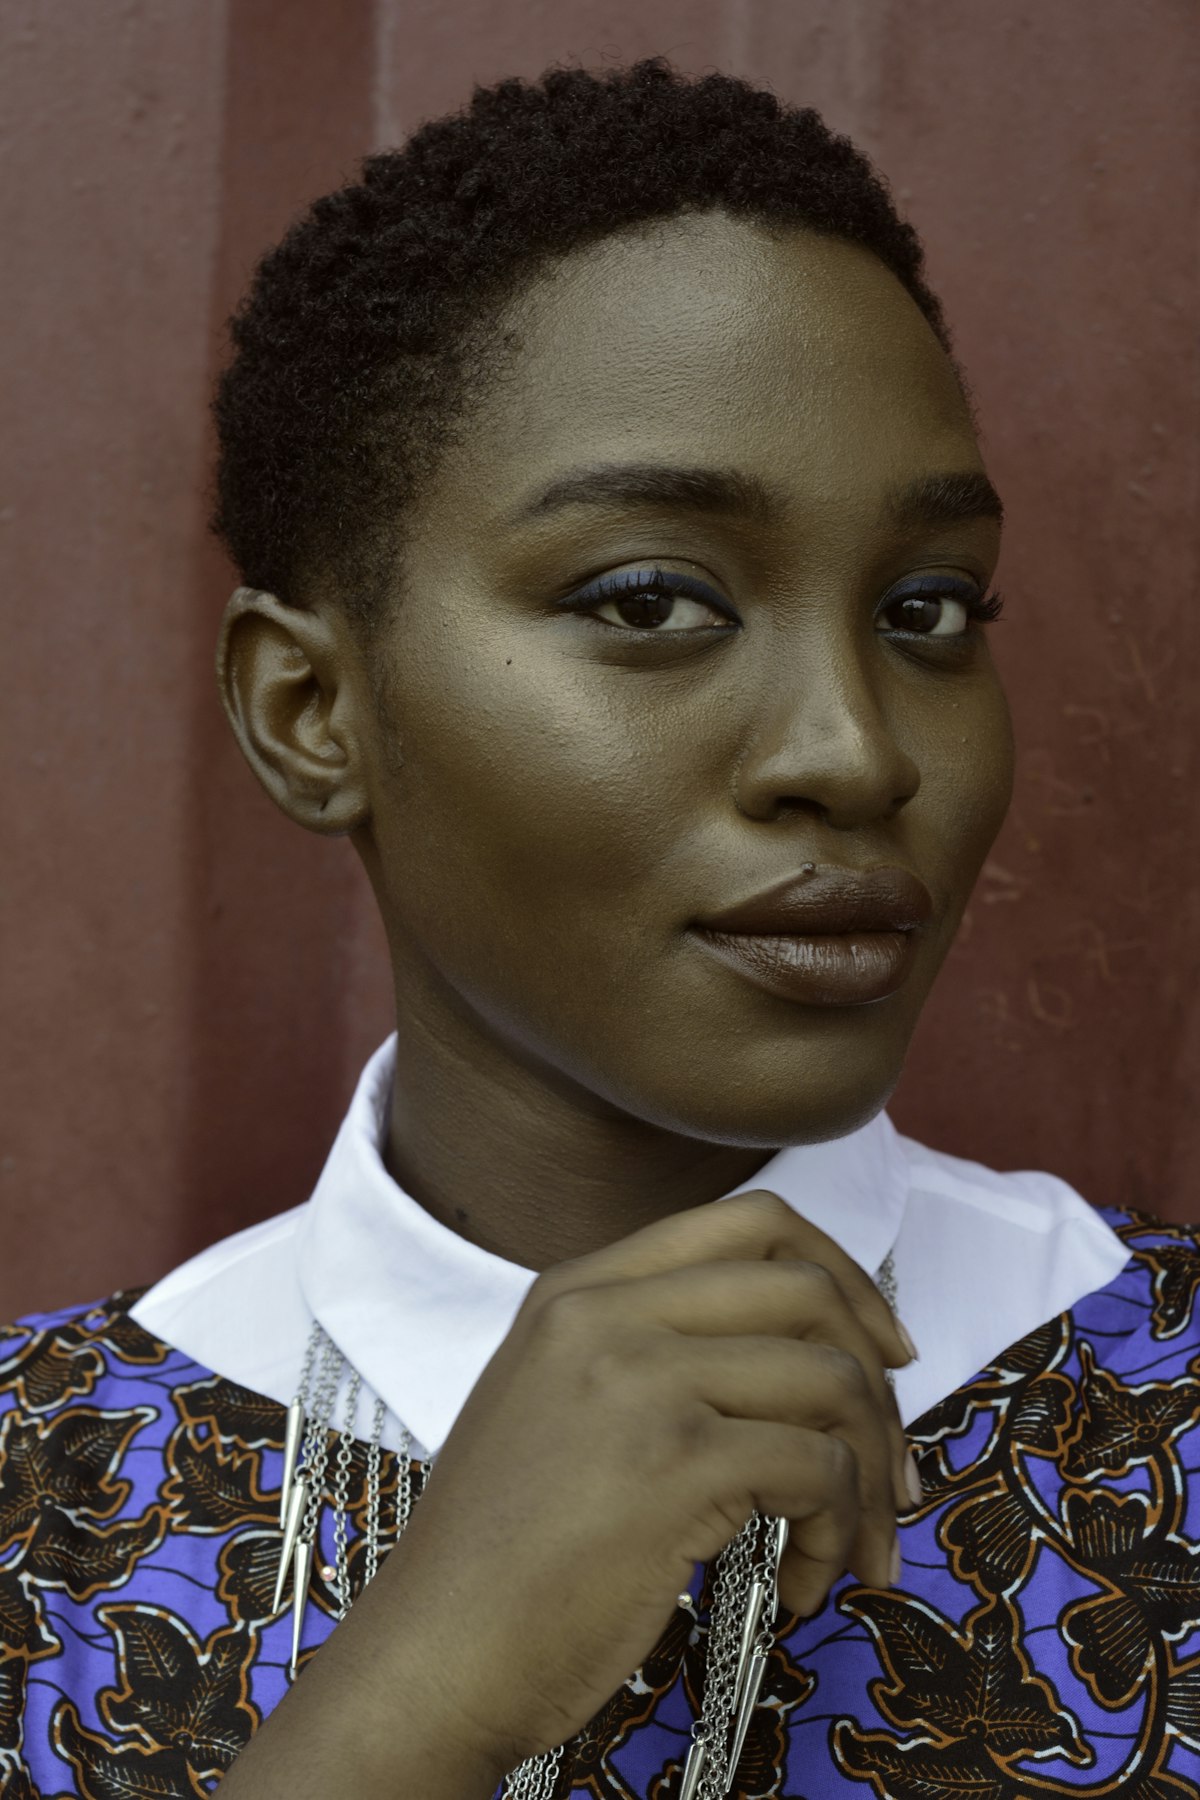
The Art of Eye Enhancement: Making Eyes Pop in Portrait Retouching
The Art of Eye Enhancement: Making Eyes Pop in Portrait Retouching When I’m editing a portrait, I always say that the eyes are where the magic happens. They’re the first thing viewers connect with, and enhancing them properly can transform an ordinary portrait into something truly captivating. Over the years, I’ve learned that great eye enhancement isn’t about making eyes look unnatural—it’s about bringing out what’s already there and adding just the right amount of polish.