Retouching Techniques
Why Your Skin Retouching Looks Fake (And the Frequency Separation Fix That Changed Everything)
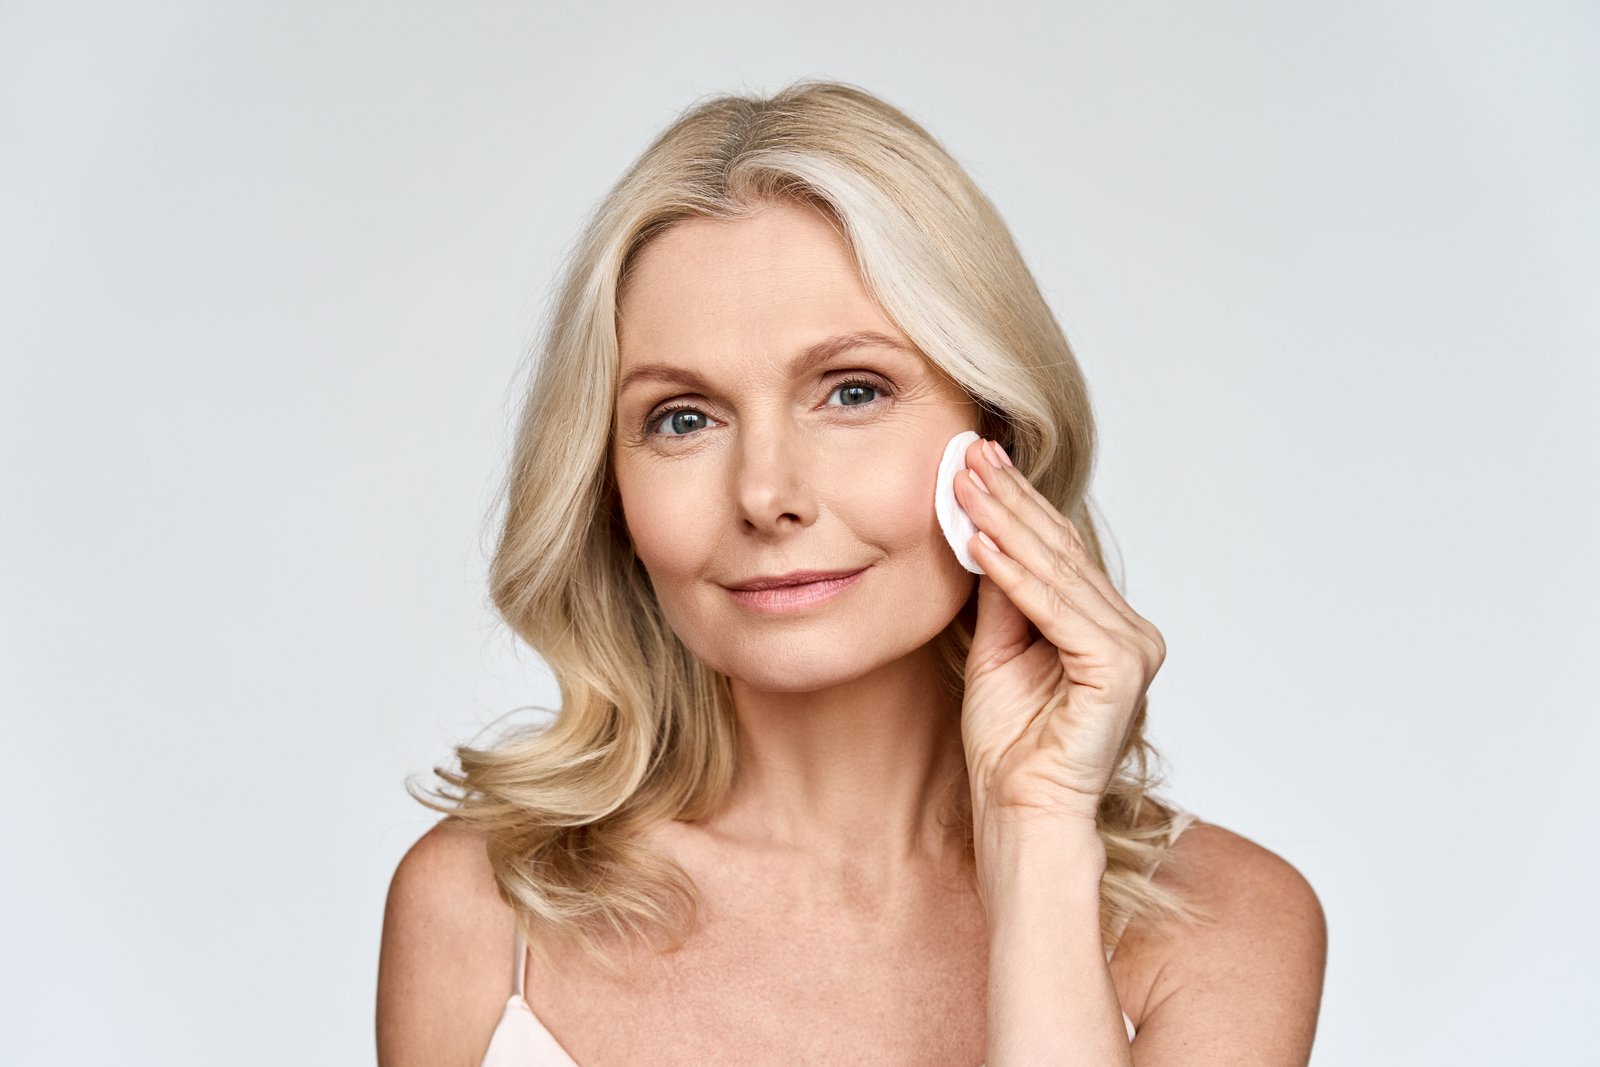
A few years into freelancing, I got an email from a client that I still think about. She was a makeup artist, and I’d spent probably three hours on her portfolio shots. Really worked them over. She wrote back six words: “They look a little plastic, honestly.” I sat with that for a long time. I knew the technical steps. I was smoothing skin, cleaning up blemishes, evening tone. But the images looked like someone had stretched a latex glove over a human face.