Video Tutorials
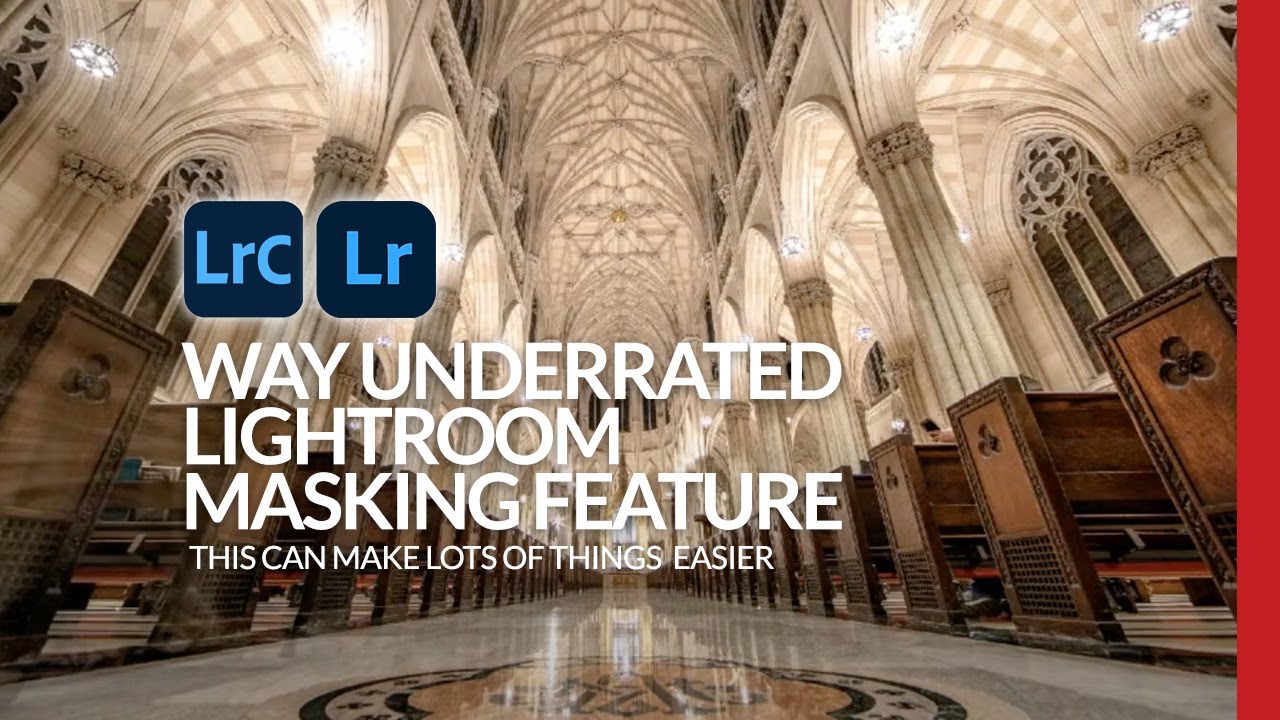
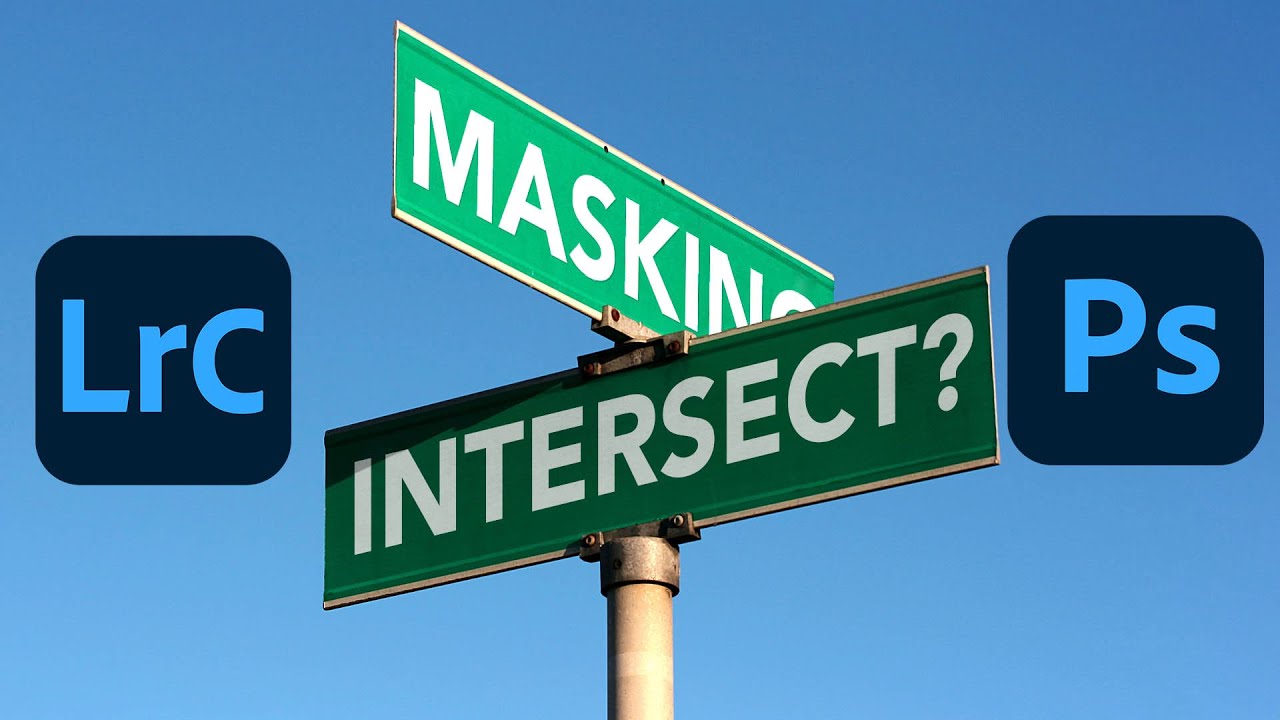
How Lightroom's New Masking Tools Can Transform the Way You Make Local Adjustments
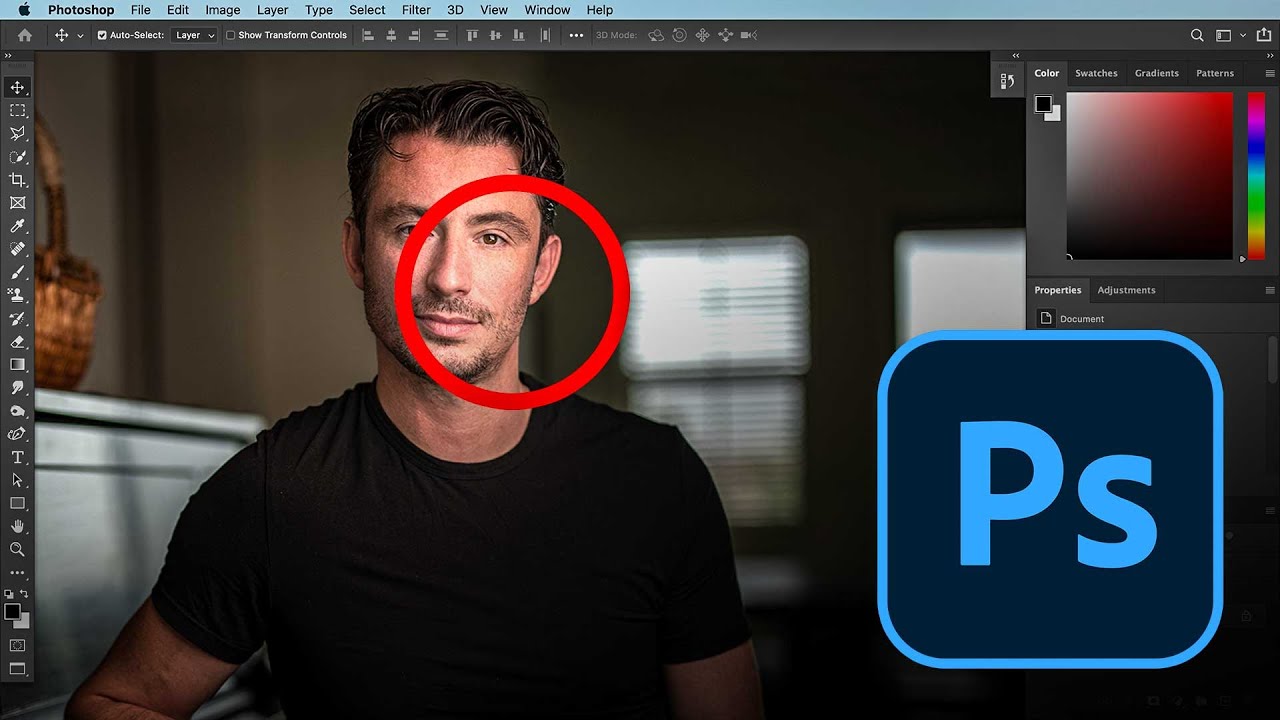
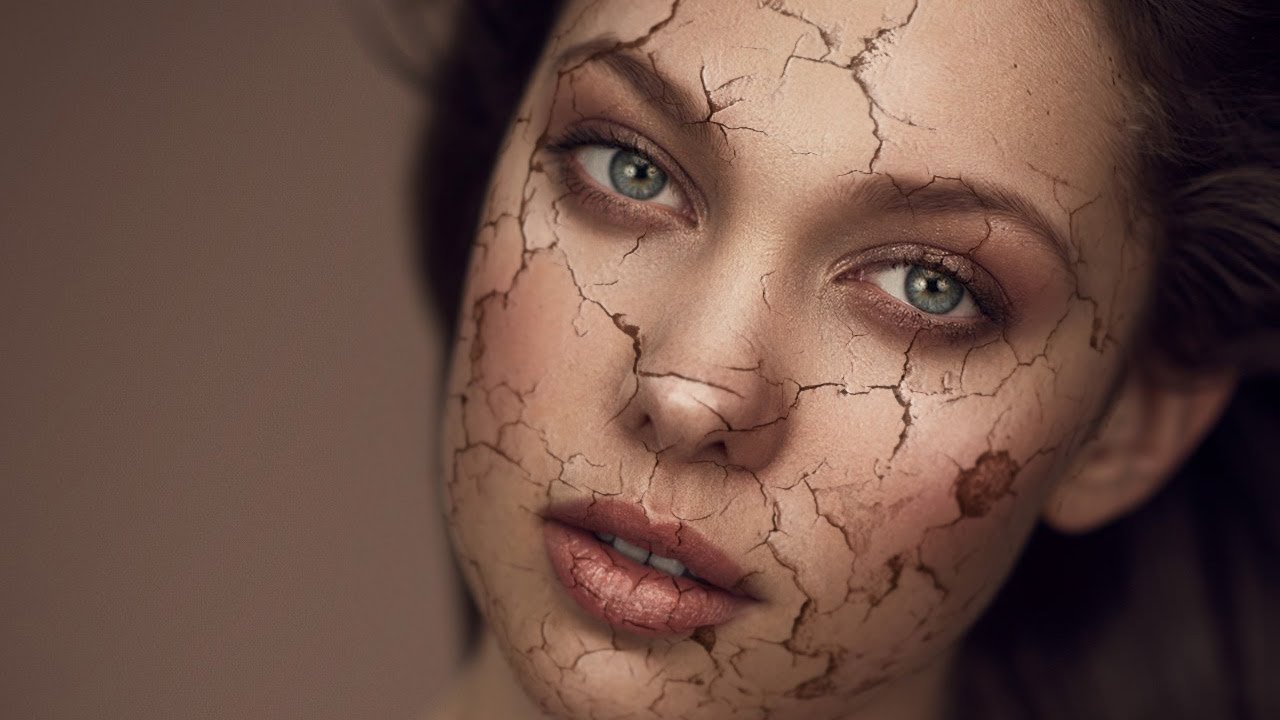
There’s a moment in almost every retouching session where I think: if I could just isolate that one thing without painting around it for ten minutes, this would be perfect. For portrait work, that’s usually a sky blowing out behind a subject, or a background that needs to be cooled down while the skin stays warm. For years, Lightroom’s local adjustment tools were a workaround at best, and I’d end up hopping over to Photoshop just to grab a clean mask.