The Hidden Frequency Separation Secret That Saves Flat-Looking Skin

The Hidden Frequency Separation Secret That Saves Flat-Looking Skin

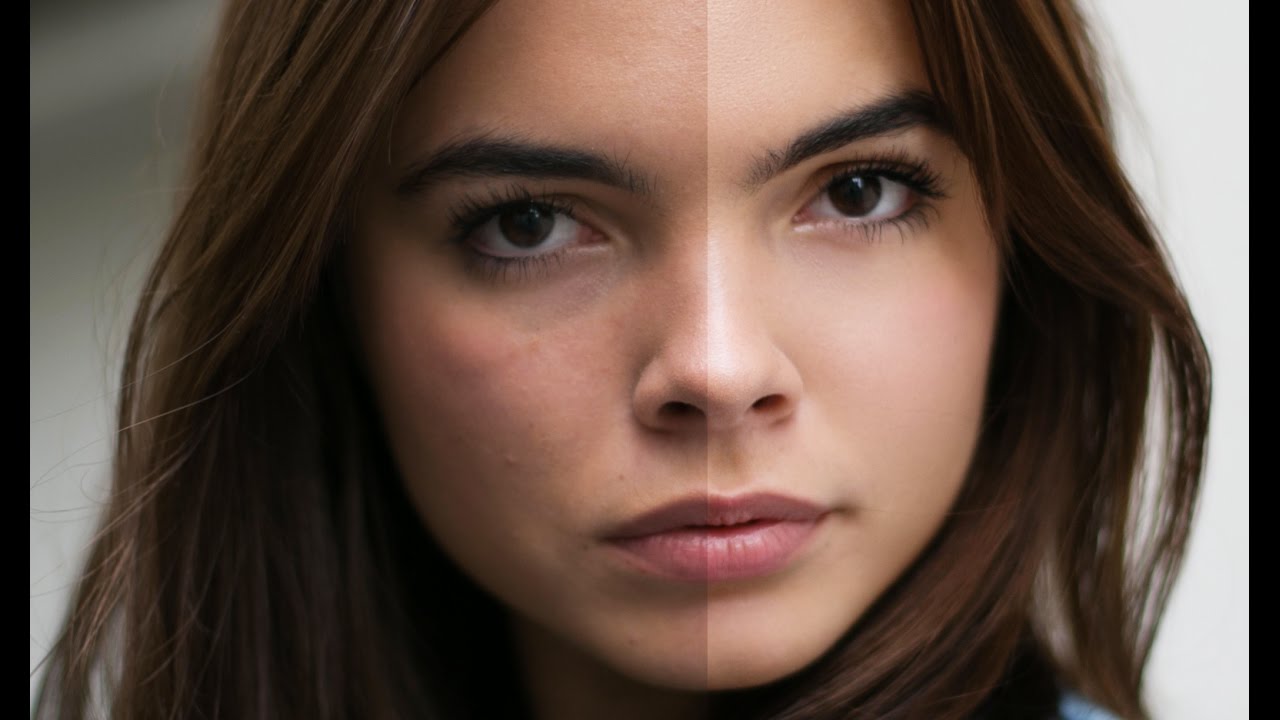
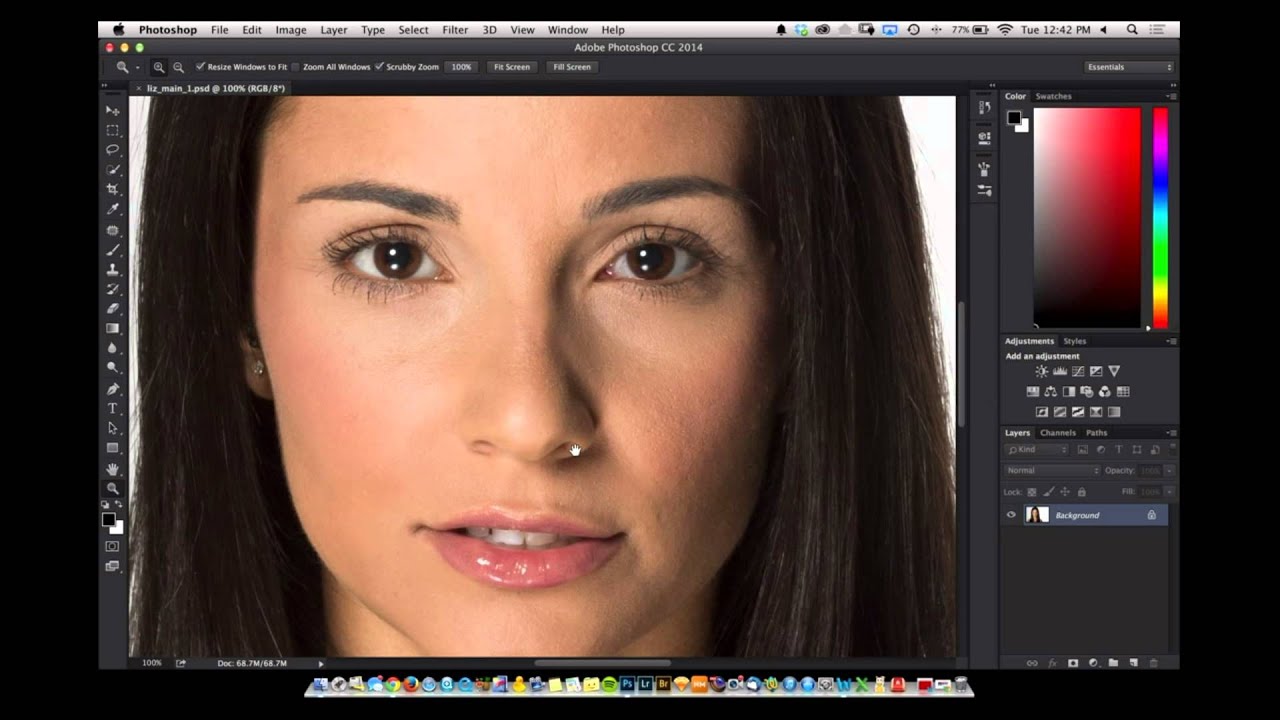
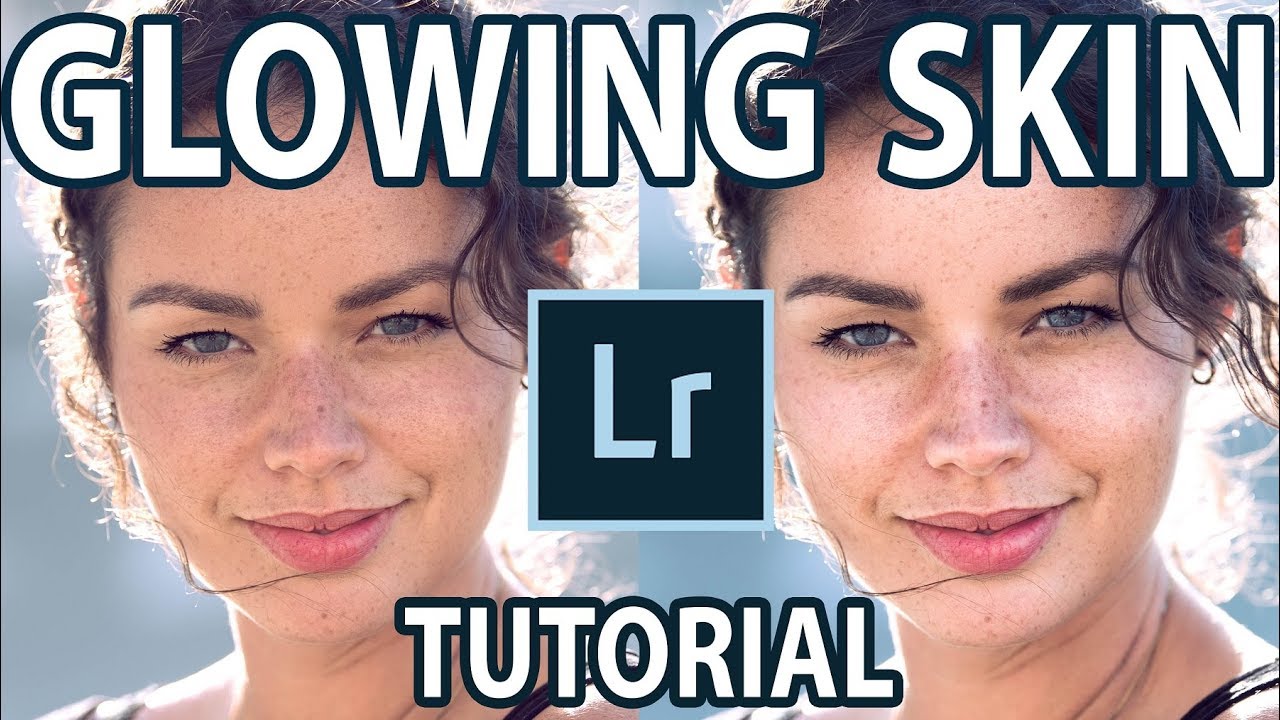
The Hidden Frequency Separation Secret That Saves Flat-Looking Skin I’ve noticed something fascinating happening in portrait retouching conversations lately. Editors everywhere are discovering that their beautifully smoothed skin often loses something critical the moment a client zooms out. The detailed, dimensional quality vanishes, leaving behind a plastic-looking result that feels disconnected from reality. Here’s what I’ve found: there’s a specific step within the frequency separation workflow that most of us gloss over—and it’s actually the key to maintaining that natural, three-dimensional quality we’re all chasing.

Lightroom's New Duplicate Finder Is the Catalog Cleanup Tool I've Been Waiting Years For

Lightroom's New Duplicate Finder Is the Catalog Cleanup Tool I've Been Waiting Years For

There’s a particular kind of frustration that comes from spending twenty minutes manually refining a mask around flyaway hair or the gap between a subject’s arm and waist, knowing that the automated selection tool almost got it right but not quite. For years, “almost” was the operating word with Lightroom’s Select Subject. It was good enough for a quick rough cut, but for beauty work, where the difference between a clean edge and a halo can make or break a composite, I always ended up doing significant manual cleanup.

The First 10 Minutes: How I Clean Up a Portrait Before Any Real Retouching Begins

The First 10 Minutes: How I Clean Up a Portrait Before Any Real Retouching Begins

The file comes in. Maybe it’s from a photographer you trust, maybe it’s from a client who shot it themselves on a mirrorless they bought six months ago. Either way, before you even think about skin texture or luminosity masks, there’s a layer of chaos sitting on top of the image that will quietly sabotage every adjustment you make if you don’t deal with it first. Stray hairs crossing the face.

Why Hair Retouching Falls Apart at the Edges (And How to Fix It Without Losing Texture)

Why Hair Retouching Falls Apart at the Edges (And How to Fix It Without Losing Texture)

The first time a client told me my retouching looked “plastic,” I was staring at a beauty shot I’d spent four hours on. The skin was technically clean. The hair was technically smooth. And it looked like a department store mannequin wearing a wig. I had over-smoothed the hair shaft, cloned out every wisp and strand that gave the style any personality, and delivered something that looked like a helmet. That job cost me a referral and earned me a painful lesson I’ve been grateful for ever since: hair is not supposed to be perfect.

Why Portrait Editors Need Clear Language to Defend Their Craft

Why Portrait Editors Need Clear Language to Defend Their Craft

Building Trust Through Clear Communication I’ve been thinking lately about a question that comes up constantly in our community: Why do some edited portraits feel authentic while others feel overstyled? The answer, I believe, lies in something we rarely discuss—our ability to articulate why we make the choices we do. When I first started in beauty retouching, I could explain the mechanics: how to smooth skin, enhance eyes, adjust color grading.

Why Your Portraits Look Flat (And How Dodge and Burn Fixes It in Photoshop)

Why Your Portraits Look Flat (And How Dodge and Burn Fixes It in Photoshop)

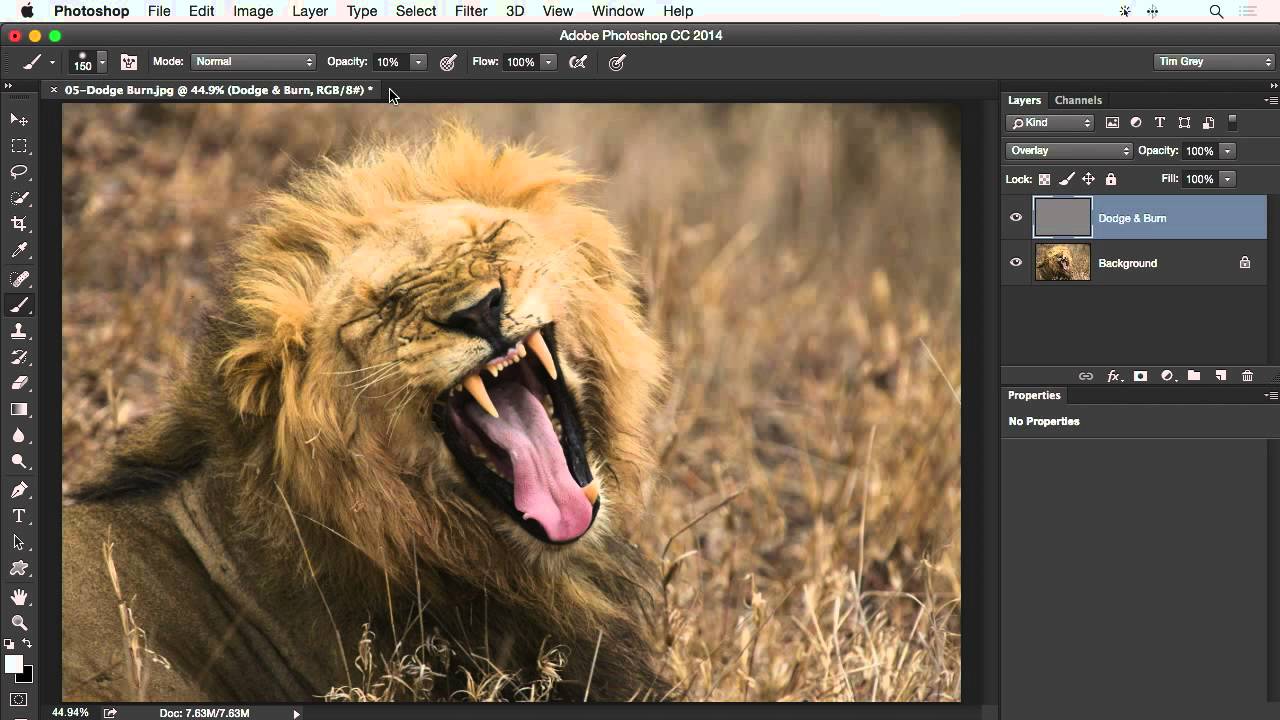
Early in my retouching career, a client sent back a batch of portraits with a note that still stings a little: “These look like wax figures. Can you make them look like real people again?” I had smoothed the skin, evened the tones, removed every shadow I could find. I thought I was doing my job. What I was actually doing was stripping out all the information that makes a face look three-dimensional.

How Sean Tucker's Lightroom Portrait Workflow Finally Got My Skin Tones Right

How Sean Tucker's Lightroom Portrait Workflow Finally Got My Skin Tones Right

I’ll be honest with you: for years, I was a Photoshop-or-nothing person. Coming from wedding photography into beauty retouching, I built my entire workflow around layers, frequency separation, and a library of actions I’ve named after films. Lightroom felt like the place where images stopped, not where they got made. Then I sat down with Watch the full tutorial on YouTube this Sean Tucker tutorial on editing environmental portraits completely inside Lightroom, and I had one of those quiet, humbling moments where a working professional shows you that your assumptions were costing you time.

What My Child's Camera Taught Me About Finding Beauty in the Unretouched

What My Child's Camera Taught Me About Finding Beauty in the Unretouched

The Unexpected Lesson From a Child’s Perspective Last month, I handed my six-year-old a basic compact camera and let him loose in our backyard. I expected blurry snapshots and accidental shots of his sneakers. What I got instead was a profound reminder about why we do what we do in portrait retouching—and perhaps, a warning about where we’ve gone wrong. His favorite photo? A dandelion. Not a person. Not even a particularly well-composed shot.

What a Mandalorian Scene Taught Me About Cinematic Light (And Why It Matters for Beauty Work)

What a Mandalorian Scene Taught Me About Cinematic Light (And Why It Matters for Beauty Work)

There’s a moment in almost every beauty retouching project where the background just isn’t working. The studio wall is too flat, the location shot has distracting elements, and stock photos feel like stock photos no matter how well you blend them. I spent a long time solving this problem with Photoshop alone, layering textures and painting light, and the results were fine. Fine is not what we’re going for. What I actually wanted were environments that felt cinematic, dimensional, and completely under my control.

Why Your Portraits Look Flat (And How Dodge and Burn Actually Fixes It)

Why Your Portraits Look Flat (And How Dodge and Burn Actually Fixes It)

The first time a client told me my retouching looked “plastic,” I was mortified. I had spent two hours on that image. The skin was smooth, the blemishes were gone, and the color was even. It looked, to my untrained eye, finished. What I didn’t understand yet was that I had removed not just the flaws but the depth. The face had no shadow, no structure, no life. It looked like a mask sitting in front of a head rather than an actual human face.

Skip the Subscription: Affordable AI Retouching Tools Now Available in Photoshop

Skip the Subscription: Affordable AI Retouching Tools Now Available in Photoshop

Skip the Subscription: Affordable AI Retouching Tools Now Available in Photoshop One of the biggest frustrations I hear from portrait photographers and beauty editors is the cost of keeping up with software subscriptions. Between Photoshop, Lightroom, and specialized retouching plugins, expenses add up quickly. So when I discovered there’s a way to harness cutting-edge AI retouching power in Photoshop without committing to yet another monthly fee, I had to share this game-changer with you.

What Adobe Actually Changed in Photoshop This April (And What It Means for Your Retouching Workflow)

What Adobe Actually Changed in Photoshop This April (And What It Means for Your Retouching Workflow)

Every few months Adobe drops a Photoshop update, and most of the time I skim the release notes, nod politely, and go back to whatever action I was running (currently the entire Blade Runner franchise, in case you were wondering). But the April 2026 update genuinely caught my attention, partly because of a Matt Kloskowski tutorial I watched while finishing my third cup of green tea on a Tuesday morning. Watch the full tutorial on YouTube – it runs about four minutes and covers the highlights quickly and clearly.