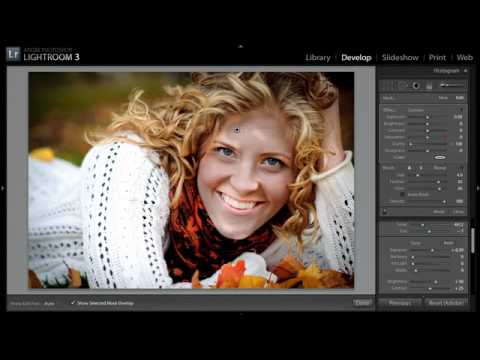
How to Soften Skin in Lightroom Without Touching Photoshop (A Step-by-Step Guide)

How to Soften Skin in Lightroom Without Touching Photoshop (A Step-by-Step Guide)

For a long time, I treated Lightroom as a halfway house. I’d do my exposure corrections, pull my highlights, maybe warm up the tone, and then shuffle the file over to Photoshop for anything that actually touched skin. That was just the workflow. Lightroom was for global adjustments. Photoshop was for faces. Then I came across this KelbyOne tutorial on skin smoothing entirely inside Lightroom, and I had to rethink that assumption.
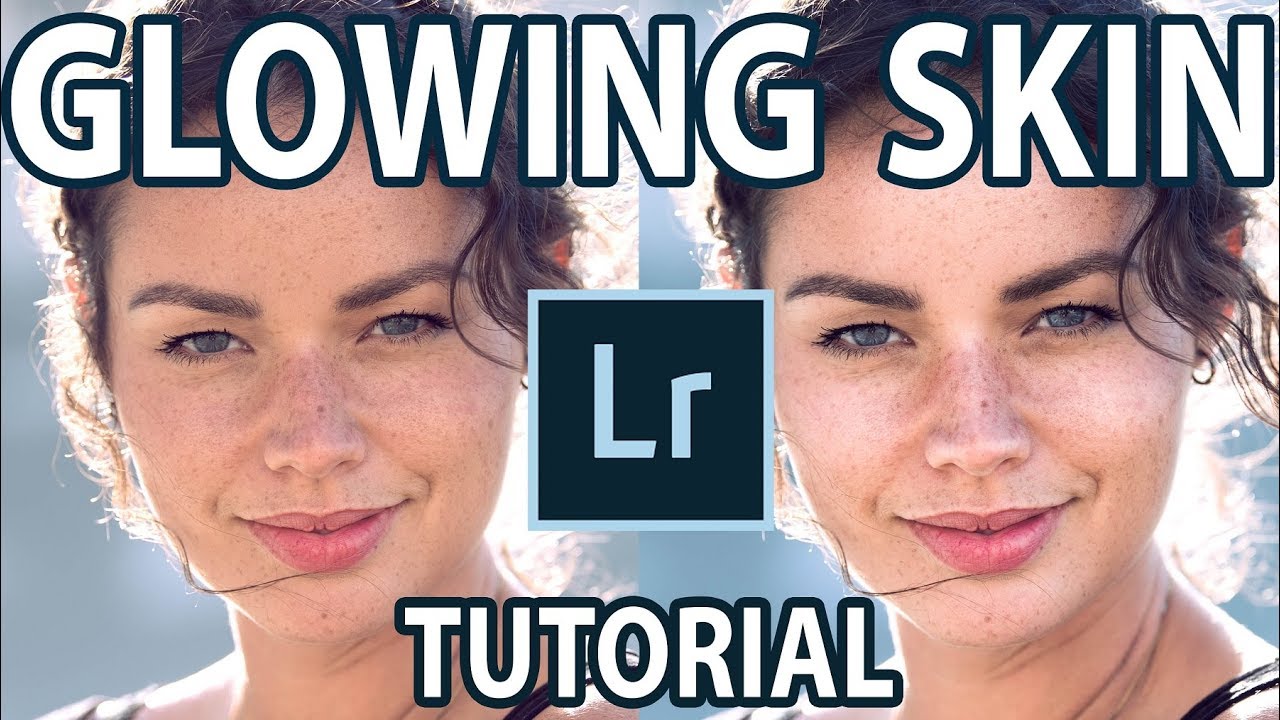
How to Edit Skin That Actually Glows: A Lightroom Brush Workflow Worth Stealing

How to Edit Skin That Actually Glows: A Lightroom Brush Workflow Worth Stealing

Backlit portraits are some of the most beautiful images you can shoot, and also some of the most frustrating to edit. The light wraps around the hair like a halo, the background glows, and then you look at the face and it’s flat. Muddy. Nothing. I’ve delivered more than a few portraits where I thought the backlit glow was carrying the whole image, only to have a client point out that the skin looked lifeless.

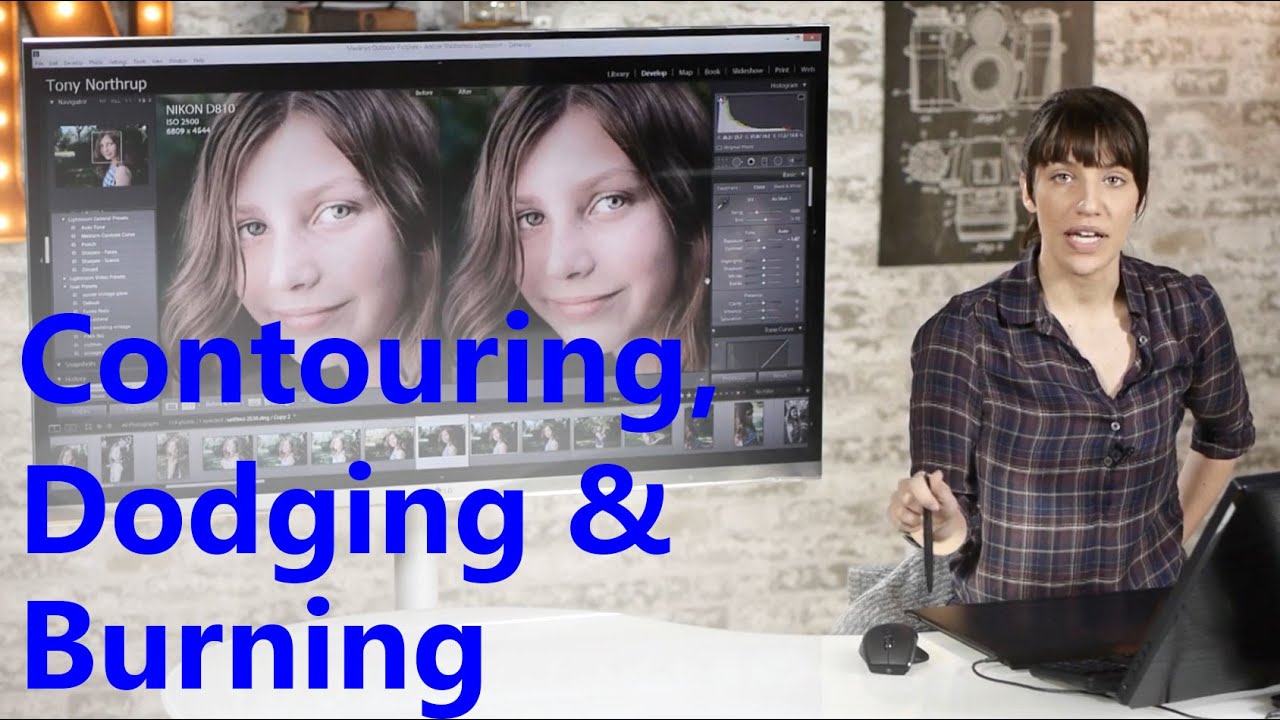
Contour With Light: Using Dodge & Burn in Lightroom to Shape a Portrait Like a Makeup Artist

Contour With Light: Using Dodge & Burn in Lightroom to Shape a Portrait Like a Makeup Artist

There is a specific kind of client feedback that stays with you. Early in my retouching career, someone described my skin edits as “plastic-looking,” and I spent the next several months trying to figure out exactly what I had done wrong. The answer, it turned out, was that I had been treating exposure as a global problem. I would lift or lower the whole image and call it a day. What I was missing was the understanding that light shapes a face the same way a makeup artist does, and that Lightroom’s adjustment brush gives us the precision to do that shaping ourselves, one brushstroke at a time.