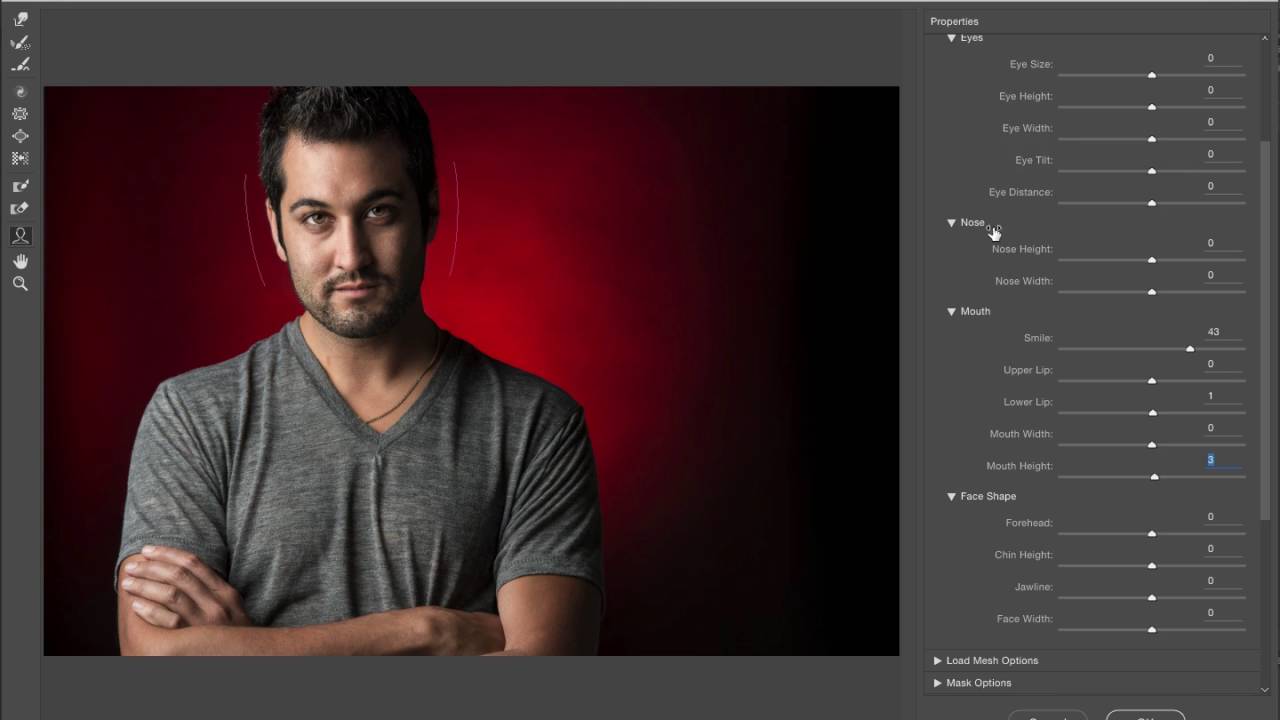
Face-Aware Liquify in Photoshop CC 2015.5: A Portrait Retoucher's Step-by-Step Breakdown

Face-Aware Liquify in Photoshop CC 2015.5: A Portrait Retoucher's Step-by-Step Breakdown

Before Face-Aware Liquify existed, reshaping a face in Photoshop meant dragging the standard Liquify brush around like you were trying to ice a cake with a spatula. You’d nudge a jawline, overshoot it, pull it back, and end up with something that looked vaguely melted. I burned through a lot of hours that way early in my retouching career, and more than one client politely described my results as “a little off.

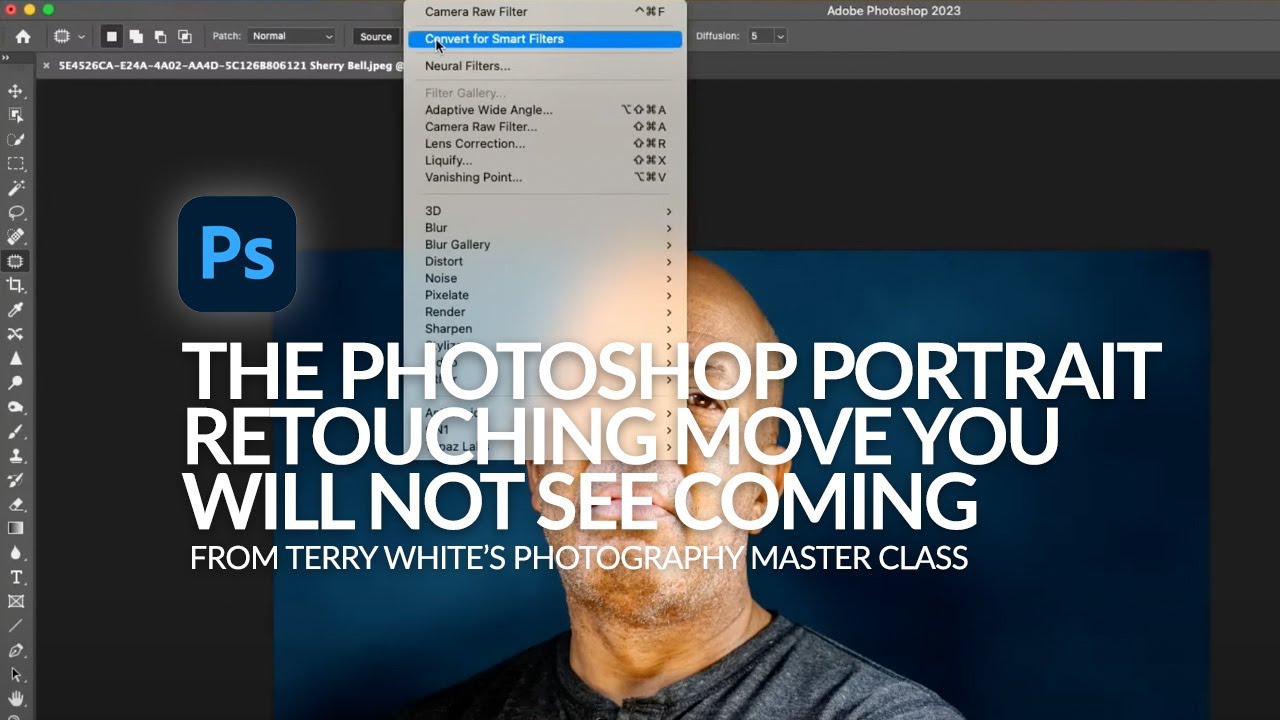
AI-Powered Portrait Retouching: Using Liquify, Neural Filters, and the Happiness Slider You Didn't Know Existed

AI-Powered Portrait Retouching: Using Liquify, Neural Filters, and the Happiness Slider You Didn't Know Existed

There’s a specific kind of client portrait that every retoucher knows: the one where the subject looks technically fine but somehow unhappy, closed-off, a little flat. You’ve balanced the skin, the light is clean, and yet something about the expression makes the whole image feel heavy. For years, my only options were to either live with it or spend forty minutes carefully painting in a subtler version of whatever the subject’s face was doing.

How to Reshape Features Without Going Overboard

How to Reshape Features Without Going Overboard

The Liquify tool is the most powerful and most abused tool in portrait retouching. In the right hands, it makes subtle corrections that nobody notices. In the wrong hands, it creates uncanny-valley distortions that scream “this was Photoshopped.” The difference comes down to restraint and technique. When Liquify Is Appropriate Liquify corrections should address things that a slightly different camera angle, focal length, or expression would have changed. Wide-angle lens distortion makes noses look bigger and ears look smaller.