How to Smooth Skin in Photoshop Without Losing Texture

How to Smooth Skin in Photoshop Without Losing Texture

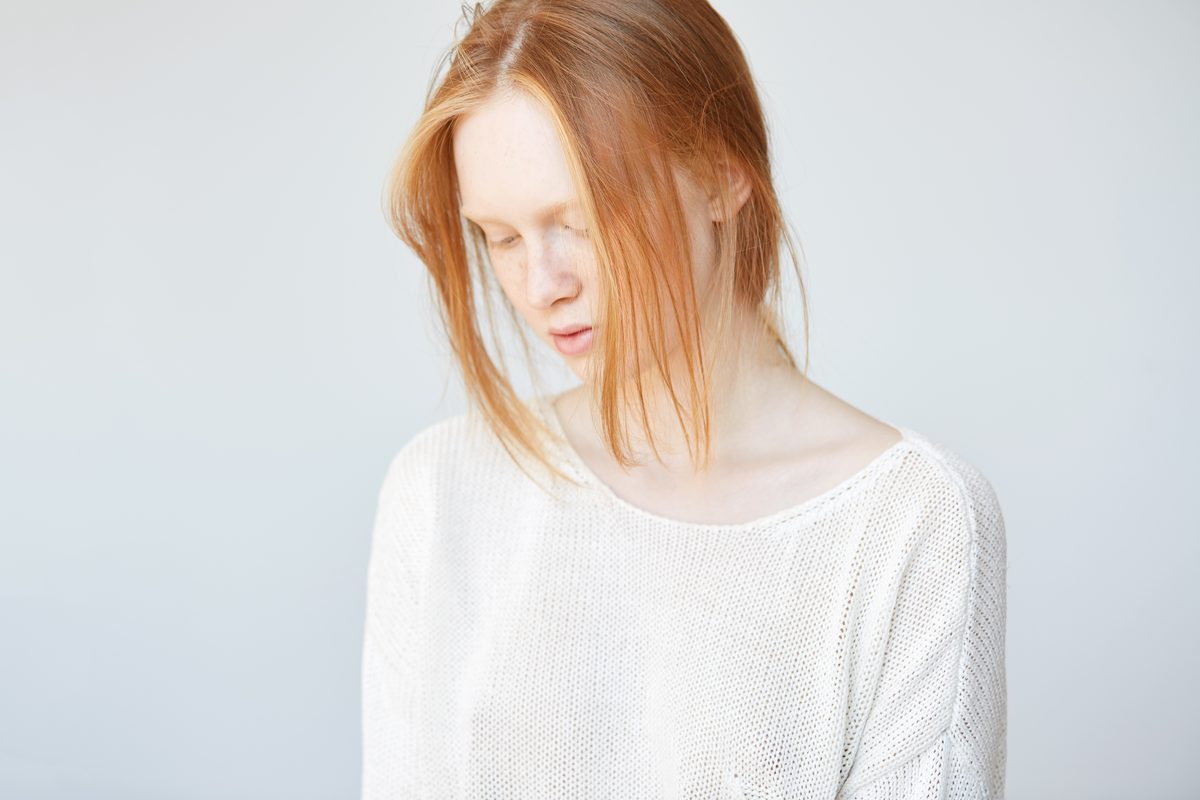
Every portrait retoucher faces the same challenge: how do you smooth skin without making it look like plastic? The answer is frequency separation — a technique that separates your image into texture and color layers, letting you work on each independently. The Basic Setup Duplicate your background layer twice Name the top layer “Texture” and the bottom “Color” On the Color layer, apply Gaussian Blur (radius 6-10 pixels depending on resolution) On the Texture layer, go to Image > Apply Image, select the Color layer, set blending to Subtract, Scale 2, Offset 128 Set the Texture layer blend mode to Linear Light Working the Color Layer Select the Color layer and use a soft brush with the Mixer Brush tool (or just a regular brush at low opacity).
How to Remove Dark Circles Under Eyes in Photoshop

How to Remove Dark Circles Under Eyes in Photoshop

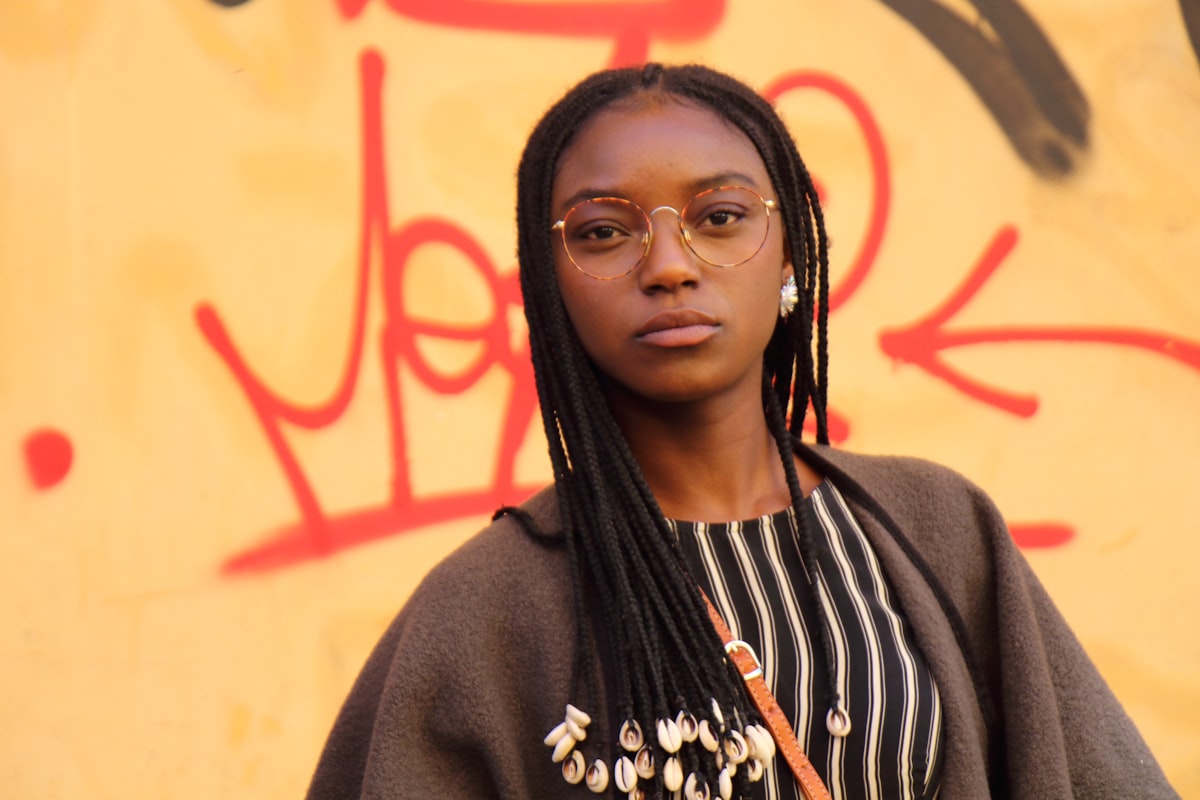
Dark circles under the eyes are one of the most common retouching requests. Almost everyone has them to some degree, and studio lighting tends to make them worse. The trick is reducing them without eliminating them entirely — because removing all shadow from under the eyes creates an uncanny, flat look. Here’s the approach I use on every portrait session. Why You Shouldn’t Just Clone Them Away The first instinct most beginners have is to grab the Clone Stamp and paint cheek skin over the dark area.

Hair Retouching in Portrait Photography: My Step-by-Step Approach

Hair Retouching in Portrait Photography: My Step-by-Step Approach

Hair Retouching in Portrait Photography: My Step-by-Step Approach Hair retouching intimidates a lot of my clients when they first come to me. I get it—it’s detailed work that can quickly look overdone if you’re not careful. But I promise you, once we break this down into manageable steps, you’ll find it’s one of the most rewarding parts of portrait editing. Let me walk you through exactly how I approach every hair retouching project.

Dodge and Burn: The Secret Weapon for Sculpting Perfect Portraits

Dodge and Burn: The Secret Weapon for Sculpting Perfect Portraits

Dodge and Burn: The Secret Weapon for Sculpting Perfect Portraits When I first started retouching portraits, I thought perfect skin was everything. Then a mentor showed me dodge and burn, and everything changed. Suddenly, I could sculpt cheekbones, define jawlines, and add dimension that made portraits come alive. Today, I want to share this transformative technique with you. Dodge and burn isn’t just a tool—it’s a philosophy of subtle enhancement. We’re mimicking how light naturally falls on the face, strategically brightening and darkening areas to guide the viewer’s eye and enhance the subject’s best features.

Dodge and Burn: The Portrait Retoucher's Secret to Sculpting Light

Dodge and Burn: The Portrait Retoucher's Secret to Sculpting Light

Dodge and Burn: The Portrait Retoucher’s Secret to Sculpting Light When I first learned dodge and burn, I realized I’d been missing one of the most powerful tools in portrait retouching. These techniques—borrowed from the darkroom days of film photography—let us selectively lighten and darken areas of a portrait to sculpt dimension, enhance features, and create that coveted professional polish. I want to walk you through how we can use them effectively without overdoing it.