What Adobe Actually Changed in Photoshop This April (And What It Means for Your Retouching Workflow)

What Adobe Actually Changed in Photoshop This April (And What It Means for Your Retouching Workflow)

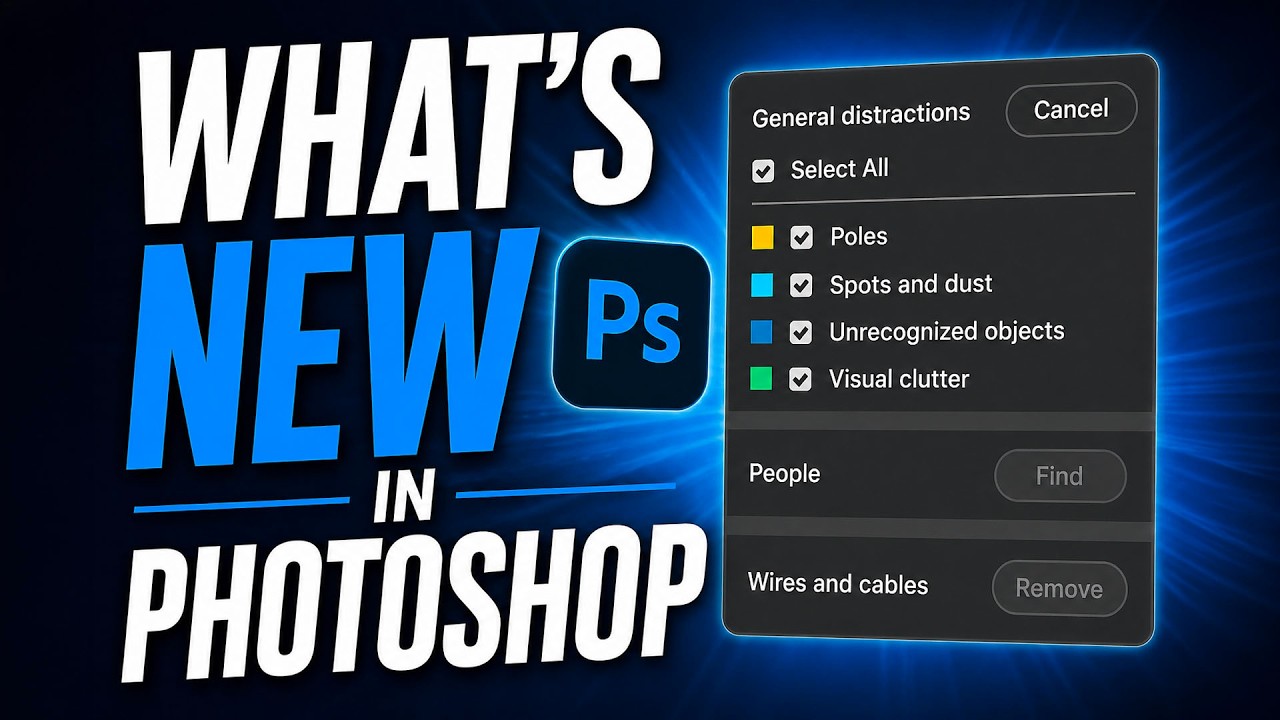
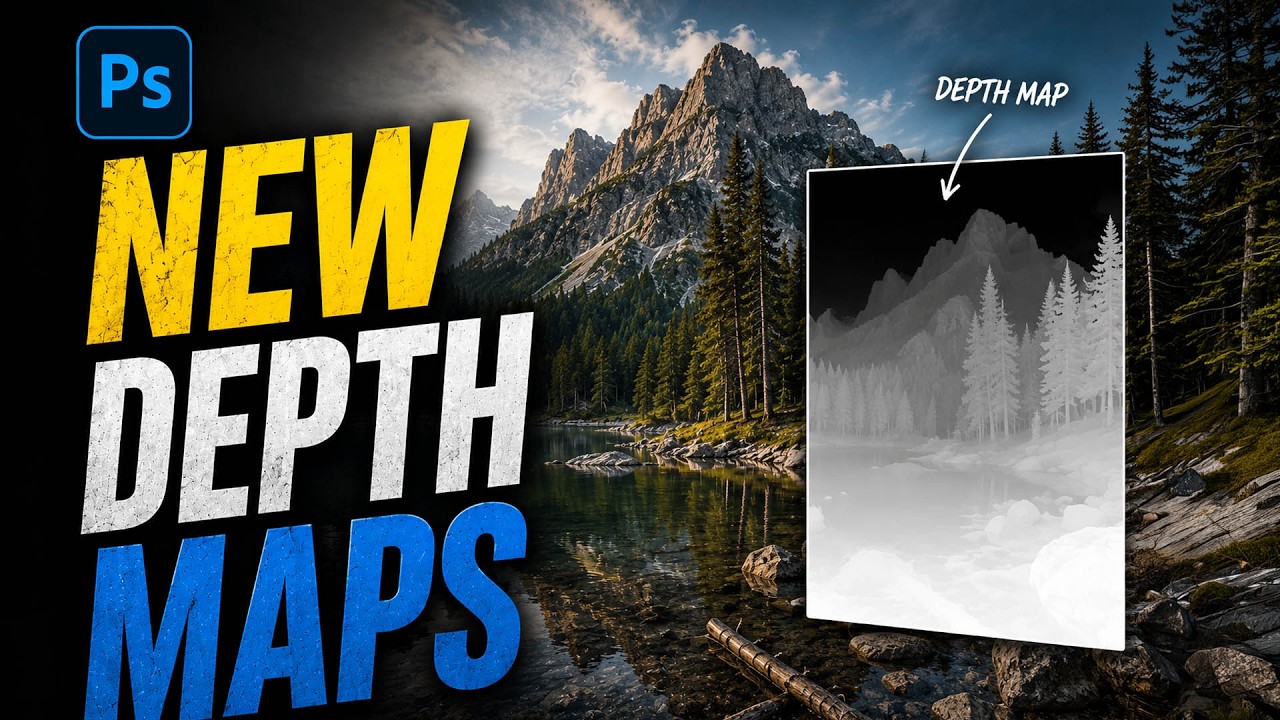
Every few months Adobe drops a Photoshop update, and most of the time I skim the release notes, nod politely, and go back to whatever action I was running (currently the entire Blade Runner franchise, in case you were wondering). But the April 2026 update genuinely caught my attention, partly because of a Matt Kloskowski tutorial I watched while finishing my third cup of green tea on a Tuesday morning. Watch the full tutorial on YouTube – it runs about four minutes and covers the highlights quickly and clearly.
Why Your Makeup Retouching Looks Fake (And the Layer Order That Fixes It)

Why Your Makeup Retouching Looks Fake (And the Layer Order That Fixes It)

A client emailed me once, midway through a campaign project, to say my lip color looked “like a crayon drawing on a face.” She wasn’t wrong. I had painted the color directly onto a merged layer, ignored the skin texture entirely, and wondered why it looked like a sticker someone had slapped onto a photograph. That was about seven years ago, right when I was transitioning out of wedding photography and into beauty work full-time.

How to Add Depth and Dimension to Flat-Looking Portrait Photos in Photoshop

How to Add Depth and Dimension to Flat-Looking Portrait Photos in Photoshop

There’s a particular kind of frustration that comes from delivering a beauty retouch that looks completely flat on screen. The skin is clean, the tones are balanced, the color is consistent, and yet something is missing. Dimension. The sense that there’s actual space between the subject and the world behind them. For a long time, the only reliable fix I had was to manually paint luminosity masks or fake a depth-of-field effect with blur layers and a lot of patient masking.

Why Dodge and Burn Is the Last Retouching Skill You'll Want to Learn (and the First You Should)

Why Dodge and Burn Is the Last Retouching Skill You'll Want to Learn (and the First You Should)

I still have the file. It lives in a folder I’ve never deleted, labeled “DO NOT SHOW ANYONE,” and every time I open Photoshop it’s sitting there, waiting. My first serious retouching attempt on a beauty portrait. The skin looks like it was painted with a foam roller. No dimension, no depth, no life. Just a flat, airbrushed approximation of a human face. What I was missing wasn’t a better plugin or a fancier frequency separation technique.

Frequency Separation Actually Explained: Why Your Skin Retouching Looks Fake (And How to Fix It)

Frequency Separation Actually Explained: Why Your Skin Retouching Looks Fake (And How to Fix It)

The first time a client told me my retouching looked “plastic,” I had no idea what she meant. I thought I’d done a beautiful job. The skin was smooth, the blemishes were gone, the whole image had this polished magazine quality I’d been chasing. She pulled up a reference image on her phone, slid it across the table, and said, “I want to look like that. Yours looks like a wax figure.

The Art of Portrait Cleanup: A Step-by-Step Guide to Flawless Skin

The Art of Portrait Cleanup: A Step-by-Step Guide to Flawless Skin

The Art of Portrait Cleanup: A Step-by-Step Guide to Flawless Skin When I first started portrait retouching, I thought cleanup meant erasing every blemish until a face looked plastic and lifeless. I’ve learned that’s the opposite of what we should aim for. Great portrait cleanup enhances natural beauty while preserving the authentic character that makes someone recognizable. Let me walk you through the approach that’s transformed my work. Understanding What “Cleanup” Really Means Portrait cleanup isn’t about creating a fake, airbrushed look.

The Art of Portrait Cleanup: Essential Techniques for Flawless Skin

The Art of Portrait Cleanup: Essential Techniques for Flawless Skin

The Art of Portrait Cleanup: Essential Techniques for Flawless Skin I’ve spent years refining portrait cleanup workflows, and I’ve learned that the best edits are invisible ones. When we talk about portrait cleanup, we’re not aiming for plastic perfection—we’re enhancing what’s already there, removing temporary distractions, and letting your subject’s true character shine through. Let me walk you through the techniques I use daily to transform good portraits into stunning ones.

The Essential Guide to Color Correction in Portrait Retouching

The Essential Guide to Color Correction in Portrait Retouching

The Essential Guide to Color Correction in Portrait Retouching When I first started retouching portraits, I noticed that even the most beautifully lit photographs could fall flat without proper color correction. A client would look at their edited image and say, “Something feels off,” even though the skin looked smooth and the composition was perfect. That something was usually color. Color correction is the foundation of professional portrait retouching. It’s what transforms a decent photo into one that feels alive, balanced, and genuinely flattering.

The Complete Guide to Color Correction in Portrait Retouching

The Complete Guide to Color Correction in Portrait Retouching

The Complete Guide to Color Correction in Portrait Retouching Color correction is where portraiture truly comes alive. I’ve learned that even the most beautifully lit portrait can fall flat if the colors aren’t working in harmony. Whether you’re editing a single headshot or batch processing from a wedding, understanding color correction fundamentally changes how your portraits feel and how your clients respond to them. Let me walk you through the techniques I use daily to transform color in my retouching workflow.

The Best Photoshop Brushes for Portrait Retouching

The Best Photoshop Brushes for Portrait Retouching

You don’t need hundreds of brushes for portrait retouching. You need about five, configured correctly. Most professional retouchers use a surprisingly small set of brushes and rely on pressure sensitivity and blend modes to get different effects. Here’s my working brush kit and how I use each one. 1. The Soft Round Brush (Your Workhorse) This is Photoshop’s default round brush with hardness set to 0%. You’ll use this for 70% of your retouching work.

The Art of Natural Skin Retouching: A Step-by-Step Guide

The Art of Natural Skin Retouching: A Step-by-Step Guide

The Art of Natural Skin Retouching: A Step-by-Step Guide When I first started retouching portraits, I made the same mistake many beginners do: I smoothed skin until it looked plastic. The turning point came when a mentor told me, “Your job isn’t to erase the person—it’s to reveal their best self.” That philosophy changed everything about how I approach skin retouching. Today, I want to share the techniques that transformed my work and can transform yours too.

Mastering Dodge and Burn: Sculpting Light and Shadow in Portrait Retouching

Mastering Dodge and Burn: Sculpting Light and Shadow in Portrait Retouching

Mastering Dodge and Burn: Sculpting Light and Shadow in Portrait Retouching When I first started portrait retouching, I thought dodge and burn were just old darkroom tricks. But I’ve come to realize they’re one of the most powerful tools we have for sculpting faces and creating that coveted three-dimensional quality that separates amateur edits from polished professional work. Let me walk you through how I approach this technique, and I promise it’s more intuitive than it might sound.