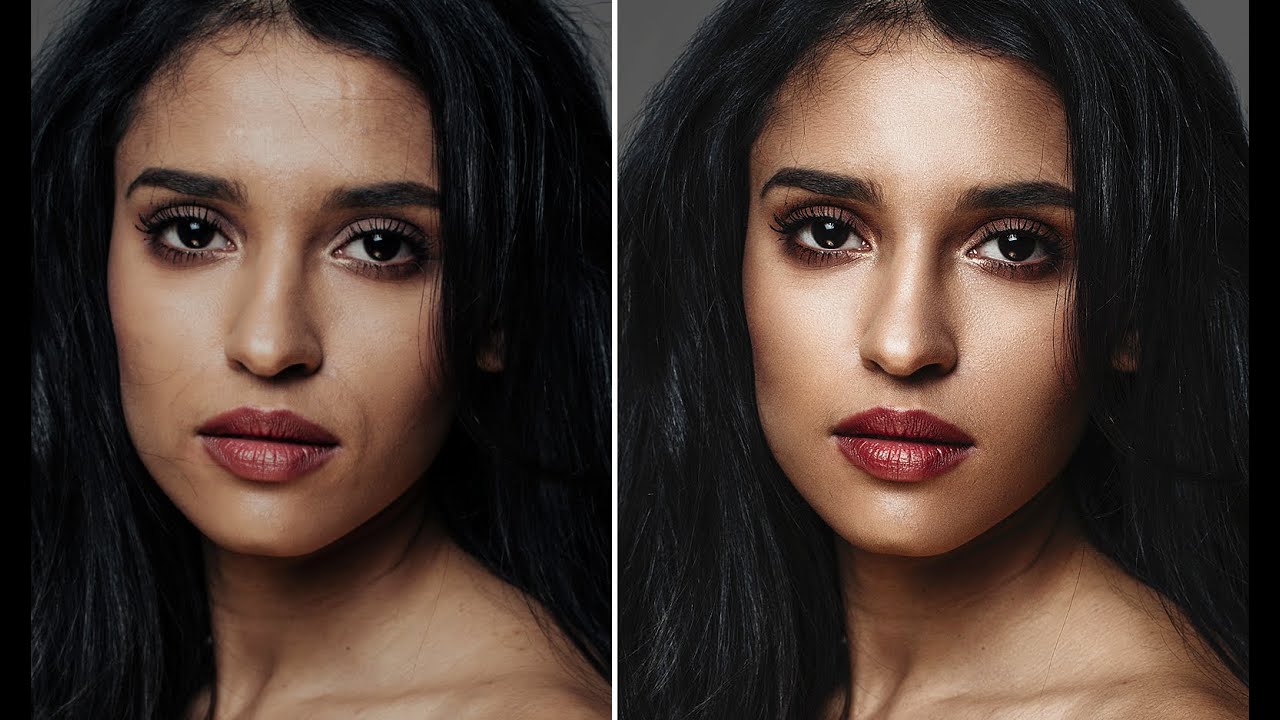
Three Tools, One Great Portrait: Breaking Down Joel Grimes' No-Fuss Retouching Workflow

Three Tools, One Great Portrait: Breaking Down Joel Grimes' No-Fuss Retouching Workflow

There’s a version of me from a few years back who would have spent three hours on a single portrait, chasing some imaginary level of perfection, and still delivered something that looked overworked. A client once told me my edits looked “a little plastic” and I still think about that comment every time I open a new file. What I’ve learned since then is that the best retouching is almost invisible, and the best workflows are simpler than you’d expect.

The 4-Layer Method I Use to Retouch Eyes That Actually Look Alive

The 4-Layer Method I Use to Retouch Eyes That Actually Look Alive

A few years into freelancing, I had a client send back a batch of beauty headshots with a note that stopped me cold. “The eyes look like marbles,” she wrote. She wasn’t wrong. I had sharpened the irises, brightened the whites, and painted in a catch light I thought looked natural. What I’d actually done was strip out every subtle tonal variation that makes eyes read as human. They were technically clean and completely lifeless.

How to Freestyle a Portrait Retouch in Photoshop (Without a Rigid Plan)

How to Freestyle a Portrait Retouch in Photoshop (Without a Rigid Plan)

There’s a version of portrait retouching that feels like following a recipe. Same steps, same order, same result every time. For a long time, that was me. I built elaborate action sets (I still name them after movies – my frequency separation stack is called “The Prestige”) and ran every portrait through the same pipeline. It was efficient. It was also making my work look a little lifeless, like I was manufacturing faces rather than finishing photographs.

Frequency Separation Without the Headache: A Step-by-Step Breakdown of Joel Grimes' Approach

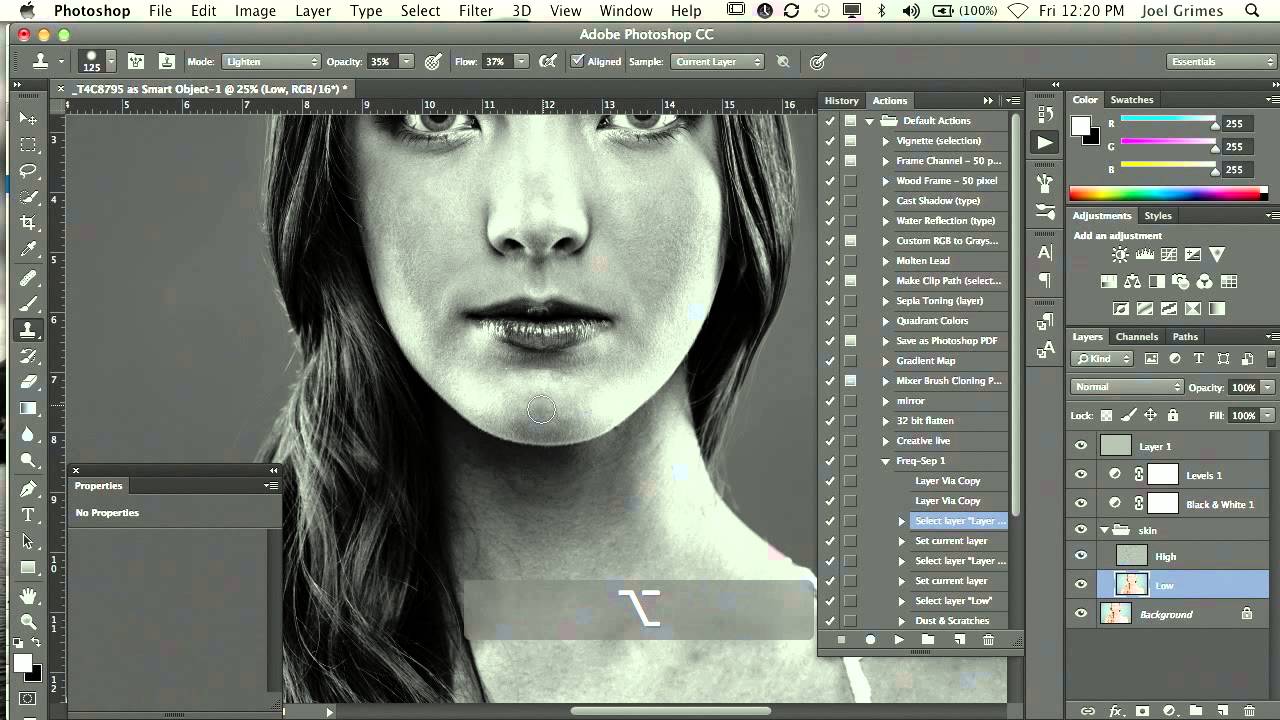
Frequency Separation Without the Headache: A Step-by-Step Breakdown of Joel Grimes' Approach

There is a specific kind of dread that comes from over-retouching skin. I know it well. Early in my retouching career, I handed a beauty client a set of images so smoothed-out that she emailed back asking if I had accidentally used a blur filter on her face. I had not. I had just been using the wrong tools with too much confidence. Frequency separation was the technique that eventually pulled me out of that hole, but for a long time I avoided it because every tutorial I found turned it into a 45-minute production involving terminology that felt designed to intimidate.

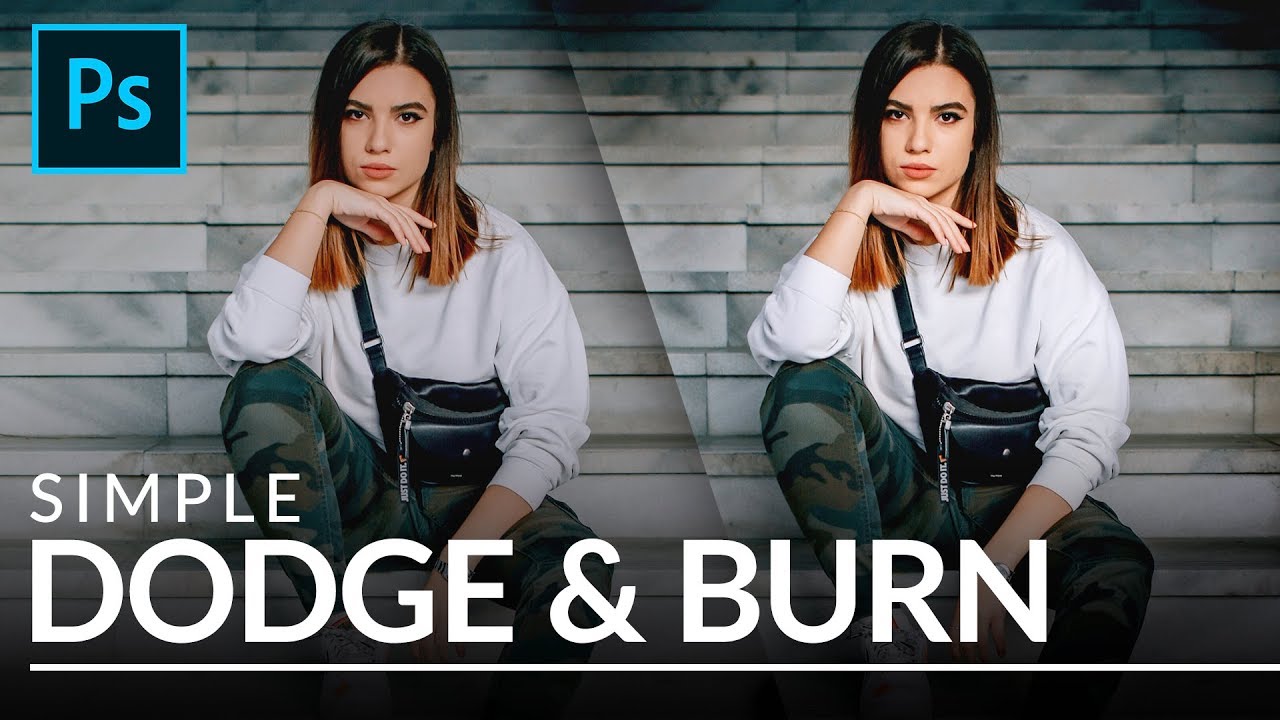
How to Sculpt Light After the Shot: A Practical Guide to Dodge and Burn in Photoshop

How to Sculpt Light After the Shot: A Practical Guide to Dodge and Burn in Photoshop

There’s a specific kind of frustration that comes from photographing a subject in beautiful light and then watching that light flatten out the moment you open the file. The highlights that looked dimensional in the studio read as a blown patch on screen. The shadow that gave her cheekbone its shape disappears into the midtones. The camera captured what was there, not what you saw. For years, my answer to this problem was to push sliders around in Lightroom and hope for the best.

Luminosity Masking Demystified: A Retoucher's Step-by-Step Guide to Precise Selections in Photoshop

Luminosity Masking Demystified: A Retoucher's Step-by-Step Guide to Precise Selections in Photoshop

For a long time, my skin retouching had a particular problem. The edits looked fine at 100% zoom, but the moment a client zoomed out, the transitions between adjusted and unadjusted areas looked like I’d used a cookie cutter. Harsh edges. Obvious patches. The kind of thing that made one early client describe my work as “a little plastic-looking,” which is a sentence I still hear in my sleep. What I was missing wasn’t a better brush or a more careful hand.

The 15-Minute Eye Enhancement Workflow That Stopped My Clients From Asking for 'More Pop'

The 15-Minute Eye Enhancement Workflow That Stopped My Clients From Asking for 'More Pop'

A few years into freelancing, I had a client send back a batch of beauty shots with one word in the subject line: “More.” She wanted more brightness, more color, more life in the eyes. I’d already dodged the irises, boosted the whites, and painted in a catch light. The eyes looked like something out of an animated film. I sat back from my (perpetually lowered) standing desk, made a fresh cup of green tea, and realized the problem wasn’t that I hadn’t done enough.

How to Make Skin Look Like Cracked Paint in Photoshop (A Step-by-Step Breakdown)

How to Make Skin Look Like Cracked Paint in Photoshop (A Step-by-Step Breakdown)

Most of my retouching work is about subtraction. Smooth this, soften that, remove the thing the client asked me to remove three times already. So when I first stumbled onto this technique, it genuinely stopped me mid-sip. A cracked paint texture mapped onto a portrait so convincingly that the skin looks like it’s splitting open and peeling away. It’s the opposite of everything I normally do, and I am completely here for it.

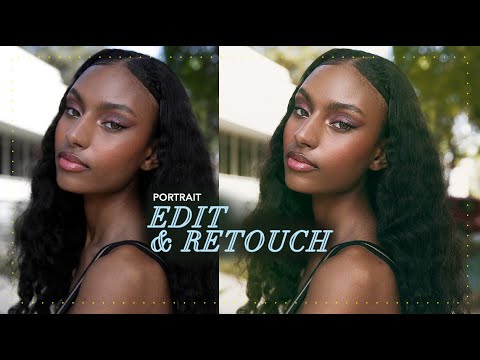
Warm Skin, Honest Color: A Working Retoucher's Notes on Jessica Kobeissi's Portrait Editing Workflow

Warm Skin, Honest Color: A Working Retoucher's Notes on Jessica Kobeissi's Portrait Editing Workflow

There’s a particular kind of portrait that comes back from a sunny outdoor shoot looking almost right. The skin is warm, the light is flattering, and then you open it in Photoshop and realize the greens in the background are fighting with everything, the saturation is cranked up too high straight out of camera, and you have about forty decisions to make before the image feels settled. I used to dread those files.

Photoshop's Bidirectional Gradient Masks Finally Make Skin Blending Feel Natural

Photoshop's Bidirectional Gradient Masks Finally Make Skin Blending Feel Natural

There’s a particular kind of frustration that comes from knowing exactly what you need to do to a photo and not having the right tool to do it cleanly. I’ve felt it dozens of times working on beauty campaigns where the light hits a subject’s face in a long, narrow band, and I want to enhance just that band without blowing out the edges or dragging a complicated luminosity mask into the mix.

The 15-Minute Eye Enhancement Workflow That Stopped My Clients Saying Make Them Pop

The 15-Minute Eye Enhancement Workflow That Stopped My Clients Saying Make Them Pop

A few years back, a client sent me a revision note that read: “Can you make the eyes more… alive?” I had spent forty minutes on that image. The skin was clean, the color grade was warm and editorial, and the composition was genuinely lovely. But she was right. The eyes looked like they belonged to someone who had just heard mildly disappointing news. Everything else in the frame was doing its job, and the eyes were not.

Why Hair Retouching Falls Apart at the Edges (And How to Fix It Layer by Layer)

Why Hair Retouching Falls Apart at the Edges (And How to Fix It Layer by Layer)

Why Hair Retouching Falls Apart at the Edges (And How to Fix It Layer by Layer) By Maya Chen The file came in on a Tuesday morning: a beauty campaign shot, studio-lit, clean background, gorgeous subject. The hair was this wild, expressive curtain of coils that the photographer had clearly worked hard to capture well. My job was to clean it up without flattening it. Three hours later I had something that looked like a wig glued to a mannequin.