Clean Skin, Fast: A Working Retoucher's Guide to Basic Portrait Cleanup in Photoshop

Clean Skin, Fast: A Working Retoucher's Guide to Basic Portrait Cleanup in Photoshop

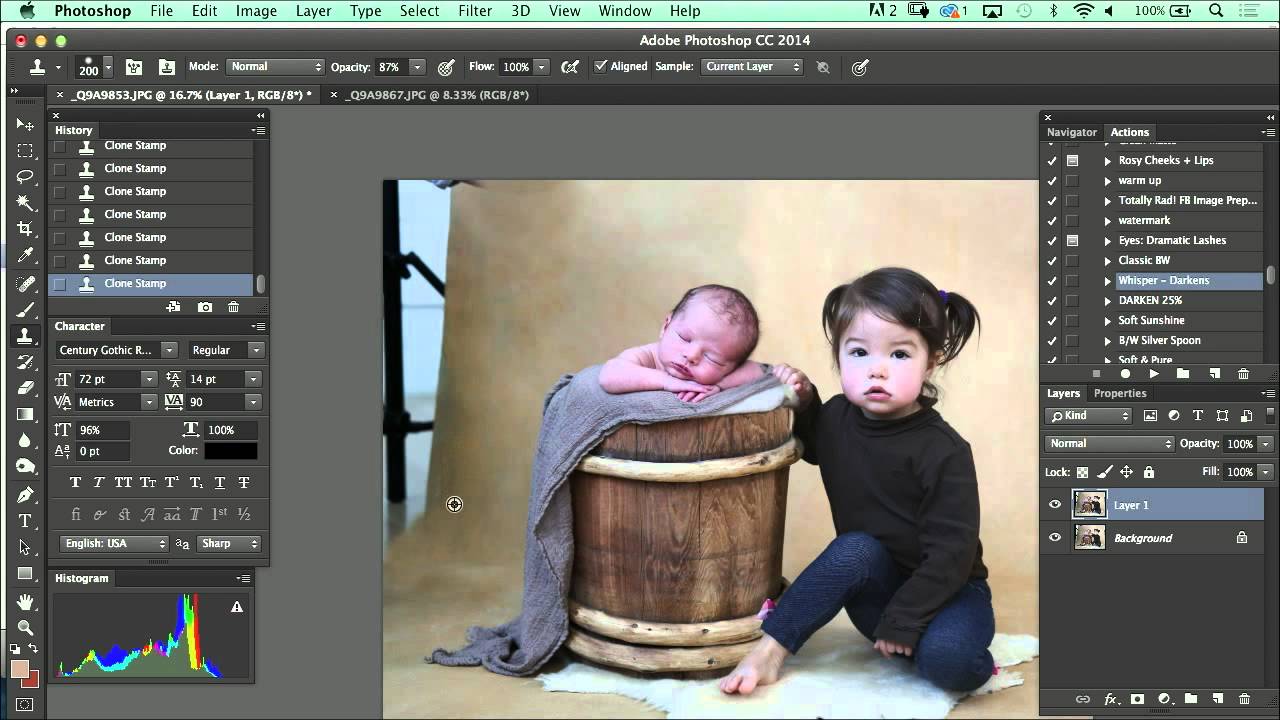
There’s a version of me from about five years ago who would have spent forty-five minutes with the Healing Brush, sampling and resampling, zooming in to 300% to obsess over a single pore. The results were technically clean and somehow completely lifeless. It took a client politely describing my work as “a little plastic-looking” for me to finally step back and rethink my whole approach to basic cleanup. What I needed wasn’t a new technique so much as a smarter starting order and better tool choices.

Frequency Separation: The Technique That Saved My Retouching (And How to Actually Use It)

Frequency Separation: The Technique That Saved My Retouching (And How to Actually Use It)

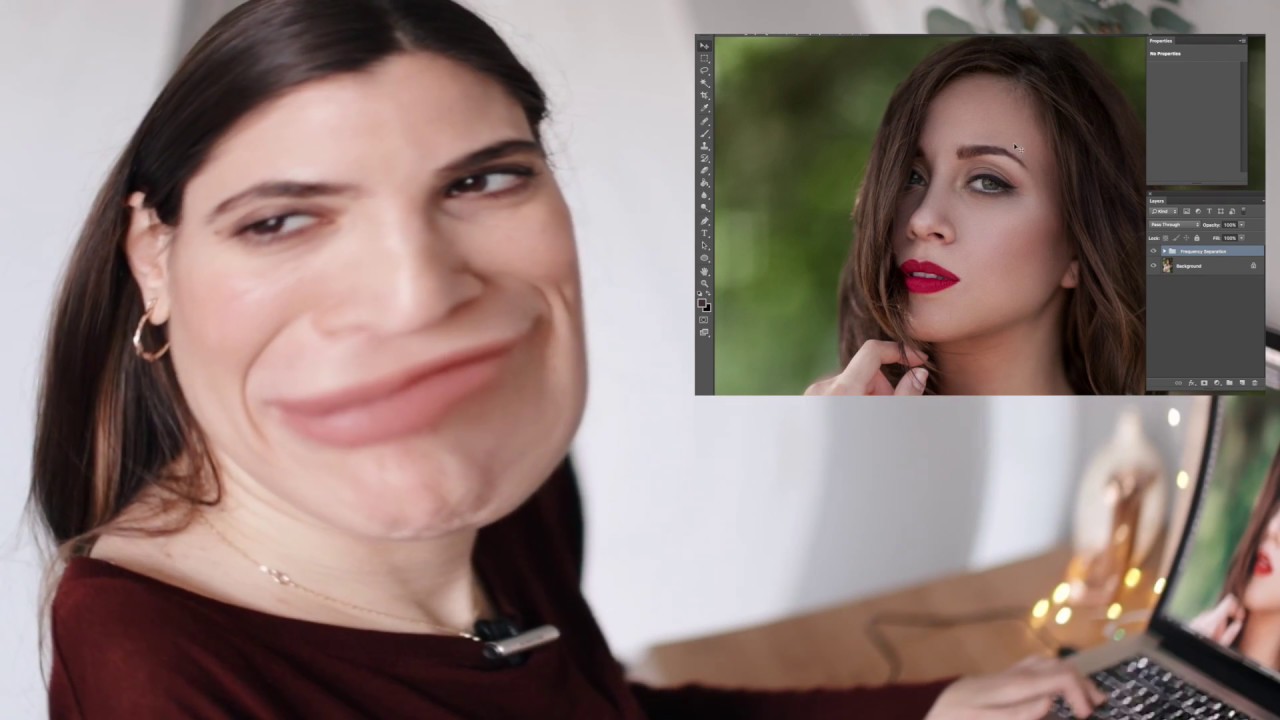
A few years into my retouching work, a beauty client sent back a batch of images with three words in the subject line: “too plastic, sorry.” No further notes. Just that, and a request to redo the whole set. I had been smoothing skin the way I learned from YouTube tutorials, painting directly on a softened duplicate layer and calling it done. The edits looked fine to me on screen at 50%.

How I Watch a Headshot Retouching Timelapse and Actually Learn From It

How I Watch a Headshot Retouching Timelapse and Actually Learn From It

There is a particular kind of client who emails you the morning after delivery to say the portraits look “a little overdone.” I got that email early in my retouching career, and it stung more than I want to admit. The problem was not that I was working too hard on the skin. The problem was that I had no real workflow. I was just pushing sliders around until something looked smooth, and smooth is not the same as natural.

How I Use Frequency Separation to Retouch Fashion Portraits Without Killing the Skin Texture

How I Use Frequency Separation to Retouch Fashion Portraits Without Killing the Skin Texture

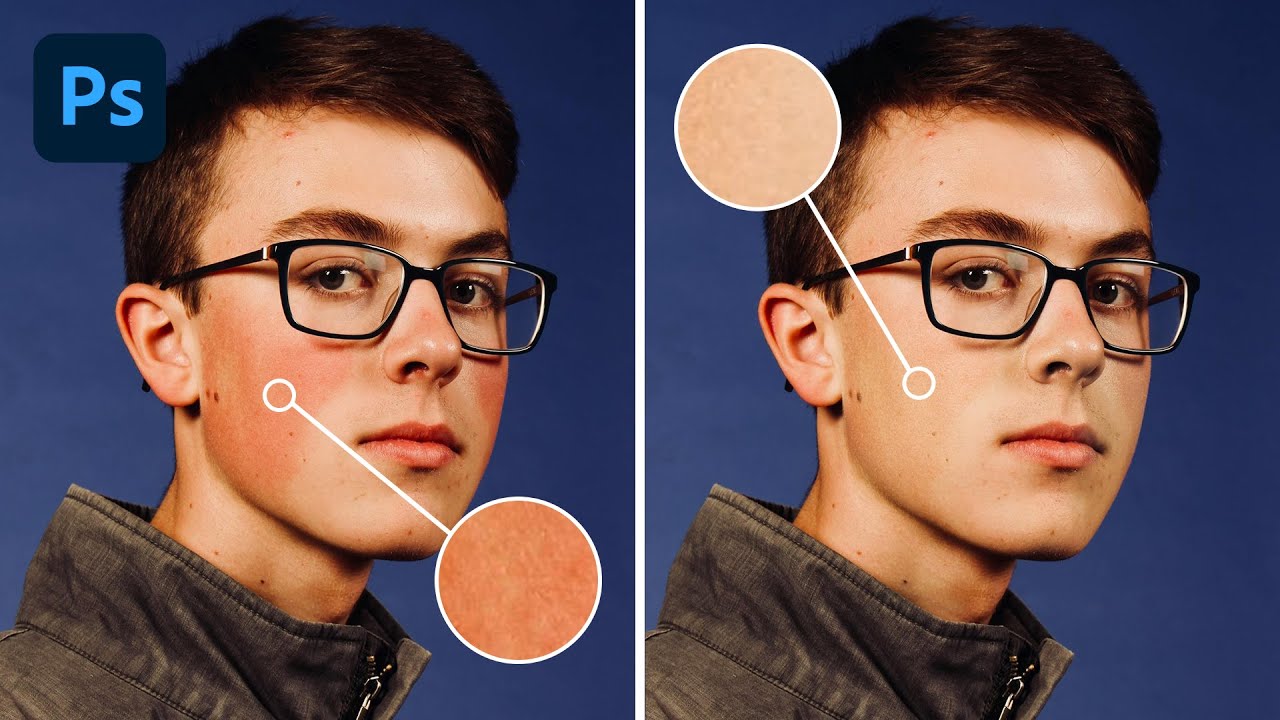
There is a particular kind of dread that comes from zooming into a portrait at 100% and seeing a patchwork of mismatched skin tones staring back at you. Early in my retouching work, I overcorrected for that by smoothing everything into oblivion, and I paid for it when a client told me the finished image looked “like a wax figure.” That note stung, and it sent me back to the drawing board to figure out how to clean up uneven color without erasing the proof that a real human was photographed.

Clean Skin, Real People: How Sean Tucker's 3-Step Method Changed How I Retouch Portraits

Clean Skin, Real People: How Sean Tucker's 3-Step Method Changed How I Retouch Portraits

There’s a specific kind of dread that comes with opening a portrait file and knowing the skin needs work. Early in my retouching career, I leaned hard on every technique I could find, and the results looked exactly like what they were: over-processed, waxy, and unconvincing. A client once described my edits as “plastic-looking,” and honestly, she wasn’t wrong. That moment sent me down a long road of figuring out how to clean up skin without erasing the person underneath.

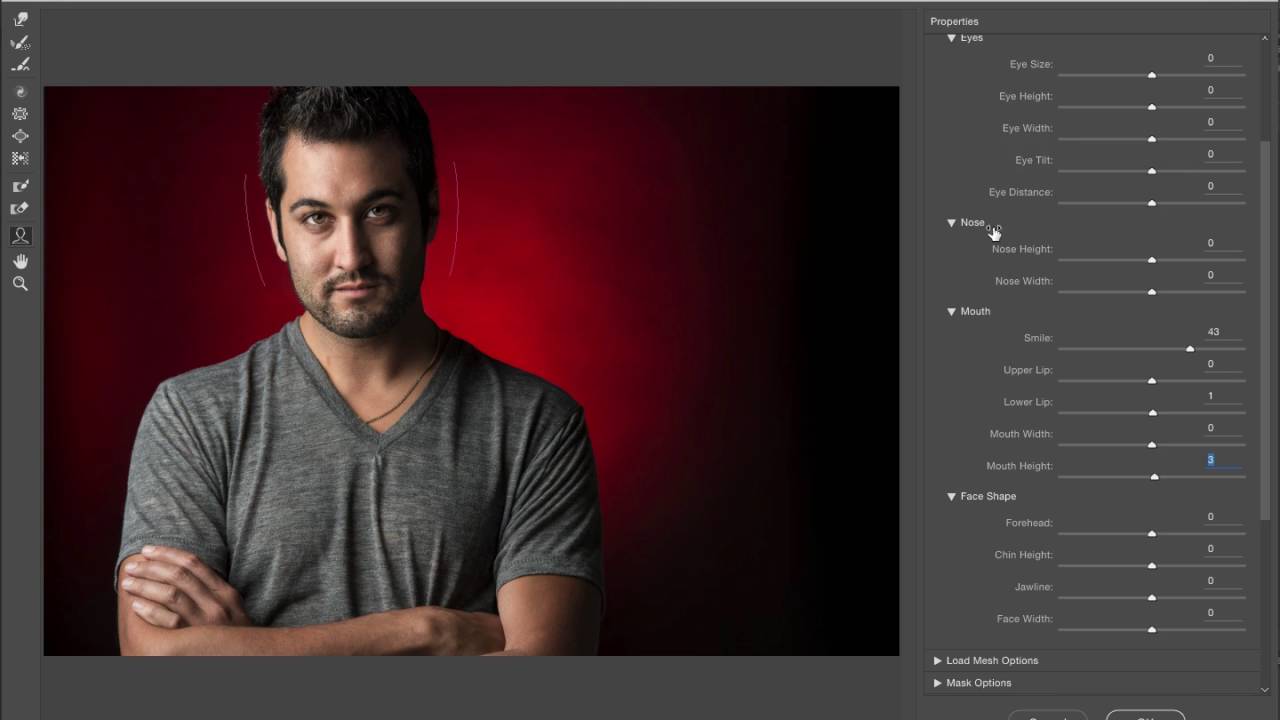
AI-Powered Portrait Retouching: Using Liquify, Neural Filters, and the Happiness Slider You Didn't Know Existed

AI-Powered Portrait Retouching: Using Liquify, Neural Filters, and the Happiness Slider You Didn't Know Existed

There’s a specific kind of client portrait that every retoucher knows: the one where the subject looks technically fine but somehow unhappy, closed-off, a little flat. You’ve balanced the skin, the light is clean, and yet something about the expression makes the whole image feel heavy. For years, my only options were to either live with it or spend forty minutes carefully painting in a subtler version of whatever the subject’s face was doing.

Frequency Separation: The Technique That Stopped My Edits From Looking Like Plastic

Frequency Separation: The Technique That Stopped My Edits From Looking Like Plastic

A client called me once to say my retouching looked “like a video game character.” I had spent two hours on that image. I had smoothed every pore, every shadow, every subtle line, and I handed back something that looked like it had been poured from a mold. She was kind about it, but I still have that file saved on an old hard drive as a personal cautionary tale. That was the moment I understood that I had been solving the wrong problem.

Frequency Separation for Real Skin: What I Took Away from Jessica Kobeissi's Retouch & Chill

Frequency Separation for Real Skin: What I Took Away from Jessica Kobeissi's Retouch & Chill

There is a particular kind of dread that comes with opening a portrait file and seeing skin that needs serious work. Not “dust off a blemish” work. Real texture, real unevenness, real light that caught every pore. Early in my retouching career I handled that dread badly. I’d over-smooth, over-blur, and hand back something that looked more like a vinyl doll than a person. A client once told me the skin looked “plastic.

Why Your Portrait Colors Look Wrong (And the Correction Order That Fixes It)

Why Your Portrait Colors Look Wrong (And the Correction Order That Fixes It)

A few years back, I finished what I thought was a beautiful set of beauty edits for a skincare brand. Smooth skin, clean background, nice and bright. I sent the gallery over feeling genuinely proud. The creative director wrote back within an hour: “The skin looks a little… gray? And her lips are almost purple. Can you fix the color before we go further?” I stared at my monitor. The skin looked fine to me.

How to Retouch a Car in Photoshop: Scott Kelby's Workflow Broken Down Step by Step

How to Retouch a Car in Photoshop: Scott Kelby's Workflow Broken Down Step by Step

Most of my work lives in faces. Skin texture, under-eye circles, the way light catches a cheekbone. But the principles that make beauty retouching work, cleaning up distracting reflections, creating seamless backgrounds, making an image look inevitable rather than labored, apply everywhere. Including, it turns out, cars. I stumbled onto this tutorial while looking for a cleaner way to handle background reflections in product work, and it genuinely reframed how I think about any kind of studio shot.

How to Paint Light and Volume Back Into a Face Using Photoshop Layers

How to Paint Light and Volume Back Into a Face Using Photoshop Layers

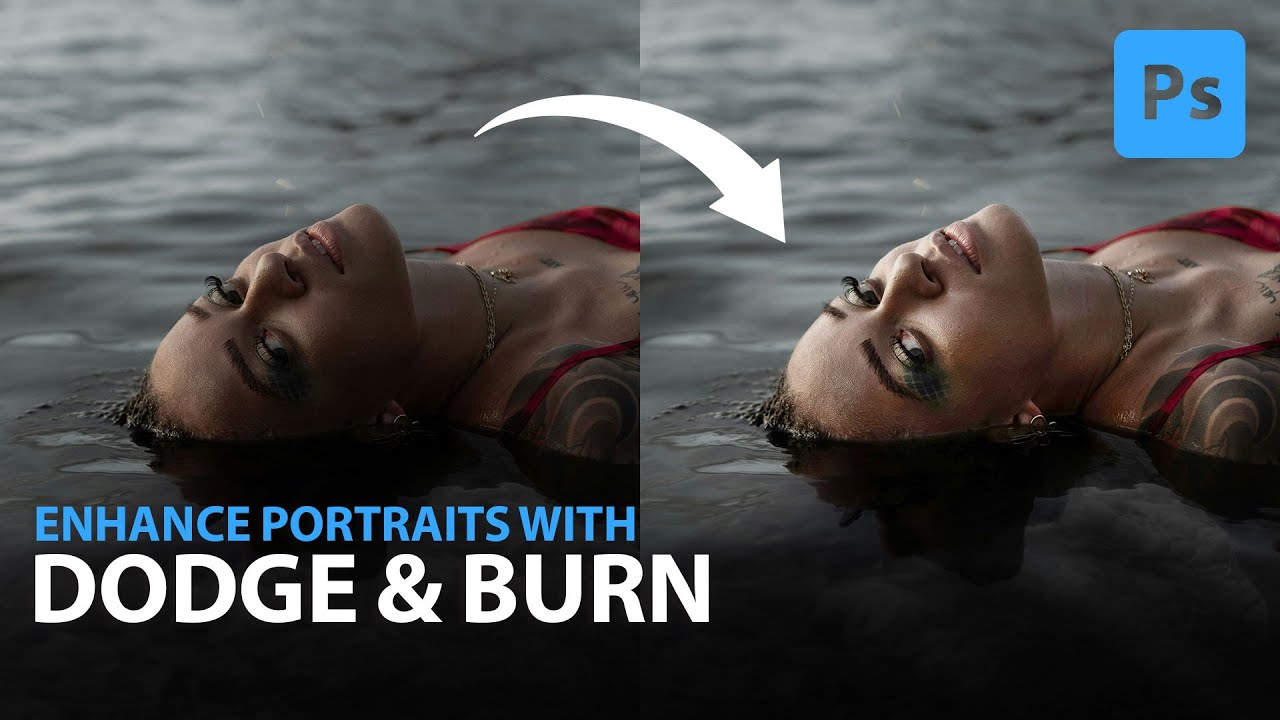
There’s a specific kind of defeat that comes from delivering a gallery and hearing back that the edits look “a little flat.” I’ve been there. Early in my beauty retouching career, I was so focused on removing things, smoothing, erasing, fixing, that I forgot skin has actual shape. It catches light on a nose bridge. It has shadow under a cheekbone. When you retouch that dimension away, even a perfectly exposed photo can start to look like a wax figure.

Stop Fighting Your Masks: How the Subtract Tool Turns Messy Selections Into Clean Edits

Stop Fighting Your Masks: How the Subtract Tool Turns Messy Selections Into Clean Edits

There’s a particular kind of frustration that comes from making a solid selection, bumping the exposure, and then noticing that weird glowing halo creeping around the edges of your subject. I ran into this constantly when I first started doing beauty work, and for a long time my solution was either to accept the flaw or spend twenty minutes in Photoshop doing painstaking manual cleanup. Neither option felt right. When I came across this Matt Kloskowski tutorial on the power of the Subtract tool in Lightroom and Photoshop masking, I realized I had been overcomplicating something that has a much more elegant fix built right into the tools I already use every day.