What Scott Kelby's Light It. Shoot It. Retouch It. Finally Gets Right About Teaching Portrait Retouching

What Scott Kelby's Light It. Shoot It. Retouch It. Finally Gets Right About Teaching Portrait Retouching

There’s a particular kind of frustration that every self-taught retoucher knows. You find a tutorial with gorgeous results, you follow along as carefully as you can, and what you end up with looks nothing like the final image. Not even close. The gap between “here’s the concept” and “here’s exactly how to do it” is where most instructional content quietly falls apart. I spent years filling that gap by trial and error, and I have a hard drive full of over-processed, plastic-looking portraits to prove it.

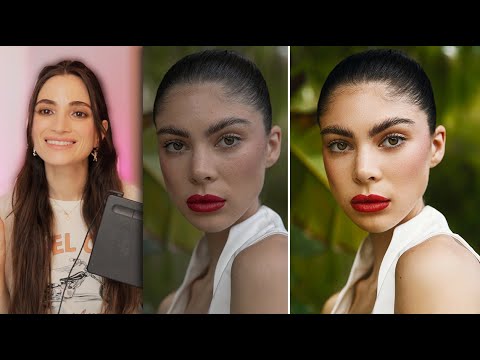
Why Your Makeup Retouching Looks Fake (And the Layered Mask Workflow That Fixed It For Me)

Why Your Makeup Retouching Looks Fake (And the Layered Mask Workflow That Fixed It For Me)

A few years into freelancing, I got a message from a client that I still think about. She’d hired me to retouch a series of beauty shots for a skincare campaign, and after I delivered the first round, she wrote back: “The skin looks great, but the lipstick looks like it was painted on in Microsoft Paint.” She wasn’t wrong. I had dodged and burned the lip color directly on the original layer, flattened the texture, and produced something that looked like a wax figure wearing a lip stain.

What America's Next Top Model's Bare-Skin Shoot Teaches Us About Honest Beauty Retouching

What America's Next Top Model's Bare-Skin Shoot Teaches Us About Honest Beauty Retouching

There’s a particular kind of dread I recognize in the faces of those America’s Next Top Model contestants before their no-makeup shoot. I felt a version of it myself years ago, early in my retouching career, when a client sent back my work with the note: “These look real.” She did not mean it as a compliment. That moment cracked something open for me about what we actually owe the people we photograph and retouch – and what “beautiful” is even supposed to mean when we strip away all the tools we usually reach for.

Four Ways to Fix Red Skin in Photoshop (Without Making Your Subject Look Plastic)

Four Ways to Fix Red Skin in Photoshop (Without Making Your Subject Look Plastic)

Red skin is one of those problems that sounds simple until you’re sitting across from a client who keeps saying “can you just fix the redness?” and every approach you try either makes them look sallow, gray, or – my personal low point – vaguely seasick. Early in my retouching work I leaned too hard on desaturation, which flattens everything and gives skin that telltale plastic quality that clients hate even when they can’t name exactly why.

How to Handle Unwanted Shadows When Compositing Portrait Photos

How to Handle Unwanted Shadows When Compositing Portrait Photos

Shadow problems have a way of showing up exactly where you don’t want them. A subject’s arm falls across their torso, a leg casts a hard line across a background you spent twenty minutes setting up, and suddenly the composite you were proud of has a giveaway edge that screams “two separate images.” I used to patch these situations with heavy cloning and hope nobody noticed. They noticed. Watch the full tutorial on YouTube

The 15-Minute Eye Enhancement Workflow That Stopped Making My Subjects Look Alien

The 15-Minute Eye Enhancement Workflow That Stopped Making My Subjects Look Alien

The first time a client told me my retouching looked “a little off,” I pulled up the file and stared at it for a long time. The eyes. I had over-brightened the irises, cloned out every tiny vessel, and added a specular highlight so crisp it looked like a render from a video game. She wasn’t wrong. The subject looked like a beautiful doll, and not in a good way. I still have that file.

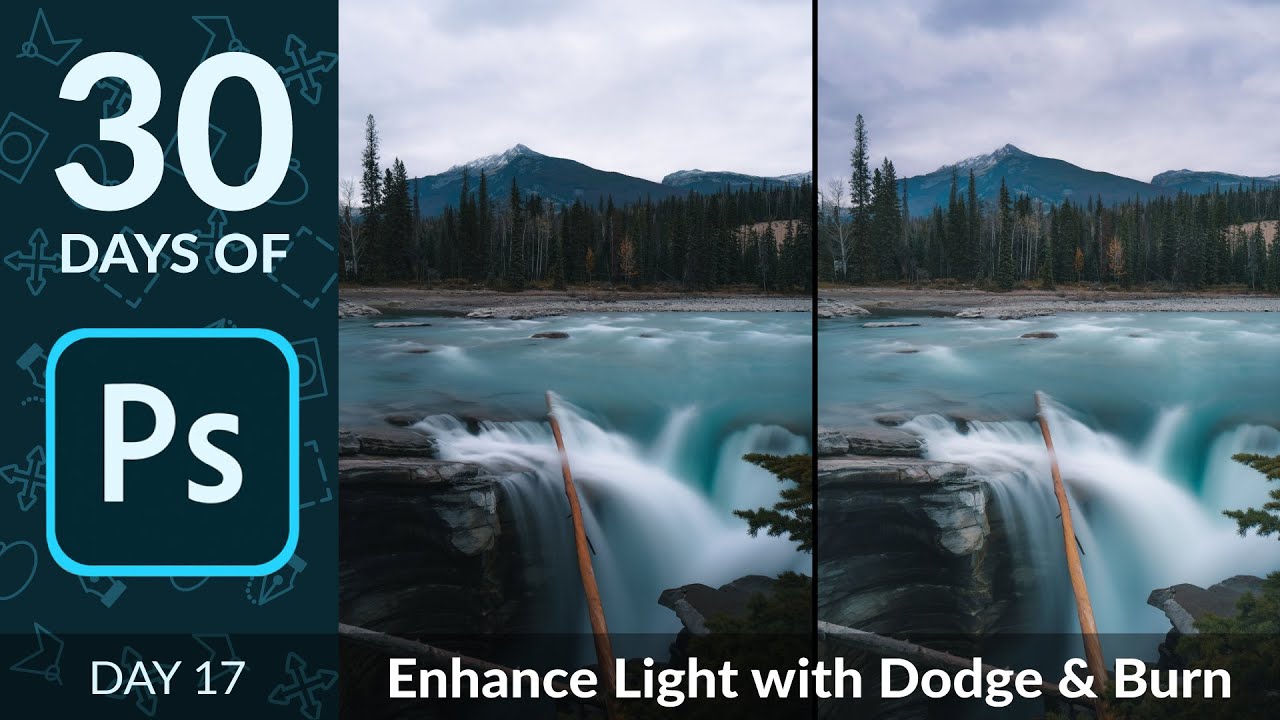
How to Dodge & Burn Landscapes Without Destroying the Highlights (A PHLEARN Breakdown)

How to Dodge & Burn Landscapes Without Destroying the Highlights (A PHLEARN Breakdown)

There is a moment in almost every landscape edit where the image looks technically correct but emotionally flat. The exposure is fine. The colors are fine. And yet something is missing, that sense that the rocks have weight, that the light is actually landing somewhere, that the scene exists in three dimensions. For years I tried to fix this with curves adjustments and vignettes and, honestly, a lot of hoping. It was not until I started paying closer attention to dodge and burn as a sculpting tool, not just a correction tool, that my landscape edits started feeling alive.

Face-Aware Liquify in Photoshop CC 2015.5: A Portrait Retoucher's Step-by-Step Breakdown

Face-Aware Liquify in Photoshop CC 2015.5: A Portrait Retoucher's Step-by-Step Breakdown

Before Face-Aware Liquify existed, reshaping a face in Photoshop meant dragging the standard Liquify brush around like you were trying to ice a cake with a spatula. You’d nudge a jawline, overshoot it, pull it back, and end up with something that looked vaguely melted. I burned through a lot of hours that way early in my retouching career, and more than one client politely described my results as “a little off.

Dodge & Burn Without Destroying Your Image: The Curves Layer Method

Dodge & Burn Without Destroying Your Image: The Curves Layer Method

For a long time, my dodge and burn work looked exactly like what it was: painted-on light that had no business being on a human face. I’d grab the Dodge tool, scrub it across a highlight, and end up with something chalky and flat. A client once described my edits as “a little too perfect,” which is a polite way of saying they looked fake. It took me longer than I’d like to admit to realize the problem wasn’t my eye for light.

Painting Fabric from Flame: A Photoshop Trick That Changed How I Think About Clothing Retouching

Painting Fabric from Flame: A Photoshop Trick That Changed How I Think About Clothing Retouching

There’s a specific kind of panic that sets in when a client sends you an image and says, “We love everything except… can you do something about the top?” Early in my retouching career, “do something” meant cloning, healing, and praying. The results were usually unconvincing at best. What I’ve since learned is that sometimes the most elegant solution isn’t to fix what’s there. It’s to replace it entirely with something that looks completely intentional.

5 Skin Retouching Methods That Actually Work: A Lightroom and Photoshop Breakdown

5 Skin Retouching Methods That Actually Work: A Lightroom and Photoshop Breakdown

There is a version of a retouched portrait that looks incredible at 100% zoom and completely wrong the moment you step back. I know this because I used to produce that version regularly. Early in my retouching career, a client told me my edits looked “plastic,” and she was not wrong. The skin was smooth the way a vinyl doll is smooth, not the way a real person is smooth. What I was missing was a system.

Redirect the Viewer's Eye: A Beauty Retouching Workflow That Actually Works

Redirect the Viewer's Eye: A Beauty Retouching Workflow That Actually Works

There’s a specific failure mode I see constantly in beauty edits, including some of my own early ones. The retoucher fixes everything they were asked to fix, the skin looks clean, the colors are balanced, and yet something about the image feels off. The viewer’s eye wanders to the wrong place. That’s not a technical problem. It’s a compositional one, and no amount of frequency separation will solve it. What solves it is learning to think about visual weight and flow after the camera has already captured the shot.