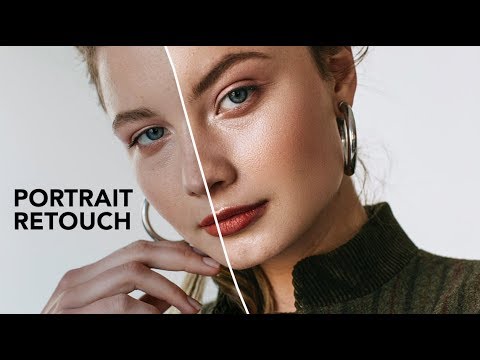
How to Sculpt Light After the Shot: A Practical Guide to Dodge and Burn in Photoshop

How to Sculpt Light After the Shot: A Practical Guide to Dodge and Burn in Photoshop

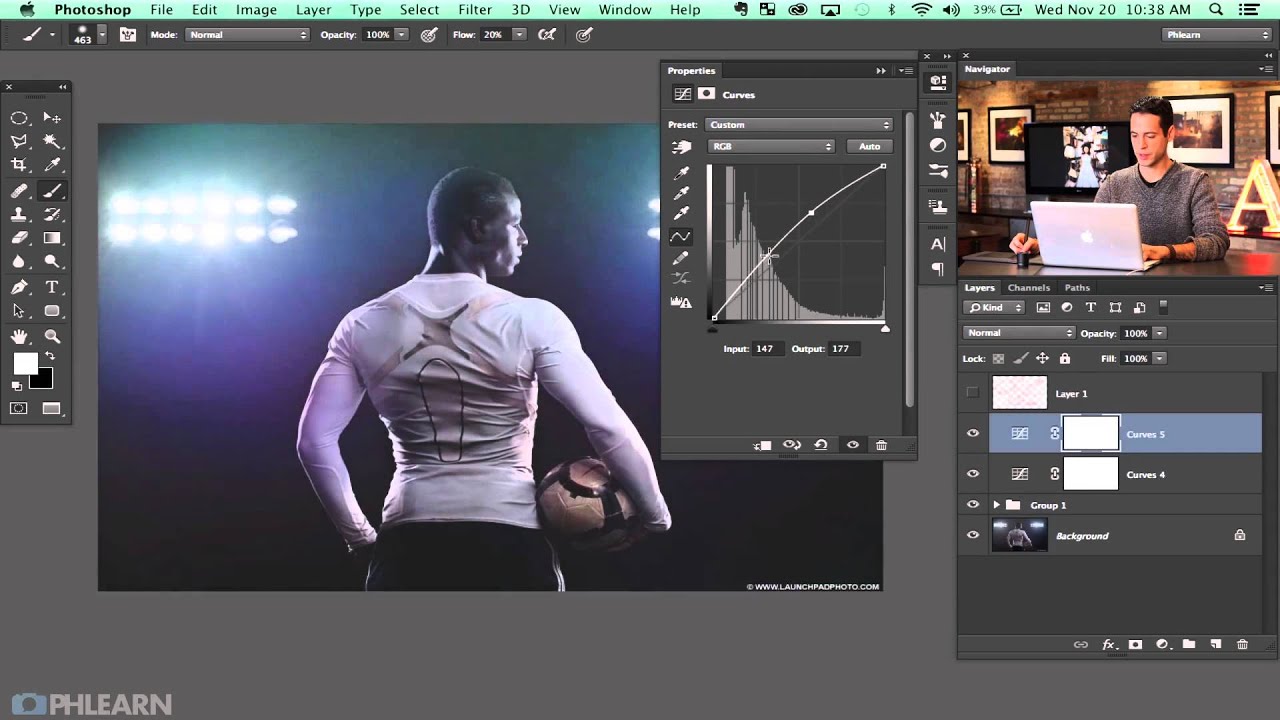
There’s a specific kind of frustration that comes from photographing a subject in beautiful light and then watching that light flatten out the moment you open the file. The highlights that looked dimensional in the studio read as a blown patch on screen. The shadow that gave her cheekbone its shape disappears into the midtones. The camera captured what was there, not what you saw. For years, my answer to this problem was to push sliders around in Lightroom and hope for the best.

Luminosity Masking Demystified: A Retoucher's Step-by-Step Guide to Precise Selections in Photoshop

Luminosity Masking Demystified: A Retoucher's Step-by-Step Guide to Precise Selections in Photoshop

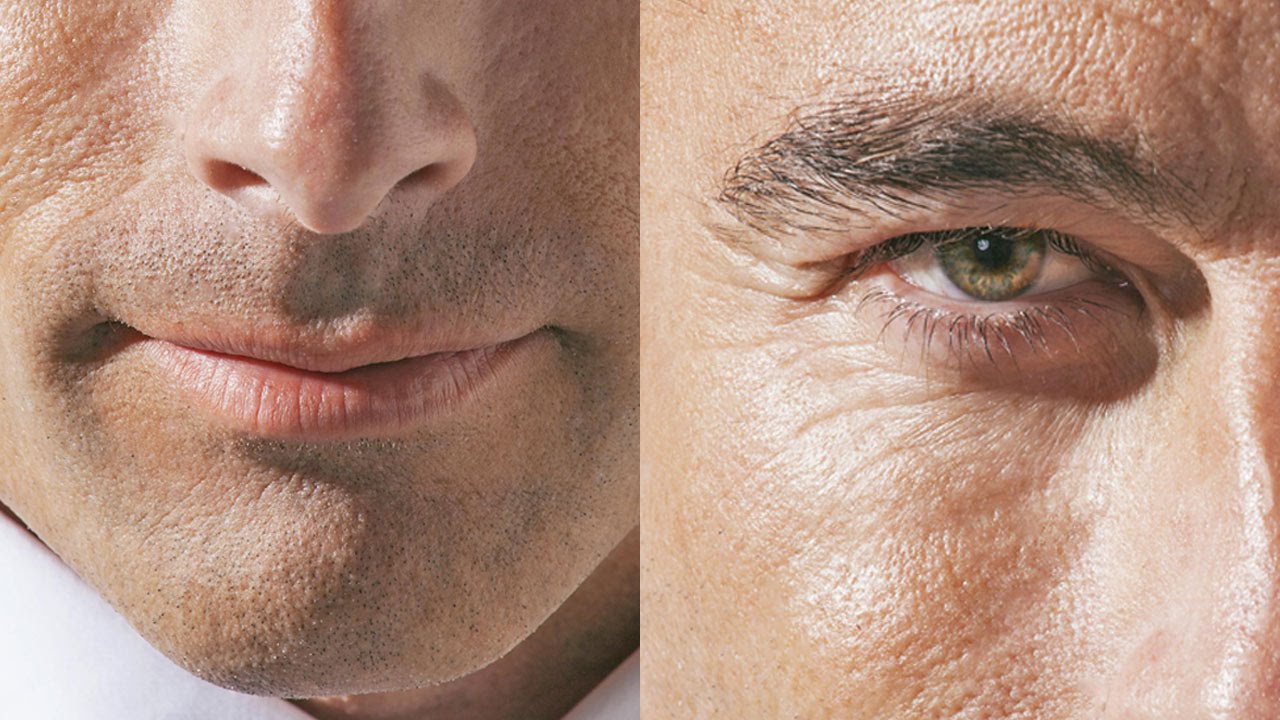
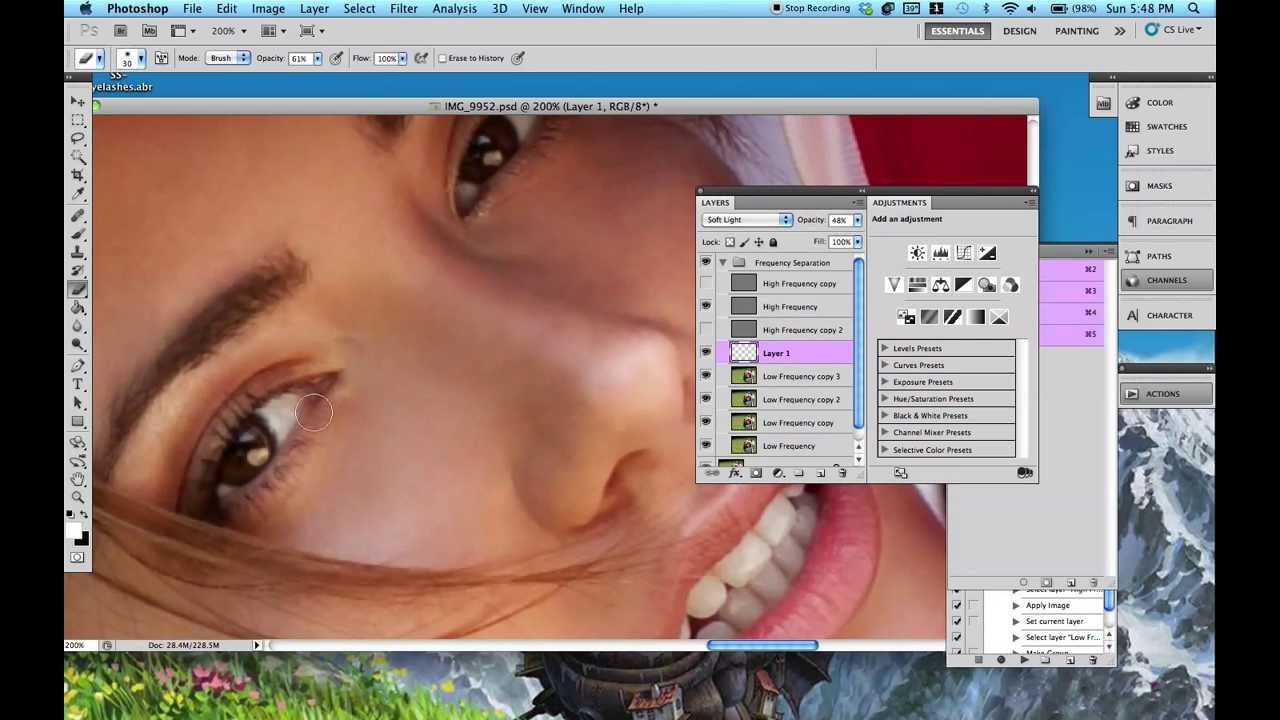
For a long time, my skin retouching had a particular problem. The edits looked fine at 100% zoom, but the moment a client zoomed out, the transitions between adjusted and unadjusted areas looked like I’d used a cookie cutter. Harsh edges. Obvious patches. The kind of thing that made one early client describe my work as “a little plastic-looking,” which is a sentence I still hear in my sleep. What I was missing wasn’t a better brush or a more careful hand.

The 15-Minute Eye Enhancement Workflow That Stopped My Clients From Asking for 'More Pop'

The 15-Minute Eye Enhancement Workflow That Stopped My Clients From Asking for 'More Pop'

A few years into freelancing, I had a client send back a batch of beauty shots with one word in the subject line: “More.” She wanted more brightness, more color, more life in the eyes. I’d already dodged the irises, boosted the whites, and painted in a catch light. The eyes looked like something out of an animated film. I sat back from my (perpetually lowered) standing desk, made a fresh cup of green tea, and realized the problem wasn’t that I hadn’t done enough.

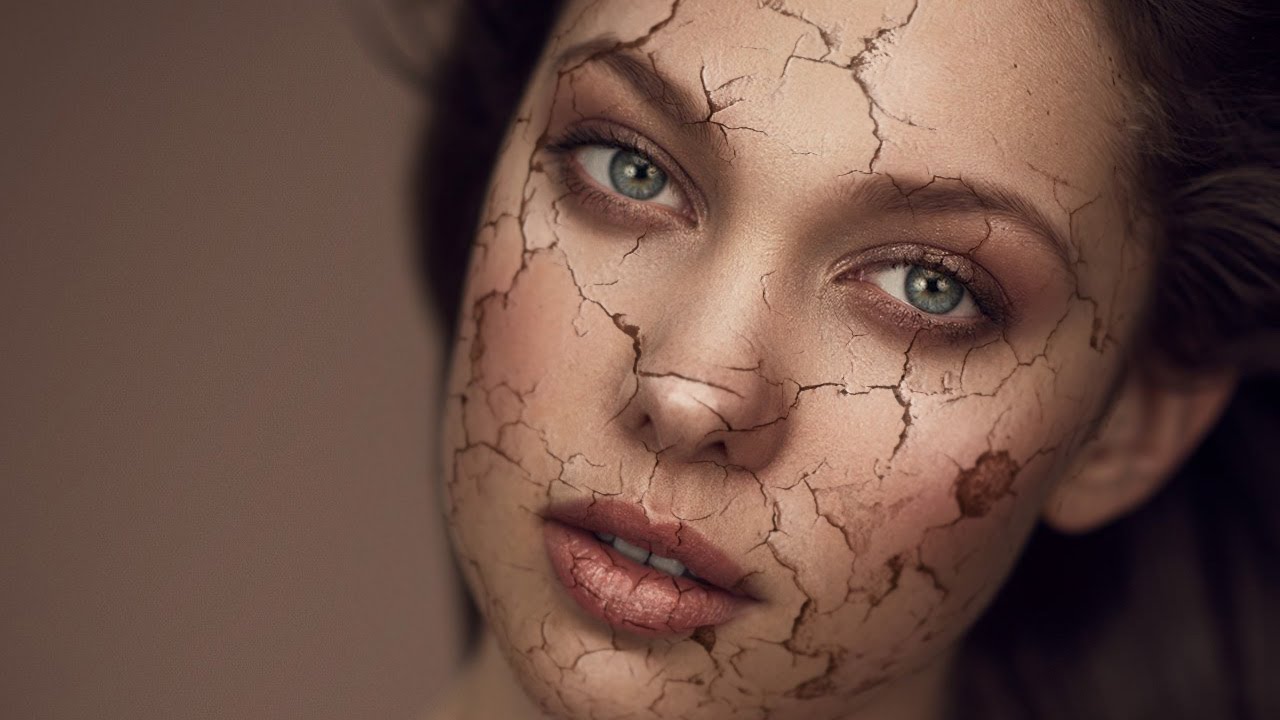
How to Make Skin Look Like Cracked Paint in Photoshop (A Step-by-Step Breakdown)

How to Make Skin Look Like Cracked Paint in Photoshop (A Step-by-Step Breakdown)

Most of my retouching work is about subtraction. Smooth this, soften that, remove the thing the client asked me to remove three times already. So when I first stumbled onto this technique, it genuinely stopped me mid-sip. A cracked paint texture mapped onto a portrait so convincingly that the skin looks like it’s splitting open and peeling away. It’s the opposite of everything I normally do, and I am completely here for it.

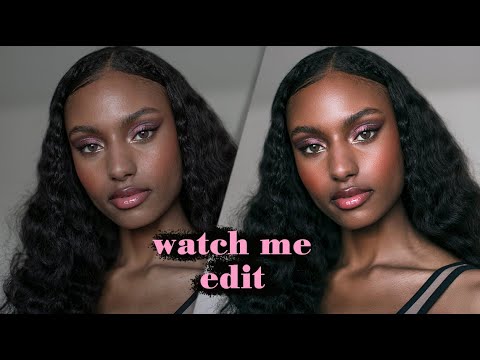
Warm Skin, Honest Color: A Working Retoucher's Notes on Jessica Kobeissi's Portrait Editing Workflow

Warm Skin, Honest Color: A Working Retoucher's Notes on Jessica Kobeissi's Portrait Editing Workflow

There’s a particular kind of portrait that comes back from a sunny outdoor shoot looking almost right. The skin is warm, the light is flattering, and then you open it in Photoshop and realize the greens in the background are fighting with everything, the saturation is cranked up too high straight out of camera, and you have about forty decisions to make before the image feels settled. I used to dread those files.

Why Your Skin Retouching Looks Fake (And the Frequency Separation Fix That Changed Everything)

Why Your Skin Retouching Looks Fake (And the Frequency Separation Fix That Changed Everything)

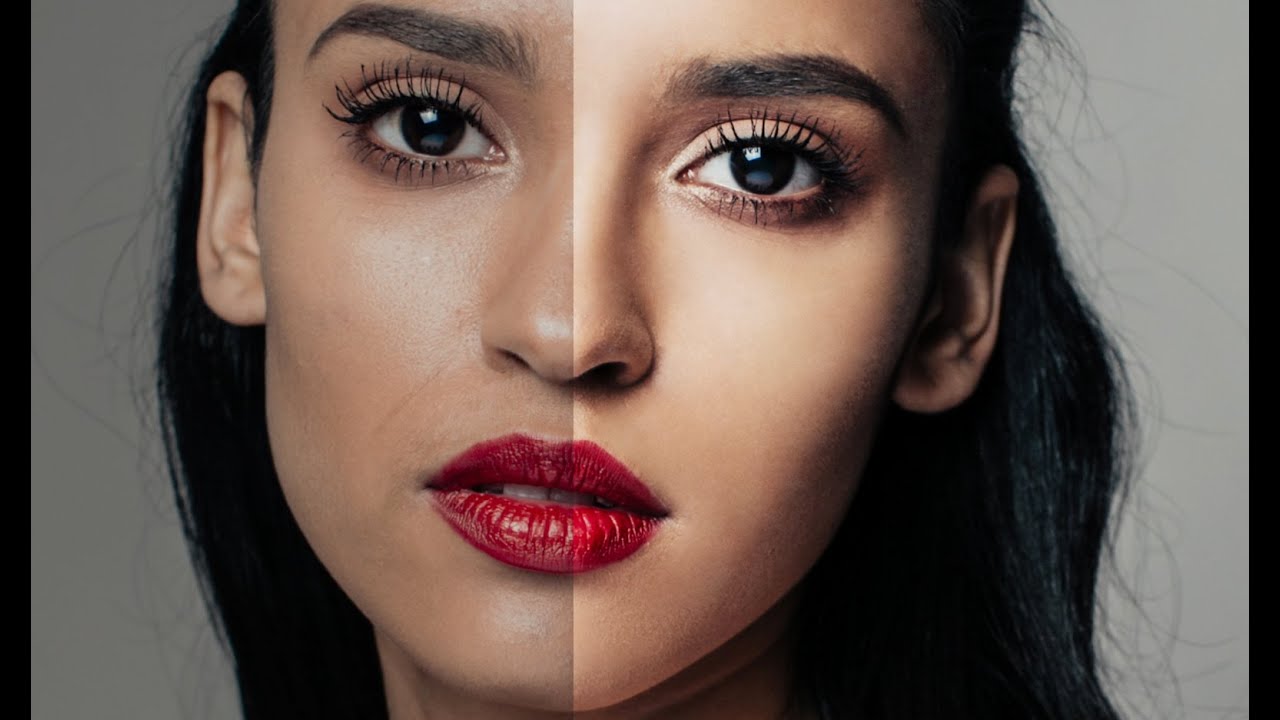
A few years into freelancing, I got an email from a client that I still think about. She was a makeup artist, and I’d spent probably three hours on her portfolio shots. Really worked them over. She wrote back six words: “They look a little plastic, honestly.” I sat with that for a long time. I knew the technical steps. I was smoothing skin, cleaning up blemishes, evening tone. But the images looked like someone had stretched a latex glove over a human face.

Photoshop's Bidirectional Gradient Masks Finally Make Skin Blending Feel Natural

Photoshop's Bidirectional Gradient Masks Finally Make Skin Blending Feel Natural

There’s a particular kind of frustration that comes from knowing exactly what you need to do to a photo and not having the right tool to do it cleanly. I’ve felt it dozens of times working on beauty campaigns where the light hits a subject’s face in a long, narrow band, and I want to enhance just that band without blowing out the edges or dragging a complicated luminosity mask into the mix.

Why Your Portrait Colors Look Wrong (And the Correction Order That Actually Fixes Them)

Why Your Portrait Colors Look Wrong (And the Correction Order That Actually Fixes Them)

A few years back, I delivered a full gallery to a beauty client and sat back feeling pretty good about myself. Clean skin, nice contrast, everything looked sharp on my monitor. Then her art director replied with one word: “Orange.” She was right. Every single image had a warm cast baked so deeply into the highlights that the model’s cheekbones looked like tangerines. I had been so focused on frequency separation and skin smoothing that I had skipped the foundation entirely.

The 15-Minute Eye Enhancement Workflow That Stopped My Clients Saying Make Them Pop

The 15-Minute Eye Enhancement Workflow That Stopped My Clients Saying Make Them Pop

A few years back, a client sent me a revision note that read: “Can you make the eyes more… alive?” I had spent forty minutes on that image. The skin was clean, the color grade was warm and editorial, and the composition was genuinely lovely. But she was right. The eyes looked like they belonged to someone who had just heard mildly disappointing news. Everything else in the frame was doing its job, and the eyes were not.

Why Hair Retouching Falls Apart at the Edges (And How to Fix It Layer by Layer)

Why Hair Retouching Falls Apart at the Edges (And How to Fix It Layer by Layer)

Why Hair Retouching Falls Apart at the Edges (And How to Fix It Layer by Layer) By Maya Chen The file came in on a Tuesday morning: a beauty campaign shot, studio-lit, clean background, gorgeous subject. The hair was this wild, expressive curtain of coils that the photographer had clearly worked hard to capture well. My job was to clean it up without flattening it. Three hours later I had something that looked like a wig glued to a mannequin.

The 10-Minute Portrait Cleanup That Makes Every Other Edit Land Better

The 10-Minute Portrait Cleanup That Makes Every Other Edit Land Better

The first time a client told me my retouching looked “plastic,” I was mortified. I’d spent three hours on a single portrait, pushing and pulling at skin until it was perfectly smooth. What I thought looked polished, she called a “mannequin.” I hadn’t done anything wrong, technically. I’d just skipped the cleanup phase entirely and gone straight into the heavy work. Without a clean foundation, every technique I applied afterward amplified the problems rather than solving them.

The First 10 Minutes: How I Clean Up a Portrait Before Any Real Retouching Begins

The First 10 Minutes: How I Clean Up a Portrait Before Any Real Retouching Begins

The file comes in. Maybe it’s from a photographer you trust, maybe it’s from a client who shot it themselves on a mirrorless they bought six months ago. Either way, before you even think about skin texture or luminosity masks, there’s a layer of chaos sitting on top of the image that will quietly sabotage every adjustment you make if you don’t deal with it first. Stray hairs crossing the face.