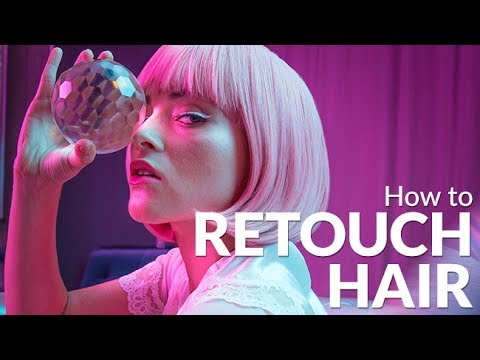
Camera Raw to Photoshop: A Portrait Retoucher's Walkthrough of Skin and Color Editing

Camera Raw to Photoshop: A Portrait Retoucher's Walkthrough of Skin and Color Editing

There is a specific kind of dread that comes from opening a portrait you shot on a busy studio day, knowing the background color is wrong and the skin tones are flat, and feeling like you have to fix all of it before the client follows up. I used to burn hours in Photoshop trying to rescue images that could have been shaped in two minutes inside Camera Raw first. That single shift in workflow order changed how fast I work and, honestly, how much I enjoy retouching.

From Over-Edited to Intentional: How Jessica Kobeissi Retouches Her Old Photos (And What It Teaches Us About Growth)

From Over-Edited to Intentional: How Jessica Kobeissi Retouches Her Old Photos (And What It Teaches Us About Growth)

I still have my first retouching attempt saved on an old hard drive somewhere. It looked like someone had ironed the skin flat, cranked the saturation up to a setting I’d now describe as “fever dream,” and then added a glow filter just to make sure nobody could identify the original human underneath. I keep it around on purpose. It’s a useful reminder that craft takes time, and that looking back at old work with honest eyes is one of the fastest ways to figure out where you’ve actually grown.

Why Hair Retouching Breaks Most Retouchers (And the Workflow That Finally Fixed It for Me)

Why Hair Retouching Breaks Most Retouchers (And the Workflow That Finally Fixed It for Me)

The first time a client told me my retouching looked “plastic,” I was mortified. I had spent three hours on a beauty shot, smoothing skin, evening out tone, cleaning up the background. The image looked pristine. It also looked completely fake. What I hadn’t touched was the hair, and in hindsight, that’s exactly why everything else fell apart. Hair that hasn’t been thoughtfully edited reads as an afterthought next to an over-processed face.

Two Techniques That Changed How I Retouch Skin (A Breakdown of Joel Grimes' Frequency Separation and Dodge & Burn Method)

Two Techniques That Changed How I Retouch Skin (A Breakdown of Joel Grimes' Frequency Separation and Dodge & Burn Method)

There’s a specific kind of client feedback that stays with you. Mine came early in my retouching career, when someone told me my skin edits looked “like plastic.” She wasn’t wrong. I’d been over-smoothing, chasing perfection in all the wrong ways, and the results looked like my subjects had been wrapped in cellophane. That comment sent me down a long road of studying how professional retouchers actually work, and one of the techniques that genuinely changed my approach was watching Joel Grimes demonstrate his skin retouching workflow in a CreativeLive session.

Wacom Intuos Pro Small vs. Medium: Which Tablet Size Actually Works for Retouching?

Wacom Intuos Pro Small vs. Medium: Which Tablet Size Actually Works for Retouching?

For years I dragged a tablet around that was technically the right tool but practically a nightmare to travel with. I teach retouching workshops, and every time I packed for a trip, my old Wacom Intuos Pro Medium took up half my bag, leaving me playing Tetris with my laptop and cables before every flight out of Portland. So when I came across this Visual Education tutorial comparing the new Intuos Pro Medium and Small, I watched it twice.

Digital Makeup in Photoshop: How to Add Lip Color and Eye Shadow with Soft Light Blending

Digital Makeup in Photoshop: How to Add Lip Color and Eye Shadow with Soft Light Blending

Clients almost never show up to a shoot with their makeup exactly right. After years of photographing weddings and then pivoting to beauty work, I can tell you that this is just the reality of the job. Sometimes the budget doesn’t stretch to a makeup artist. Sometimes the subject did their own and it photographs flat. Sometimes they look at the final gallery and ask if you can “make the lips pop a little more.

Why Your Portrait Colors Look Wrong (And the Correction Workflow That Actually Fixes It)

Why Your Portrait Colors Look Wrong (And the Correction Workflow That Actually Fixes It)

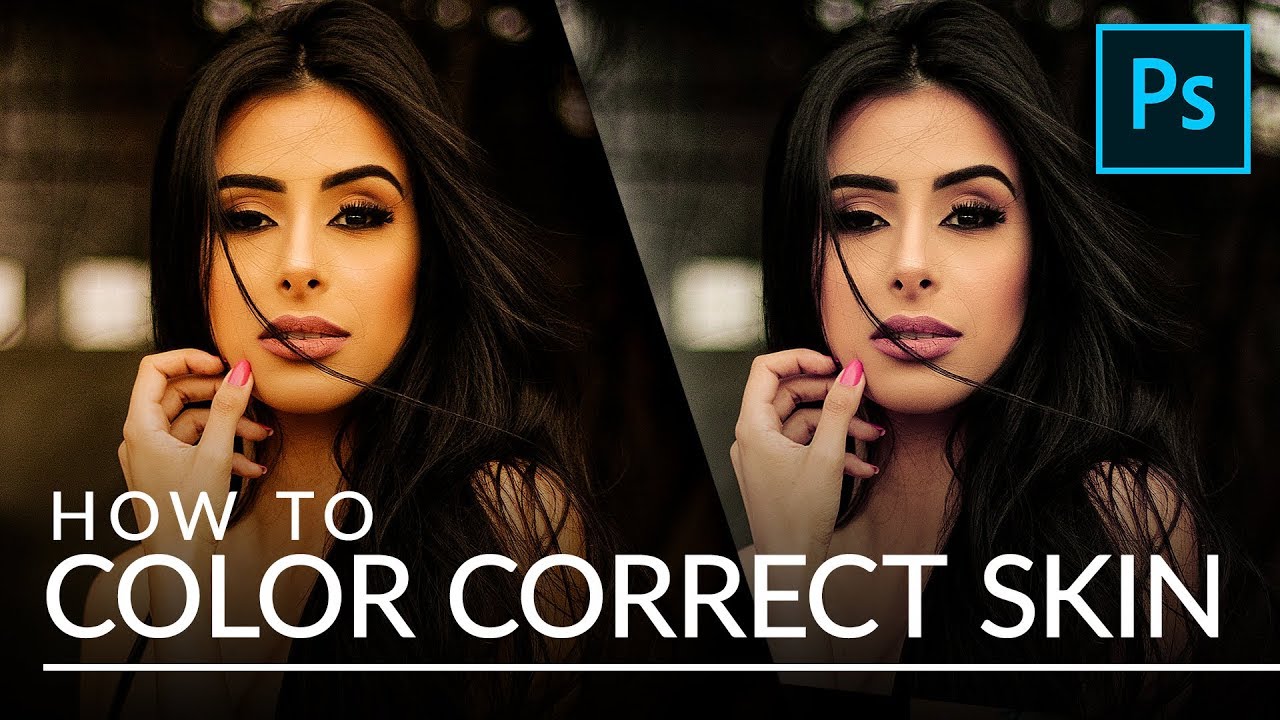
A few years into my retouching work, a beauty client sent back a batch of edits with a single line of feedback: “The skin looks like it was painted on.” I stared at my monitor for a long time after that. The tones were smooth. The highlights were clean. Technically, everything was fine. But she was right. The images felt embalmed rather than alive, and I knew exactly why. I had corrected the color, but I hadn’t corrected it for skin.

The Foolproof Dodge & Burn Method That Finally Made My Edits Look Real

The Foolproof Dodge & Burn Method That Finally Made My Edits Look Real

For a long time, my dodge and burn work looked exactly like what it was: painted-on brightness with no relationship to the actual light in the image. I had a client early in my retouching career who told me, pretty directly, that the skin in her campaign shots looked “plastic.” She wasn’t wrong. I was using the literal Dodge and Burn tools, dragging them across the skin in big sweeping strokes, and wondering why nothing ever looked natural.

Frequency Separation First: How Jessica Kobeissi's Retouching Workflow Keeps Skin Looking Real

Frequency Separation First: How Jessica Kobeissi's Retouching Workflow Keeps Skin Looking Real

There’s a particular kind of client feedback that sticks with you. Mine came early in my retouching career, when someone looked at a portrait I’d spent two hours on and said the skin looked “like a wax figure.” She wasn’t wrong. I’d been painting over everything with the healing brush, obliterating texture, smoothing out all the natural variation that makes skin look like skin. That comment sent me down a long road of learning, and frequency separation became the technique that finally changed how my work looked.

5 Lightroom & Camera Raw Masking Tricks That Will Change How You Work

5 Lightroom & Camera Raw Masking Tricks That Will Change How You Work

There’s a specific kind of frustration that comes from knowing a tool exists, using it every single day, and still feeling like you’re fighting it. For the longest time, that was me with Lightroom’s masking panel. I came to beauty retouching after years of wedding photography, and I built my masking habits fast and messy, learning just enough to get through a deadline. It wasn’t until I started slowing down and actually studying how other working photographers use these tools that things clicked into place.

Why Hair Retouching Breaks Most Editors (And the Layer Stack That Actually Fixes It)

Why Hair Retouching Breaks Most Editors (And the Layer Stack That Actually Fixes It)

Every few months I get a new client who sends me a photo where the hair is the whole problem. Not the skin, not the lighting. The hair. Maybe it’s a beauty shot where the model has gorgeous bone structure and the photographer nailed the exposure, but there’s a halo of flyaways catching the backlight like a fiber optic lamp. Or it’s a bridal portrait where the updo has three pieces escaping at the crown that somehow nobody caught before the shutter clicked.

Clean Skin, Real Texture: A Fashion Portrait Retouch Walkthrough Using Frequency Separation

Clean Skin, Real Texture: A Fashion Portrait Retouch Walkthrough Using Frequency Separation

There’s a specific kind of dread that comes with opening a fashion portrait where the skin is doing everything at once: uneven color patches on the forehead, texture that catches the light wrong, a general choppiness that no single tool seems to fix cleanly. Early in my retouching career, I kept reaching for the spot healing brush and hoping for the best. The results looked exactly like what they were: heavy-handed, plastic, and unconvincing.