Frequency Separation for Boudoir Skin: A Step-by-Step Breakdown of Rachel Stephens' Technique

Frequency Separation for Boudoir Skin: A Step-by-Step Breakdown of Rachel Stephens' Technique

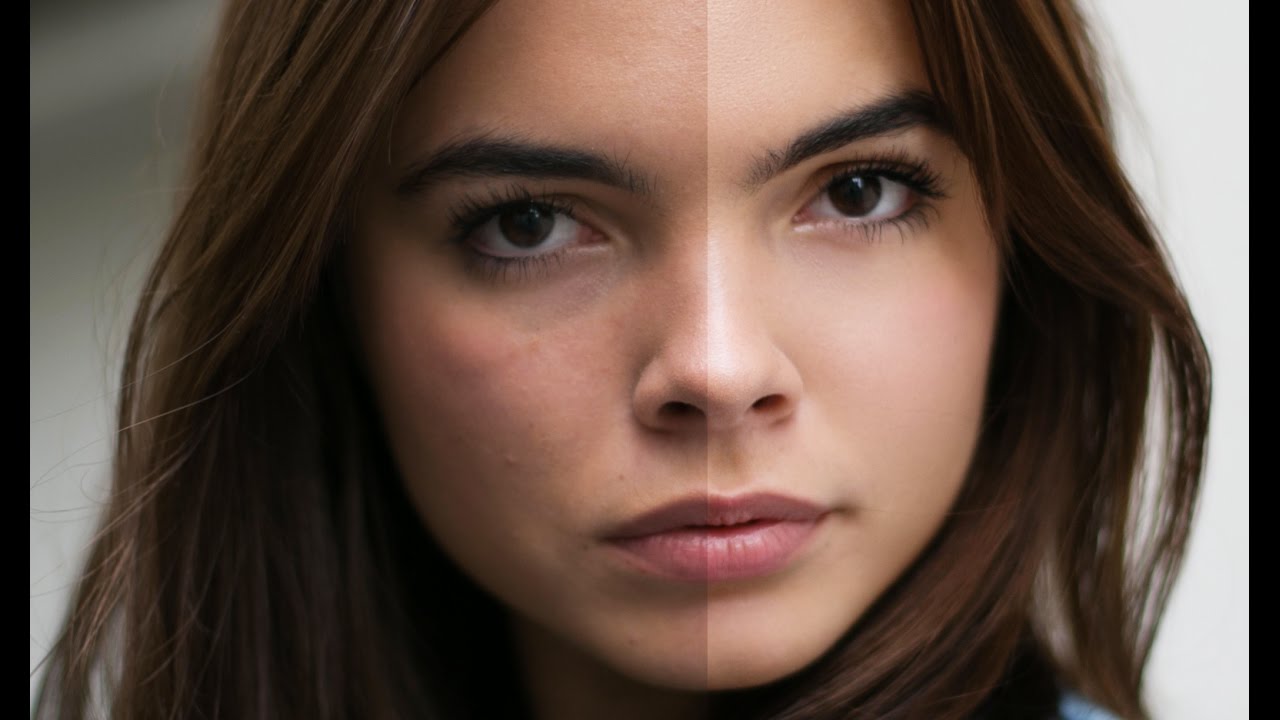
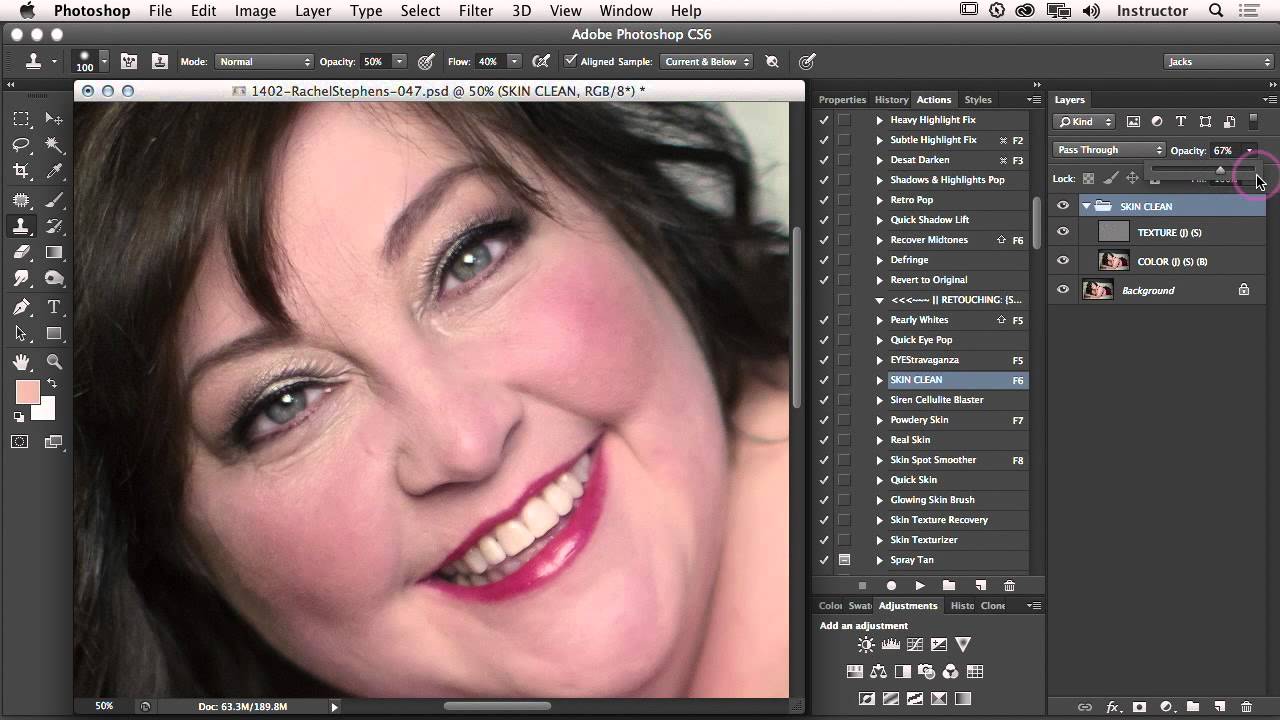
There’s a specific kind of dread that comes from zooming out on a retouch you’ve spent forty minutes on, only to realize your subject now looks like they’re made of wax. I know that feeling intimately. Early in my retouching career, I leaned hard on the clone stamp and healing brush, smoothing and patching until every pore, every shadow, every bit of character was gone. A client once told me my edits looked “plastic.
How to Retouch Skin Without Making It Look Like Plastic: Lessons from Jessica Kobeissi's Frequency Separation Workflow

How to Retouch Skin Without Making It Look Like Plastic: Lessons from Jessica Kobeissi's Frequency Separation Workflow

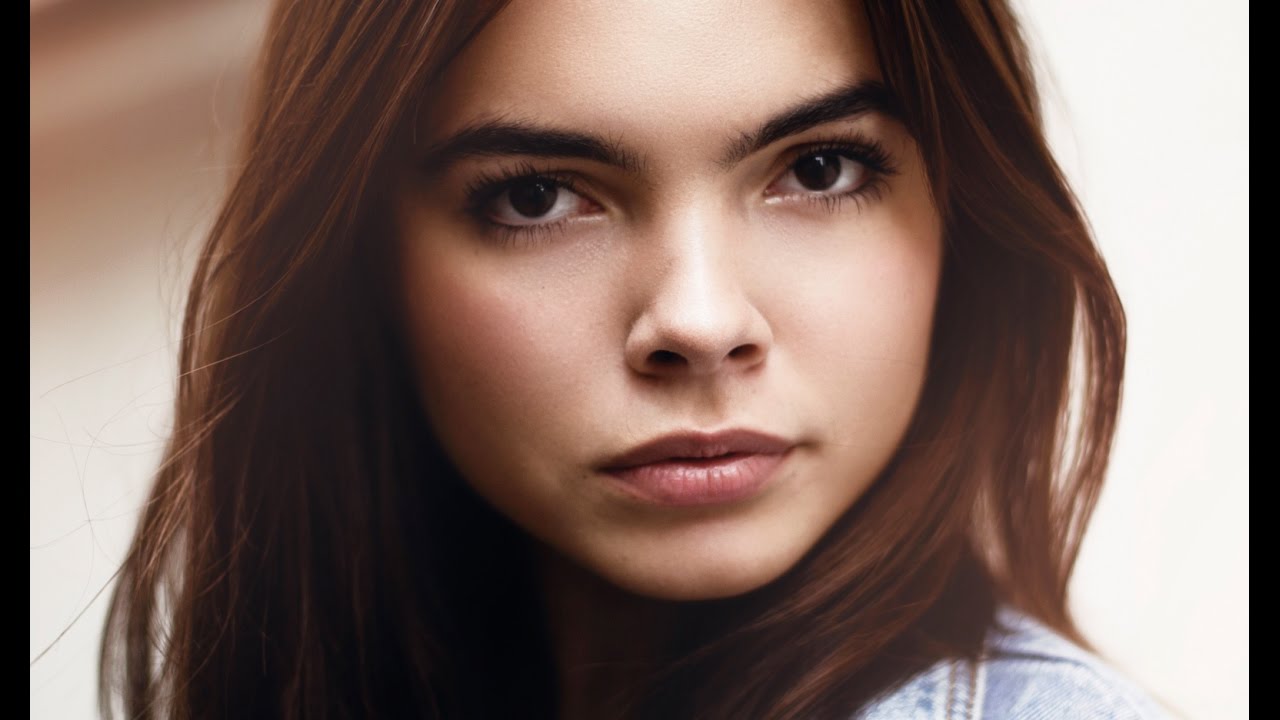
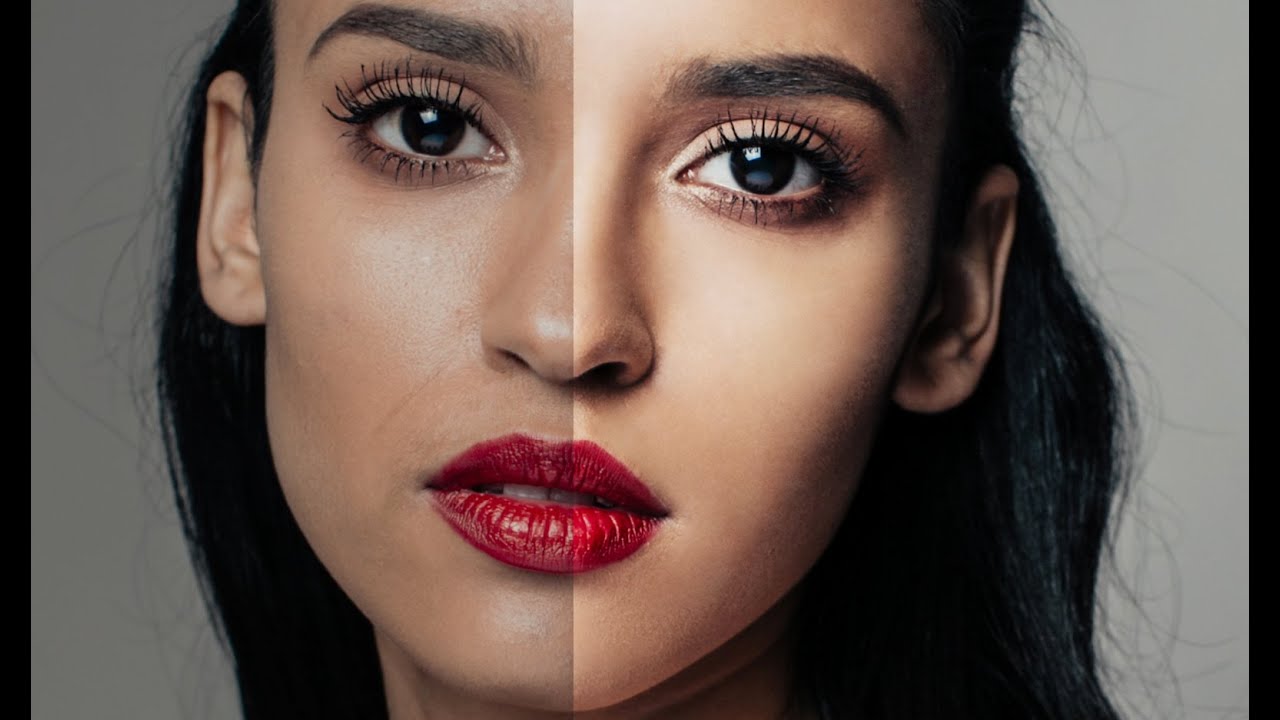
There is a specific kind of client email that still lives rent-free in my head. It came in during my second year of doing beauty work, after I’d transitioned out of wedding photography and was still figuring out what “professional retouching” actually meant. The client’s exact words were: “She looks a little… plastic.” I stared at that word for a long time. The skin was smooth, technically. Perfectly, horribly smooth. I had smeared the texture right off her face and called it retouching.

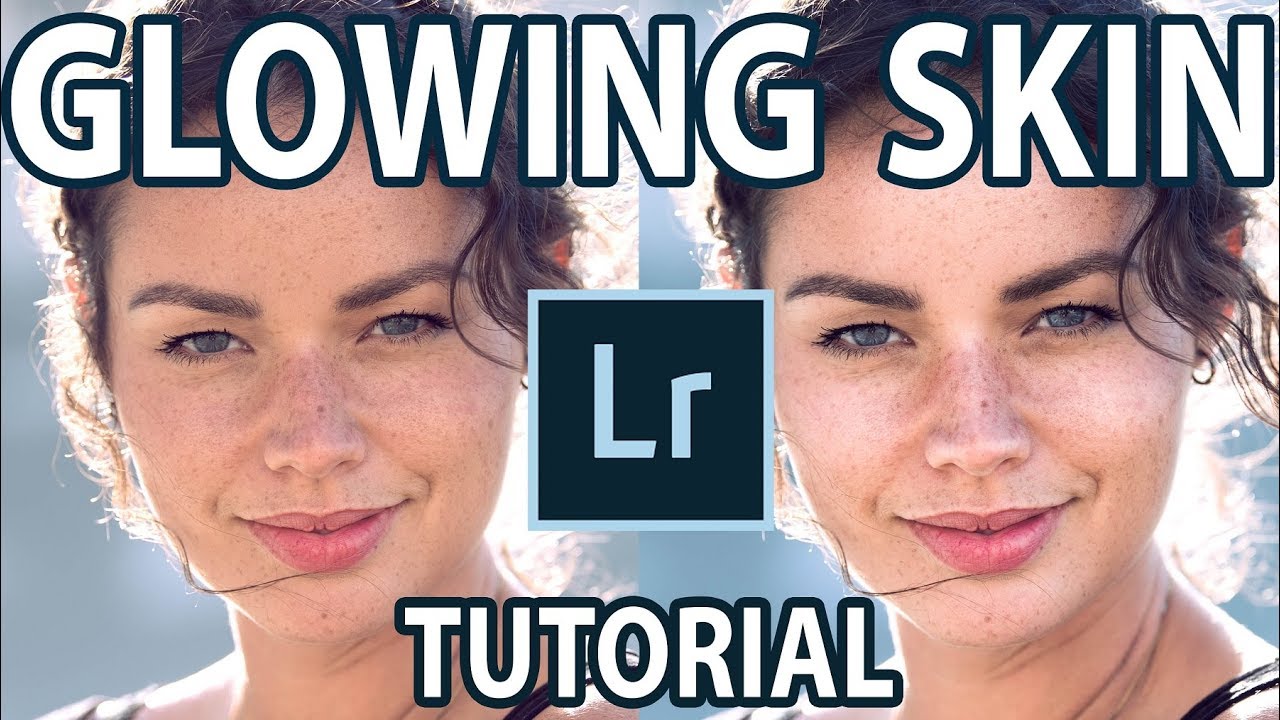
How to Edit Skin That Actually Glows: A Lightroom Brush Workflow Worth Stealing

How to Edit Skin That Actually Glows: A Lightroom Brush Workflow Worth Stealing

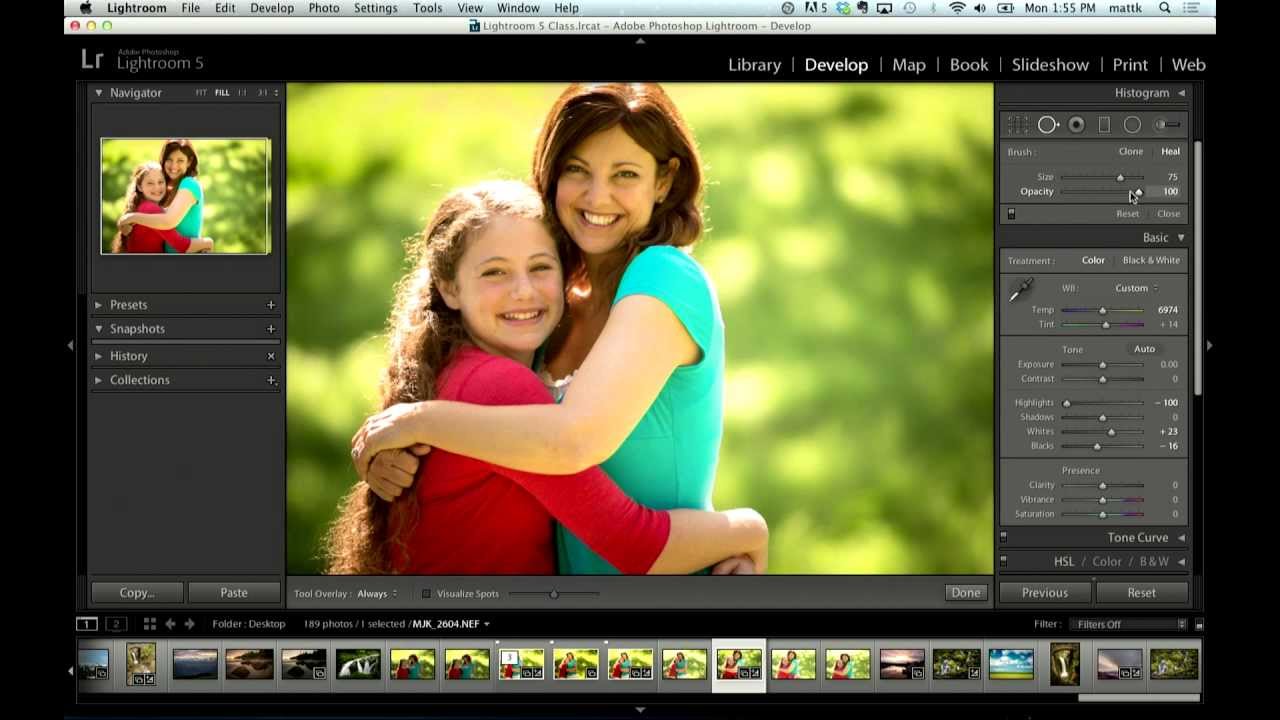
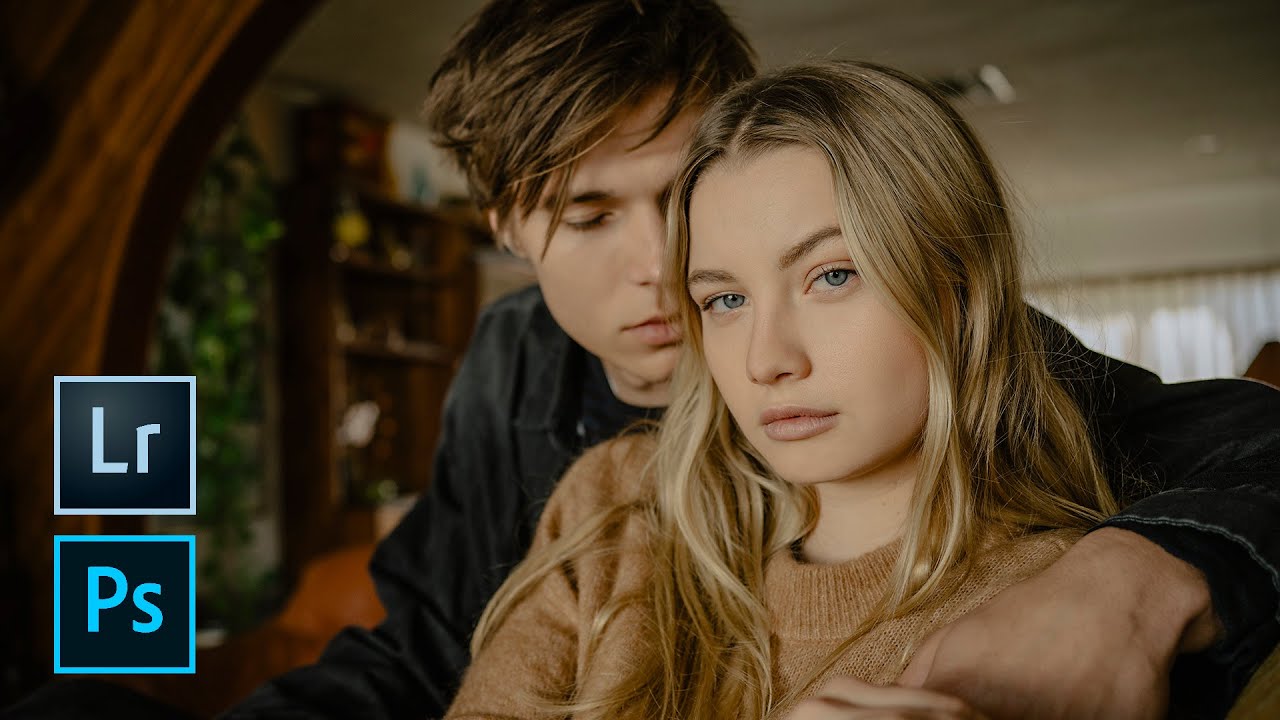
Backlit portraits are some of the most beautiful images you can shoot, and also some of the most frustrating to edit. The light wraps around the hair like a halo, the background glows, and then you look at the face and it’s flat. Muddy. Nothing. I’ve delivered more than a few portraits where I thought the backlit glow was carrying the whole image, only to have a client point out that the skin looked lifeless.

Why I Do Almost All My Skin Retouching on One Layer (And How You Can Too)

Why I Do Almost All My Skin Retouching on One Layer (And How You Can Too)

I spent the better part of a year making skin look plastic. Not intentionally, obviously. I was working on beauty campaigns and thinking I was doing good work, until a client gently suggested my edits looked “a little unnatural.” That was the moment I got serious about frequency separation, and more specifically, about understanding which part of frequency separation actually does the heavy lifting. It turns out I had been overcomplicating things in the worst possible way.

How to Color Grade a Beauty Portrait in Photoshop: A Walkthrough of Jessica Kobeissi's Layered Approach

How to Color Grade a Beauty Portrait in Photoshop: A Walkthrough of Jessica Kobeissi's Layered Approach

Color grading is the part of my retouching workflow that took the longest to stop feeling like guesswork. Skin retouching has rules you can learn and repeat. Color, though, feels more like cooking without a recipe until you build enough intuition to understand why certain combinations work. For a long time, my grades looked either flat or overdone, and I could not articulate why. What changed things was watching professionals who narrate their thinking, not just their mouse clicks.

Zoner Studio's Summer 2026 Update: What Portrait Retouchers Need to Know

Zoner Studio's Summer 2026 Update: What Portrait Retouchers Need to Know

Zoner Studio’s Summer 2026 Update: What Portrait Retouchers Need to Know I’ve been closely following the latest developments in editing software, and I’m genuinely excited about what Zoner Studio has introduced in their summer release. Rather than chasing trends with flashy AI gimmicks, they’ve focused on something we portrait retouchers genuinely need: smarter, faster workflows that respect our craft. A Practical Approach to Modern Editing What struck me most about this update is the philosophy behind it.

How to Soften Under-Eye Shadows in Lightroom 5 Without Destroying Skin Texture

How to Soften Under-Eye Shadows in Lightroom 5 Without Destroying Skin Texture

There’s a specific kind of client feedback that sticks with you. Mine was a bridesmaid who looked at her portrait and said the skin looked “like plastic.” She wasn’t wrong. I had been heavy-handing my healing tools, removing every shadow and texture under the eyes until the result looked more like a wax figure than a person. That was the moment I started paying close attention to how professional retouchers handle the under-eye area, which is one of the most unforgiving zones on a face to edit.

High-Pass Dodge and Burn: The Photoshop Shortcut That Changed How I Work

High-Pass Dodge and Burn: The Photoshop Shortcut That Changed How I Work

Dodge and burn is one of those techniques that separates a flat edit from a photograph that actually breathes. I came to it the long way, spending months painting on Curves adjustment layers with a soft brush, trying to coax dimension out of skin that just looked… dull. It worked, eventually, but it was slow, fiddly, and not something I could realistically fit into a commercial retouching workflow where a client is waiting on 40 beauty shots.

Two-Pass Skin Retouching: How to Fix Blemishes AND Uneven Tone (Without the Plastic Look)

Two-Pass Skin Retouching: How to Fix Blemishes AND Uneven Tone (Without the Plastic Look)

Early in my retouching career, I got a call from a client who said my edits made her model look like “a video game character.” She wasn’t wrong. I had smoothed the skin so aggressively that every pore, every trace of human texture, had been erased. The image was technically clean and completely lifeless. That call sent me down a long road of figuring out how to fix skin without destroying it, and the answer, it turns out, lives in working at two completely different scales.

Four Ways to Fix Red Skin in Photoshop (Without Making Your Subject Look Plastic)

Four Ways to Fix Red Skin in Photoshop (Without Making Your Subject Look Plastic)

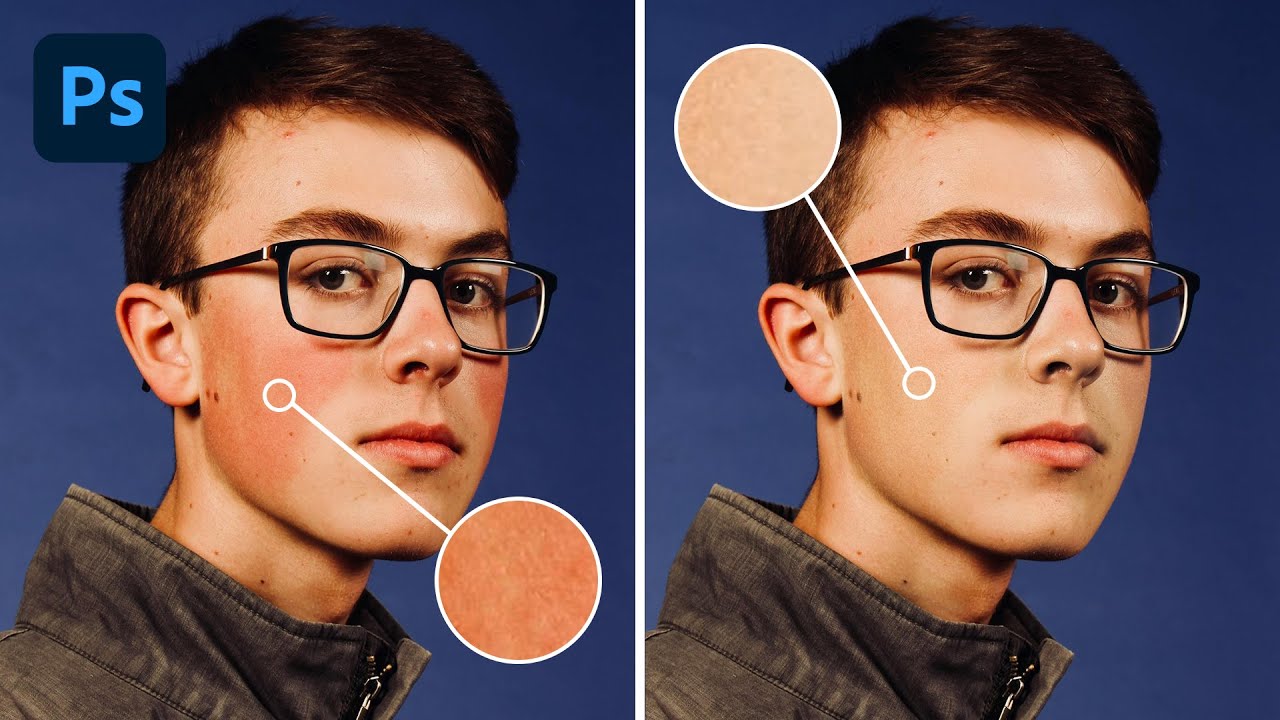
Red skin is one of those problems that sounds simple until you’re sitting across from a client who keeps saying “can you just fix the redness?” and every approach you try either makes them look sallow, gray, or – my personal low point – vaguely seasick. Early in my retouching work I leaned too hard on desaturation, which flattens everything and gives skin that telltale plastic quality that clients hate even when they can’t name exactly why.

The 15-Minute Eye Enhancement Workflow That Stopped Making My Subjects Look Alien

The 15-Minute Eye Enhancement Workflow That Stopped Making My Subjects Look Alien

The first time a client told me my retouching looked “a little off,” I pulled up the file and stared at it for a long time. The eyes. I had over-brightened the irises, cloned out every tiny vessel, and added a specular highlight so crisp it looked like a render from a video game. She wasn’t wrong. The subject looked like a beautiful doll, and not in a good way. I still have that file.

5 Skin Retouching Methods That Actually Work: A Lightroom and Photoshop Breakdown

5 Skin Retouching Methods That Actually Work: A Lightroom and Photoshop Breakdown

There is a version of a retouched portrait that looks incredible at 100% zoom and completely wrong the moment you step back. I know this because I used to produce that version regularly. Early in my retouching career, a client told me my edits looked “plastic,” and she was not wrong. The skin was smooth the way a vinyl doll is smooth, not the way a real person is smooth. What I was missing was a system.