Beauty Editing
The Art of Subtle Makeup Retouching: Enhancing Beauty Without Looking Overdone
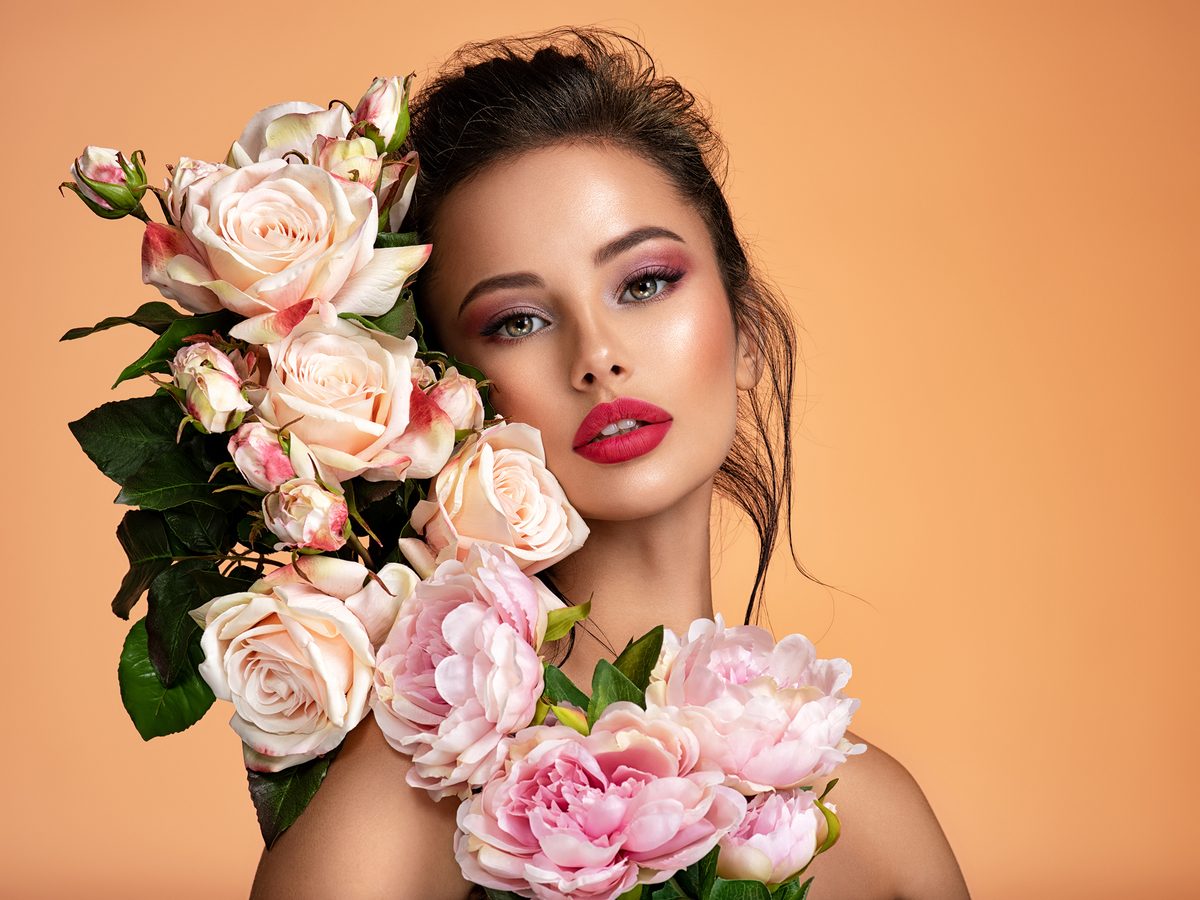
The Art of Subtle Makeup Retouching: Enhancing Beauty Without Looking Overdone When I first started retouching portraits, I made the same mistake many of us do: I over-edited. Every blemish disappeared. Every shadow vanished. The results looked plastic and lifeless. Over the years, I’ve learned that the best makeup retouching isn’t about perfection—it’s about enhancement. It’s about making someone look like the best version of themselves, not a filtered version of themselves.