Video Tutorials
How to Kill Red Skin Tones in Photoshop Without Wrecking the Rest of the Face
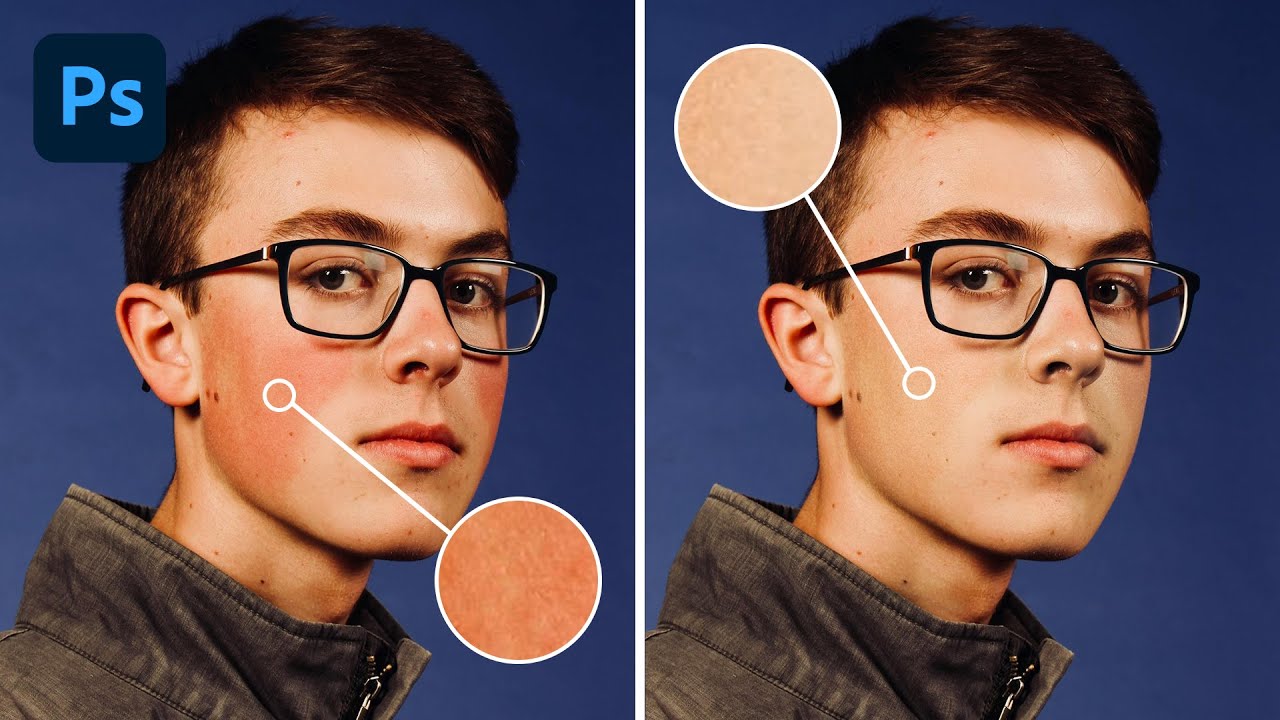
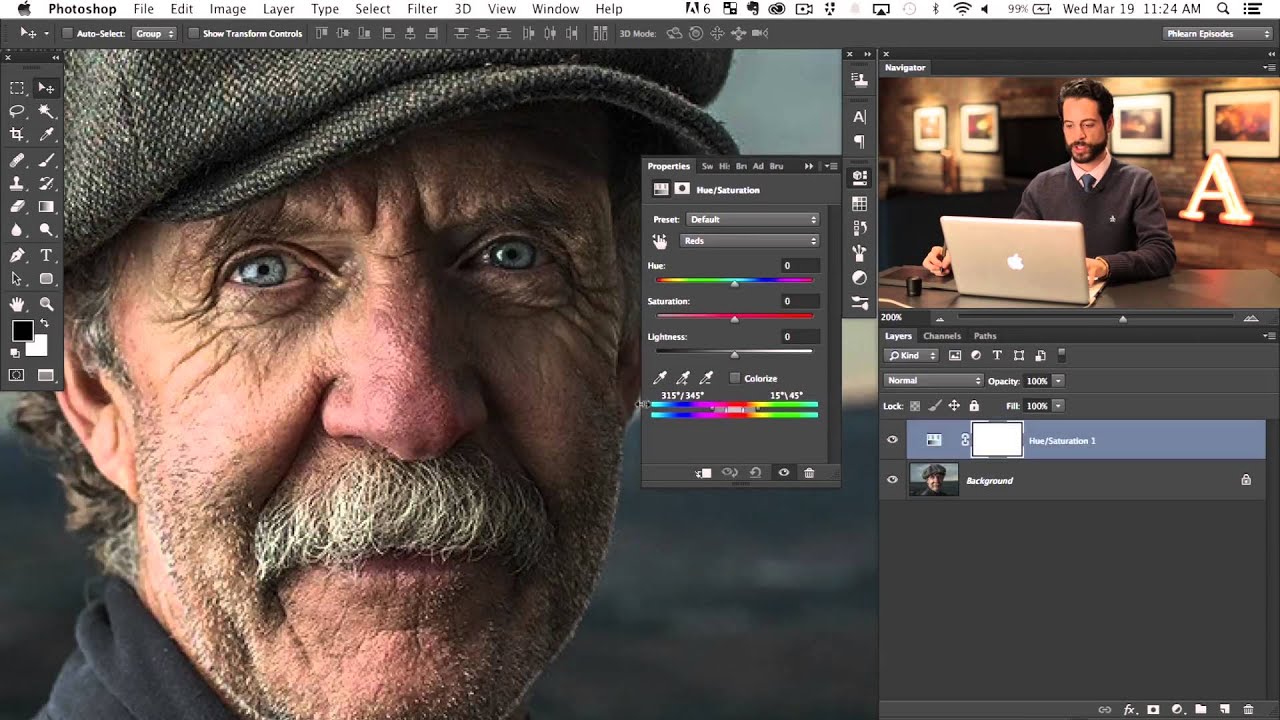
Red skin is one of those problems that clients almost never mention in the brief but always notice in the final image. Noses, cheeks, the skin just beneath the eyes – redness concentrates in exactly the places a viewer’s gaze lands first. I spent years treating it as a frequency separation problem, cloning and blending until the texture looked right, and the color still looked wrong. It wasn’t until I sat down with Watch the full tutorial on YouTube – Aaron Nace’s PHLEARN walkthrough on correcting red skin in Photoshop – that I realized I’d been solving the wrong problem entirely.