The One Lightroom Masking Mode Most People Never Switch On

The One Lightroom Masking Mode Most People Never Switch On

There’s a specific frustration I run into constantly when editing beauty and product work: the background needs its own treatment, completely separate from the subject. Sometimes it’s a seamless sweep that needs to pop. Sometimes it’s a reflective floor that should feel glossier, or a wall that’s pulling attention away from the face I’ve spent an hour perfecting. The subject selection tools in Lightroom are genuinely impressive now, but they’re built around the assumption that the subject is the thing you want to adjust.

Speed Retouching: Professional Results in Under 5 Minutes

Speed Retouching: Professional Results in Under 5 Minutes

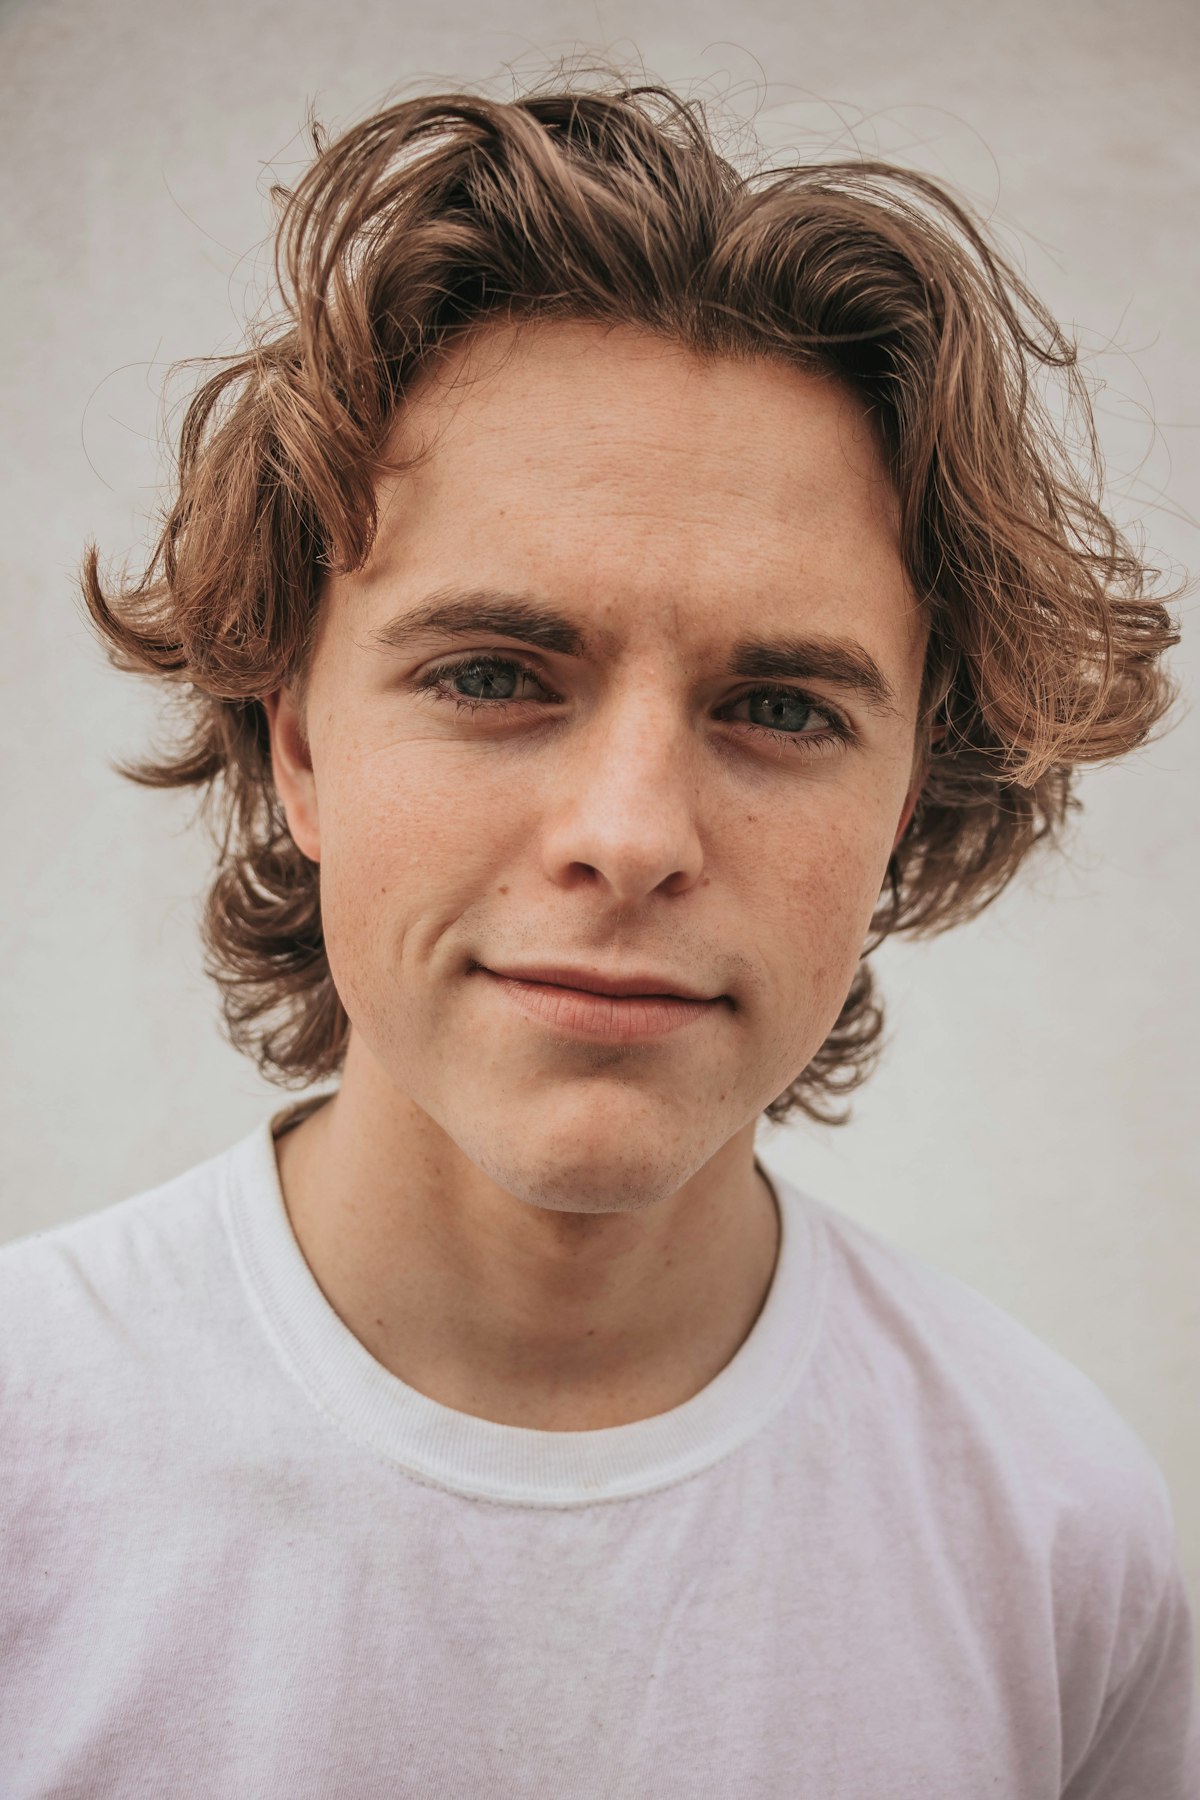
Not every portrait gets 90 minutes of retouching. Event photographers might deliver 200 images from a single shoot. Corporate headshot sessions might produce 30 portraits in an afternoon. You need a fast workflow that still looks professional. Here’s my 5-minute retouching process, broken into steps that I time myself on. Minute 1: Healing Pass Open the image and immediately create a new blank layer. Select the Healing Brush, set to “Sample All Layers,” and quickly remove:

Retouching Workflow: From RAW to Final Image

Retouching Workflow: From RAW to Final Image

A consistent workflow isn’t just about efficiency — it’s about never forgetting a step and delivering consistent quality across every image. Here’s the exact workflow I use for every portrait retouching job, from opening the RAW file to exporting the final image. Phase 1: RAW Processing (Camera Raw / Lightroom) Before Photoshop even opens, I handle: White balance — get this right first, everything else depends on it Exposure and contrast — basic tonal corrections Highlight and shadow recovery — pull back blown highlights, open up shadows Lens corrections — profile corrections, chromatic aberration removal Noise reduction — if needed, especially for high-ISO images Basic crop — rough composition, I’ll fine-tune later I do NOT do color grading in RAW.