Camera Raw to Photoshop: A Portrait Retoucher's Walkthrough of Skin and Color Editing

Camera Raw to Photoshop: A Portrait Retoucher's Walkthrough of Skin and Color Editing

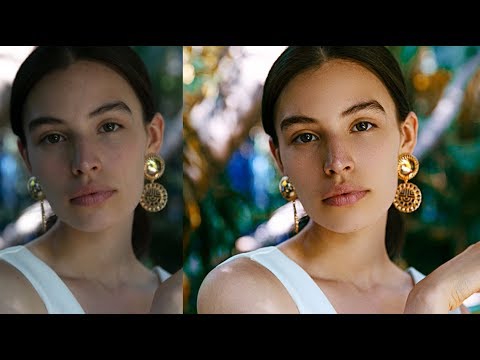
There is a specific kind of dread that comes from opening a portrait you shot on a busy studio day, knowing the background color is wrong and the skin tones are flat, and feeling like you have to fix all of it before the client follows up. I used to burn hours in Photoshop trying to rescue images that could have been shaped in two minutes inside Camera Raw first. That single shift in workflow order changed how fast I work and, honestly, how much I enjoy retouching.

What a $30,000 Camera Taught Me About Color Calibration (And Committing to Your Choices)

What a $30,000 Camera Taught Me About Color Calibration (And Committing to Your Choices)

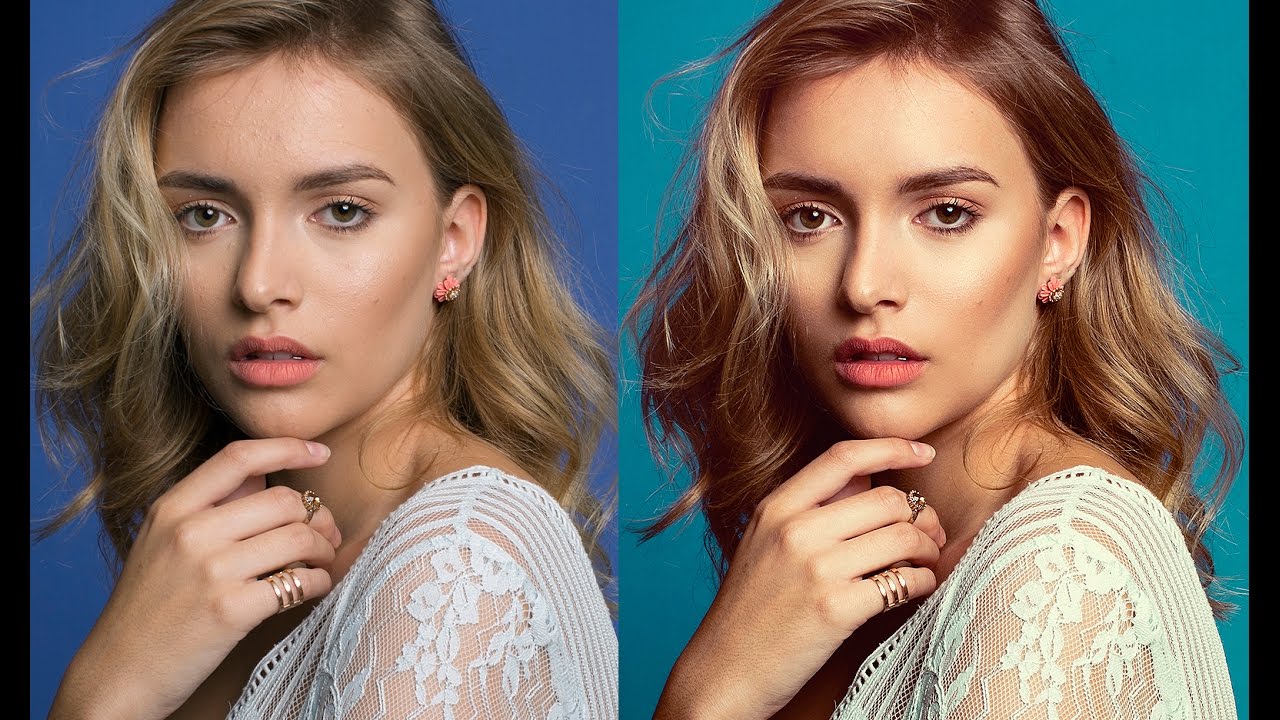
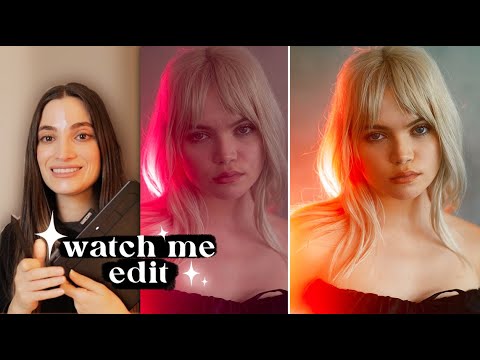
There’s a particular kind of portrait that makes me slow down before I even touch a slider: one with a colored gel light behind the subject. The background glow bleeds into the skin tones, the shadows pick up unexpected hues, and every calibration decision you make either elevates the whole mood or turns it into a muddy mess. I’ve lost more than a few hours to gel-lit portraits that felt just slightly off no matter what I tried in the basic panel.

How to Freestyle a Portrait Retouch in Photoshop (Without a Rigid Plan)

How to Freestyle a Portrait Retouch in Photoshop (Without a Rigid Plan)

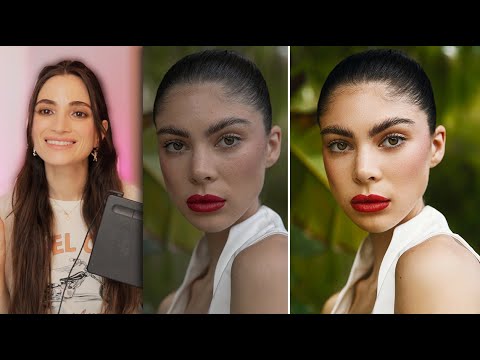
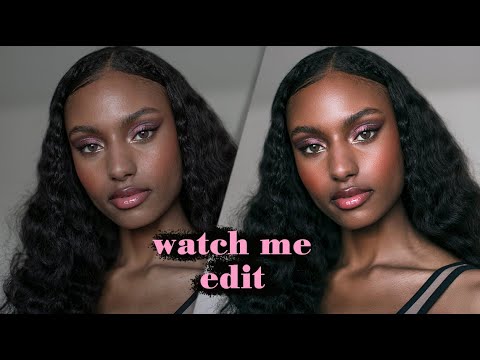
There’s a version of portrait retouching that feels like following a recipe. Same steps, same order, same result every time. For a long time, that was me. I built elaborate action sets (I still name them after movies – my frequency separation stack is called “The Prestige”) and ran every portrait through the same pipeline. It was efficient. It was also making my work look a little lifeless, like I was manufacturing faces rather than finishing photographs.