How to Retouch Skin Without Making It Look Like Plastic: Lessons from Jessica Kobeissi's Frequency Separation Workflow

How to Retouch Skin Without Making It Look Like Plastic: Lessons from Jessica Kobeissi's Frequency Separation Workflow

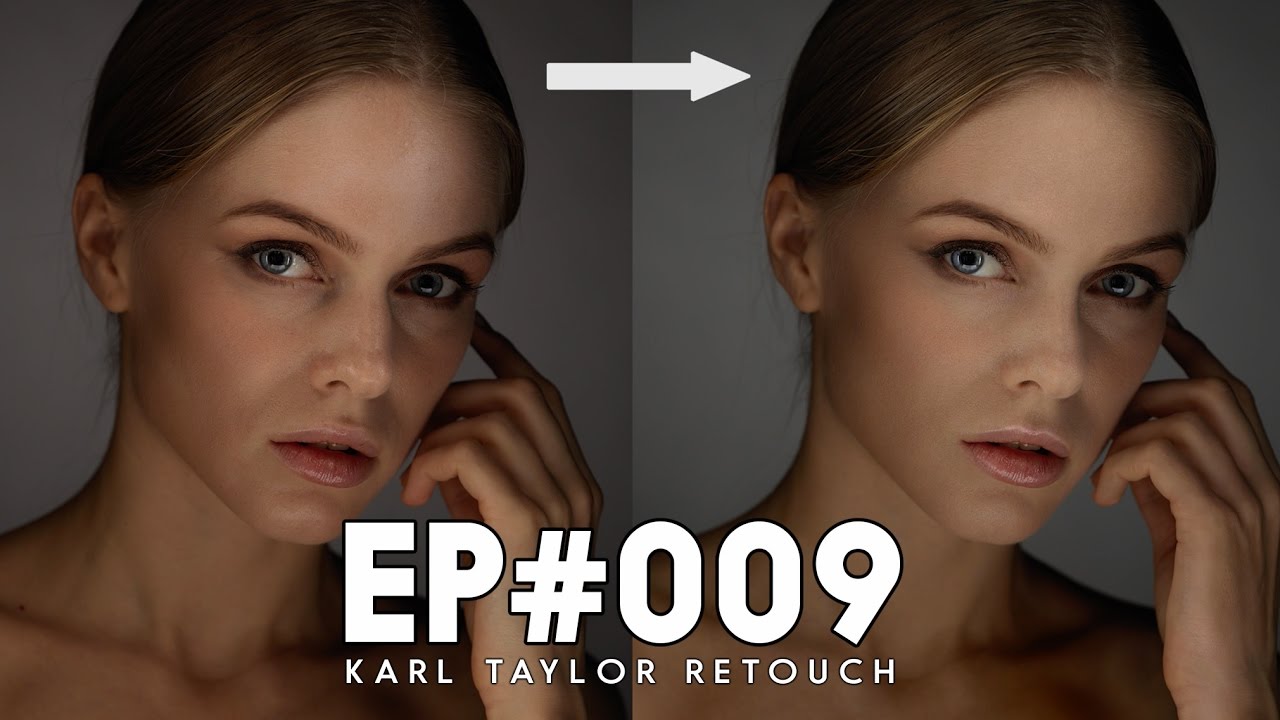
There is a specific kind of client email that still lives rent-free in my head. It came in during my second year of doing beauty work, after I’d transitioned out of wedding photography and was still figuring out what “professional retouching” actually meant. The client’s exact words were: “She looks a little… plastic.” I stared at that word for a long time. The skin was smooth, technically. Perfectly, horribly smooth. I had smeared the texture right off her face and called it retouching.

Environment Retouching in Photoshop: How to Clean Up a Scene Without It Looking Touched

Environment Retouching in Photoshop: How to Clean Up a Scene Without It Looking Touched

Most of my retouching work lives on faces. Skin texture, brow shaping, flyaways, the usual. But every so often a client sends me a lifestyle or product shot where the subject looks great and the background looks like someone’s cluttered spare bedroom. That’s the moment I realize environment retouching is its own skill set, and one I hadn’t taken nearly as seriously as I should have. That’s exactly why this Aaron Nace tutorial from PHLEARN stopped me mid-green-tea one afternoon.

A Working Retoucher's Walkthrough: Beauty Retouching in Photoshop from Scratch

A Working Retoucher's Walkthrough: Beauty Retouching in Photoshop from Scratch

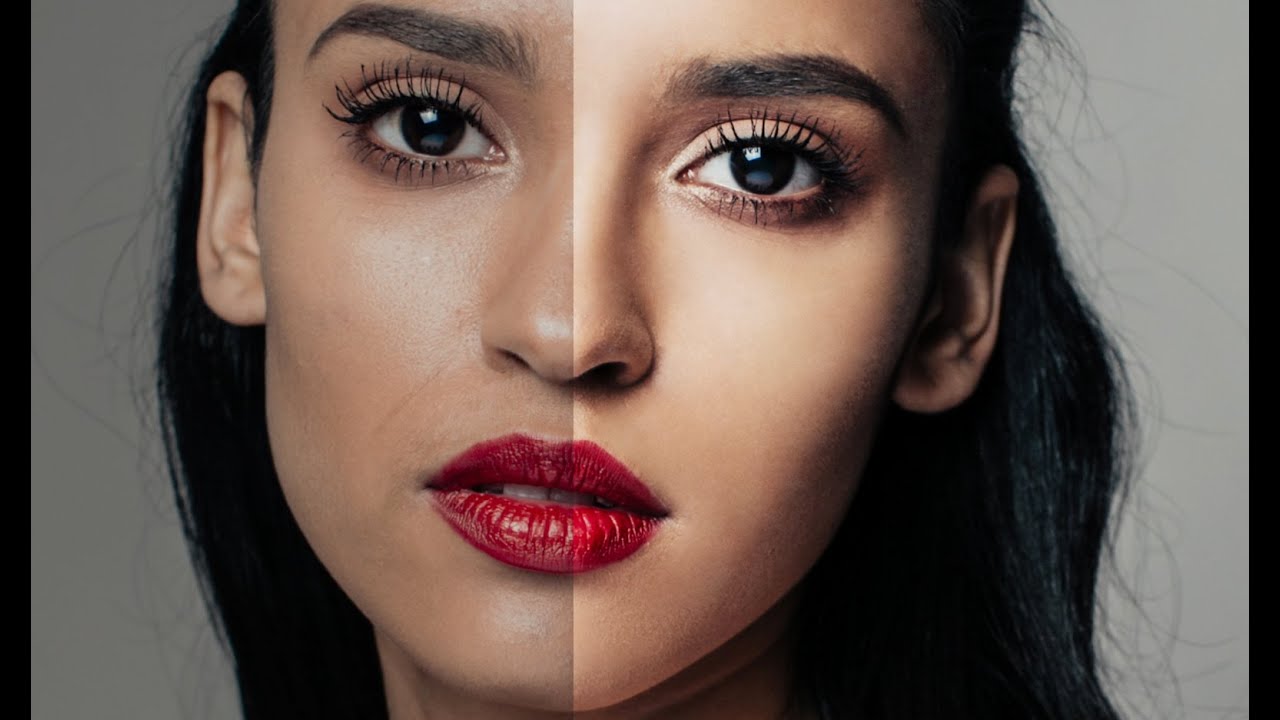
Early in my retouching career, a client looked at a set of beauty edits I’d delivered and said the skin looked “like plastic.” She wasn’t wrong. I’d been smoothing and softening without any real understanding of light and shadow on a face, and the results showed it. What I was missing wasn’t a better tool. It was a proper workflow that treated the face as a three-dimensional thing with real tonal structure.

Retouching a Dramatic Male Headshot: A Working Photographer's Breakdown of Aaron Nace's Photoshop Method

Retouching a Dramatic Male Headshot: A Working Photographer's Breakdown of Aaron Nace's Photoshop Method

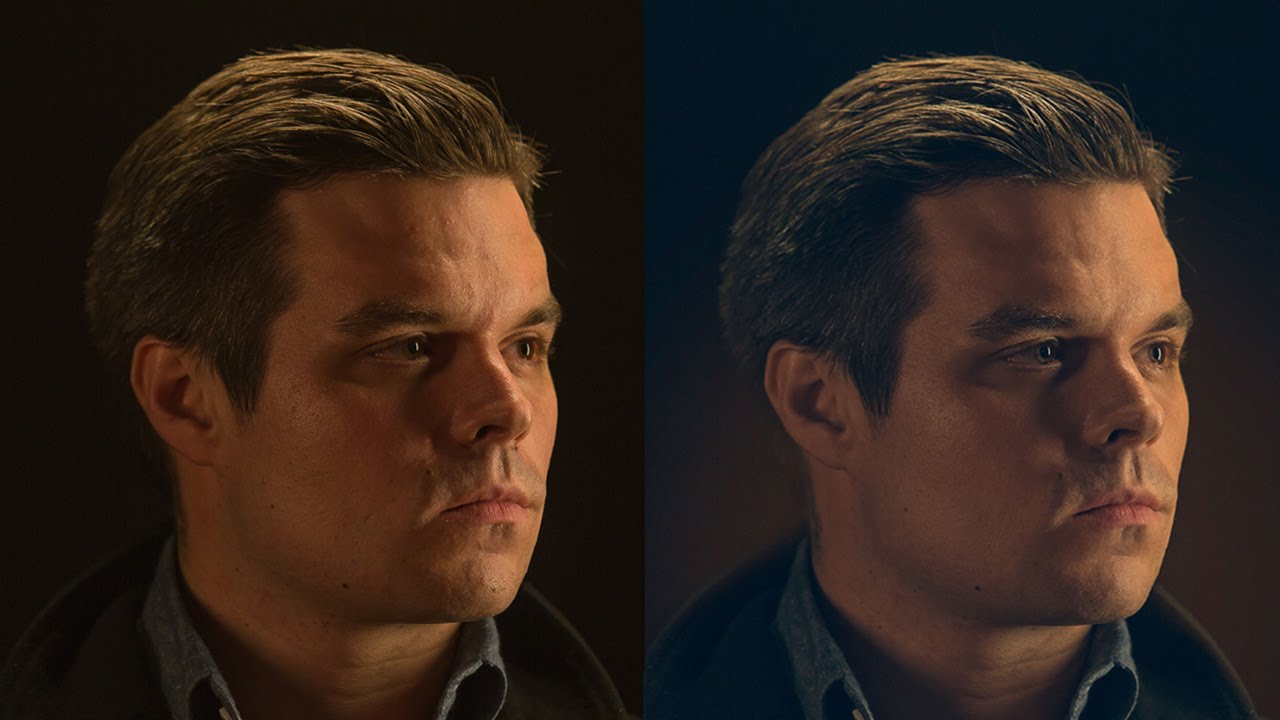
Male portrait retouching has its own specific logic, and for a long time I got it wrong. I’d apply the same approach I used on beauty editorial work and wind up with headshots that looked polished in a way that felt off. Skin too smooth, texture too even, the whole thing reading as slightly artificial. It took a few uncomfortable client conversations before I understood that retouching a man’s face is less about refinement and more about editing with restraint, knowing what to remove and what to leave alone.

How to Use Photoshop's Healing Brush Tool for Clean, Natural-Looking Skin Retouching

How to Use Photoshop's Healing Brush Tool for Clean, Natural-Looking Skin Retouching

There is a specific kind of dread that comes from delivering a gallery and getting a reply that says “the skin looks a little… off.” I know that dread well. Early in my retouching career, I was flattening blemishes with heavy-handed dot-clicks and wondering why my subjects looked like they were wearing a wax mask. The problem was not my eye. It was my technique. Specifically, it was the way I was using the Healing Brush Tool – randomly, without a system, and definitely without understanding what was actually happening under the hood.

From Rough Cut to Polished Ad: Compositing and Retouching a Multi-Subject Fashion Shot

From Rough Cut to Polished Ad: Compositing and Retouching a Multi-Subject Fashion Shot

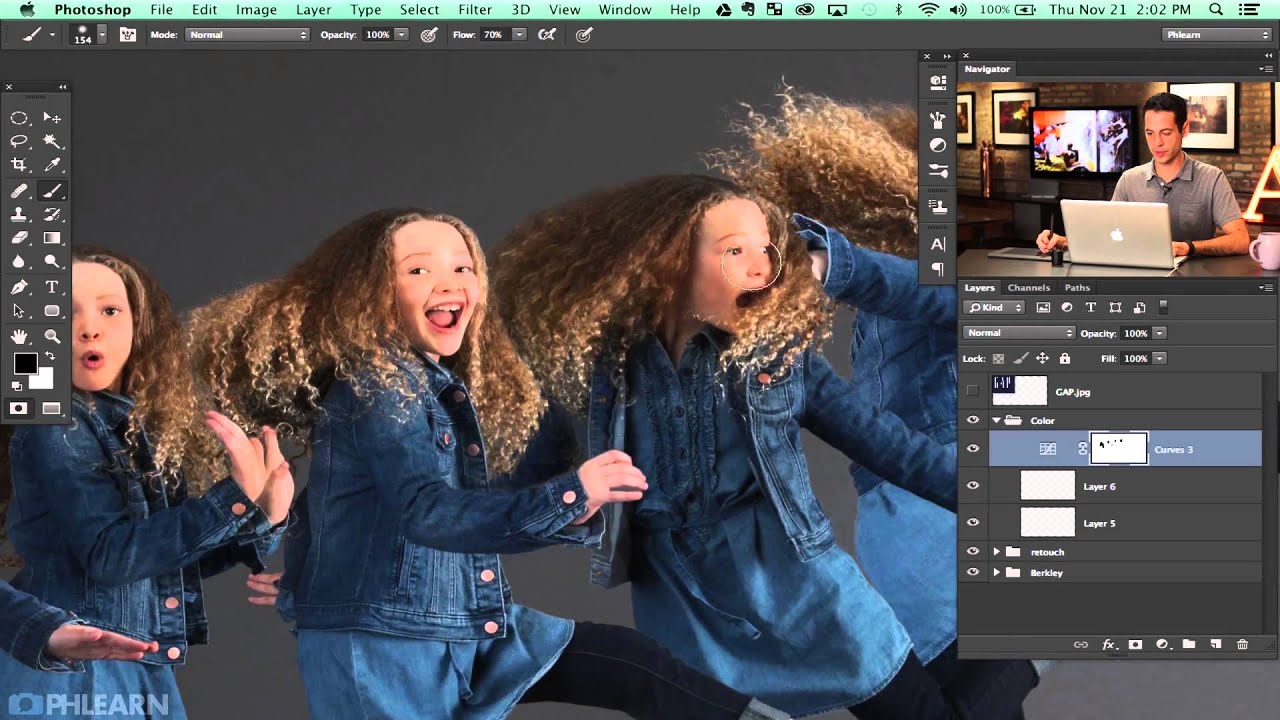
There’s a particular kind of image that separates hobbyist editing from professional work: the composite where multiple subjects share the same frame and it actually looks believable. Not “wow, great Photoshop” believable. Just… real. Getting there requires you to think about how people physically occupy space together, how light wraps around them, and how small overlooked details like a hand or a shadow can quietly destroy the illusion. This is the problem I kept running into early in my retouching career, and it’s exactly what Aaron Nace tackles in this second part of his Gap-inspired fashion shoot series.