Why Your Skin Retouching Looks Fake (And the Frequency Separation Fix That Changed Everything)

Why Your Skin Retouching Looks Fake (And the Frequency Separation Fix That Changed Everything)

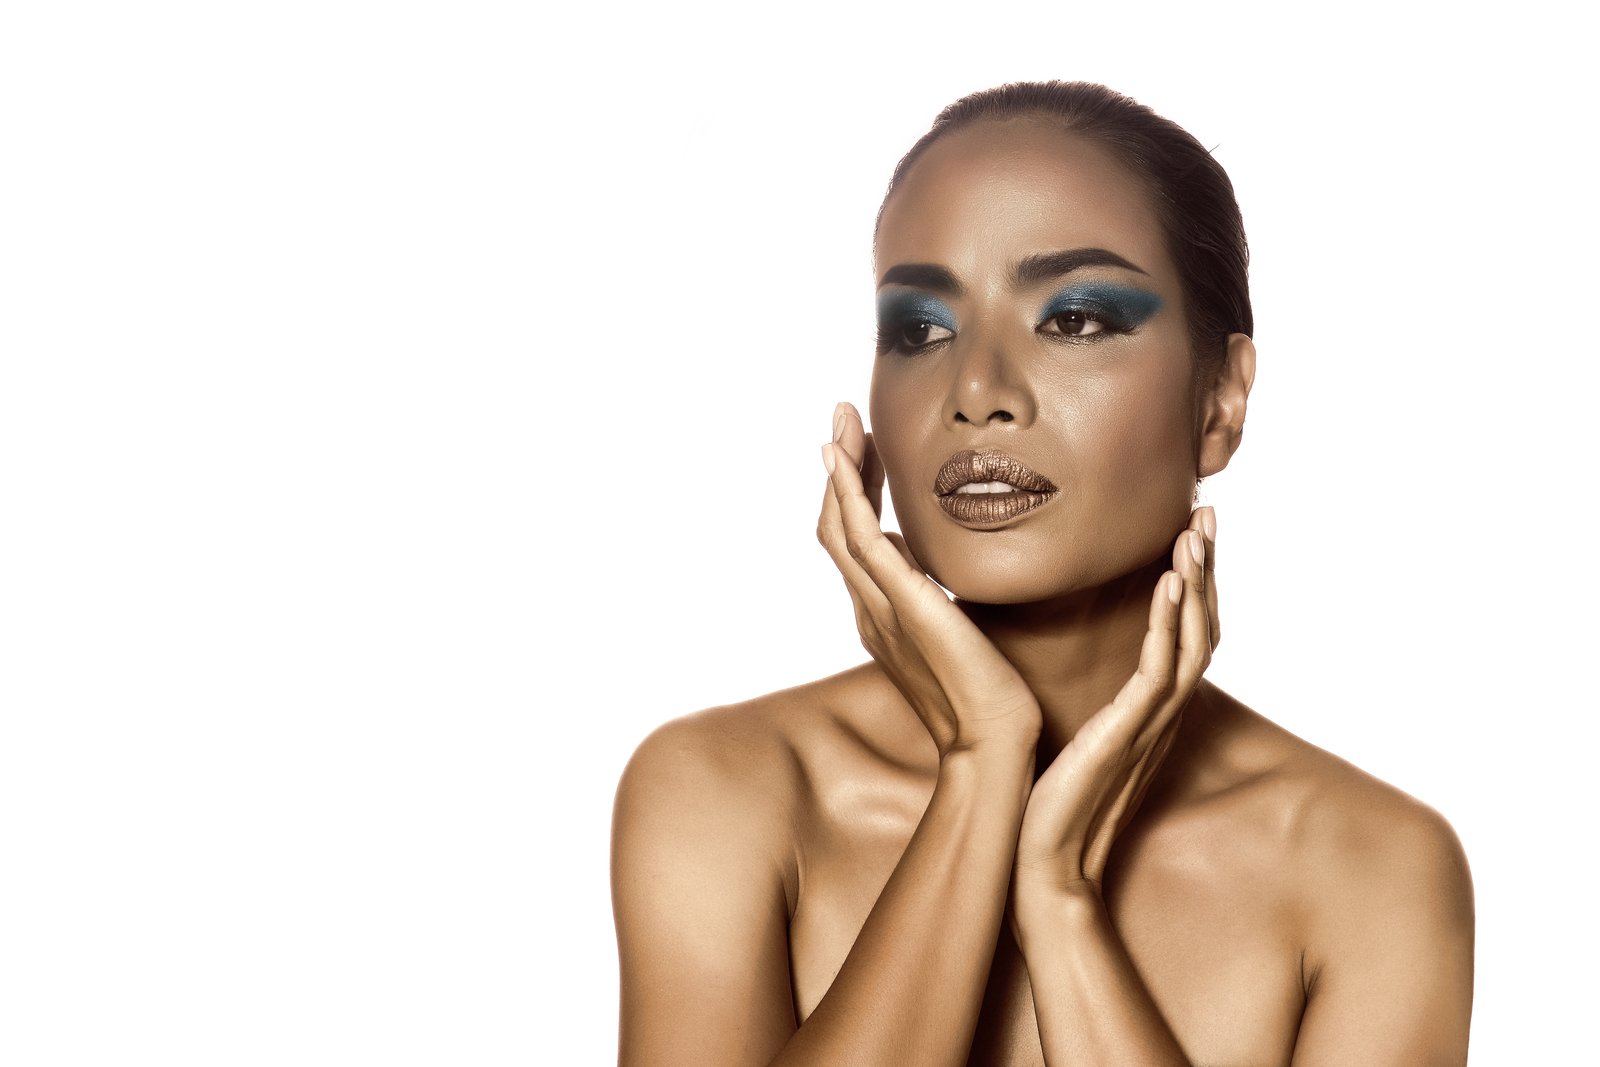
A few years into my retouching work, a client sent me a two-word reply to a delivered gallery: “Too plastic.” I sat with that email for a long time. I had done everything I thought I was supposed to do. Smooth skin, even tone, no visible pores. The image looked clean. It also looked like a render of a human being, not an actual one. That note sent me back to square one, and it’s the reason I now consider frequency separation the single most important technique in beauty retouching.

Portrait Cleanup Before You Retouch: Why Skipping This Step Is Costing You Hours

Portrait Cleanup Before You Retouch: Why Skipping This Step Is Costing You Hours

Portrait Cleanup Before You Retouch: Why Skipping This Step Is Costing You Hours A few years back, a client sent me back a set of beauty edits with a note that still stings a little to think about. “These look plastic,” she wrote. “Like a wax figure, not a person.” I had spent hours on those files. Frequency separation, dodge and burn, careful spot healing. The technical execution was fine. The problem was that I had retouched over chaos.

Why Your Makeup Retouching Looks Fake (And the Frequency Separation Fix That Actually Works)

Why Your Makeup Retouching Looks Fake (And the Frequency Separation Fix That Actually Works)

There’s a specific kind of client email I used to dread. Not the ones asking for revisions — those are fine, that’s the job. The ones I dreaded started with something like, “It looks a little… digital?” Which is client-speak for: the makeup you painted on her eyelids looks like it was applied by a robot who has never seen a human face. I spent the better part of a year figuring out why digitally applied makeup reads as fake, and more importantly, how to stop it from happening.

Why Your Headshots Look Retouched (And How to Fix That Before the Client Sees Them)

Why Your Headshots Look Retouched (And How to Fix That Before the Client Sees Them)

There’s a specific kind of dread that comes with opening a headshot session in Lightroom and realizing the skin on every frame is doing something weird. Not broken, exactly. Just… uneven. Patches of warmth next to patches of cool. Texture that looks fine at 25% zoom and alarming at 100%. Corporate headshots are brutal that way. The subject sat under office fluorescents for thirty minutes, the light shifted twice, and now I’m the one who has to make it look like none of that happened.

The Five-Minute Portrait Cleanup That Makes the Difference Between Good and Great

The Five-Minute Portrait Cleanup That Makes the Difference Between Good and Great

My first year doing serious beauty retouching, a client emailed me back with three words: “She looks plastic.” I stared at that email for a long time. I had spent two hours on that image. I had smoothed every pore, evened every tone, and delivered what I thought was a polished, professional edit. What I had actually delivered was a face that looked like it had been buffed with sandpaper and then laminated.

The 10-Minute Portrait Cleanup Workflow That Actually Holds Up at 100% Zoom

The 10-Minute Portrait Cleanup Workflow That Actually Holds Up at 100% Zoom

The file came in at 47 megabytes, shot on a Canon R5, and the skin looked like a topographic map. Not unusual. What was unusual was the turnaround: four hours, twelve portraits, ready for the brand’s Instagram and a full-page print ad. Same edit, two very different output demands. That’s the situation I’m in about twice a month, and it’s exactly why I’ve built a portrait cleanup workflow that works fast without cutting corners.

Why Your Portrait Cleanup Is Making Skin Look Worse (And How to Fix It)

Why Your Portrait Cleanup Is Making Skin Look Worse (And How to Fix It)

My first real retouching disaster lives on a hard drive I keep in my desk drawer. I don’t look at it often, but I know it’s there. A bridal client had called my edited portraits “plastic-looking,” and when I pulled them back up after that phone call, I saw exactly what she meant. I had blurred the life right out of her face. Pores, texture, the fine lines around her eyes when she smiled, all of it gone, replaced by something that looked more like a wax figure than a woman.

How to Mark Up a Portrait for Your Retoucher (and Actually Get What You Want)

How to Mark Up a Portrait for Your Retoucher (and Actually Get What You Want)

There’s a specific kind of frustration that comes from sending a file to a retoucher and getting back something that looks nothing like what you imagined. I’ve been on both sides of that exchange. Early in my retouching career, a client told me my edits looked “plastic” and I was devastated, mostly because I knew she was right. The problem wasn’t technical skill. It was communication, and a complete lack of a shared visual language between the photographer, the retoucher, and the final image.

The Five-Minute Portrait Cleanup That Makes Everything Else Work Better

The Five-Minute Portrait Cleanup That Makes Everything Else Work Better

What Photographers Skip That Retouchers Never Do A few years back, I got a file from a photographer I’d just started working with. Beautiful natural light, great expression, solid composition. I opened it in Photoshop and immediately spotted the problem: flyaway hairs crossing the subject’s eyes, a visible bra strap, a small but distracting catchlight from a phone screen in the background, and a coffee stain on the backdrop that the photographer had clearly stopped seeing somewhere around hour four of the shoot.

What a $30,000 Camera Taught Me About Color Calibration (And Committing to Your Choices)

What a $30,000 Camera Taught Me About Color Calibration (And Committing to Your Choices)

There’s a particular kind of portrait that makes me slow down before I even touch a slider: one with a colored gel light behind the subject. The background glow bleeds into the skin tones, the shadows pick up unexpected hues, and every calibration decision you make either elevates the whole mood or turns it into a muddy mess. I’ve lost more than a few hours to gel-lit portraits that felt just slightly off no matter what I tried in the basic panel.

Portrait Cleanup Before You Retouch: Why Your Starting File Is Half the Battle

Portrait Cleanup Before You Retouch: Why Your Starting File Is Half the Battle

A few years into doing this work, I had a client send back a fully retouched beauty shot with a single line of feedback: “Can you fix the collar?” I zoomed out and there it was, a small wrinkle in the model’s shirt that I had somehow completely tuned out for the entire two hours I’d spent on her skin. I had gone straight into pore work and left a distracting wardrobe problem sitting right in the frame.

Why Your Headshots Look Retouched (And How to Fix That Before the Client Notices)

Why Your Headshots Look Retouched (And How to Fix That Before the Client Notices)

The first headshot I ever retouched that a client actually complained about wasn’t overexposed or poorly cropped. It was technically clean. Sharp eyes, even skin tone, good contrast. The client called me and said, very politely, “I just look kind of… plastic?” I had smoothed her skin so aggressively that the natural texture was gone, and what was left was something between a wax figure and a LinkedIn filter. I kept that file.