5 Lightroom & Camera Raw Masking Tricks That Will Change How You Work

5 Lightroom & Camera Raw Masking Tricks That Will Change How You Work

There’s a specific kind of frustration that comes from knowing a tool exists, using it every single day, and still feeling like you’re fighting it. For the longest time, that was me with Lightroom’s masking panel. I came to beauty retouching after years of wedding photography, and I built my masking habits fast and messy, learning just enough to get through a deadline. It wasn’t until I started slowing down and actually studying how other working photographers use these tools that things clicked into place.

Stop Fighting Your Masks: How the Subtract Tool Turns Messy Selections Into Clean Edits

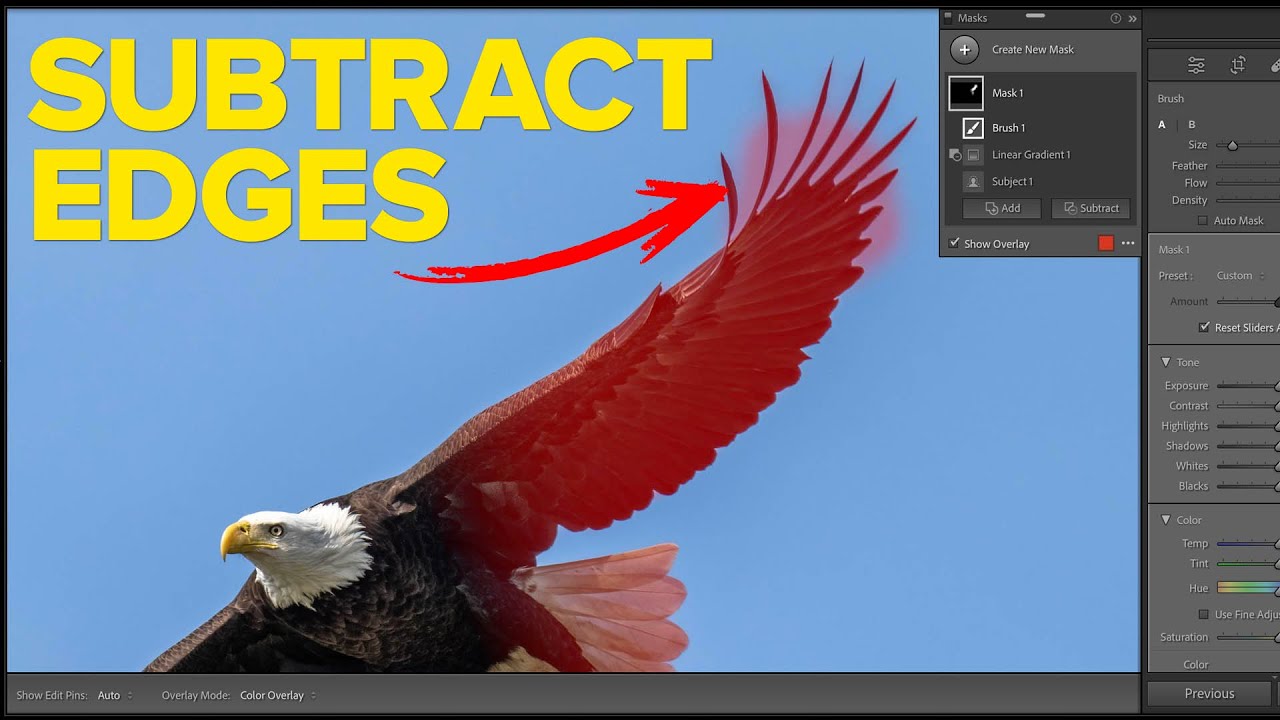
Stop Fighting Your Masks: How the Subtract Tool Turns Messy Selections Into Clean Edits

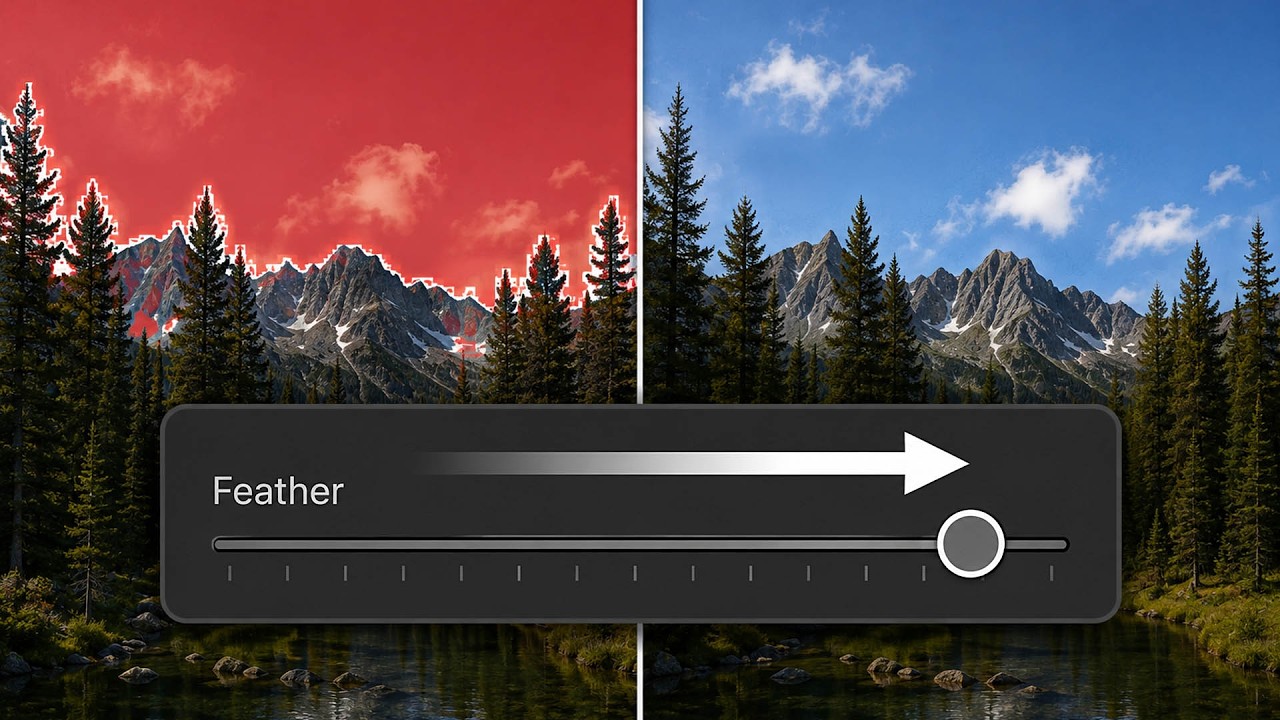
There’s a particular kind of frustration that comes from making a solid selection, bumping the exposure, and then noticing that weird glowing halo creeping around the edges of your subject. I ran into this constantly when I first started doing beauty work, and for a long time my solution was either to accept the flaw or spend twenty minutes in Photoshop doing painstaking manual cleanup. Neither option felt right. When I came across this Matt Kloskowski tutorial on the power of the Subtract tool in Lightroom and Photoshop masking, I realized I had been overcomplicating something that has a much more elegant fix built right into the tools I already use every day.

How to Make Skin Look Like Cracked Paint in Photoshop (A Step-by-Step Breakdown)

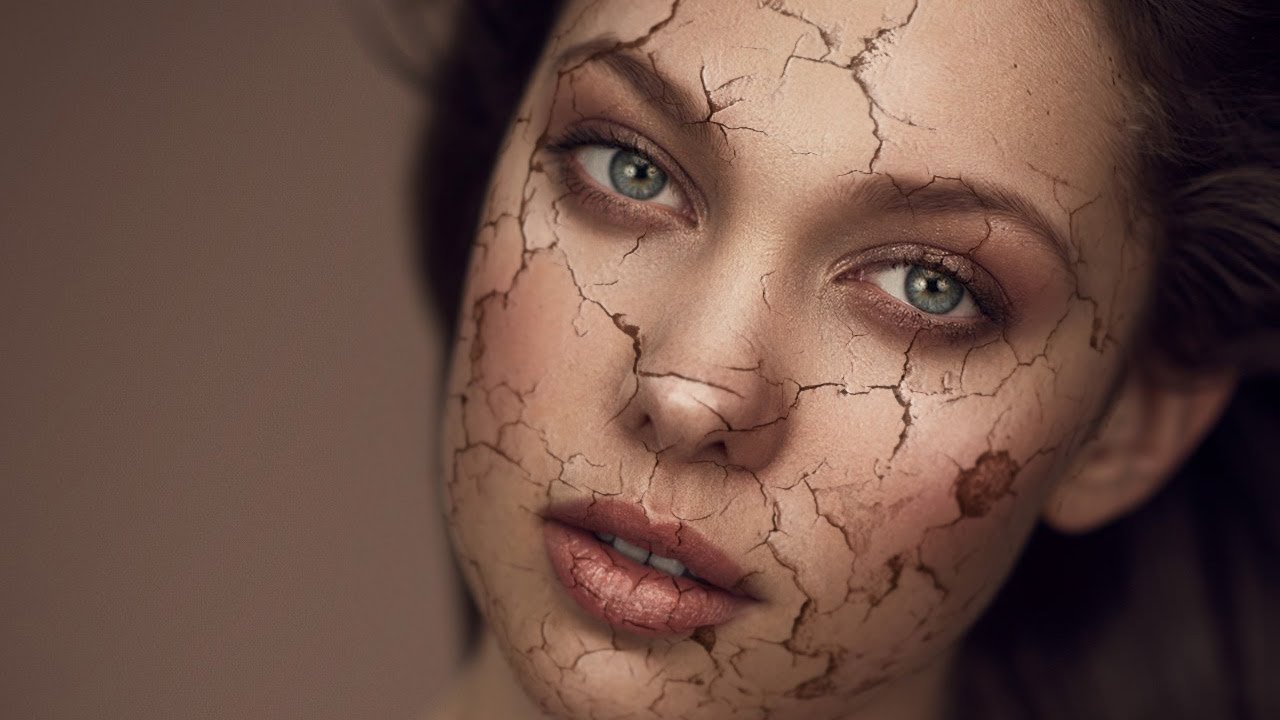
How to Make Skin Look Like Cracked Paint in Photoshop (A Step-by-Step Breakdown)

Most of my retouching work is about subtraction. Smooth this, soften that, remove the thing the client asked me to remove three times already. So when I first stumbled onto this technique, it genuinely stopped me mid-sip. A cracked paint texture mapped onto a portrait so convincingly that the skin looks like it’s splitting open and peeling away. It’s the opposite of everything I normally do, and I am completely here for it.

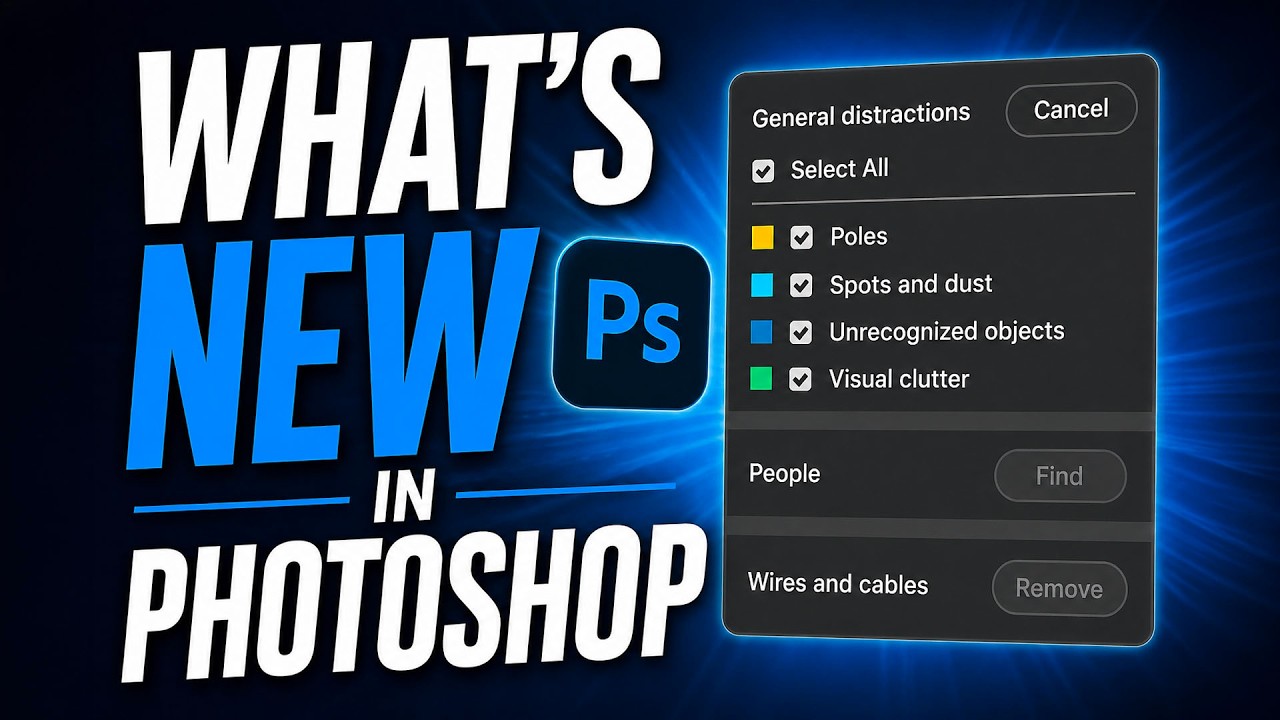
What Adobe Actually Changed in Photoshop This April (And What It Means for Your Retouching Workflow)

What Adobe Actually Changed in Photoshop This April (And What It Means for Your Retouching Workflow)

Every few months Adobe drops a Photoshop update, and most of the time I skim the release notes, nod politely, and go back to whatever action I was running (currently the entire Blade Runner franchise, in case you were wondering). But the April 2026 update genuinely caught my attention, partly because of a Matt Kloskowski tutorial I watched while finishing my third cup of green tea on a Tuesday morning. Watch the full tutorial on YouTube – it runs about four minutes and covers the highlights quickly and clearly.

The Art of Subtle Beauty Editing: When Less Is More

The Art of Subtle Beauty Editing: When Less Is More

The Art of Subtle Beauty Editing: When Less Is More When I first started portrait retouching, I made the mistake that many editors do: I edited aggressively. I smoothed every pore, brightened every eye, and sculpted every cheekbone until my clients looked like porcelain dolls. The feedback was always the same: “That doesn’t look like me.” That’s when I learned the most important rule of beauty editing: enhancement should be invisible.

The Art of Professional Headshot Editing: A Step-by-Step Guide to Polished Results

The Art of Professional Headshot Editing: A Step-by-Step Guide to Polished Results

The Art of Professional Headshot Editing: A Step-by-Step Guide to Polished Results I’ve edited thousands of headshots over my career, and I’ve learned that the best ones share a common thread: they look like the person, just the best version of themselves. That’s our goal when we approach headshot retouching—enhancement without transformation. Start With Organization and a Clear Vision Before I open Photoshop or Lightroom, I always take a moment to assess the image.

The Ethics of Retouching: Where to Draw the Line

The Ethics of Retouching: Where to Draw the Line

Every retoucher eventually faces a request that makes them uncomfortable. A client asks you to make someone look twenty pounds thinner. A brand wants a model’s skin to look literally poreless. A parent asks you to slim down their teenager in a family photo. These aren’t hypotheticals. They’ve all happened to me, and they’ll happen to you. Having a framework for thinking about these decisions before you’re in the moment is essential.

The Complete Guide to Professional Headshot Editing

The Complete Guide to Professional Headshot Editing

The Complete Guide to Professional Headshot Editing I’ve edited thousands of headshots over my career, and I can tell you this: a great headshot isn’t just about the photographer’s skill behind the camera. It’s about what happens after. The editing phase is where we transform a good photo into a portrait that lands interviews, builds credibility, and makes you feel confident. Whether you’re updating your LinkedIn profile, preparing for an audition, or building your professional portfolio, knowing how to edit your headshots properly makes all the difference.

Before and After: Real Retouching Examples Explained

Before and After: Real Retouching Examples Explained

One of the best ways to learn retouching is studying real before-and-after comparisons — not just seeing the result, but understanding every decision that went into it. Let me walk you through five common retouching scenarios and explain exactly what I did and why. Example 1: Corporate Headshot The brief: Professional but approachable. The client wanted to look polished without looking “retouched.” What I did: Reduced (not removed) under-eye shadows using Curves with a painted mask Cleaned up two small blemishes with the Healing Brush — these were temporary, not permanent features Evened out a red patch on the neck using a Color blend mode layer Added a subtle dodge to the catchlights in both eyes Minor color grade to warm the overall tone What I didn’t do: I left laugh lines, forehead lines, and skin texture completely untouched.

5 Common Retouching Mistakes That Make Portraits Look Fake

5 Common Retouching Mistakes That Make Portraits Look Fake

I’ve reviewed thousands of retouched portraits over the years, and the same mistakes keep showing up. Here’s what to watch for — and how to fix each one. 1. Over-Smoothing Skin This is the #1 mistake I see. Beginners blast the entire face with blur, removing every pore and wrinkle. The result looks like a wax figure, not a person. The fix: Work at 100% zoom and use frequency separation or dodge and burn.