The Foolproof Dodge & Burn Method That Finally Made My Edits Look Real

The Foolproof Dodge & Burn Method That Finally Made My Edits Look Real

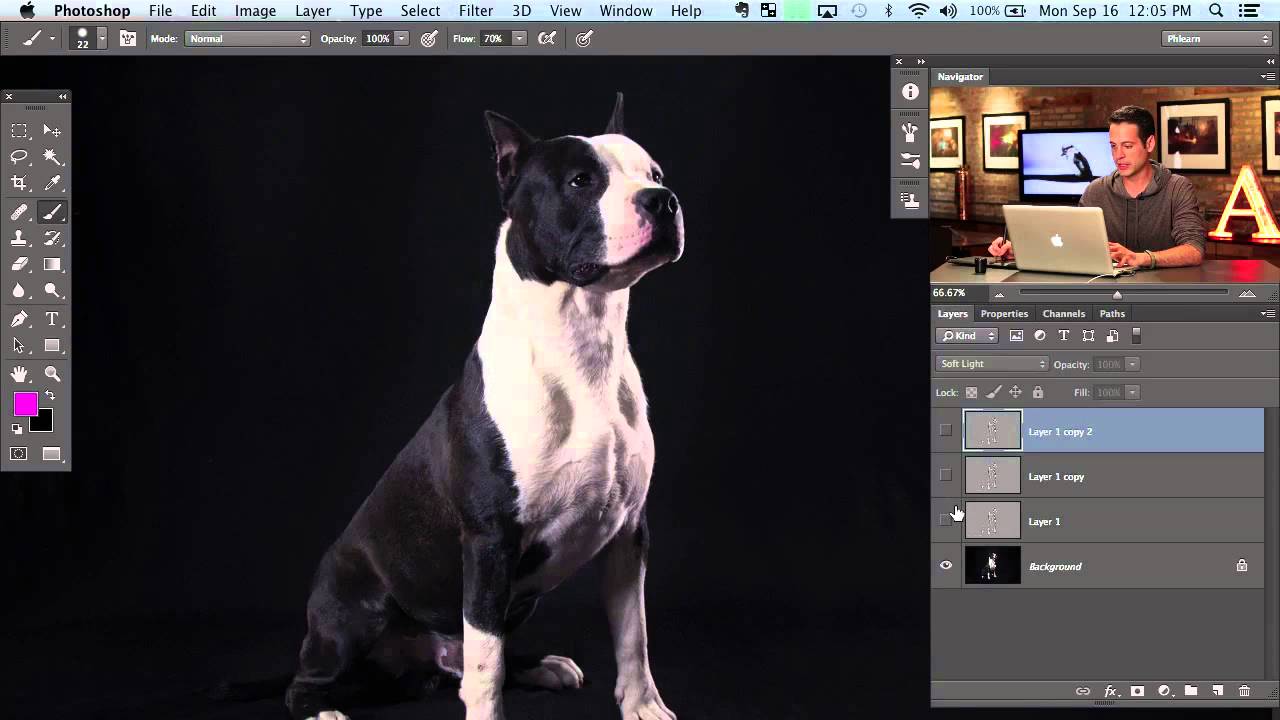
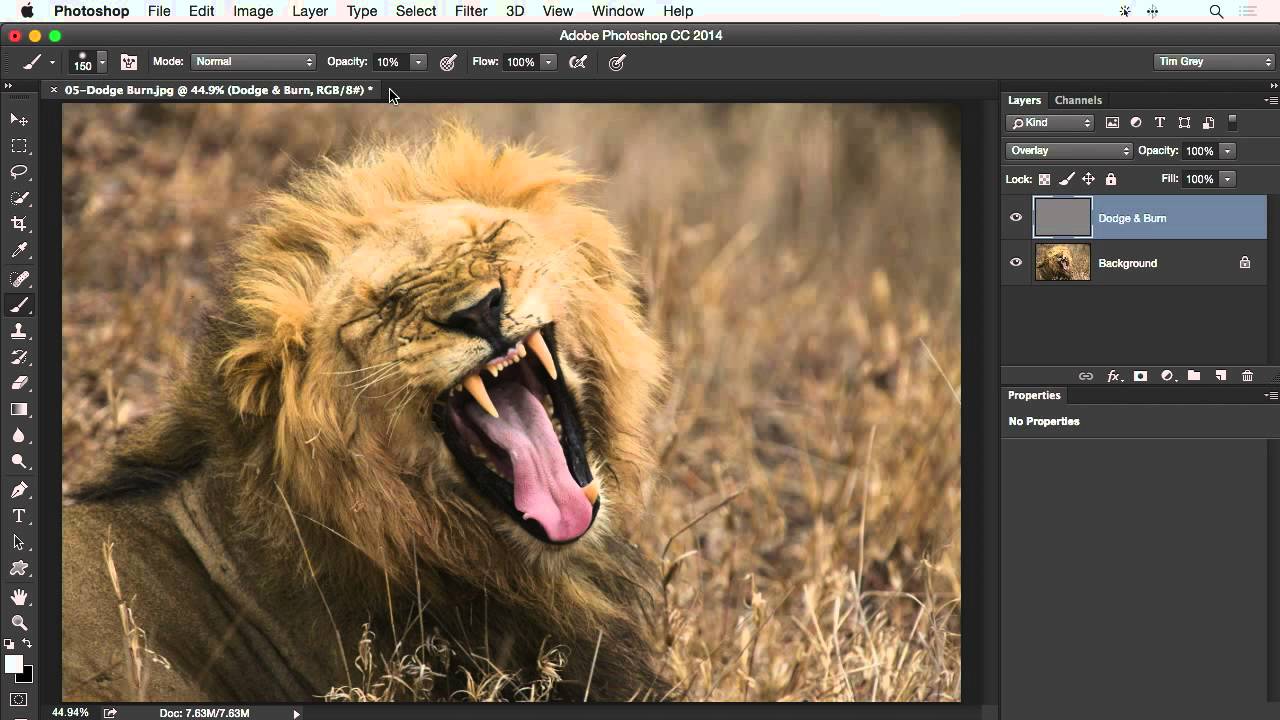
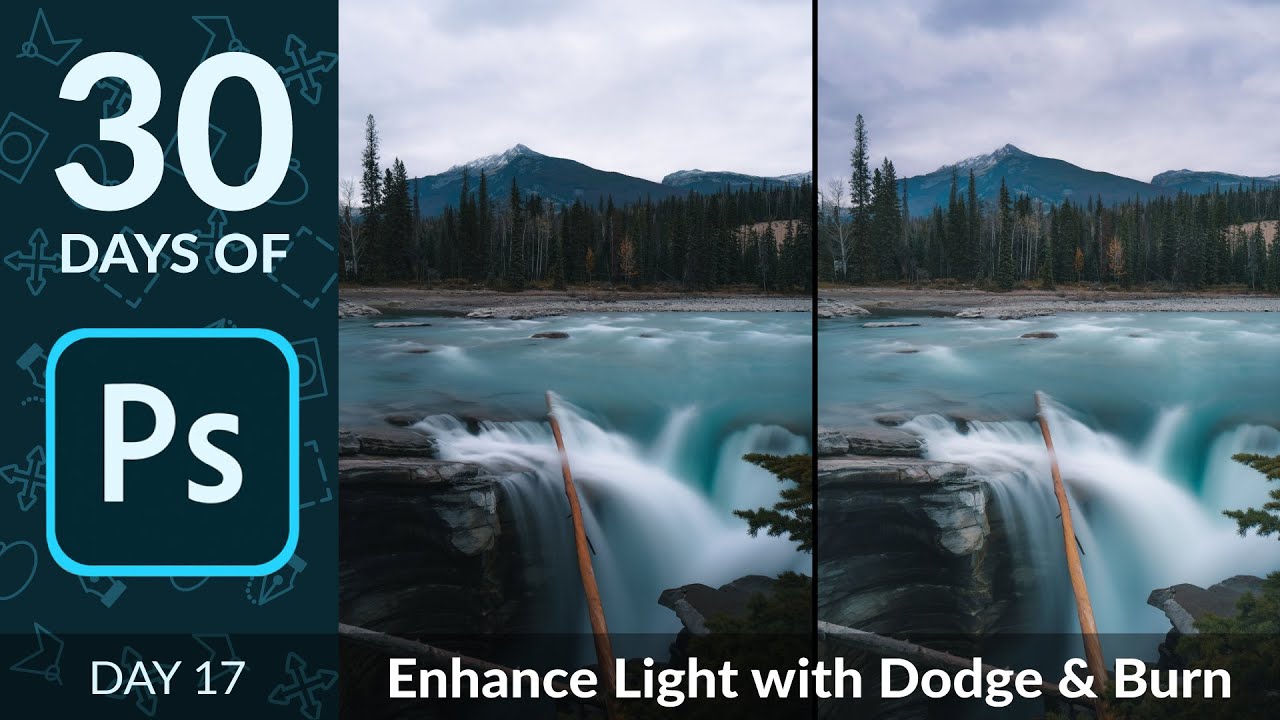
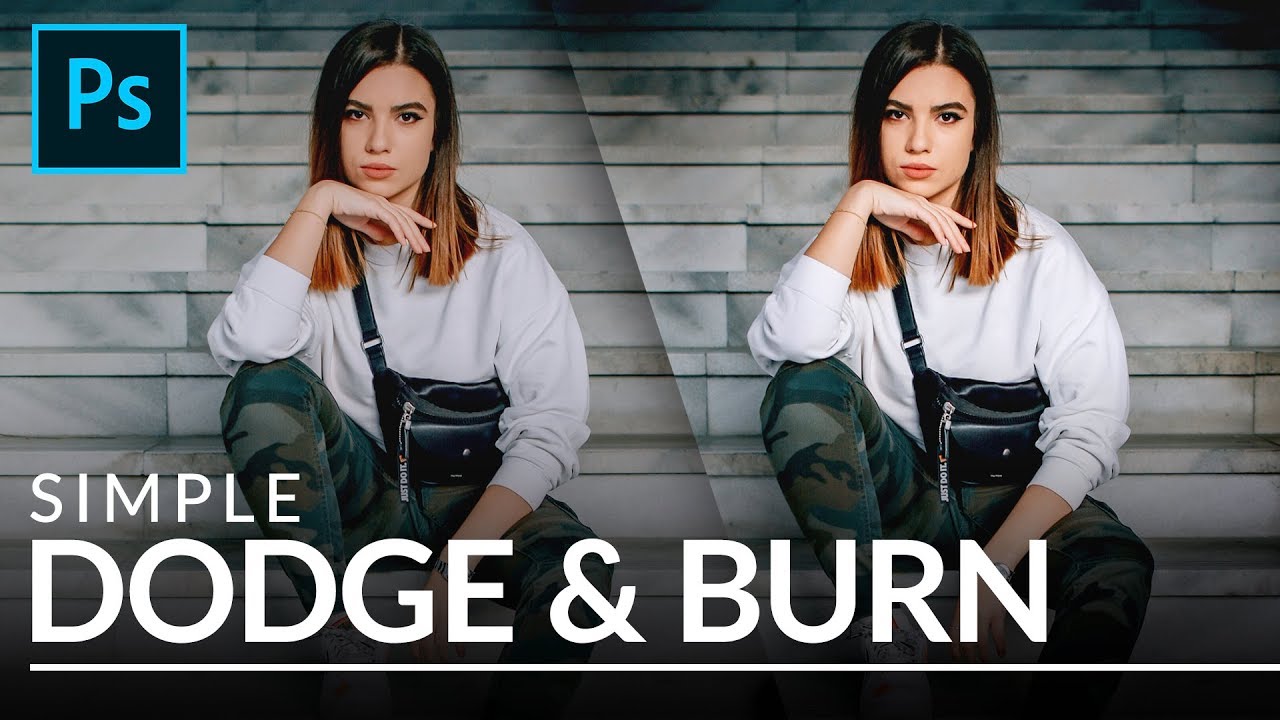
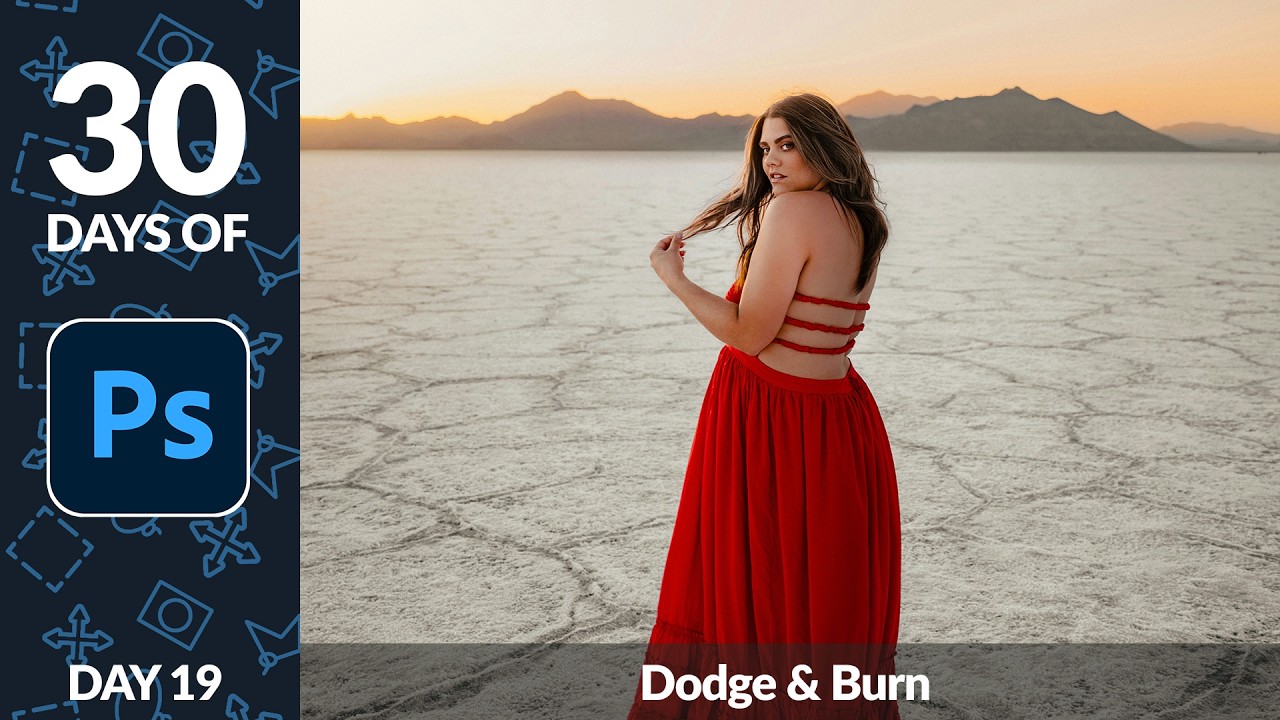
For a long time, my dodge and burn work looked exactly like what it was: painted-on brightness with no relationship to the actual light in the image. I had a client early in my retouching career who told me, pretty directly, that the skin in her campaign shots looked “plastic.” She wasn’t wrong. I was using the literal Dodge and Burn tools, dragging them across the skin in big sweeping strokes, and wondering why nothing ever looked natural.

How to Mask Any Color-Based Element in Lightroom Without Touching a Selection Tool

How to Mask Any Color-Based Element in Lightroom Without Touching a Selection Tool

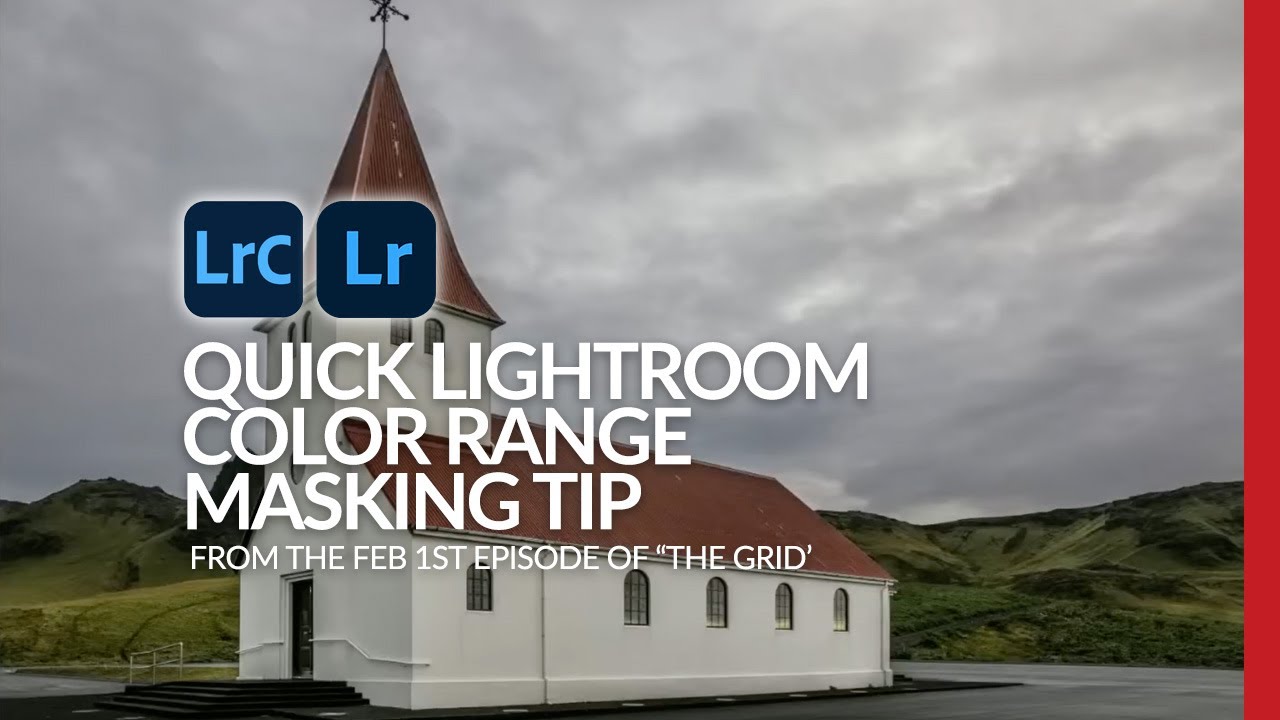
There’s a particular kind of editing frustration I know well: you’re looking at an image and you need to isolate something specific, something Lightroom’s AI has no preset button for. Not the sky. Not the subject. Something in between, like a textured roof, a mountain range, a fabric pattern in the background. For years, my reflex was to sigh, open Photoshop, and start drawing paths. That workflow costs time, and time is the thing I never have enough of between client deliveries and workshop prep.

Why I Stopped Duplicating Layers for Every Retouch (And What I Do Instead)

Why I Stopped Duplicating Layers for Every Retouch (And What I Do Instead)

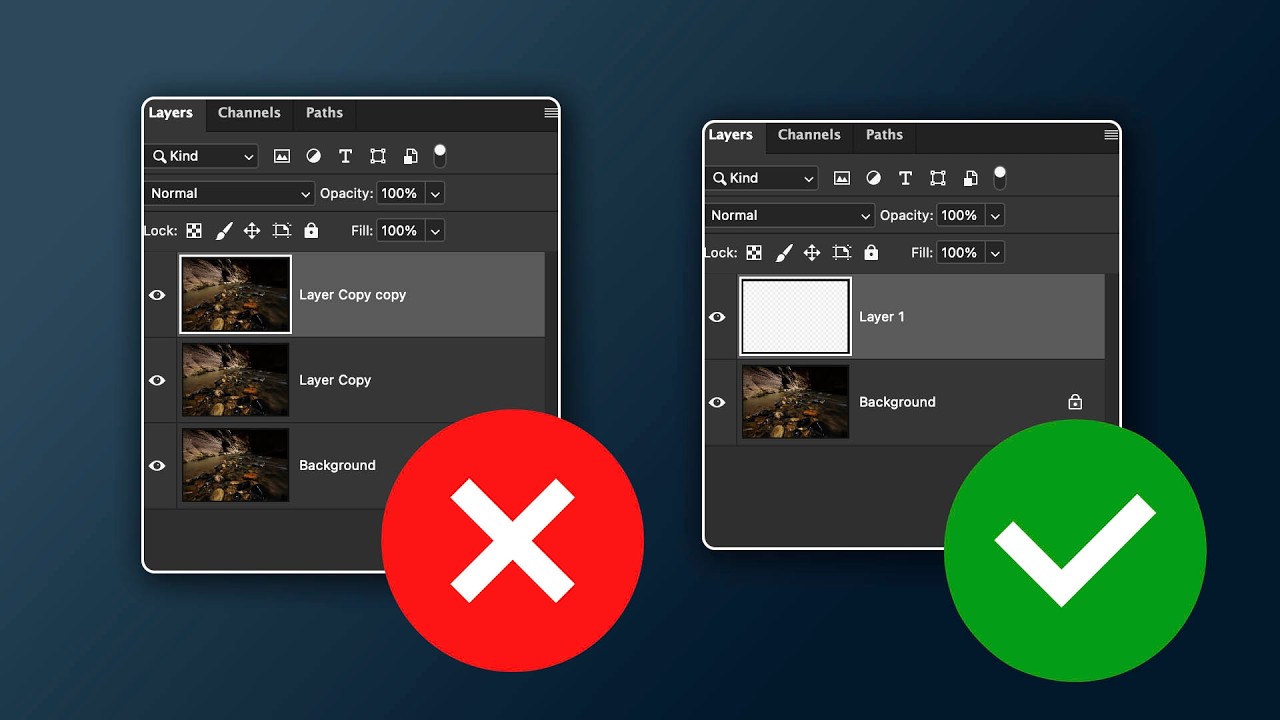
When I was first learning Photoshop, I duplicated every layer before touching anything. It was practically a reflex. Open file, hit Command-J, breathe. Nobody ever explained why we did it. It was just the rule, passed down from tutorial to tutorial like a photographic commandment. It took me years of freelance work, and honestly a few bloated, chaotic PSD files sent to clients, before I started questioning whether the habit still made sense.