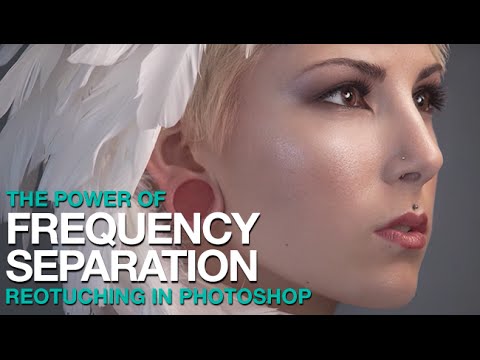
Frequency Separation in Photoshop: A Step-by-Step Guide to Skin Retouching That Actually Looks Real

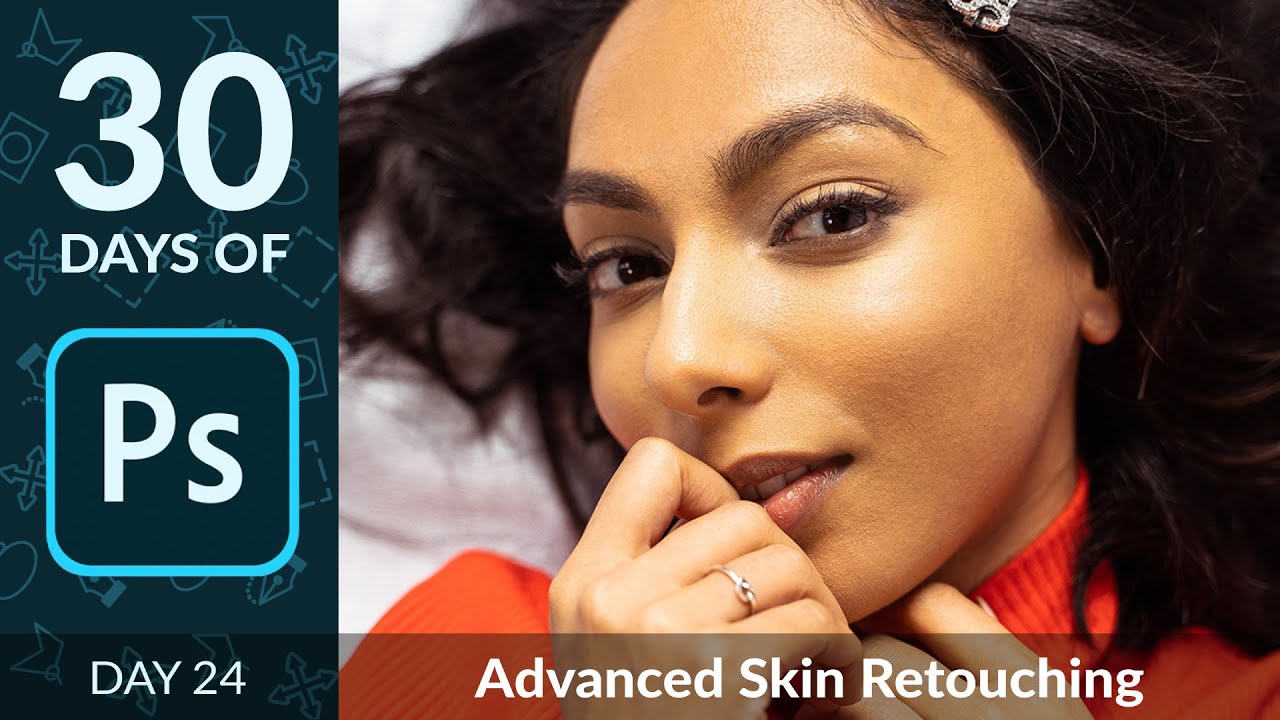
Frequency Separation in Photoshop: A Step-by-Step Guide to Skin Retouching That Actually Looks Real

I spent the better part of a year convinced that good retouching meant smoothing everything until the skin looked like poured wax. A client finally told me my edits looked “plastic,” and honestly, she was right. What I was missing was a way to work on color and texture as two separate problems, because they are. Uneven skin tone is a color problem. A rough patch of texture is a texture problem.

How to Paint Convincing Light Streaks in Photoshop Using a Wacom Tablet

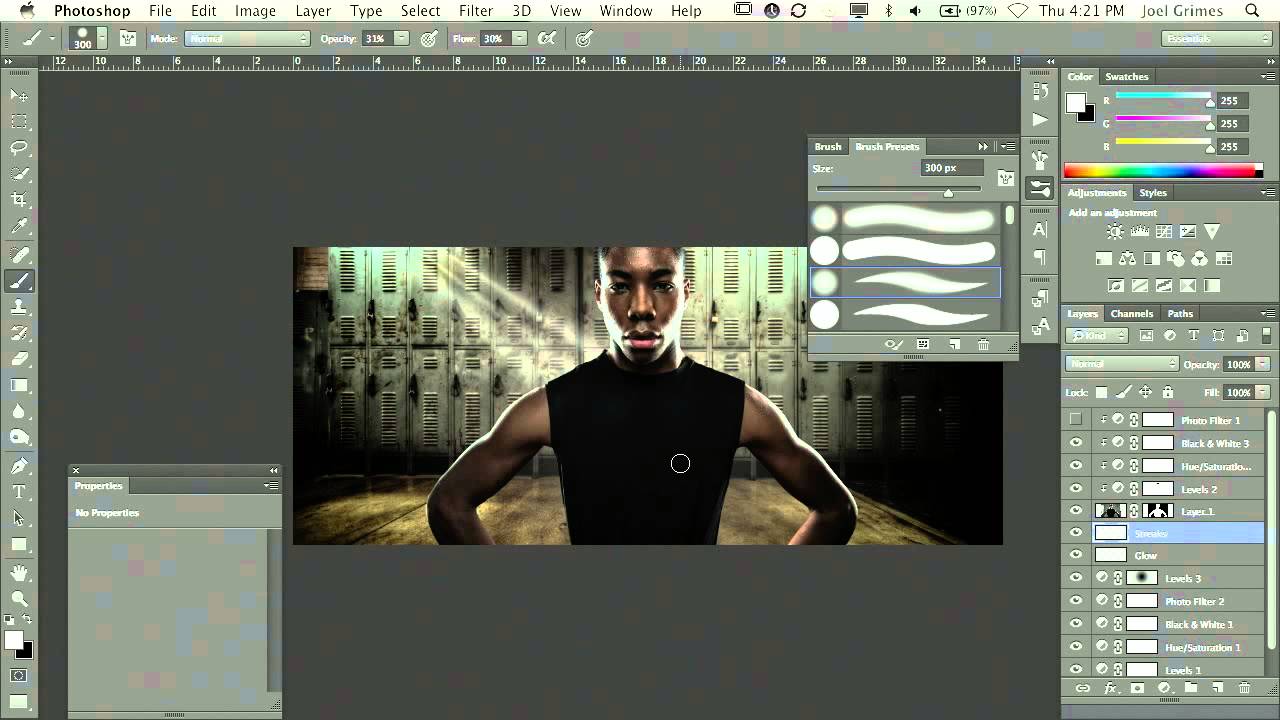
How to Paint Convincing Light Streaks in Photoshop Using a Wacom Tablet

There is a specific kind of frustration that comes from knowing exactly what a finished image should look like and not having the tools to get there. For years, I added light effects to my beauty work with a mouse, and the results were stiff. The streaks were uniform. The glow felt pasted on. It was not until I finally committed to learning a pressure-sensitive tablet that everything clicked, and it happened faster than I expected.

Frequency Separation in Photoshop: A Step-by-Step Breakdown of Aaron Nace's Game-Changing Technique

Frequency Separation in Photoshop: A Step-by-Step Breakdown of Aaron Nace's Game-Changing Technique

There is a specific kind of dread that comes with zooming into 100% on a retouched face and realizing the skin looks like a wax museum exhibit. I know that dread well. Early in my retouching career, I was so focused on erasing every shadow and blotch that I was also erasing everything that made the skin look like skin. A client put it plainly: “She looks plastic.” That note stung, but it pushed me to find a better way.