How to Remove Skin Redness in Photoshop Using Hue/Saturation (The Right Way)

How to Remove Skin Redness in Photoshop Using Hue/Saturation (The Right Way)

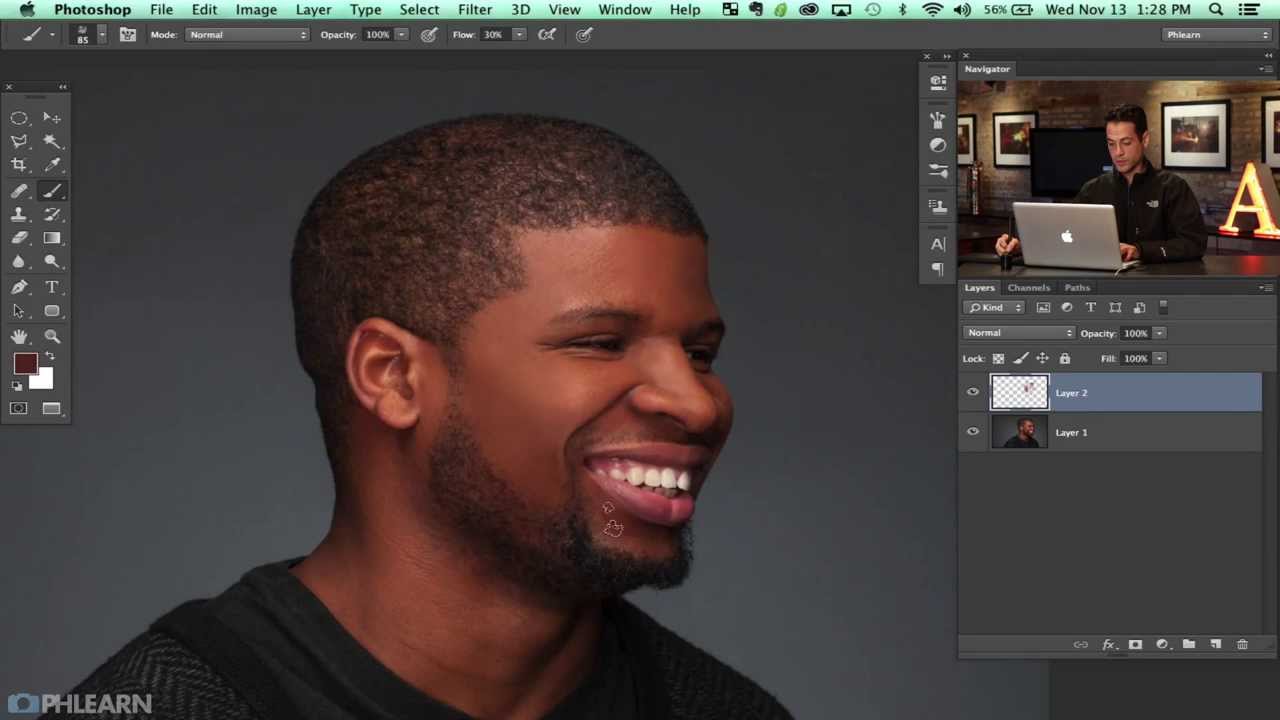
There’s a specific kind of client email I used to dread. The one that arrives two days after delivery, very polite, that says something like: “The skin still looks a little red in a few spots.” Early in my retouching work, my answer to redness was almost always the same wrong tool: the Brush tool, a sampled skin tone, and way too much opacity. The results looked painted. I’d fix the redness and introduce something worse.

How to Slim and Contour Bodies in Photoshop Using the Warp Tool (Without Making It Obvious)

How to Slim and Contour Bodies in Photoshop Using the Warp Tool (Without Making It Obvious)

There’s a specific kind of client photo that used to tie my stomach in knots. You know the one: a genuinely beautiful image, great light, good connection, but the angle or the pose has added visual weight in a way that doesn’t reflect how the person actually looks. Early in my retouching career, I’d reach straight for Liquify, push pixels around trying to be careful, and end up with something that looked either untouched or obviously warped.

How to Retouch a Whole Batch of Portrait Images at Once (Without Losing Your Mind)

How to Retouch a Whole Batch of Portrait Images at Once (Without Losing Your Mind)

There is a specific kind of dread that comes from finishing a wedding gallery, sending it off, and then realizing you forgot to add a key line to every single image. Or that the skin smoothing you applied so carefully to the hero shot looks nothing like what you did to the rest of the series. I lived that dread more times than I care to admit before I started treating multi-image retouching as a real, deliberate workflow instead of just “doing it again for each photo.

Frequency Separation in Photoshop: A Step-by-Step Guide to Skin Retouching That Actually Looks Real

Frequency Separation in Photoshop: A Step-by-Step Guide to Skin Retouching That Actually Looks Real

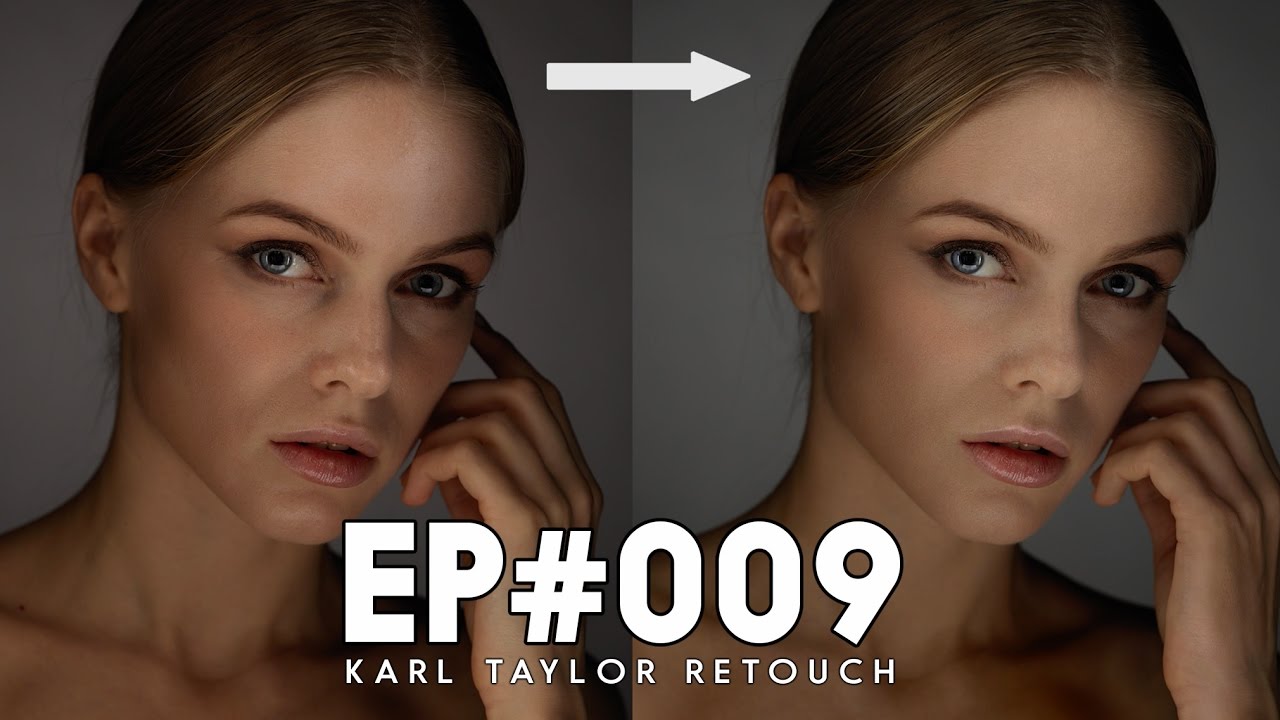
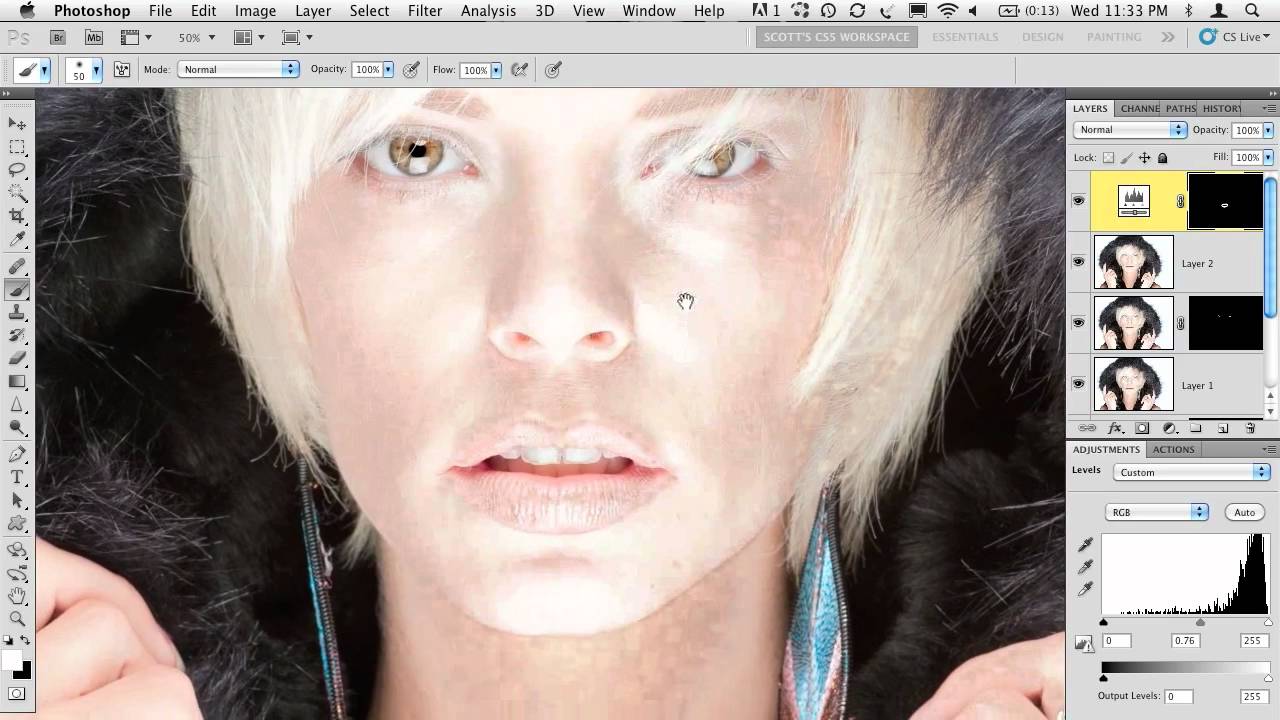
I spent the better part of a year convinced that good retouching meant smoothing everything until the skin looked like poured wax. A client finally told me my edits looked “plastic,” and honestly, she was right. What I was missing was a way to work on color and texture as two separate problems, because they are. Uneven skin tone is a color problem. A rough patch of texture is a texture problem.

How to Paint Convincing Light Streaks in Photoshop Using a Wacom Tablet

How to Paint Convincing Light Streaks in Photoshop Using a Wacom Tablet

There is a specific kind of frustration that comes from knowing exactly what a finished image should look like and not having the tools to get there. For years, I added light effects to my beauty work with a mouse, and the results were stiff. The streaks were uniform. The glow felt pasted on. It was not until I finally committed to learning a pressure-sensitive tablet that everything clicked, and it happened faster than I expected.

Frequency Separation in Photoshop: A Step-by-Step Breakdown of Aaron Nace's Game-Changing Technique

Frequency Separation in Photoshop: A Step-by-Step Breakdown of Aaron Nace's Game-Changing Technique

There is a specific kind of dread that comes with zooming into 100% on a retouched face and realizing the skin looks like a wax museum exhibit. I know that dread well. Early in my retouching career, I was so focused on erasing every shadow and blotch that I was also erasing everything that made the skin look like skin. A client put it plainly: “She looks plastic.” That note stung, but it pushed me to find a better way.