Stop Fighting Your Masks: How the Subtract Tool Turns Messy Selections Into Clean Edits

Stop Fighting Your Masks: How the Subtract Tool Turns Messy Selections Into Clean Edits

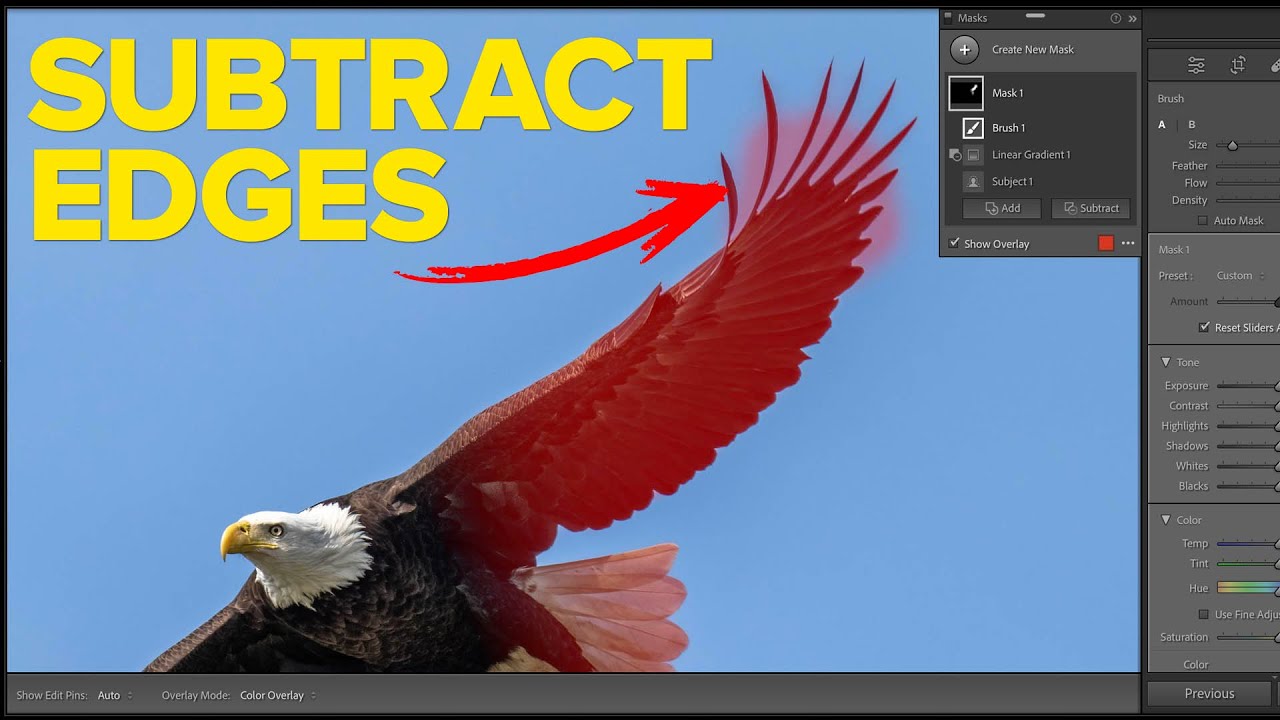
There’s a particular kind of frustration that comes from making a solid selection, bumping the exposure, and then noticing that weird glowing halo creeping around the edges of your subject. I ran into this constantly when I first started doing beauty work, and for a long time my solution was either to accept the flaw or spend twenty minutes in Photoshop doing painstaking manual cleanup. Neither option felt right. When I came across this Matt Kloskowski tutorial on the power of the Subtract tool in Lightroom and Photoshop masking, I realized I had been overcomplicating something that has a much more elegant fix built right into the tools I already use every day.

How to Mask Any Color-Based Element in Lightroom Without Touching a Selection Tool

How to Mask Any Color-Based Element in Lightroom Without Touching a Selection Tool

There’s a particular kind of editing frustration I know well: you’re looking at an image and you need to isolate something specific, something Lightroom’s AI has no preset button for. Not the sky. Not the subject. Something in between, like a textured roof, a mountain range, a fabric pattern in the background. For years, my reflex was to sigh, open Photoshop, and start drawing paths. That workflow costs time, and time is the thing I never have enough of between client deliveries and workshop prep.

The One Lightroom Masking Mode Most People Never Switch On

The One Lightroom Masking Mode Most People Never Switch On

There’s a specific frustration I run into constantly when editing beauty and product work: the background needs its own treatment, completely separate from the subject. Sometimes it’s a seamless sweep that needs to pop. Sometimes it’s a reflective floor that should feel glossier, or a wall that’s pulling attention away from the face I’ve spent an hour perfecting. The subject selection tools in Lightroom are genuinely impressive now, but they’re built around the assumption that the subject is the thing you want to adjust.

Lightroom's Intersect Mask Tool Explained: The Selection Trick That Actually Works

Lightroom's Intersect Mask Tool Explained: The Selection Trick That Actually Works

There’s a feature sitting inside Lightroom’s masking panel that I ignored for way too long because I assumed I understood it. Intersect. It sounds logical enough, right? Two things overlapping. But every time I tried to use it, the result didn’t behave the way I expected, and I’d fall back on subtracting with a brush like I always had. It wasn’t until I watched Watch the full tutorial on YouTube by Matt Kloskowski that the logic finally clicked for me in a way I could actually apply to client work.

Lightroom's New Masking Panel Is Better Than You Think — Here's How to Actually Use It

Lightroom's New Masking Panel Is Better Than You Think — Here's How to Actually Use It

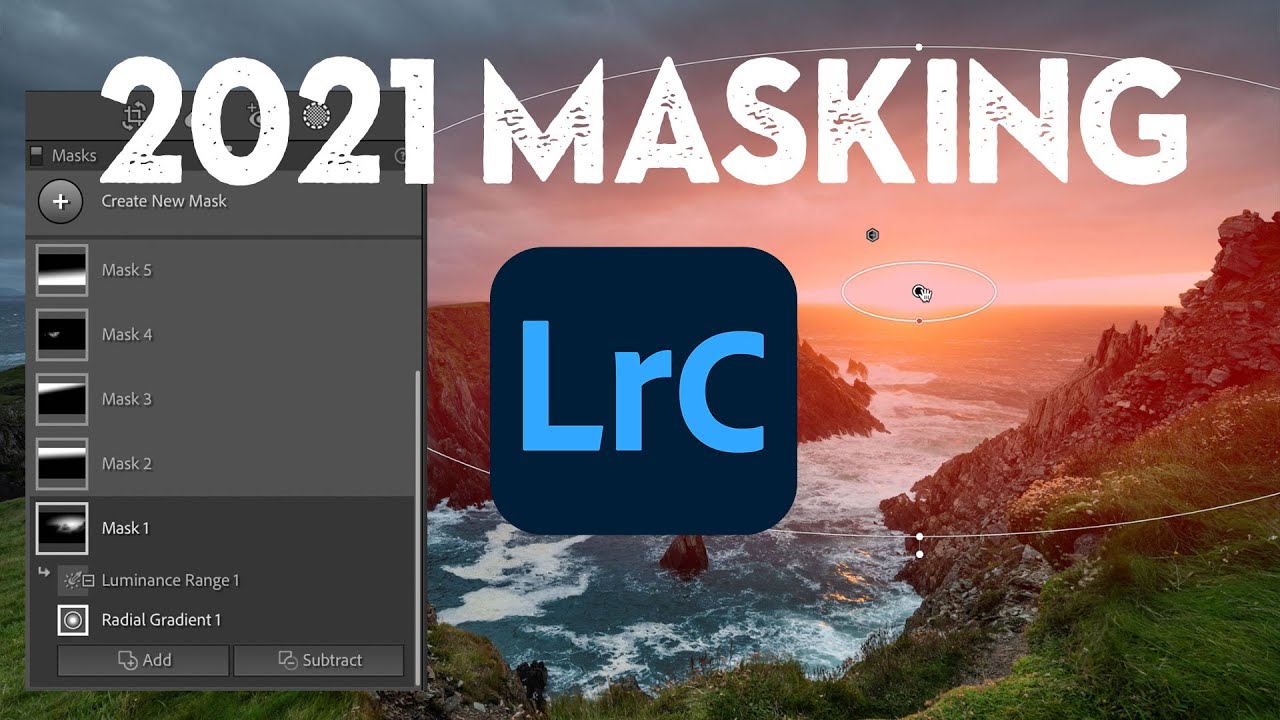
There’s a moment in almost every edit where I think, “I know what this image needs, I just can’t get there fast enough.” For a long time, Lightroom’s local adjustment tools were the bottleneck. The old radial and gradient filters got the job done, but organizing multiple masks on a complex image felt like untangling earbuds in the dark. When Adobe overhauled the masking panel, I’ll be honest, I skimmed the release notes, thought “neat,” and kept using Photoshop for anything serious.

Photoshop's Bidirectional Gradient Masks Finally Make Skin Blending Feel Natural

Photoshop's Bidirectional Gradient Masks Finally Make Skin Blending Feel Natural

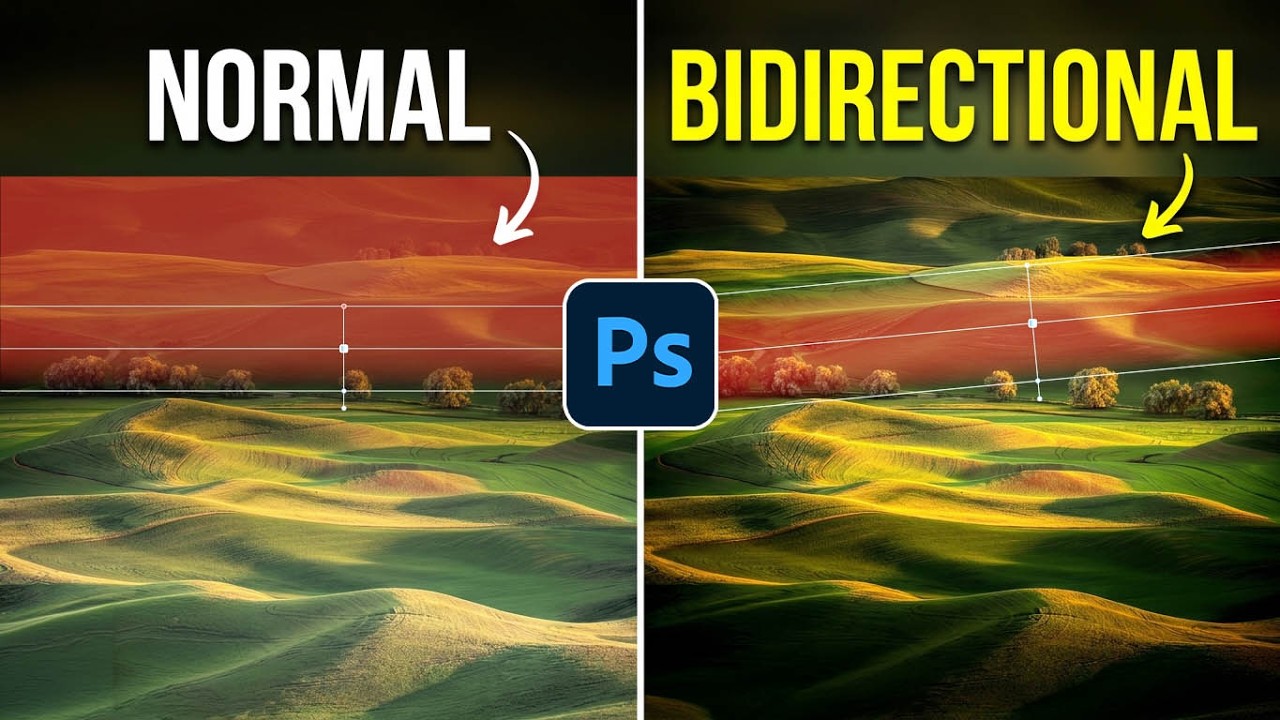
There’s a particular kind of frustration that comes from knowing exactly what you need to do to a photo and not having the right tool to do it cleanly. I’ve felt it dozens of times working on beauty campaigns where the light hits a subject’s face in a long, narrow band, and I want to enhance just that band without blowing out the edges or dragging a complicated luminosity mask into the mix.

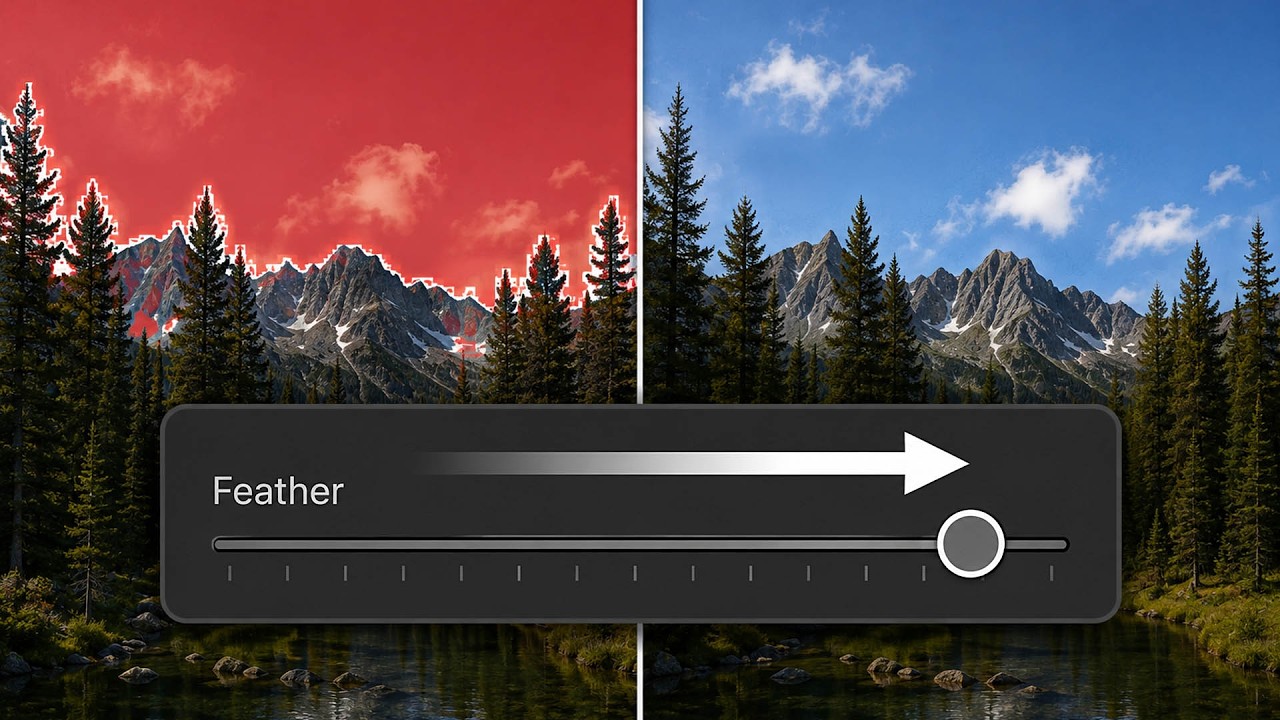
Lightroom's April 2026 Masking Updates Are Quietly a Big Deal for Beauty Retouchers

Lightroom's April 2026 Masking Updates Are Quietly a Big Deal for Beauty Retouchers

If you do any volume of beauty or portrait work, you already know that waiting on Lightroom is part of the job. Waiting for exports, waiting for AI masking, waiting for denoise to grind through a raw file while your cursor just sits there, taunting you. I’ve lost whole stretches of productive time staring at a progress bar when I could have been culling the next batch or answering emails. So when Adobe drops an update that actually addresses a real workflow bottleneck, I pay attention.

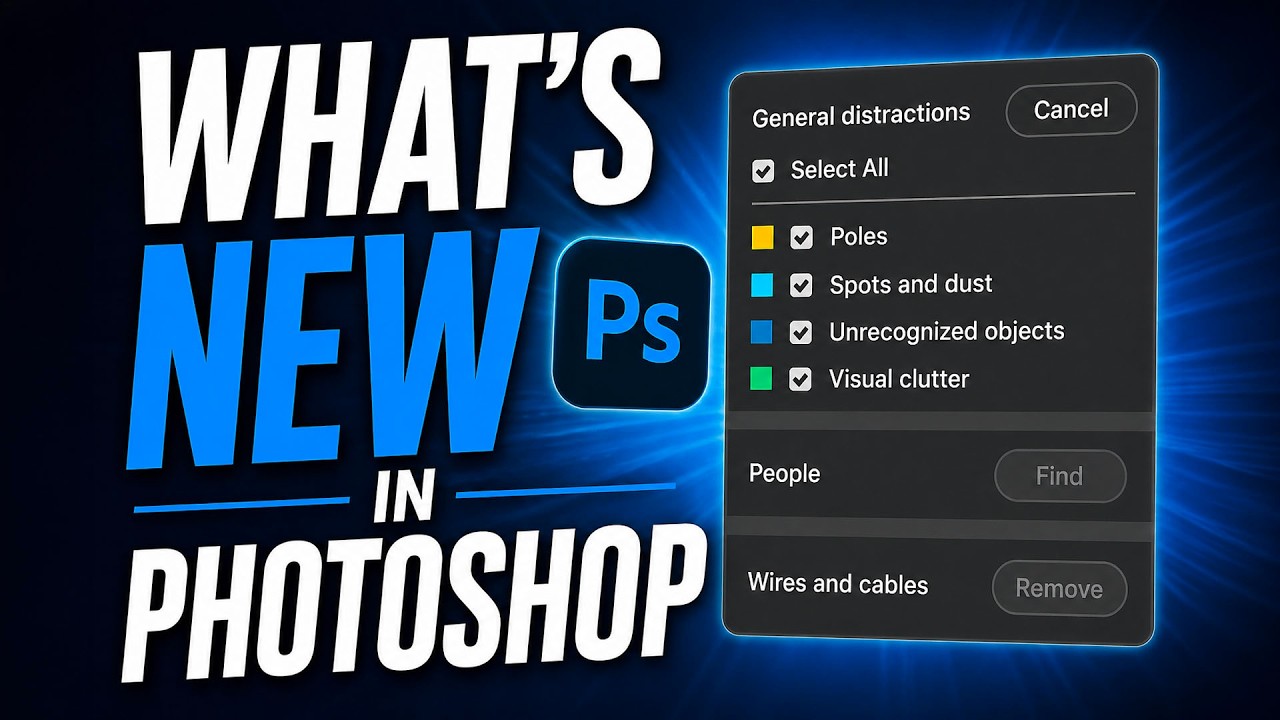
What Adobe Actually Changed in Photoshop This April (And What It Means for Your Retouching Workflow)

What Adobe Actually Changed in Photoshop This April (And What It Means for Your Retouching Workflow)

Every few months Adobe drops a Photoshop update, and most of the time I skim the release notes, nod politely, and go back to whatever action I was running (currently the entire Blade Runner franchise, in case you were wondering). But the April 2026 update genuinely caught my attention, partly because of a Matt Kloskowski tutorial I watched while finishing my third cup of green tea on a Tuesday morning. Watch the full tutorial on YouTube – it runs about four minutes and covers the highlights quickly and clearly.