Lightroom's New Feather and Edge Sliders Just Fixed the Mask Problem I've Been Working Around for Years

Lightroom's New Feather and Edge Sliders Just Fixed the Mask Problem I've Been Working Around for Years

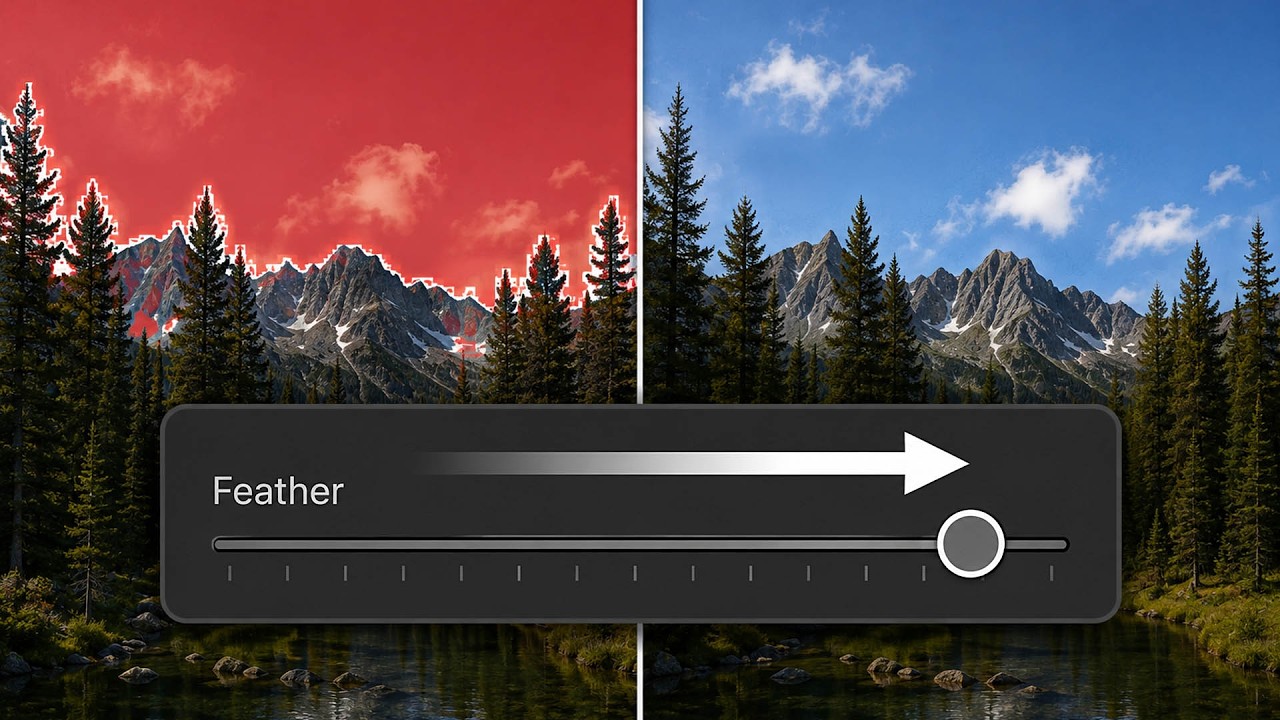
There is a specific kind of frustration that only retouchers understand: you build a careful mask, apply a gorgeous tonal adjustment, and then zoom in to find a halo of blown-out sky bleeding into the hair, or a mushy, undefined edge where a clean line should be. For years I handled this with a combination of workarounds, luminance masks, manual brushing, and a fair amount of sighing into my green tea.

Lightroom's New Masking Tools Changed How I Edit - Here's My Full Walkthrough

Lightroom's New Masking Tools Changed How I Edit - Here's My Full Walkthrough

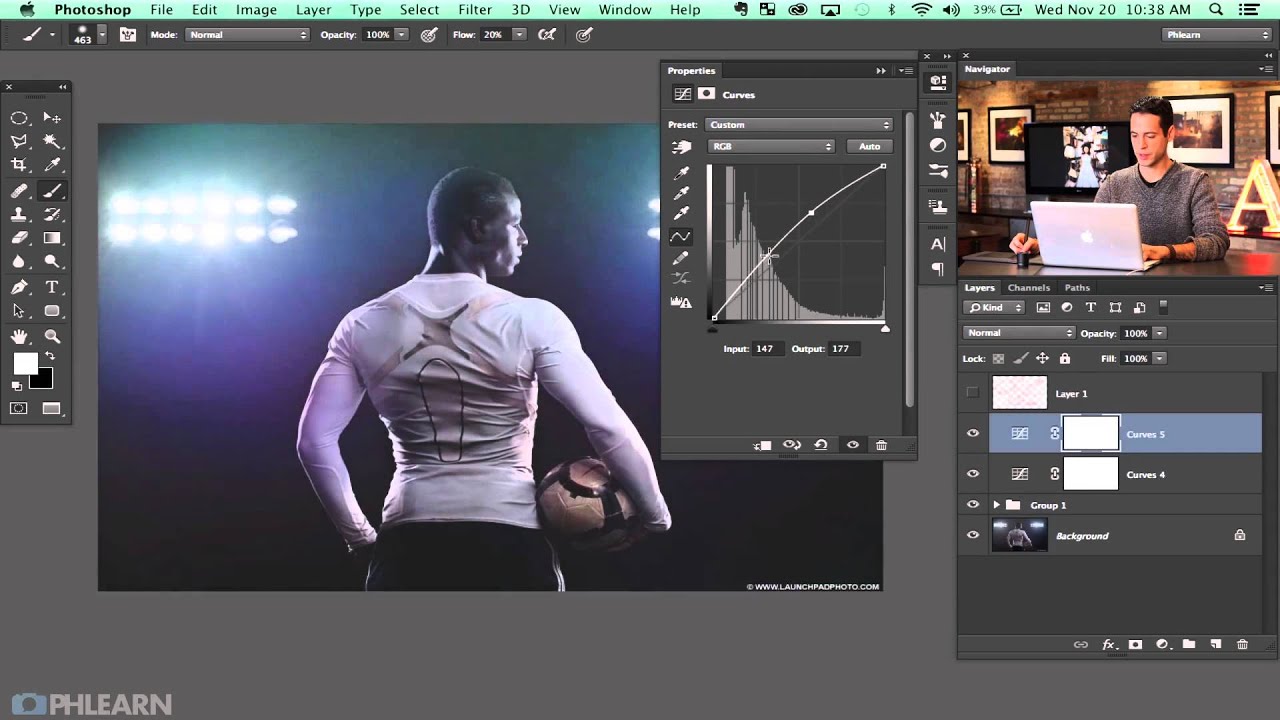
For years, my go-to move when a background needed serious work was to drag the file into Photoshop, do my thing, save a layered PSD, and then hop back to Lightroom to finish the rest of the edit. It worked, but it was slow, and honestly, it broke my creative flow at exactly the wrong moment. Somewhere between the export and the round-trip, I’d lose momentum. I’d close the file and tell myself I’d finish it later.

5 Lightroom & Camera Raw Masking Tricks That Will Change How You Work

5 Lightroom & Camera Raw Masking Tricks That Will Change How You Work

There’s a specific kind of frustration that comes from knowing a tool exists, using it every single day, and still feeling like you’re fighting it. For the longest time, that was me with Lightroom’s masking panel. I came to beauty retouching after years of wedding photography, and I built my masking habits fast and messy, learning just enough to get through a deadline. It wasn’t until I started slowing down and actually studying how other working photographers use these tools that things clicked into place.

The Uncanny Valley of Perfect: How to Train Your Eye to Spot AI-Generated Images

The Uncanny Valley of Perfect: How to Train Your Eye to Spot AI-Generated Images

There’s a skill I didn’t expect to need when I made the move from wedding photography into beauty retouching: learning to tell the difference between a photograph and a fabrication. Back when I started, the question was whether a retouch looked natural or “plastic.” Now the question has expanded. Clients send me reference images pulled from social media, mood boards assembled from Pinterest, and inspiration packs cobbled together from who-knows-where, and at least a few of those images in every batch are AI-generated, sometimes without the client even knowing.

The Channel Extraction Trick I Wish I'd Known Years Ago (Plus a 3D Paint Splatter Technique Worth Stealing)

The Channel Extraction Trick I Wish I'd Known Years Ago (Plus a 3D Paint Splatter Technique Worth Stealing)

There’s a specific kind of frustration that comes from spending twenty minutes wrestling with Quick Selection on a wispy, complex subject, only to end up with a mask that looks like it was cut out with safety scissors. I’ve been there more times than I care to admit. Early in my retouching work, I treated channels like that drawer in the kitchen where you throw things you don’t understand but can’t bring yourself to delete.

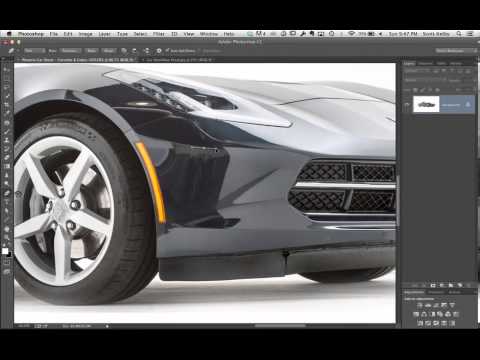
How to Retouch a Car in Photoshop: Scott Kelby's Workflow Broken Down Step by Step

How to Retouch a Car in Photoshop: Scott Kelby's Workflow Broken Down Step by Step

Most of my work lives in faces. Skin texture, under-eye circles, the way light catches a cheekbone. But the principles that make beauty retouching work, cleaning up distracting reflections, creating seamless backgrounds, making an image look inevitable rather than labored, apply everywhere. Including, it turns out, cars. I stumbled onto this tutorial while looking for a cleaner way to handle background reflections in product work, and it genuinely reframed how I think about any kind of studio shot.

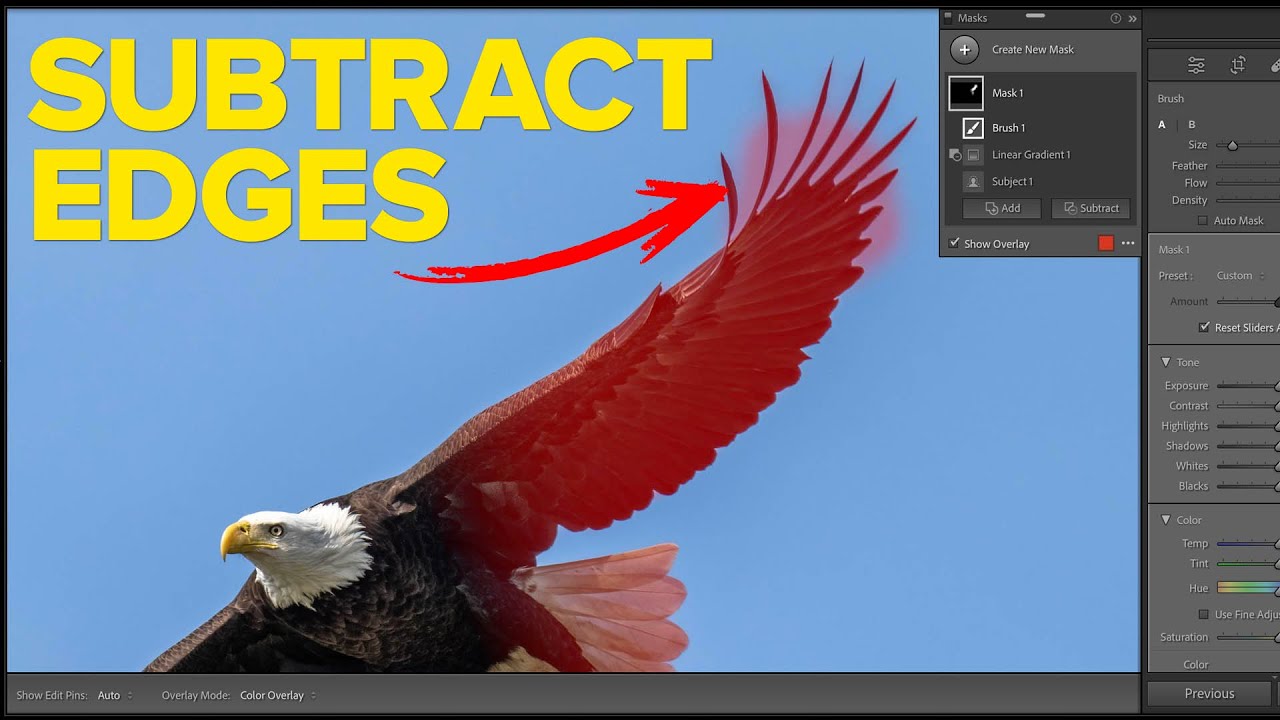
Stop Fighting Your Masks: How the Subtract Tool Turns Messy Selections Into Clean Edits

Stop Fighting Your Masks: How the Subtract Tool Turns Messy Selections Into Clean Edits

There’s a particular kind of frustration that comes from making a solid selection, bumping the exposure, and then noticing that weird glowing halo creeping around the edges of your subject. I ran into this constantly when I first started doing beauty work, and for a long time my solution was either to accept the flaw or spend twenty minutes in Photoshop doing painstaking manual cleanup. Neither option felt right. When I came across this Matt Kloskowski tutorial on the power of the Subtract tool in Lightroom and Photoshop masking, I realized I had been overcomplicating something that has a much more elegant fix built right into the tools I already use every day.

How Lightroom's New Masking Tools Can Transform the Way You Make Local Adjustments

How Lightroom's New Masking Tools Can Transform the Way You Make Local Adjustments

There’s a moment in almost every retouching session where I think: if I could just isolate that one thing without painting around it for ten minutes, this would be perfect. For portrait work, that’s usually a sky blowing out behind a subject, or a background that needs to be cooled down while the skin stays warm. For years, Lightroom’s local adjustment tools were a workaround at best, and I’d end up hopping over to Photoshop just to grab a clean mask.

Lightroom's New Masking Panel Is Better Than You Think — Here's How to Actually Use It

Lightroom's New Masking Panel Is Better Than You Think — Here's How to Actually Use It

There’s a moment in almost every edit where I think, “I know what this image needs, I just can’t get there fast enough.” For a long time, Lightroom’s local adjustment tools were the bottleneck. The old radial and gradient filters got the job done, but organizing multiple masks on a complex image felt like untangling earbuds in the dark. When Adobe overhauled the masking panel, I’ll be honest, I skimmed the release notes, thought “neat,” and kept using Photoshop for anything serious.

Portrait Cleanup Essentials: Creating a Flawless Foundation for Your Edits

Portrait Cleanup Essentials: Creating a Flawless Foundation for Your Edits

Portrait Cleanup Essentials: Creating a Flawless Foundation for Your Edits When I first started retouching portraits, I realized that the time I spent on cleanup made the difference between an amateur edit and a polished, professional result. Portrait cleanup isn’t glamorous—it’s the unglamorous foundation that everything else builds on. But I’ve learned it’s absolutely worth mastering because clean, organized work sets you up for success in every step that follows.

The Art of Portrait Cleanup: A Step-by-Step Guide to Polished Skin

The Art of Portrait Cleanup: A Step-by-Step Guide to Polished Skin

The Art of Portrait Cleanup: A Step-by-Step Guide to Polished Skin When someone shares a portrait with me for editing, I often see the same concern: “Can you clean this up without making it look fake?” This question tells me everything I need to know about modern retouching—we want enhancement, not transformation. Portrait cleanup isn’t about erasing someone’s character; it’s about removing temporary imperfections while preserving their authentic beauty. I’ve spent years perfecting this balance, and I’m excited to share my approach with you.

The Art of Portrait Cleanup: A Step-by-Step Guide to Natural-Looking Retouching

The Art of Portrait Cleanup: A Step-by-Step Guide to Natural-Looking Retouching

The Art of Portrait Cleanup: A Step-by-Step Guide to Natural-Looking Retouching When I first started retouching portraits, I made the same mistake many of us do: I cleaned up everything. Every texture, every subtle shadow, every whisper of character. The result? Portraits that looked plastic and lifeless. Over the years, I’ve learned that great portrait cleanup isn’t about erasing reality—it’s about enhancing it thoughtfully. Today, I’m sharing the approach we use in our studio to create portraits that look professionally polished while still feeling authentically human.