How Sean Tucker's Lightroom Portrait Workflow Finally Got My Skin Tones Right

How Sean Tucker's Lightroom Portrait Workflow Finally Got My Skin Tones Right

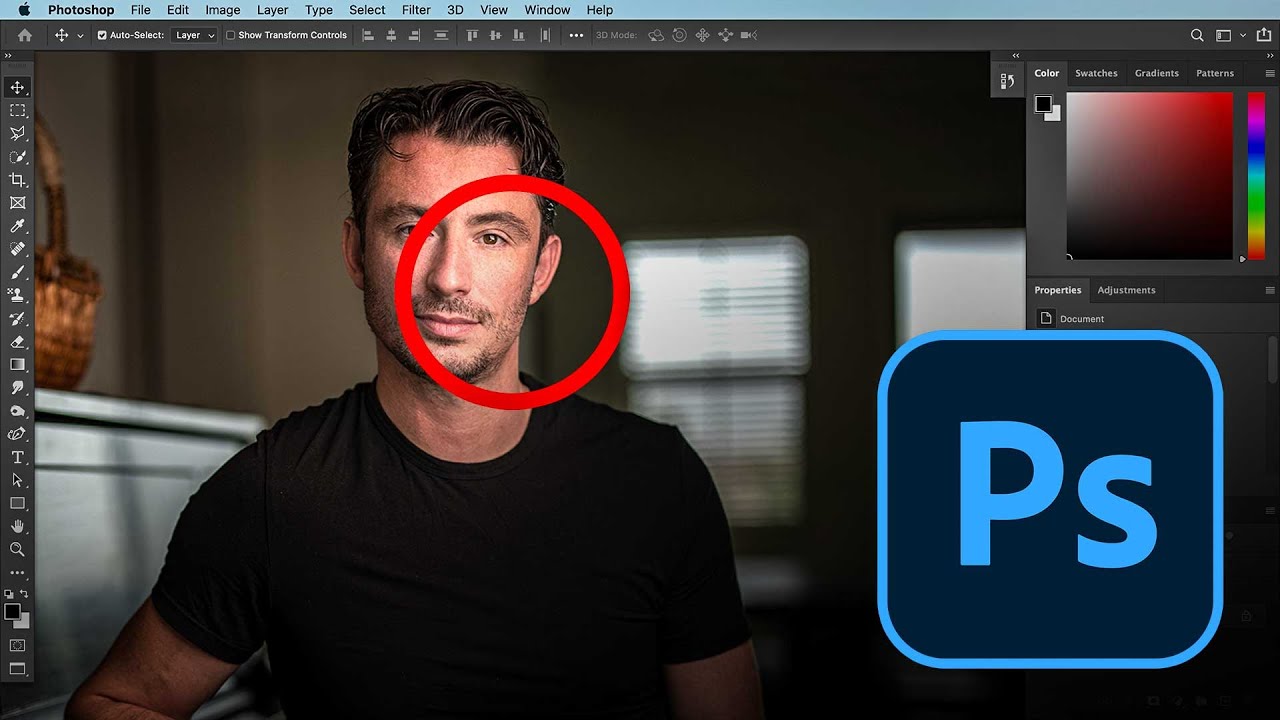
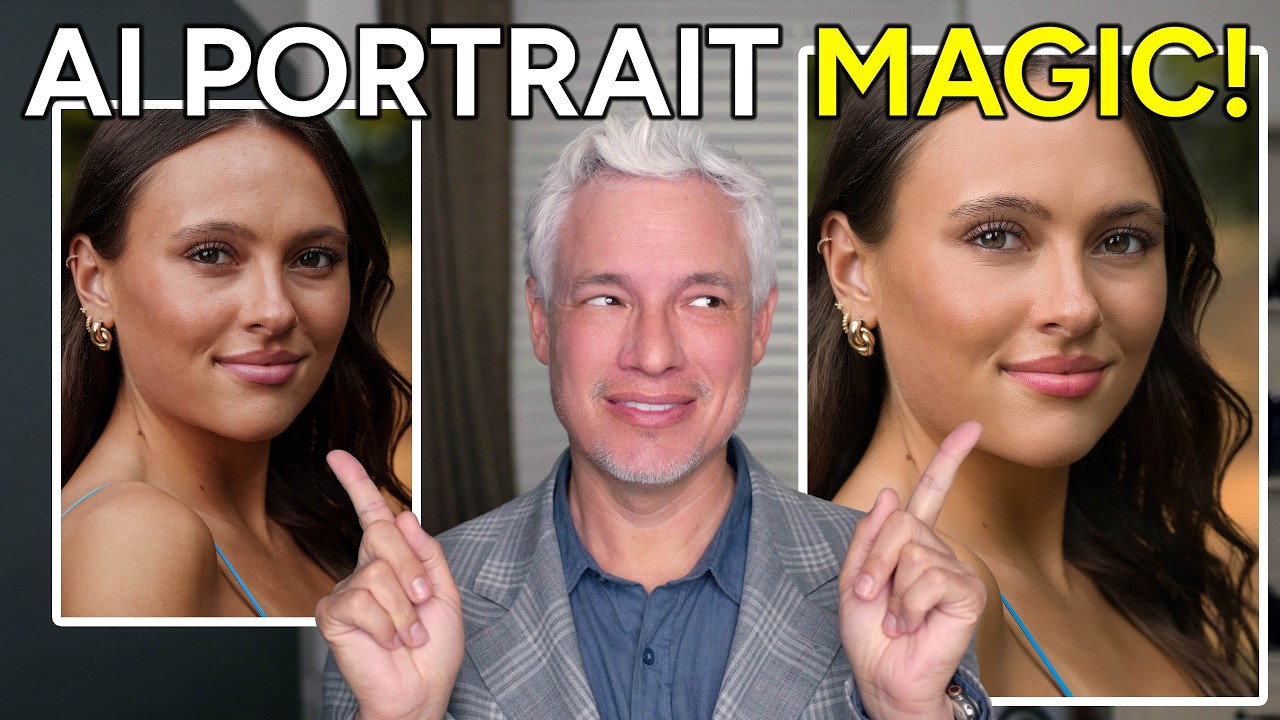
I’ll be honest with you: for years, I was a Photoshop-or-nothing person. Coming from wedding photography into beauty retouching, I built my entire workflow around layers, frequency separation, and a library of actions I’ve named after films. Lightroom felt like the place where images stopped, not where they got made. Then I sat down with Watch the full tutorial on YouTube this Sean Tucker tutorial on editing environmental portraits completely inside Lightroom, and I had one of those quiet, humbling moments where a working professional shows you that your assumptions were costing you time.

Why Your Portraits Look Flat (And How Dodge and Burn Actually Fixes It)

Why Your Portraits Look Flat (And How Dodge and Burn Actually Fixes It)

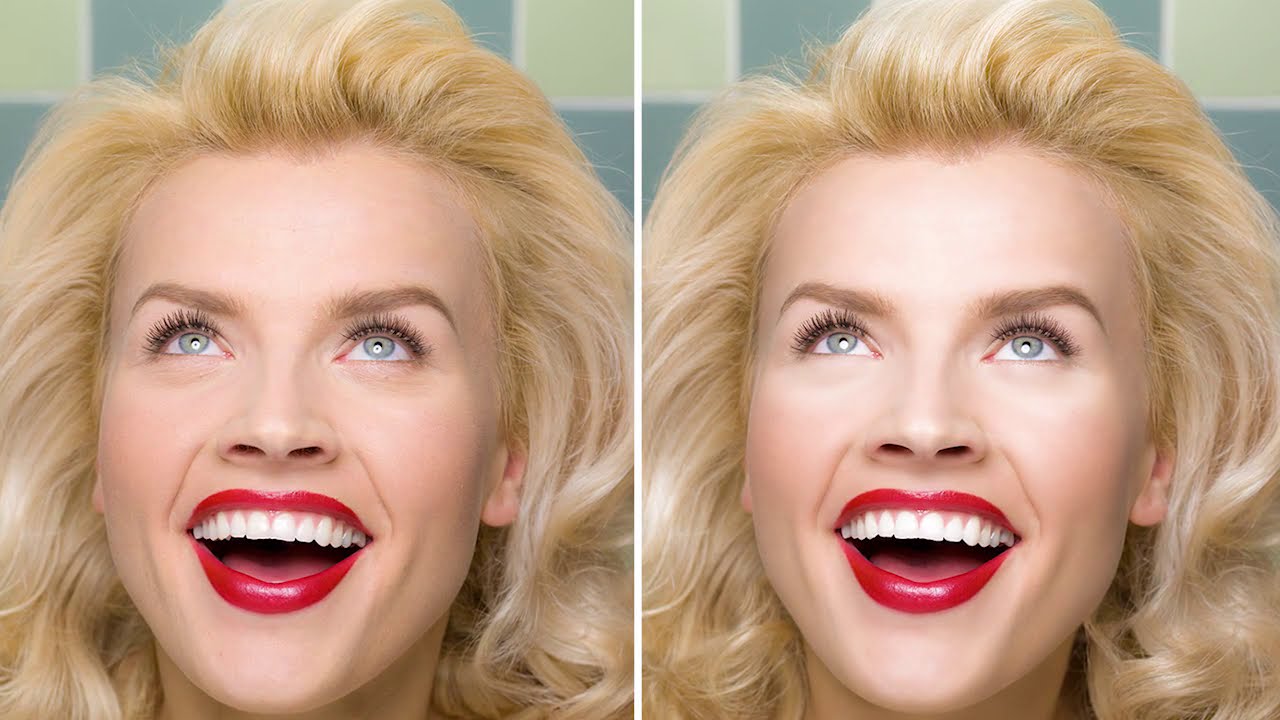
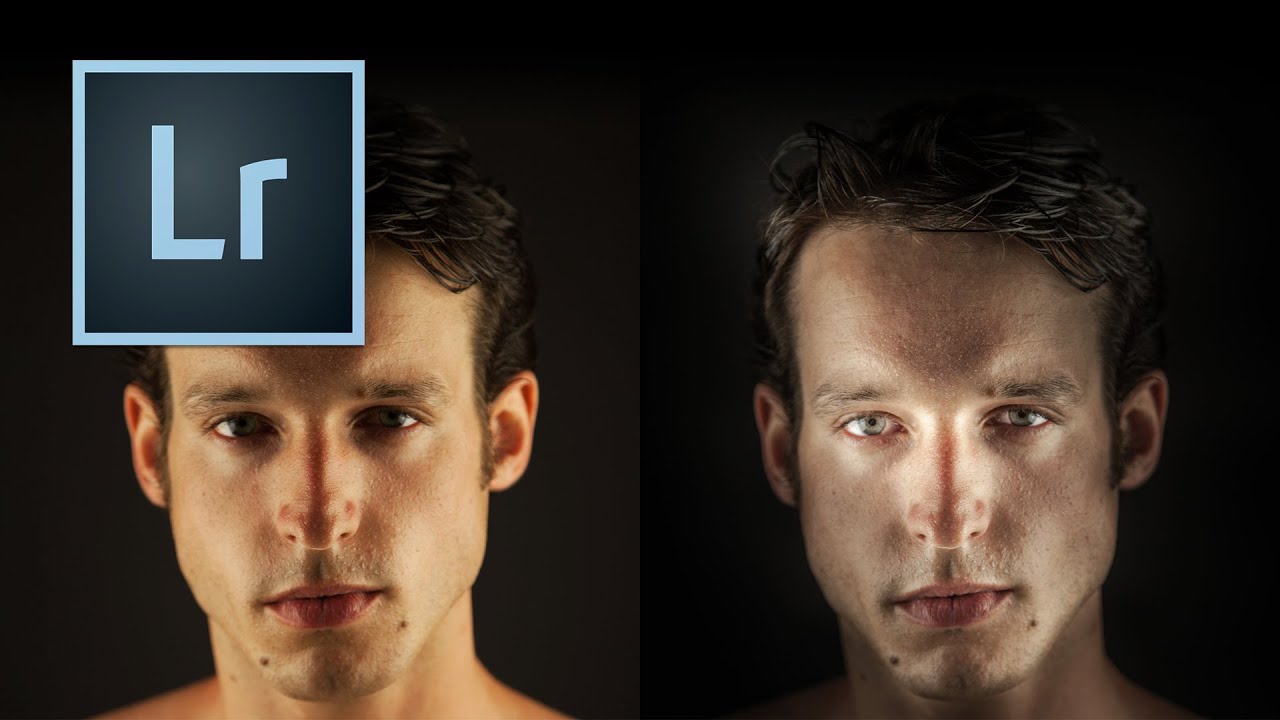
The first time a client told me my retouching looked “plastic,” I was mortified. I had spent two hours on that image. The skin was smooth, the blemishes were gone, and the color was even. It looked, to my untrained eye, finished. What I didn’t understand yet was that I had removed not just the flaws but the depth. The face had no shadow, no structure, no life. It looked like a mask sitting in front of a head rather than an actual human face.

Why I Stopped Duplicating Layers for Every Retouch (And What I Do Instead)

Why I Stopped Duplicating Layers for Every Retouch (And What I Do Instead)

When I was first learning Photoshop, I duplicated every layer before touching anything. It was practically a reflex. Open file, hit Command-J, breathe. Nobody ever explained why we did it. It was just the rule, passed down from tutorial to tutorial like a photographic commandment. It took me years of freelance work, and honestly a few bloated, chaotic PSD files sent to clients, before I started questioning whether the habit still made sense.

How to Add Depth and Dimension to Flat-Looking Portrait Photos in Photoshop

How to Add Depth and Dimension to Flat-Looking Portrait Photos in Photoshop

There’s a particular kind of frustration that comes from delivering a beauty retouch that looks completely flat on screen. The skin is clean, the tones are balanced, the color is consistent, and yet something is missing. Dimension. The sense that there’s actual space between the subject and the world behind them. For a long time, the only reliable fix I had was to manually paint luminosity masks or fake a depth-of-field effect with blur layers and a lot of patient masking.

Why Dodge and Burn Is the Last Retouching Skill You'll Want to Learn (and the First You Should)

Why Dodge and Burn Is the Last Retouching Skill You'll Want to Learn (and the First You Should)

I still have the file. It lives in a folder I’ve never deleted, labeled “DO NOT SHOW ANYONE,” and every time I open Photoshop it’s sitting there, waiting. My first serious retouching attempt on a beauty portrait. The skin looks like it was painted with a foam roller. No dimension, no depth, no life. Just a flat, airbrushed approximation of a human face. What I was missing wasn’t a better plugin or a fancier frequency separation technique.

Frequency Separation Actually Explained: Why Your Skin Retouching Looks Fake (And How to Fix It)

Frequency Separation Actually Explained: Why Your Skin Retouching Looks Fake (And How to Fix It)

The first time a client told me my retouching looked “plastic,” I had no idea what she meant. I thought I’d done a beautiful job. The skin was smooth, the blemishes were gone, the whole image had this polished magazine quality I’d been chasing. She pulled up a reference image on her phone, slid it across the table, and said, “I want to look like that. Yours looks like a wax figure.

Portrait Cleanup Before You Touch the Skin: Why the Background Is Costing You More Time Than You Think

Portrait Cleanup Before You Touch the Skin: Why the Background Is Costing You More Time Than You Think

Last week I opened a portrait from a beauty brand shoot and spent forty minutes working on the model’s skin before I noticed it. A single strand of hair, ghosted across her left shoulder, catching the backlight in a way that made it look like a scar. I had to repaint half the shoulder. If I’d caught it in the first five minutes, it would have taken thirty seconds with the Clone Stamp.

Why Your Portraits Look Flat (And How Dodge and Burn Fixes It From the Inside Out)

Why Your Portraits Look Flat (And How Dodge and Burn Fixes It From the Inside Out)

A few years into my retouching career, I got a message from a client that I still think about. She’d sent her finished portraits to a makeup artist friend, who looked at them and said they looked “a little plastic.” Not bad, exactly. Just… off. Like the face had been buffed smooth and then lit from nowhere in particular. I knew exactly what had gone wrong. I’d been so focused on removing what I didn’t want that I’d forgotten to keep what made the face look real.

The Art of Subtle Makeup Retouching: Enhancing Beauty Without Overdoing It

The Art of Subtle Makeup Retouching: Enhancing Beauty Without Overdoing It

The Art of Subtle Makeup Retouching: Enhancing Beauty Without Overdoing It When I first started retouching portraits, I made the same mistake many editors do—I thought bigger edits meant better results. Over time, I learned that the most stunning makeup retouching is often the work people don’t notice. It’s about enhancement, not transformation. Let me share what I’ve discovered about creating makeup edits that feel authentic. Understanding Your Starting Point Before we touch a single slider, I always spend time studying the original image.

The Art of Subtle Beauty Editing: Enhancing Without Overdoing

The Art of Subtle Beauty Editing: Enhancing Without Overdoing

The Art of Subtle Beauty Editing: Enhancing Without Overdoing When I first started retouching portraits, I made a mistake I see many editors make: I assumed more editing meant better results. I’d smooth every pore, brighten every highlight, and blur away every hint of texture. The photos looked plasticky and lifeless—nothing like the confident, genuine people I’d photographed. Over the years, I’ve learned that the best beauty editing is the kind nobody notices.

The Art of Professional Headshot Editing: My Essential Workflow

The Art of Professional Headshot Editing: My Essential Workflow

The Art of Professional Headshot Editing: My Essential Workflow When I first started retouching headshots, I made every mistake in the book. Over-smoothed skin. Unnatural eye enhancement. Teeth that glowed like neon signs. After years of refining my approach, I’ve developed a workflow that delivers results my clients genuinely love—and I want to share it with you. The key to great headshot editing isn’t about making someone look like a filtered version of themselves.

Finding Beauty in Imperfection: Why Portrait Artists Should Embrace Intentional Simplicity

Finding Beauty in Imperfection: Why Portrait Artists Should Embrace Intentional Simplicity

The Power of Stepping Back I’ve been reflecting lately on how we, as beauty and portrait editors, sometimes get caught up in the endless possibilities of our tools. We have access to incredible retouching software, countless presets, and the ability to transform nearly any image into something polished and flawless. But what happens when we pause and ask ourselves: what do we actually want to say with our portraits? This question has been on my mind as I’ve watched photographers across the industry rediscover the joy of working with constraint.