AI-Powered Portrait Retouching: Using Liquify, Neural Filters, and the Happiness Slider You Didn't Know Existed

AI-Powered Portrait Retouching: Using Liquify, Neural Filters, and the Happiness Slider You Didn't Know Existed

There’s a specific kind of client portrait that every retoucher knows: the one where the subject looks technically fine but somehow unhappy, closed-off, a little flat. You’ve balanced the skin, the light is clean, and yet something about the expression makes the whole image feel heavy. For years, my only options were to either live with it or spend forty minutes carefully painting in a subtler version of whatever the subject’s face was doing.

What Landscape Photographers Know About Light That Every Beauty Retoucher Should Steal

What Landscape Photographers Know About Light That Every Beauty Retoucher Should Steal

There’s a reason I keep a folder on my desktop called “Not Beauty.” It’s full of tutorials from photographers who have nothing to do with my usual world of skin smoothing and color grading, and it’s one of the most useful folders I have. When I burned out on wedding photography years ago and moved into beauty retouching, I thought I was leaving landscape and nature work behind entirely. What I didn’t expect was how much the discipline of outdoor photographers would reshape the way I think about light, patience, and the decision-making that happens before you ever open Lightroom.

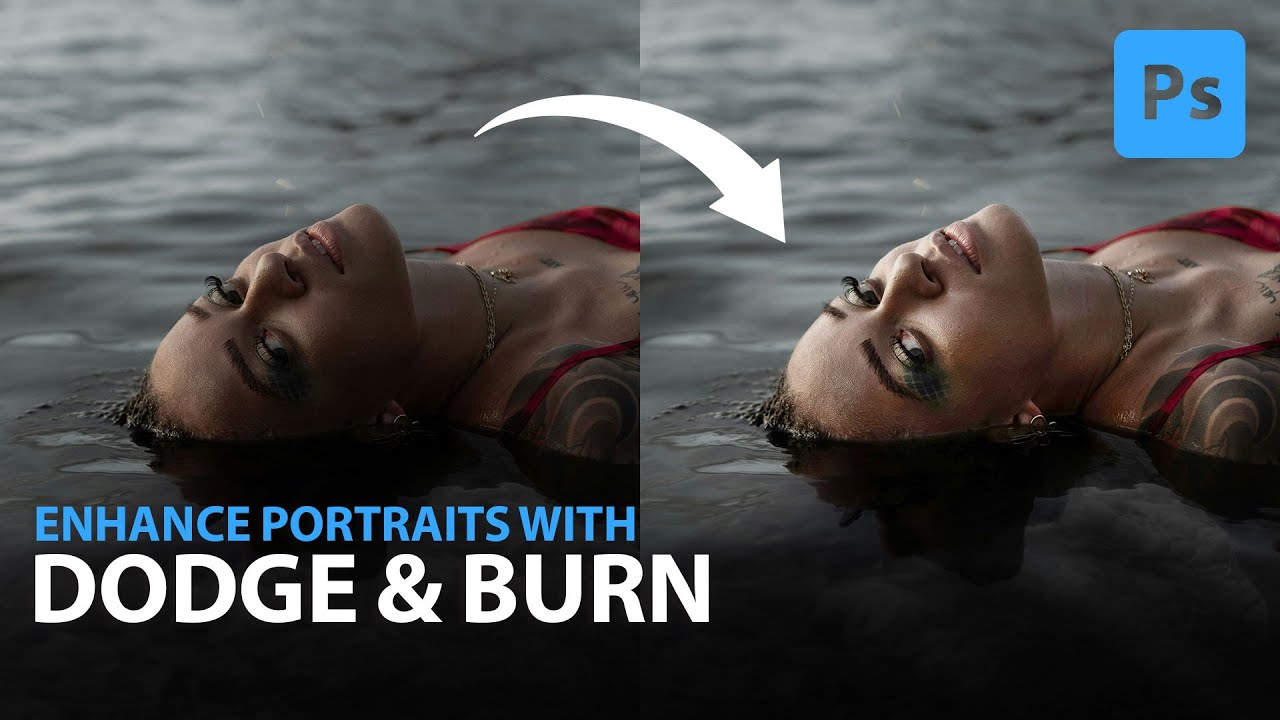
Stop Burning Out Your Skin Retouching: How to Use Dodge & Burn the Way It Actually Works

Stop Burning Out Your Skin Retouching: How to Use Dodge & Burn the Way It Actually Works

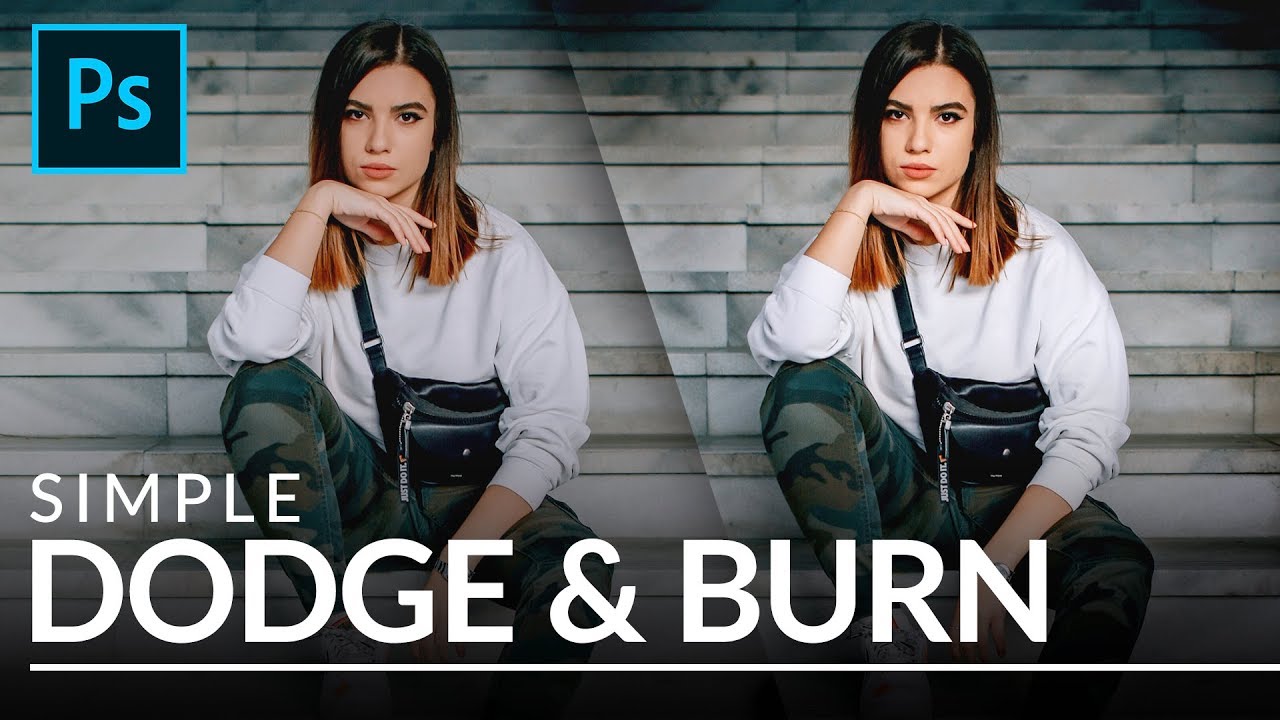
For a long time, I was that retoucher whose skin edits looked like they’d been ironed flat. A client once told me my portraits looked “a little plastic,” and I knew exactly what she meant, even if I didn’t want to admit it. I was heavy-handed with my tools, rushing toward a result instead of building toward it. Dodge and burn was supposed to be my solution, but I’d learned it in a way that made things worse, not better.

Frequency Separation: The Technique That Stopped My Edits From Looking Like Plastic

Frequency Separation: The Technique That Stopped My Edits From Looking Like Plastic

A client called me once to say my retouching looked “like a video game character.” I had spent two hours on that image. I had smoothed every pore, every shadow, every subtle line, and I handed back something that looked like it had been poured from a mold. She was kind about it, but I still have that file saved on an old hard drive as a personal cautionary tale. That was the moment I understood that I had been solving the wrong problem.

Frequency Separation for Real Skin: What I Took Away from Jessica Kobeissi's Retouch & Chill

Frequency Separation for Real Skin: What I Took Away from Jessica Kobeissi's Retouch & Chill

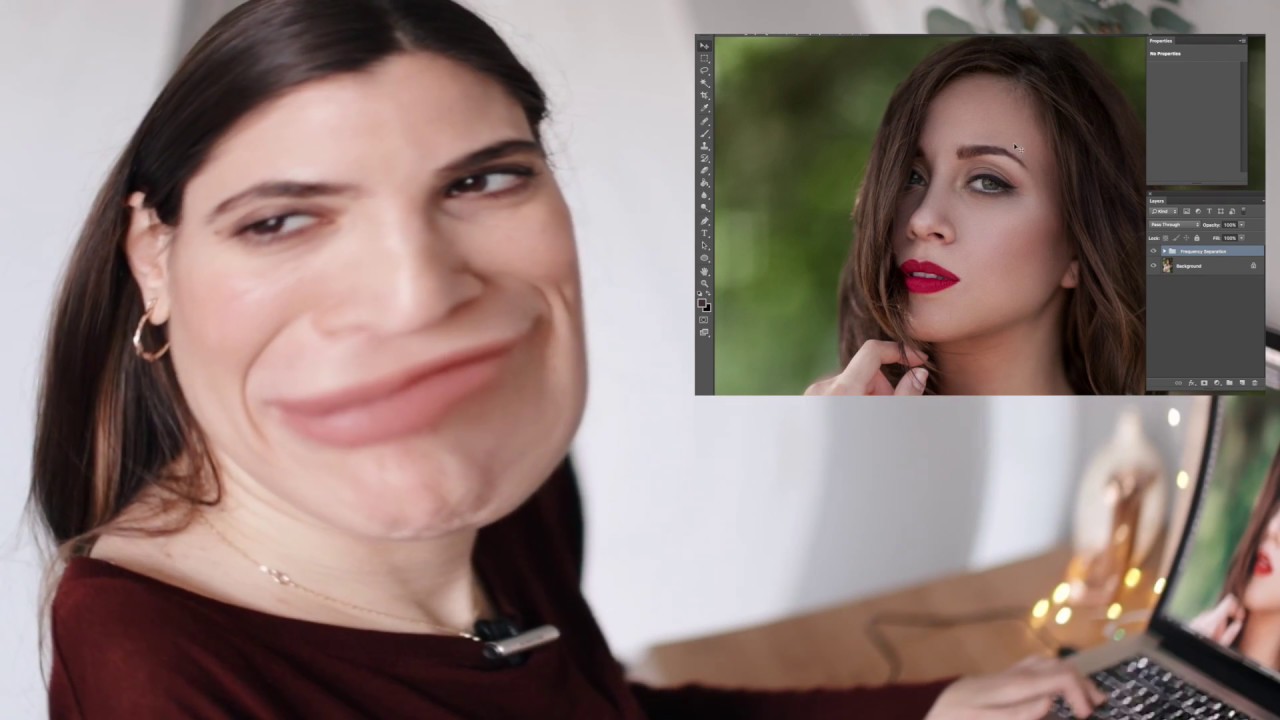
There is a particular kind of dread that comes with opening a portrait file and seeing skin that needs serious work. Not “dust off a blemish” work. Real texture, real unevenness, real light that caught every pore. Early in my retouching career I handled that dread badly. I’d over-smooth, over-blur, and hand back something that looked more like a vinyl doll than a person. A client once told me the skin looked “plastic.

What Portrait Artists Need to Know About AI and Your Public Photos

What Portrait Artists Need to Know About AI and Your Public Photos

What Portrait Artists Need to Know About AI and Your Public Photos I’ve been watching the intersection of artificial intelligence and professional photography with careful attention, and there’s something happening right now that deserves our collective focus. Meta has quietly activated an AI image generation feature that’s fundamentally changing how our public Instagram photos can be used—and honestly, it caught many of us off guard. The Default Setting That Changes Everything Here’s what’s happening: if you have a public Instagram profile, Meta’s new AI tools can now pull your photos and use them as training material or as references for generating new AI images.

Why Your Portrait Colors Look Wrong (And the Correction Order That Fixes It)

Why Your Portrait Colors Look Wrong (And the Correction Order That Fixes It)

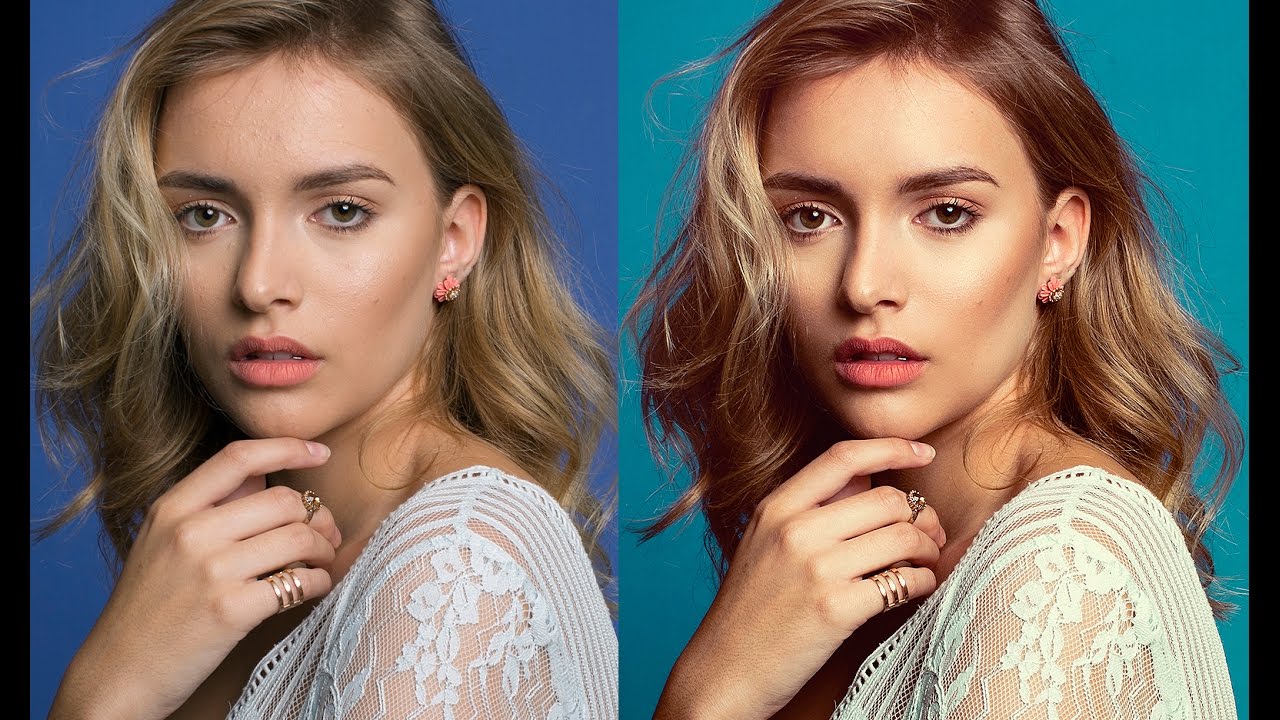
A few years back, I finished what I thought was a beautiful set of beauty edits for a skincare brand. Smooth skin, clean background, nice and bright. I sent the gallery over feeling genuinely proud. The creative director wrote back within an hour: “The skin looks a little… gray? And her lips are almost purple. Can you fix the color before we go further?” I stared at my monitor. The skin looked fine to me.

Portrait Cleanup Before You Retouch: Why Your Starting File Is Half the Battle

Portrait Cleanup Before You Retouch: Why Your Starting File Is Half the Battle

A few years into doing this work, I had a client send back a fully retouched beauty shot with a single line of feedback: “Can you fix the collar?” I zoomed out and there it was, a small wrinkle in the model’s shirt that I had somehow completely tuned out for the entire two hours I’d spent on her skin. I had gone straight into pore work and left a distracting wardrobe problem sitting right in the frame.

From Art Director to Portrait Photographer: What Valerie Bogle's Studio Setup Teaches Us About Intentional Beauty Work

From Art Director to Portrait Photographer: What Valerie Bogle's Studio Setup Teaches Us About Intentional Beauty Work

There’s a particular kind of client who walks into a beauty shoot convinced the camera will confirm every bad thing she’s ever believed about herself. I’ve worked with enough of them, on the post-processing side at least, to know that what happens before the shutter clicks matters just as much as what happens in Photoshop afterward. That’s why a studio tour like the one Valerie Bogle gives in Watch the full tutorial on YouTube hit me differently than a standard lighting breakdown or gear review.

How to Paint Light and Volume Back Into a Face Using Photoshop Layers

How to Paint Light and Volume Back Into a Face Using Photoshop Layers

There’s a specific kind of defeat that comes from delivering a gallery and hearing back that the edits look “a little flat.” I’ve been there. Early in my beauty retouching career, I was so focused on removing things, smoothing, erasing, fixing, that I forgot skin has actual shape. It catches light on a nose bridge. It has shadow under a cheekbone. When you retouch that dimension away, even a perfectly exposed photo can start to look like a wax figure.

Three Tools, One Great Portrait: Breaking Down Joel Grimes' No-Fuss Retouching Workflow

Three Tools, One Great Portrait: Breaking Down Joel Grimes' No-Fuss Retouching Workflow

There’s a version of me from a few years back who would have spent three hours on a single portrait, chasing some imaginary level of perfection, and still delivered something that looked overworked. A client once told me my edits looked “a little plastic” and I still think about that comment every time I open a new file. What I’ve learned since then is that the best retouching is almost invisible, and the best workflows are simpler than you’d expect.

How to Freestyle a Portrait Retouch in Photoshop (Without a Rigid Plan)

How to Freestyle a Portrait Retouch in Photoshop (Without a Rigid Plan)

There’s a version of portrait retouching that feels like following a recipe. Same steps, same order, same result every time. For a long time, that was me. I built elaborate action sets (I still name them after movies – my frequency separation stack is called “The Prestige”) and ran every portrait through the same pipeline. It was efficient. It was also making my work look a little lifeless, like I was manufacturing faces rather than finishing photographs.