What Scott Kelby's Light It. Shoot It. Retouch It. Finally Gets Right About Teaching Portrait Retouching

What Scott Kelby's Light It. Shoot It. Retouch It. Finally Gets Right About Teaching Portrait Retouching

There’s a particular kind of frustration that every self-taught retoucher knows. You find a tutorial with gorgeous results, you follow along as carefully as you can, and what you end up with looks nothing like the final image. Not even close. The gap between “here’s the concept” and “here’s exactly how to do it” is where most instructional content quietly falls apart. I spent years filling that gap by trial and error, and I have a hard drive full of over-processed, plastic-looking portraits to prove it.

Why Your Makeup Retouching Looks Fake (And the Layered Mask Workflow That Fixed It For Me)

Why Your Makeup Retouching Looks Fake (And the Layered Mask Workflow That Fixed It For Me)

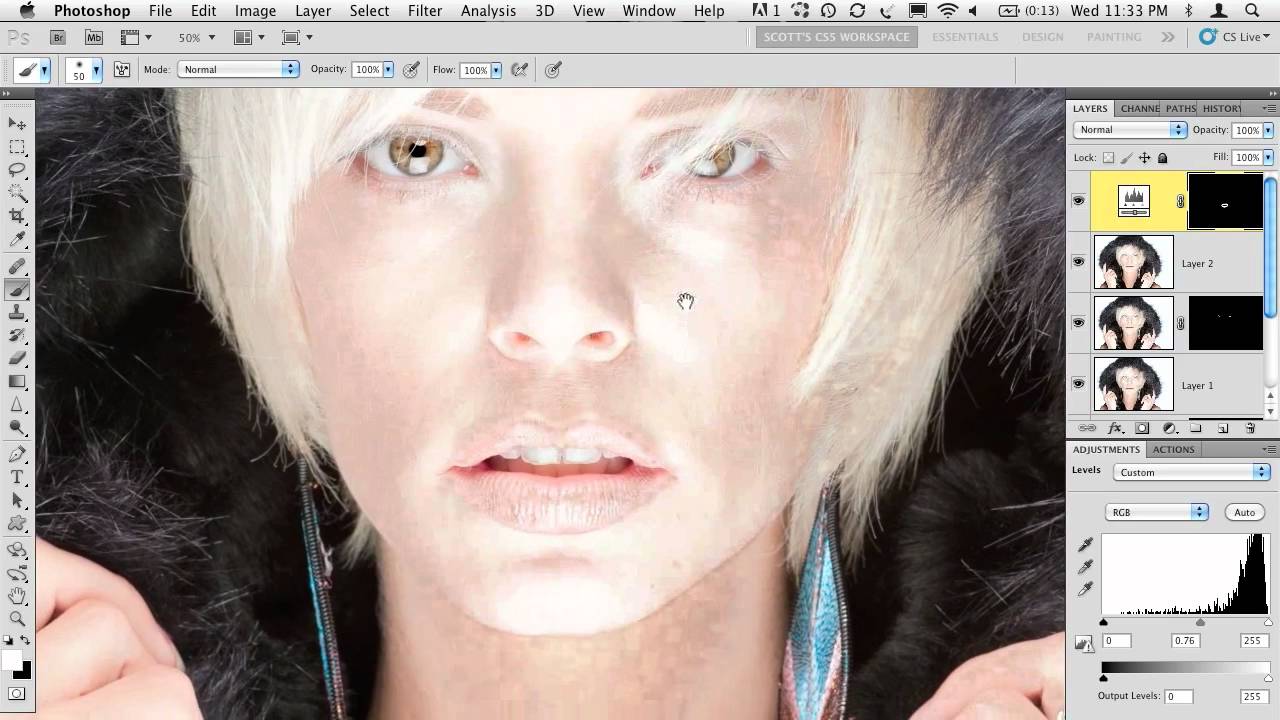
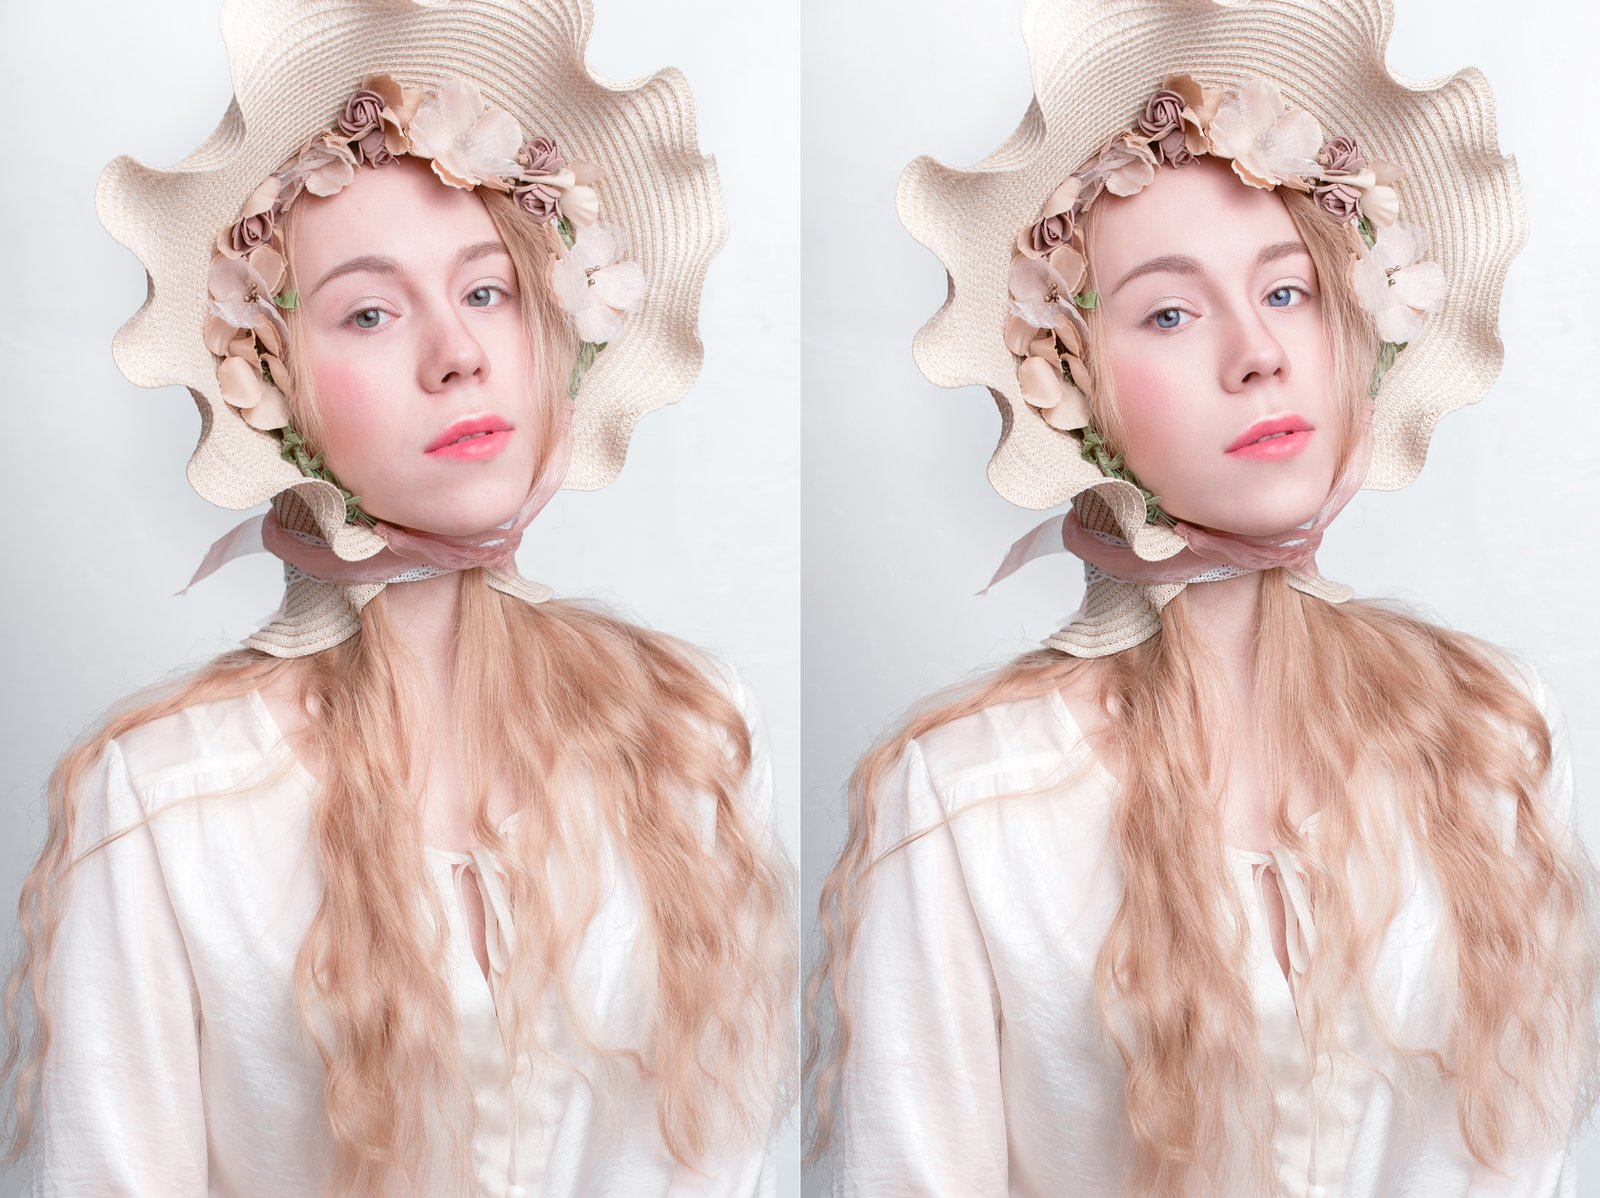
A few years into freelancing, I got a message from a client that I still think about. She’d hired me to retouch a series of beauty shots for a skincare campaign, and after I delivered the first round, she wrote back: “The skin looks great, but the lipstick looks like it was painted on in Microsoft Paint.” She wasn’t wrong. I had dodged and burned the lip color directly on the original layer, flattened the texture, and produced something that looked like a wax figure wearing a lip stain.

What America's Next Top Model's Bare-Skin Shoot Teaches Us About Honest Beauty Retouching

What America's Next Top Model's Bare-Skin Shoot Teaches Us About Honest Beauty Retouching

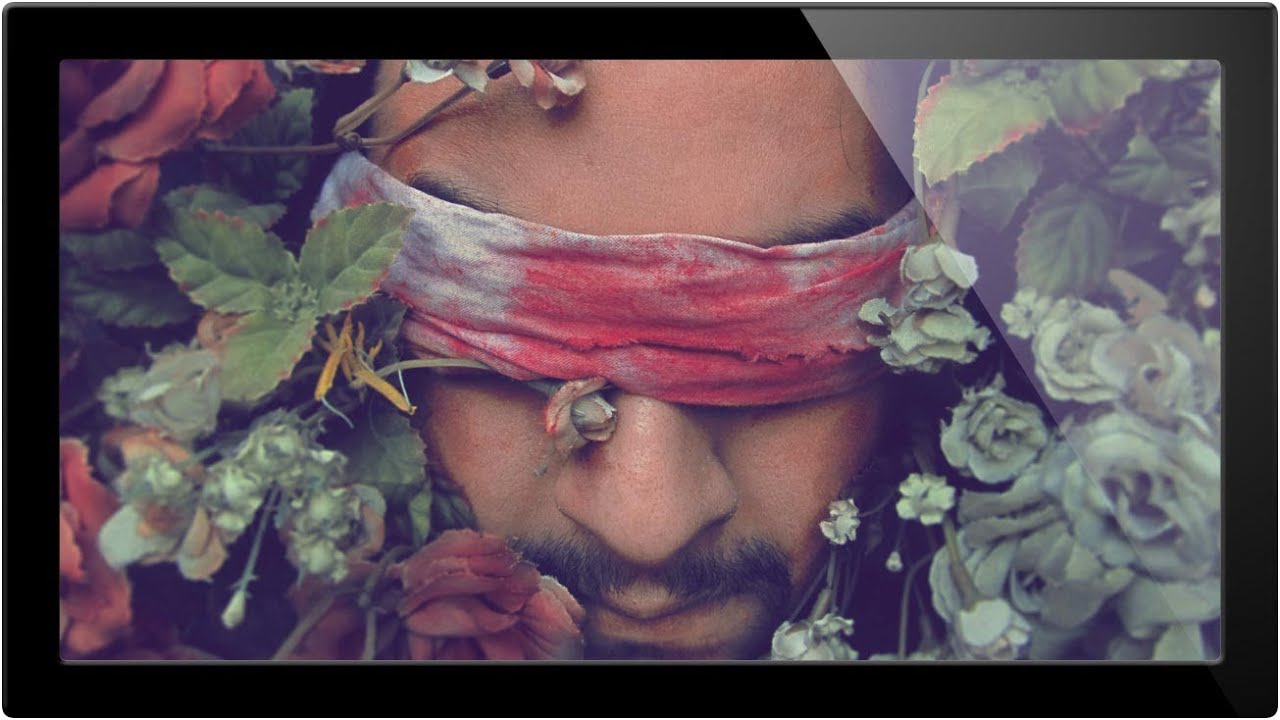
There’s a particular kind of dread I recognize in the faces of those America’s Next Top Model contestants before their no-makeup shoot. I felt a version of it myself years ago, early in my retouching career, when a client sent back my work with the note: “These look real.” She did not mean it as a compliment. That moment cracked something open for me about what we actually owe the people we photograph and retouch – and what “beautiful” is even supposed to mean when we strip away all the tools we usually reach for.

How to Handle Unwanted Shadows When Compositing Portrait Photos

How to Handle Unwanted Shadows When Compositing Portrait Photos

Shadow problems have a way of showing up exactly where you don’t want them. A subject’s arm falls across their torso, a leg casts a hard line across a background you spent twenty minutes setting up, and suddenly the composite you were proud of has a giveaway edge that screams “two separate images.” I used to patch these situations with heavy cloning and hope nobody noticed. They noticed. Watch the full tutorial on YouTube

How to Remove Skin Redness in Photoshop Using Hue/Saturation (The Right Way)

How to Remove Skin Redness in Photoshop Using Hue/Saturation (The Right Way)

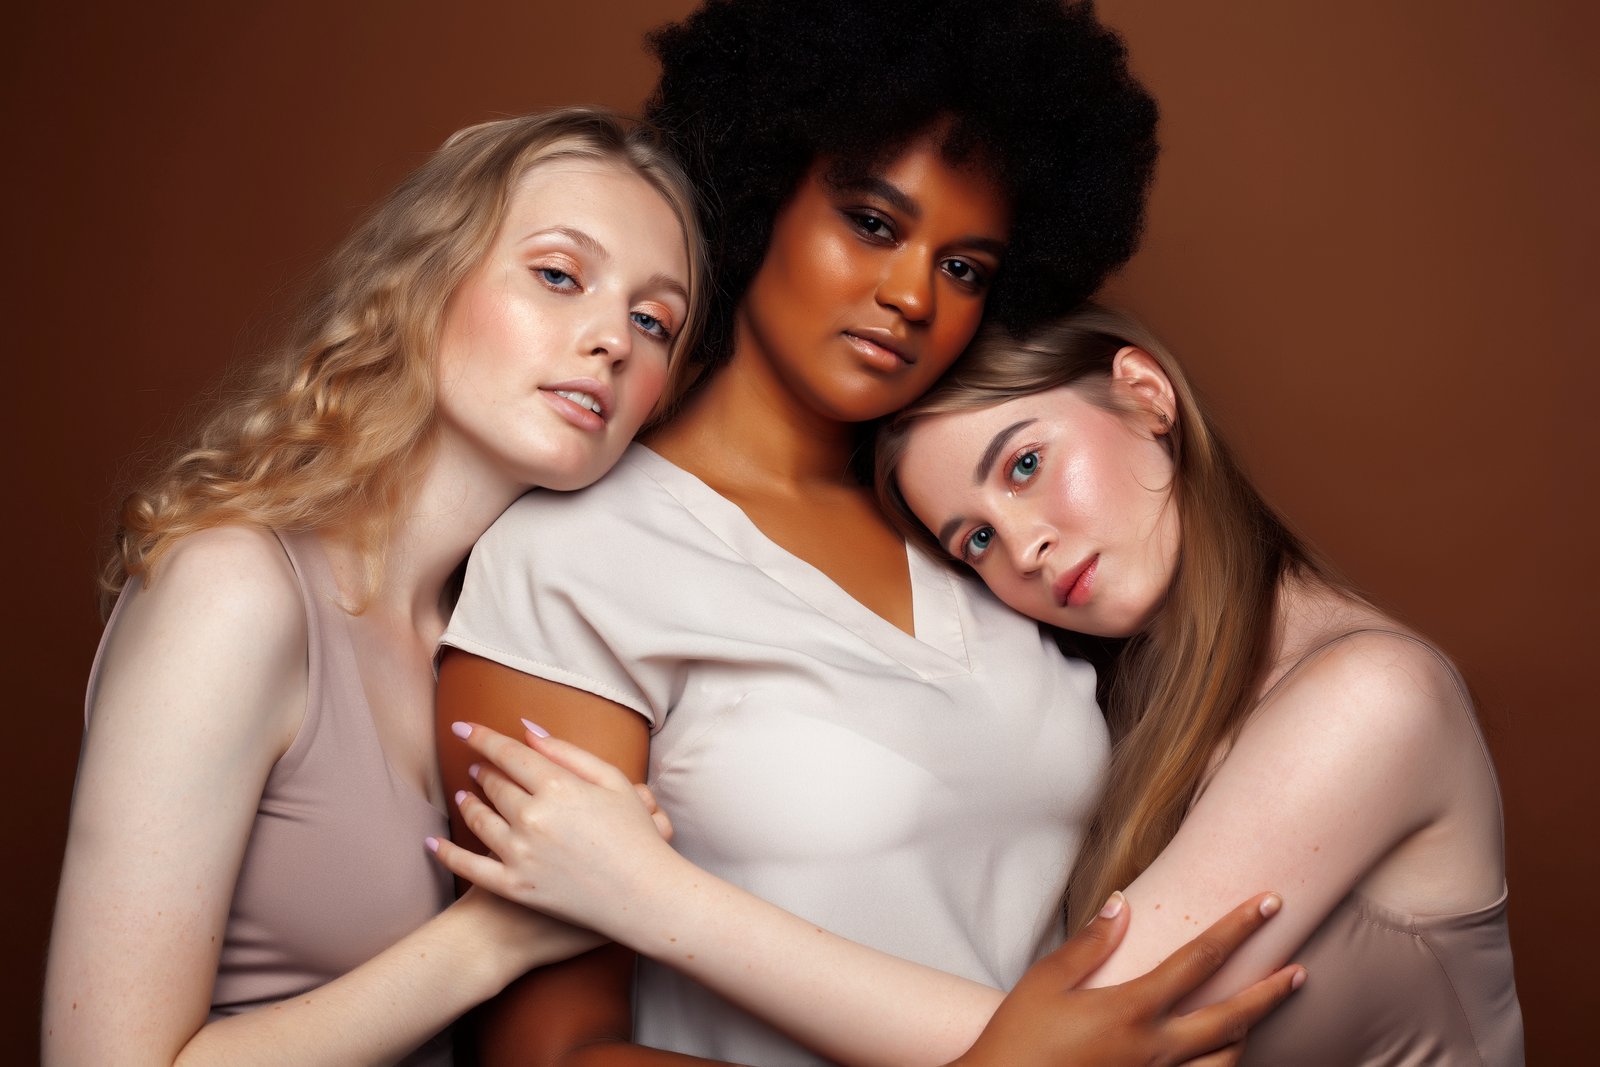
There’s a specific kind of client email I used to dread. The one that arrives two days after delivery, very polite, that says something like: “The skin still looks a little red in a few spots.” Early in my retouching work, my answer to redness was almost always the same wrong tool: the Brush tool, a sampled skin tone, and way too much opacity. The results looked painted. I’d fix the redness and introduce something worse.

Face-Aware Liquify in Photoshop CC 2015.5: A Portrait Retoucher's Step-by-Step Breakdown

Face-Aware Liquify in Photoshop CC 2015.5: A Portrait Retoucher's Step-by-Step Breakdown

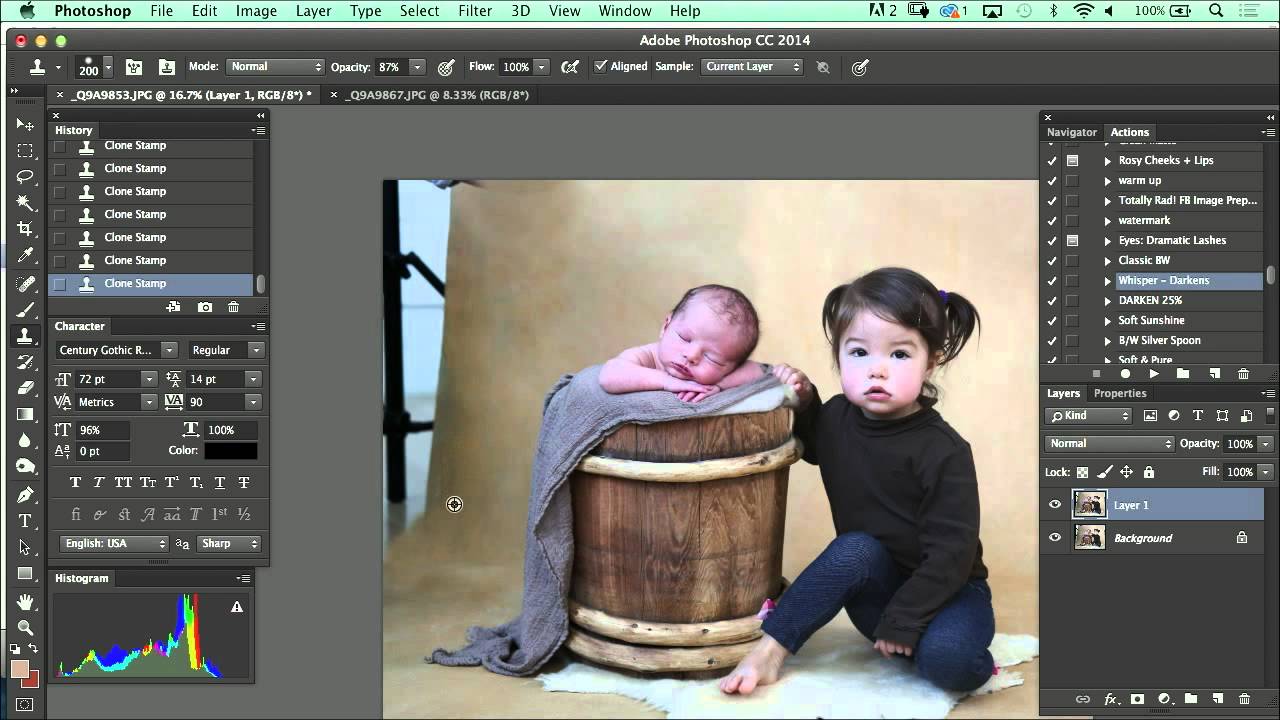
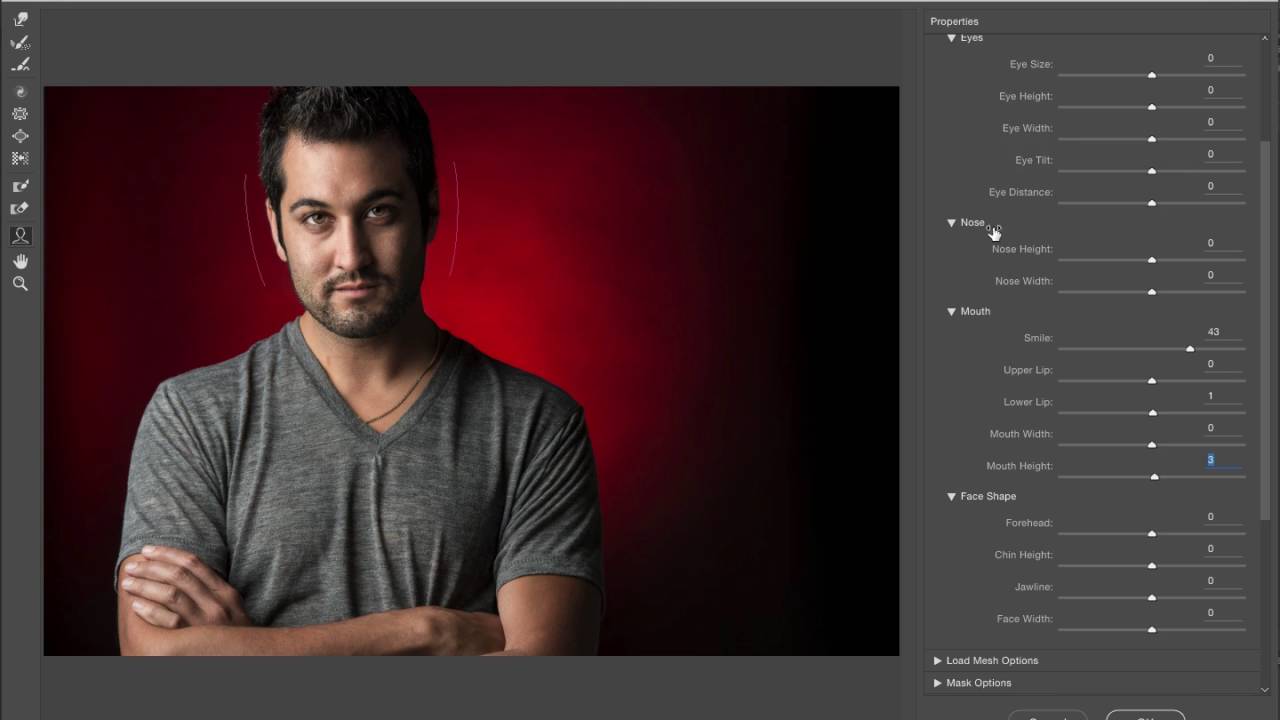
Before Face-Aware Liquify existed, reshaping a face in Photoshop meant dragging the standard Liquify brush around like you were trying to ice a cake with a spatula. You’d nudge a jawline, overshoot it, pull it back, and end up with something that looked vaguely melted. I burned through a lot of hours that way early in my retouching career, and more than one client politely described my results as “a little off.

The Three Colors That Will Always Betray a Heavy Hand in Editing

The Three Colors That Will Always Betray a Heavy Hand in Editing

I’ve been retouching portraits for over a decade, and I’ve learned that certain editing mistakes are absolutely impossible to hide—no matter how skilled you are with your tools. After working with hundreds of clients, I’ve identified three specific colors that our brains are wired to scrutinize more carefully than anything else in a photograph. The Three Colors That Give Us Away When we edit a jacket color or shift the tone of a background wall, most viewers won’t catch the change.

Dodge & Burn Without Destroying Your Image: The Curves Layer Method

Dodge & Burn Without Destroying Your Image: The Curves Layer Method

For a long time, my dodge and burn work looked exactly like what it was: painted-on light that had no business being on a human face. I’d grab the Dodge tool, scrub it across a highlight, and end up with something chalky and flat. A client once described my edits as “a little too perfect,” which is a polite way of saying they looked fake. It took me longer than I’d like to admit to realize the problem wasn’t my eye for light.

How to Slim and Contour Bodies in Photoshop Using the Warp Tool (Without Making It Obvious)

How to Slim and Contour Bodies in Photoshop Using the Warp Tool (Without Making It Obvious)

There’s a specific kind of client photo that used to tie my stomach in knots. You know the one: a genuinely beautiful image, great light, good connection, but the angle or the pose has added visual weight in a way that doesn’t reflect how the person actually looks. Early in my retouching career, I’d reach straight for Liquify, push pixels around trying to be careful, and end up with something that looked either untouched or obviously warped.

Camera Raw to Photoshop: A Portrait Retoucher's Walkthrough of Skin and Color Editing

Camera Raw to Photoshop: A Portrait Retoucher's Walkthrough of Skin and Color Editing

There is a specific kind of dread that comes from opening a portrait you shot on a busy studio day, knowing the background color is wrong and the skin tones are flat, and feeling like you have to fix all of it before the client follows up. I used to burn hours in Photoshop trying to rescue images that could have been shaped in two minutes inside Camera Raw first. That single shift in workflow order changed how fast I work and, honestly, how much I enjoy retouching.

From Over-Edited to Intentional: How Jessica Kobeissi Retouches Her Old Photos (And What It Teaches Us About Growth)

From Over-Edited to Intentional: How Jessica Kobeissi Retouches Her Old Photos (And What It Teaches Us About Growth)

I still have my first retouching attempt saved on an old hard drive somewhere. It looked like someone had ironed the skin flat, cranked the saturation up to a setting I’d now describe as “fever dream,” and then added a glow filter just to make sure nobody could identify the original human underneath. I keep it around on purpose. It’s a useful reminder that craft takes time, and that looking back at old work with honest eyes is one of the fastest ways to figure out where you’ve actually grown.

Frequency Separation in Photoshop: A Step-by-Step Guide to Skin Retouching That Actually Looks Real

Frequency Separation in Photoshop: A Step-by-Step Guide to Skin Retouching That Actually Looks Real

I spent the better part of a year convinced that good retouching meant smoothing everything until the skin looked like poured wax. A client finally told me my edits looked “plastic,” and honestly, she was right. What I was missing was a way to work on color and texture as two separate problems, because they are. Uneven skin tone is a color problem. A rough patch of texture is a texture problem.