The 10-Minute Portrait Cleanup Workflow That Actually Holds Up at 100% Zoom

The 10-Minute Portrait Cleanup Workflow That Actually Holds Up at 100% Zoom

The file came in at 47 megabytes, shot on a Canon R5, and the skin looked like a topographic map. Not unusual. What was unusual was the turnaround: four hours, twelve portraits, ready for the brand’s Instagram and a full-page print ad. Same edit, two very different output demands. That’s the situation I’m in about twice a month, and it’s exactly why I’ve built a portrait cleanup workflow that works fast without cutting corners.

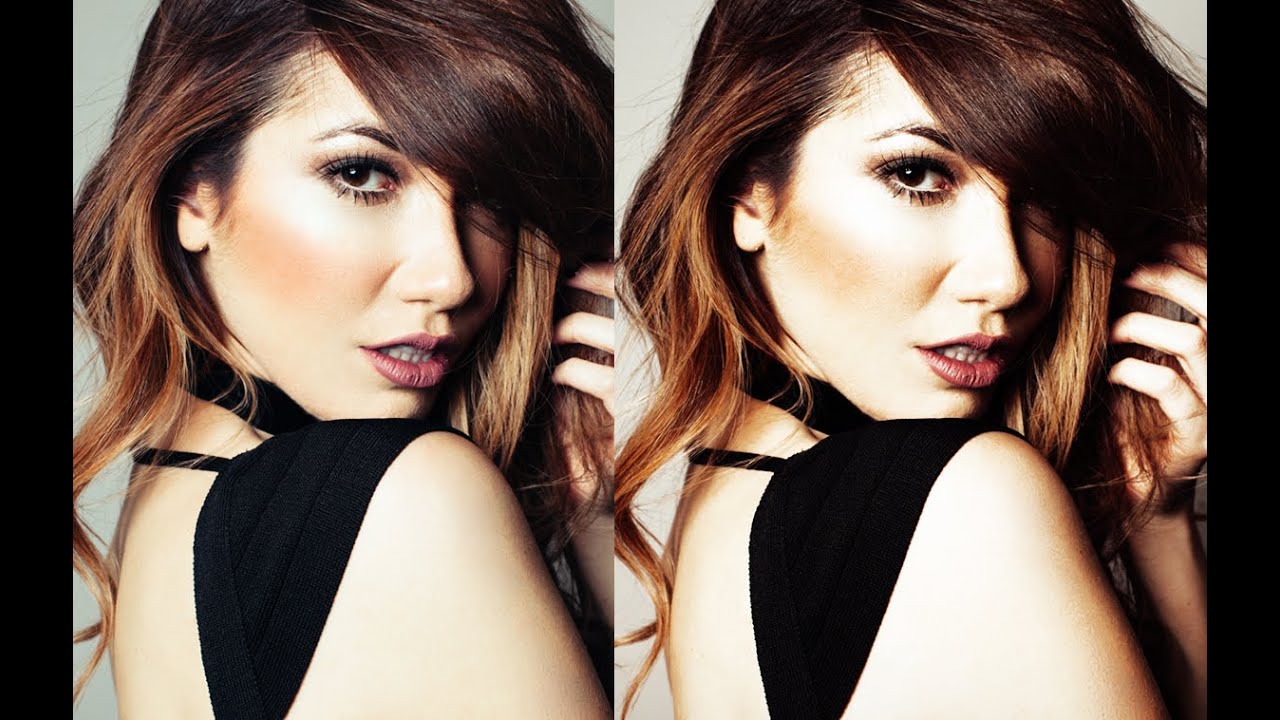
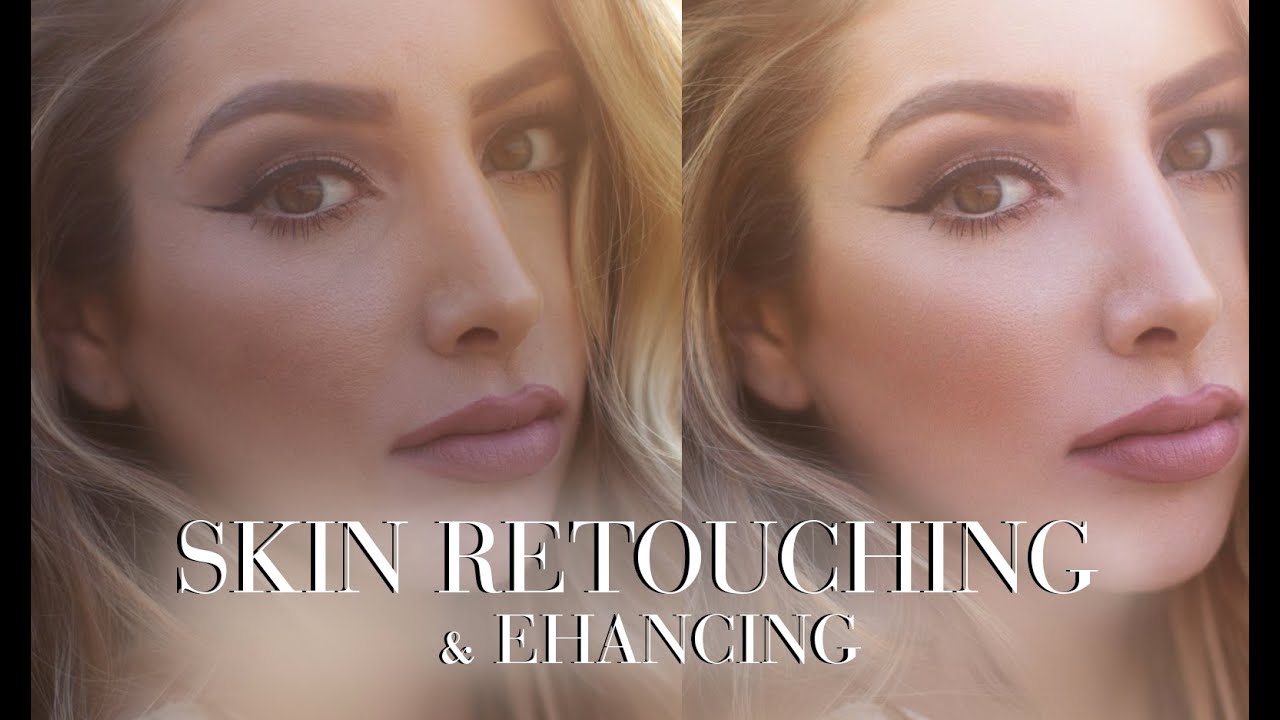
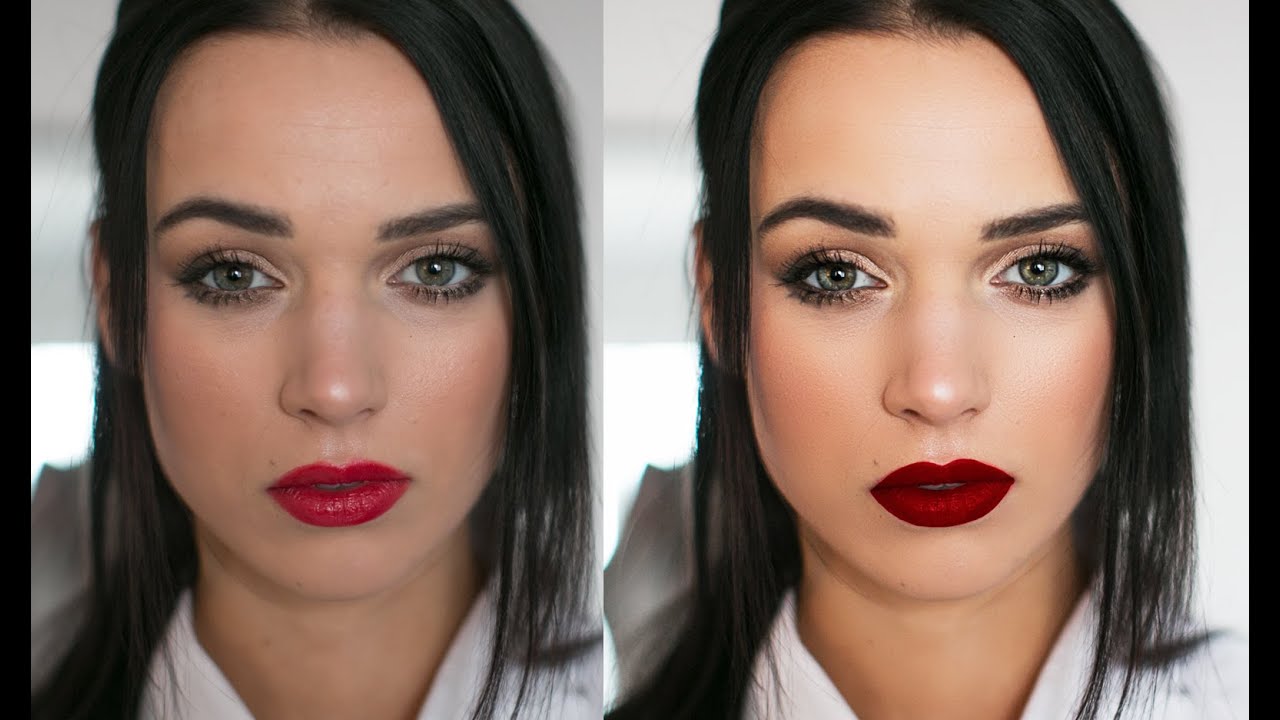
Frequency Separation for Portrait Skin: A Step-by-Step Breakdown of Jessica Kobeissi's Retouching Method

Frequency Separation for Portrait Skin: A Step-by-Step Breakdown of Jessica Kobeissi's Retouching Method

Early in my retouching career, a client told me my edits looked “plastic.” She wasn’t wrong. I had been smoothing everything, flattening pores, obliterating the tiny imperfections that make a face look like a face. It took a long time, a lot of ruined portraits, and eventually a deep dive into frequency separation to understand that good skin retouching is about evening tone and preserving texture, not erasing humanity. That shift in thinking changed everything about how I work.

Halloween Skin Textures in Photoshop: How to Turn a Phone Photo Into a Creature Effect

Halloween Skin Textures in Photoshop: How to Turn a Phone Photo Into a Creature Effect

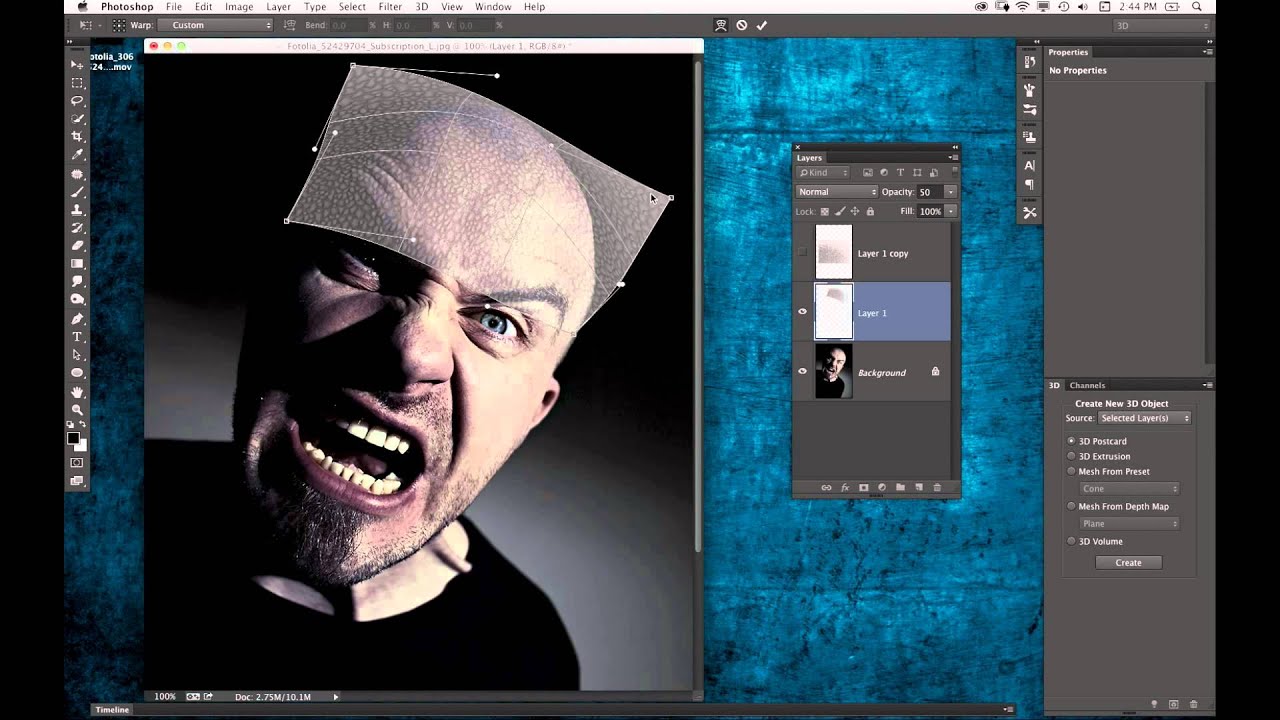
There’s a particular kind of creative paralysis that hits when a client asks for something outside your usual workflow. I’ve been retouching beauty portraits long enough that smooth skin, even tone, and light sculpting feel automatic. But “make him look like a creature” is a different assignment entirely. That’s why I keep a folder of tutorials that push me outside the clean, polished world of beauty work, and this Halloween-themed episode from KelbyOne landed in that folder immediately.

Split, Slice, and Separate: Inside Photoshop's 3D Extrusion Technique (Plus Why Frequency Separation Changed My Retouching Forever)

Split, Slice, and Separate: Inside Photoshop's 3D Extrusion Technique (Plus Why Frequency Separation Changed My Retouching Forever)

There is a specific kind of client feedback that lives rent-free in your head for years. Mine came early in my retouching career, when someone looked at a portrait I had spent two hours on and said the skin looked “plastic.” They were right. I had been smoothing and blurring with no real system, no understanding of what made skin look like skin rather than a vinyl mask. That moment sent me on a long search for techniques that held up under scrutiny, and frequency separation became the answer I kept coming back to.

Smooth Skin Without the Plastic Look: A Simple Portrait Retouch Walkthrough

Smooth Skin Without the Plastic Look: A Simple Portrait Retouch Walkthrough

There’s a specific kind of client email I dread. It goes something like: “The skin looks a little… airbrushed?” That word, airbrushed, is the polite version of what they actually mean. I learned this the hard way early in my retouching career, back when I thought cranking up a Gaussian Blur and calling it done was a legitimate skin-smoothing strategy. It took me a long time to find techniques that actually hold up, ones that soften without erasing the person underneath.

Portrait Cleanup Before You Touch the Skin: The Step Most Retouchers Skip

Portrait Cleanup Before You Touch the Skin: The Step Most Retouchers Skip

My first week doing beauty retouching, I sent a client a finished file and felt genuinely proud of it. The skin looked smooth, the highlights were balanced, the whole thing felt polished. She wrote back the next day: “I love it, but… there’s a hair across her collarbone, and something looks off near the ear.” I zoomed in. She was right. A stray hair cutting across the neck. A tiny skin tag I’d smoothed over instead of removed cleanly.

Ring Light Beauty Portraits: What Jessica Kobeissi's Shoot Teaches Us About Light, Lenses, and Letting Go of Perfect Conditions

Ring Light Beauty Portraits: What Jessica Kobeissi's Shoot Teaches Us About Light, Lenses, and Letting Go of Perfect Conditions

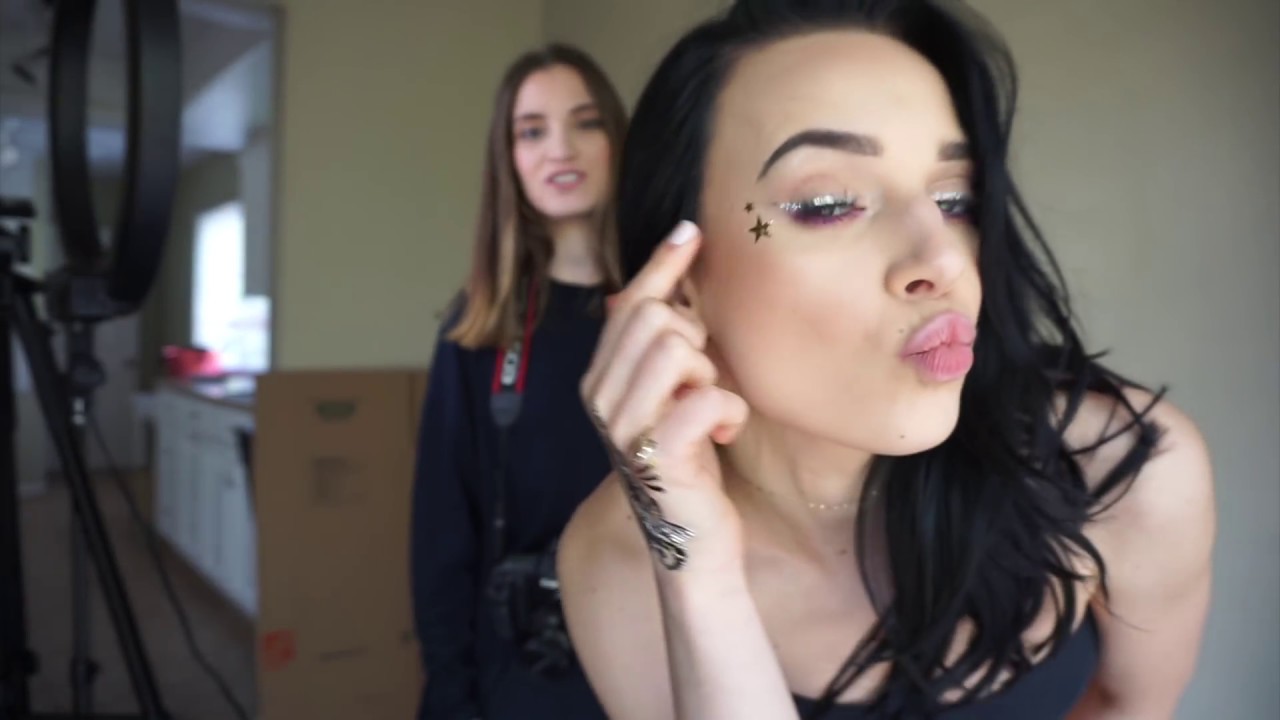
There’s a version of beauty photography that demands a full studio, a rack of modifiers, and an assistant who knows exactly what a “scrim” is. And then there’s the version most of us actually work in: a spare room, a single continuous light source, and a subject who’s ready to shoot right now. I spent years thinking the first version was the only legitimate one. It took watching working photographers like Jessica Kobeissi set up a gorgeous beauty shoot with a single ring light in what looks like a home living room to shake that belief loose.

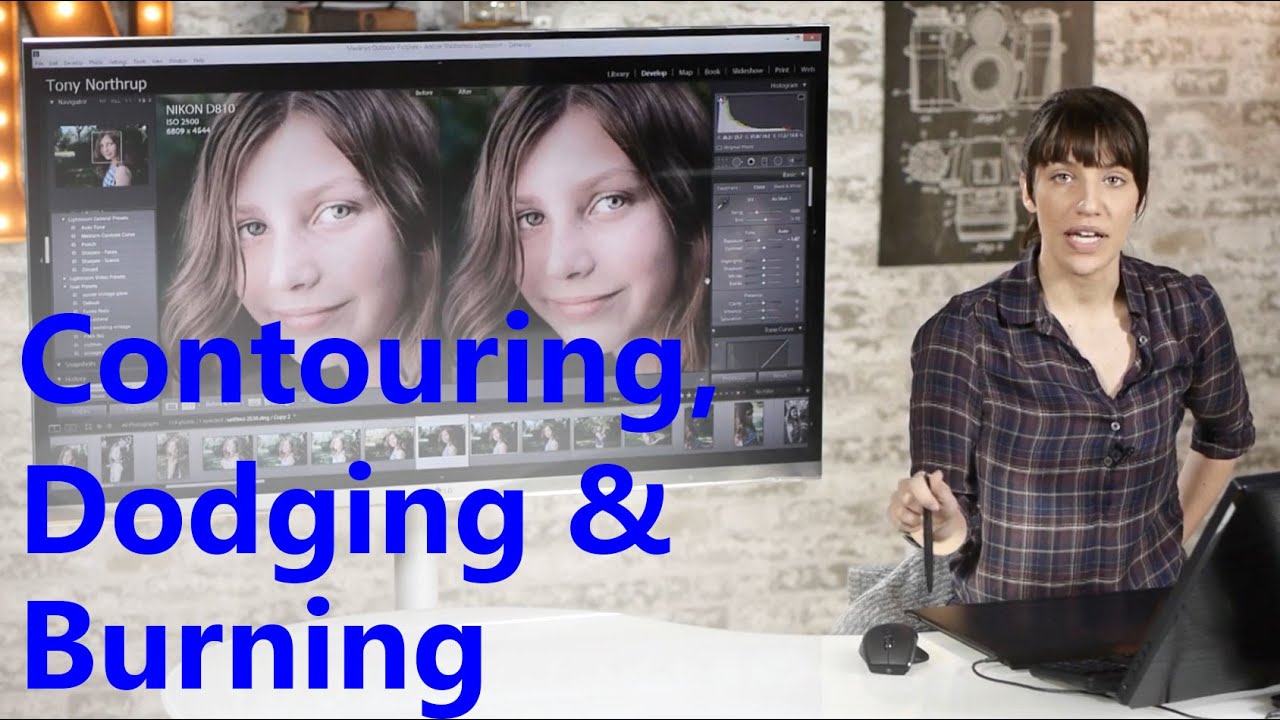
Frequency Separation, Dodging & Burning: A Complete Portrait Retouching Walkthrough

Frequency Separation, Dodging & Burning: A Complete Portrait Retouching Walkthrough

Early in my retouching career, a client told me my edits looked “plastic.” She wasn’t wrong. I was smoothing skin by painting over it with a low-opacity brush on a normal layer, which flattened everything - the texture, the pores, the tiny details that make a face look alive. That one comment sent me down a months-long rabbit hole, and frequency separation is what I eventually found at the bottom of it.

Why Your Portrait Cleanup Is Making Skin Look Worse (And How to Fix It)

Why Your Portrait Cleanup Is Making Skin Look Worse (And How to Fix It)

My first real retouching disaster lives on a hard drive I keep in my desk drawer. I don’t look at it often, but I know it’s there. A bridal client had called my edited portraits “plastic-looking,” and when I pulled them back up after that phone call, I saw exactly what she meant. I had blurred the life right out of her face. Pores, texture, the fine lines around her eyes when she smiled, all of it gone, replaced by something that looked more like a wax figure than a woman.

Beauty Dish Lighting for Studio Portraits: What Jessica Kobeissi's Shoot Taught Me About Keeping It Simple

Beauty Dish Lighting for Studio Portraits: What Jessica Kobeissi's Shoot Taught Me About Keeping It Simple

There is a particular kind of exhaustion that comes from overcomplicating a studio setup. I spent years as a wedding photographer hauling cases of gear, and when I finally moved into beauty and portrait work full-time, I assumed more equipment meant better results. It took watching photographers who clearly knew what they were doing with minimal setups to shake that assumption loose. Watch the full tutorial on YouTube before diving in here, or follow along with the breakdown below and come back to the video after.

Start in Camera Raw: How Jessica Kobeissi Builds a Fashion Portrait Edit From the Ground Up

Start in Camera Raw: How Jessica Kobeissi Builds a Fashion Portrait Edit From the Ground Up

There’s a version of me from about five years ago who skipped Camera Raw entirely. I’d double-click a RAW file, immediately dismiss the panel, and jump straight into Photoshop like I was in a hurry to start making mistakes. The result was always the same: I’d spend twice as long pushing sliders around in adjustment layers trying to fix things that Camera Raw could have handled in thirty seconds. Learning to slow down before the “real” editing begins was one of the more humbling lessons of my career.

Retouch Faster, Shoot More: What Scott Kelby's Portrait System Taught Me About Working Smarter

Retouch Faster, Shoot More: What Scott Kelby's Portrait System Taught Me About Working Smarter

There’s a specific kind of dread that sets in when you’re staring at a folder of 400 wedding portraits at 11pm, knowing every single one needs skin work before the client preview tomorrow. I lived that dread for years before I finally made the shift from shooting to retouching full-time. What I wish someone had handed me back then was a system - not a collection of tricks, but an actual repeatable framework with a clock attached to it.