How to Handle Unwanted Shadows When Compositing Portrait Photos

How to Handle Unwanted Shadows When Compositing Portrait Photos

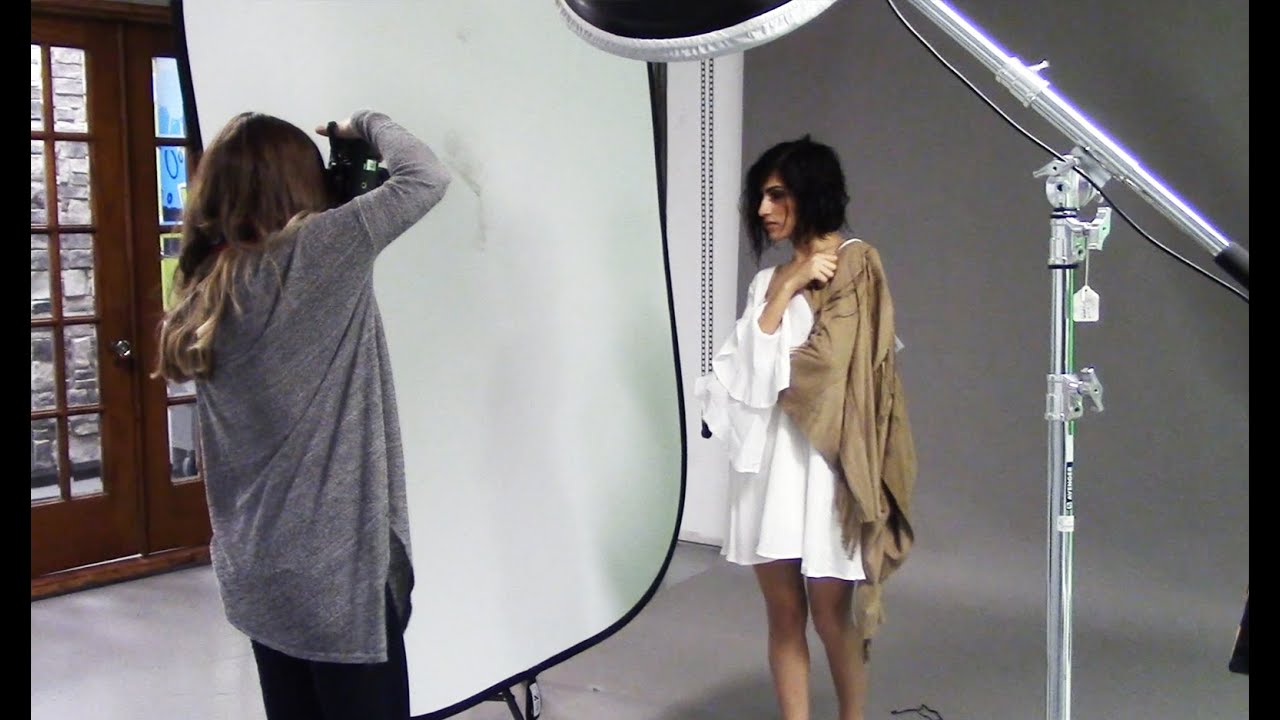
Shadow problems have a way of showing up exactly where you don’t want them. A subject’s arm falls across their torso, a leg casts a hard line across a background you spent twenty minutes setting up, and suddenly the composite you were proud of has a giveaway edge that screams “two separate images.” I used to patch these situations with heavy cloning and hope nobody noticed. They noticed. Watch the full tutorial on YouTube

How to Remove Skin Redness in Photoshop Using Hue/Saturation (The Right Way)

How to Remove Skin Redness in Photoshop Using Hue/Saturation (The Right Way)

There’s a specific kind of client email I used to dread. The one that arrives two days after delivery, very polite, that says something like: “The skin still looks a little red in a few spots.” Early in my retouching work, my answer to redness was almost always the same wrong tool: the Brush tool, a sampled skin tone, and way too much opacity. The results looked painted. I’d fix the redness and introduce something worse.

Face-Aware Liquify in Photoshop CC 2015.5: A Portrait Retoucher's Step-by-Step Breakdown

Face-Aware Liquify in Photoshop CC 2015.5: A Portrait Retoucher's Step-by-Step Breakdown

Before Face-Aware Liquify existed, reshaping a face in Photoshop meant dragging the standard Liquify brush around like you were trying to ice a cake with a spatula. You’d nudge a jawline, overshoot it, pull it back, and end up with something that looked vaguely melted. I burned through a lot of hours that way early in my retouching career, and more than one client politely described my results as “a little off.

The Three Colors That Will Always Betray a Heavy Hand in Editing

The Three Colors That Will Always Betray a Heavy Hand in Editing

I’ve been retouching portraits for over a decade, and I’ve learned that certain editing mistakes are absolutely impossible to hide—no matter how skilled you are with your tools. After working with hundreds of clients, I’ve identified three specific colors that our brains are wired to scrutinize more carefully than anything else in a photograph. The Three Colors That Give Us Away When we edit a jacket color or shift the tone of a background wall, most viewers won’t catch the change.

Dodge & Burn Without Destroying Your Image: The Curves Layer Method

Dodge & Burn Without Destroying Your Image: The Curves Layer Method

For a long time, my dodge and burn work looked exactly like what it was: painted-on light that had no business being on a human face. I’d grab the Dodge tool, scrub it across a highlight, and end up with something chalky and flat. A client once described my edits as “a little too perfect,” which is a polite way of saying they looked fake. It took me longer than I’d like to admit to realize the problem wasn’t my eye for light.

The Five-Minute Portrait Cleanup That Makes Everything Else Work Better

The Five-Minute Portrait Cleanup That Makes Everything Else Work Better

What Photographers Skip That Retouchers Never Do A few years back, I got a file from a photographer I’d just started working with. Beautiful natural light, great expression, solid composition. I opened it in Photoshop and immediately spotted the problem: flyaway hairs crossing the subject’s eyes, a visible bra strap, a small but distracting catchlight from a phone screen in the background, and a coffee stain on the backdrop that the photographer had clearly stopped seeing somewhere around hour four of the shoot.

How to Slim and Contour Bodies in Photoshop Using the Warp Tool (Without Making It Obvious)

How to Slim and Contour Bodies in Photoshop Using the Warp Tool (Without Making It Obvious)

There’s a specific kind of client photo that used to tie my stomach in knots. You know the one: a genuinely beautiful image, great light, good connection, but the angle or the pose has added visual weight in a way that doesn’t reflect how the person actually looks. Early in my retouching career, I’d reach straight for Liquify, push pixels around trying to be careful, and end up with something that looked either untouched or obviously warped.

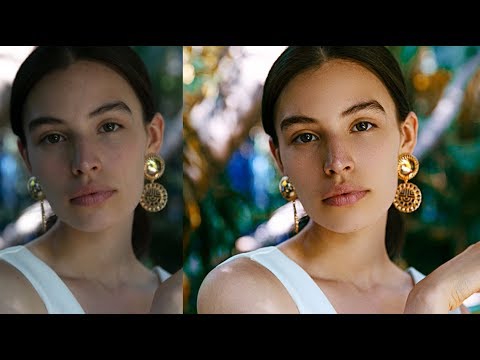
Camera Raw to Photoshop: A Portrait Retoucher's Walkthrough of Skin and Color Editing

Camera Raw to Photoshop: A Portrait Retoucher's Walkthrough of Skin and Color Editing

There is a specific kind of dread that comes from opening a portrait you shot on a busy studio day, knowing the background color is wrong and the skin tones are flat, and feeling like you have to fix all of it before the client follows up. I used to burn hours in Photoshop trying to rescue images that could have been shaped in two minutes inside Camera Raw first. That single shift in workflow order changed how fast I work and, honestly, how much I enjoy retouching.

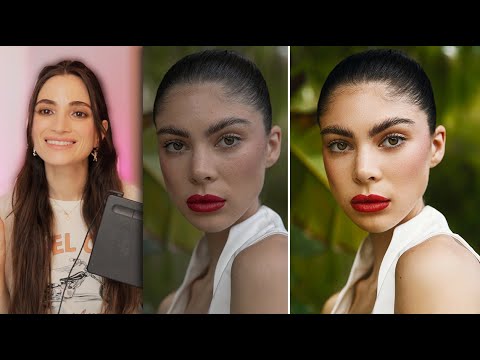
From Over-Edited to Intentional: How Jessica Kobeissi Retouches Her Old Photos (And What It Teaches Us About Growth)

From Over-Edited to Intentional: How Jessica Kobeissi Retouches Her Old Photos (And What It Teaches Us About Growth)

I still have my first retouching attempt saved on an old hard drive somewhere. It looked like someone had ironed the skin flat, cranked the saturation up to a setting I’d now describe as “fever dream,” and then added a glow filter just to make sure nobody could identify the original human underneath. I keep it around on purpose. It’s a useful reminder that craft takes time, and that looking back at old work with honest eyes is one of the fastest ways to figure out where you’ve actually grown.

Frequency Separation in Photoshop: A Step-by-Step Guide to Skin Retouching That Actually Looks Real

Frequency Separation in Photoshop: A Step-by-Step Guide to Skin Retouching That Actually Looks Real

I spent the better part of a year convinced that good retouching meant smoothing everything until the skin looked like poured wax. A client finally told me my edits looked “plastic,” and honestly, she was right. What I was missing was a way to work on color and texture as two separate problems, because they are. Uneven skin tone is a color problem. A rough patch of texture is a texture problem.

How to Make Lightroom's Sky Mask Actually Look Real (And 3 More Masking Tricks Worth Stealing)

How to Make Lightroom's Sky Mask Actually Look Real (And 3 More Masking Tricks Worth Stealing)

There is a specific kind of frustration that comes from watching Lightroom do something technically perfect and visually wrong. I ran into this constantly when I first started pulling my wedding work into a retouching workflow. The tool selects exactly what you asked for, the edge is razor-clean, and somehow the result looks worse than before you started. Too crisp. Too obvious. Like the software forgot that real light doesn’t have hard cutoffs.

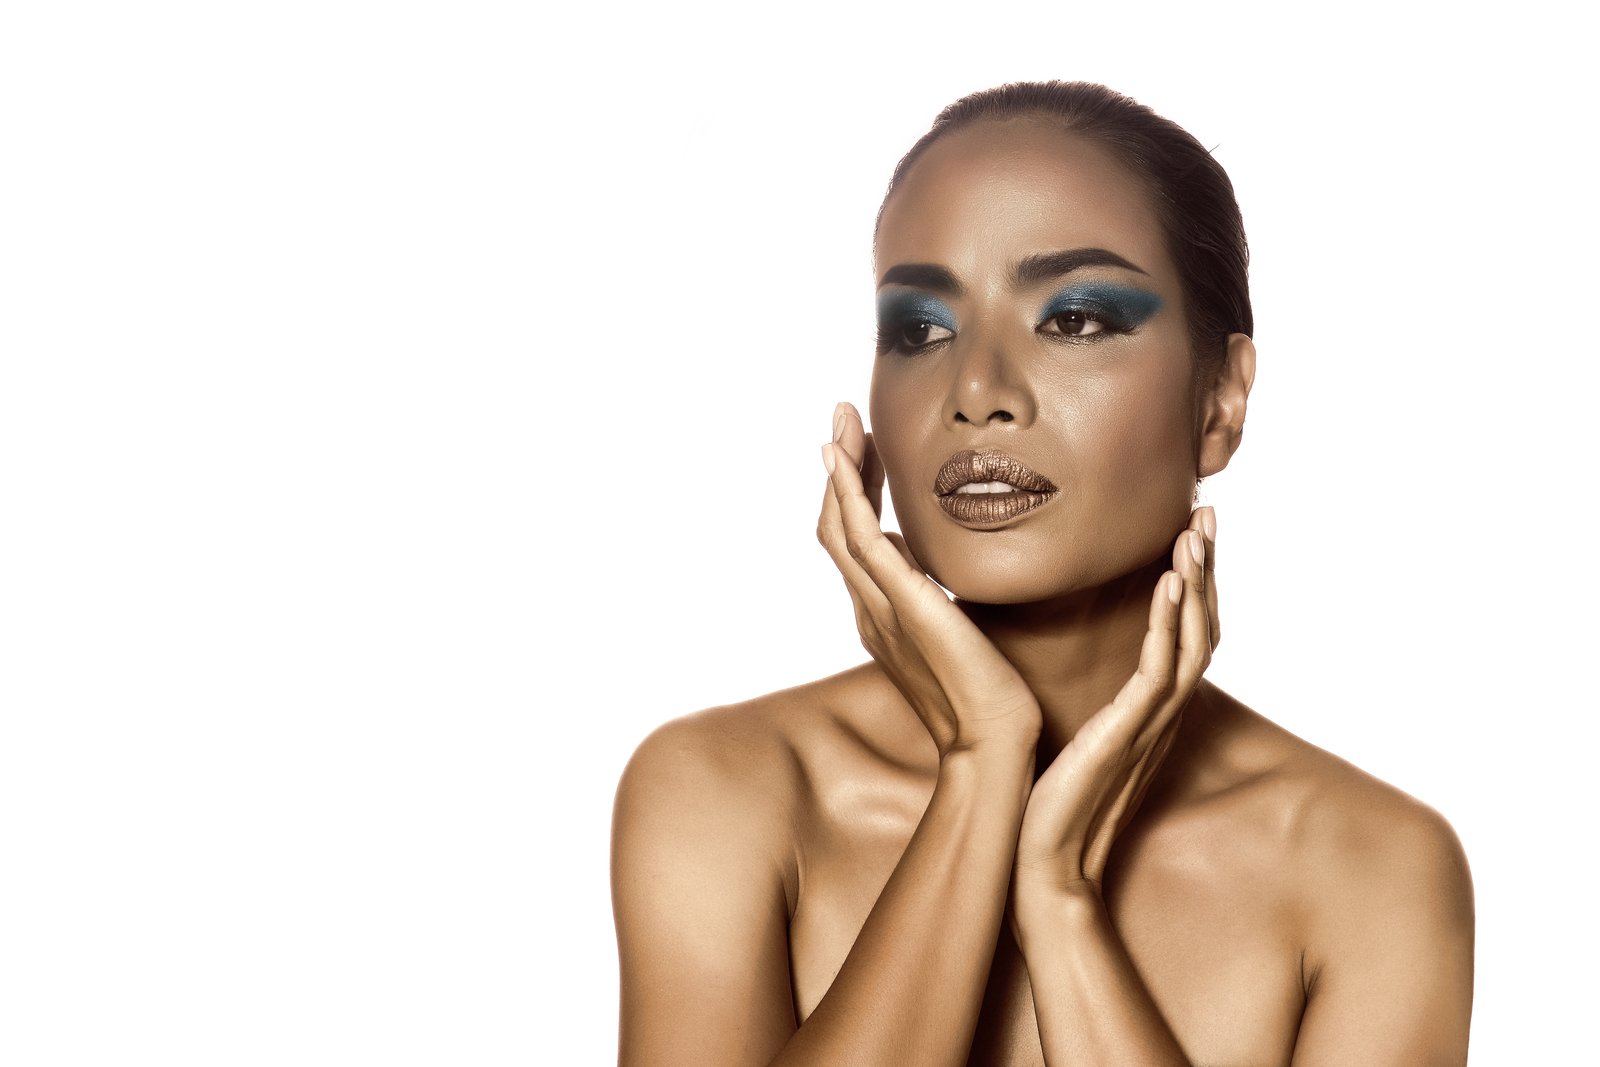
Digital Makeup in Photoshop: How to Add Lip Color and Eye Shadow with Soft Light Blending

Digital Makeup in Photoshop: How to Add Lip Color and Eye Shadow with Soft Light Blending

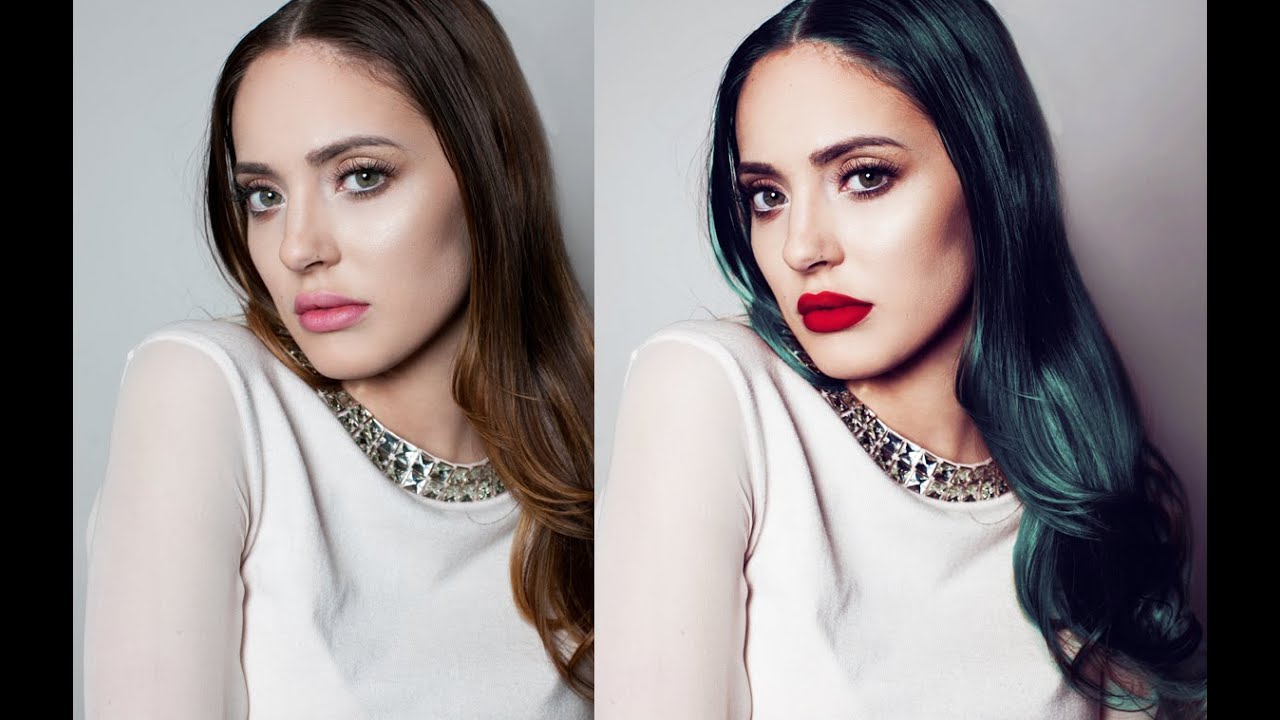
Clients almost never show up to a shoot with their makeup exactly right. After years of photographing weddings and then pivoting to beauty work, I can tell you that this is just the reality of the job. Sometimes the budget doesn’t stretch to a makeup artist. Sometimes the subject did their own and it photographs flat. Sometimes they look at the final gallery and ask if you can “make the lips pop a little more.