How to Sculpt Light After the Shot: A Practical Guide to Dodge and Burn in Photoshop

How to Sculpt Light After the Shot: A Practical Guide to Dodge and Burn in Photoshop

There’s a specific kind of frustration that comes from photographing a subject in beautiful light and then watching that light flatten out the moment you open the file. The highlights that looked dimensional in the studio read as a blown patch on screen. The shadow that gave her cheekbone its shape disappears into the midtones. The camera captured what was there, not what you saw. For years, my answer to this problem was to push sliders around in Lightroom and hope for the best.

Luminosity Masking Demystified: A Retoucher's Step-by-Step Guide to Precise Selections in Photoshop

Luminosity Masking Demystified: A Retoucher's Step-by-Step Guide to Precise Selections in Photoshop

For a long time, my skin retouching had a particular problem. The edits looked fine at 100% zoom, but the moment a client zoomed out, the transitions between adjusted and unadjusted areas looked like I’d used a cookie cutter. Harsh edges. Obvious patches. The kind of thing that made one early client describe my work as “a little plastic-looking,” which is a sentence I still hear in my sleep. What I was missing wasn’t a better brush or a more careful hand.

Lightroom's Intersect Mask Tool Explained: The Selection Trick That Actually Works

Lightroom's Intersect Mask Tool Explained: The Selection Trick That Actually Works

There’s a feature sitting inside Lightroom’s masking panel that I ignored for way too long because I assumed I understood it. Intersect. It sounds logical enough, right? Two things overlapping. But every time I tried to use it, the result didn’t behave the way I expected, and I’d fall back on subtracting with a brush like I always had. It wasn’t until I watched Watch the full tutorial on YouTube by Matt Kloskowski that the logic finally clicked for me in a way I could actually apply to client work.

Warm Skin, Honest Color: A Working Retoucher's Notes on Jessica Kobeissi's Portrait Editing Workflow

Warm Skin, Honest Color: A Working Retoucher's Notes on Jessica Kobeissi's Portrait Editing Workflow

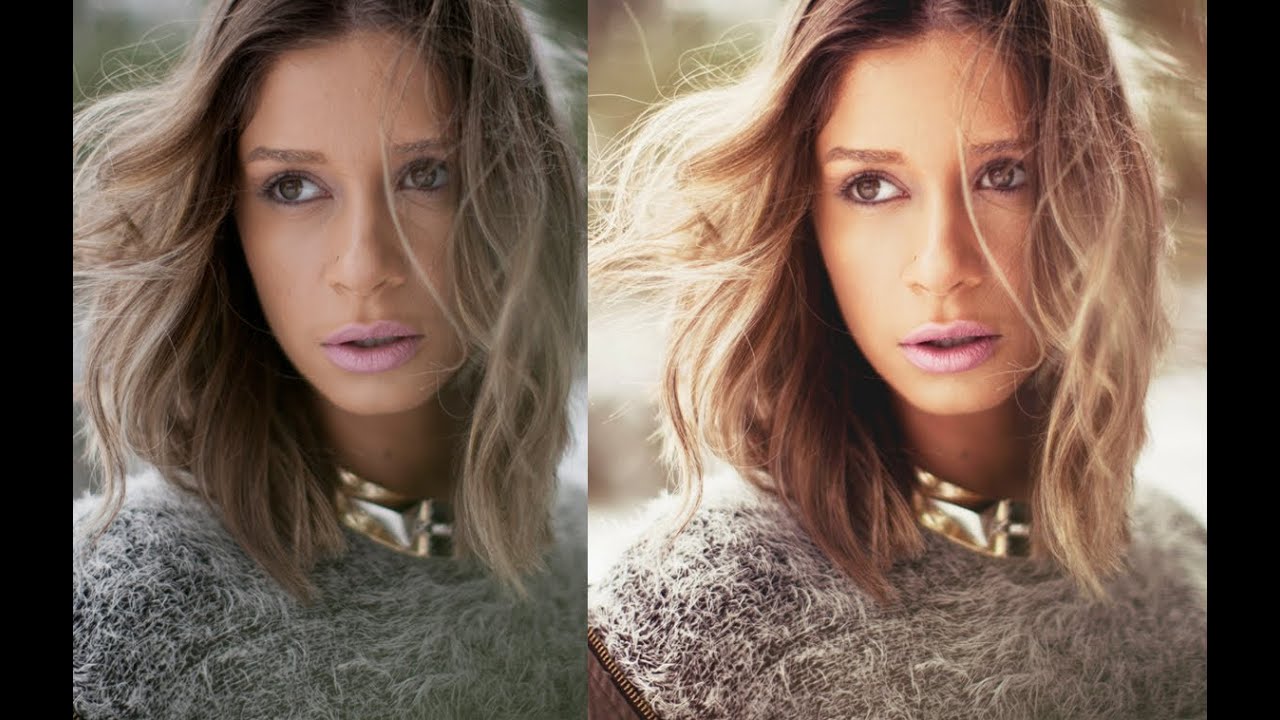
There’s a particular kind of portrait that comes back from a sunny outdoor shoot looking almost right. The skin is warm, the light is flattering, and then you open it in Photoshop and realize the greens in the background are fighting with everything, the saturation is cranked up too high straight out of camera, and you have about forty decisions to make before the image feels settled. I used to dread those files.

Natural-Looking Portrait Retouching with Luminar Neo's New AI Tools (No Subscription Required)

Natural-Looking Portrait Retouching with Luminar Neo's New AI Tools (No Subscription Required)

There is a specific kind of dread that comes from delivering a gallery and then getting a reply that says “these look a little… airbrushed.” I know that feeling intimately. Early in my retouching career, I overcorrected for every pore and stray hair until my subjects looked like they were made of latex. The lesson I eventually learned, the hard way, is that great retouching is invisible. People should look like themselves, just on their best day.

Dodge and Burn in Lightroom: The Portrait Technique I Wish I'd Known Earlier

Dodge and Burn in Lightroom: The Portrait Technique I Wish I'd Known Earlier

There’s a specific kind of portrait that used to make me nervous to retouch – the ones where the subject’s skin is blotchy, the lighting is a little flat, and the whole image feels like it needs something you can’t quite name. For a long time, I’d throw frequency separation at it, or get heavy-handed with the HSL panel, and the result would look corrected rather than beautiful. What was missing, more often than not, was intentional light shaping directly on the face.

Apple's Advanced Masking Features Are Game-Changers for Portrait Artists

Apple's Advanced Masking Features Are Game-Changers for Portrait Artists

Apple Upgrades Creator Studio with Powerful New Masking Capabilities I’ve been watching Apple’s evolution in the creative software space closely, and I’m genuinely excited about what they’ve just unveiled. The company has rolled out significant enhancements to their Creator Studio collection, and portrait retouchers like us should definitely be paying attention. While many photographers focus on video editing applications, what really caught my eye is how these new masking tools can transform our beauty and portrait retouching workflows.

Why Your Headshots Look Retouched (And How to Fix That Before the Client Notices)

Why Your Headshots Look Retouched (And How to Fix That Before the Client Notices)

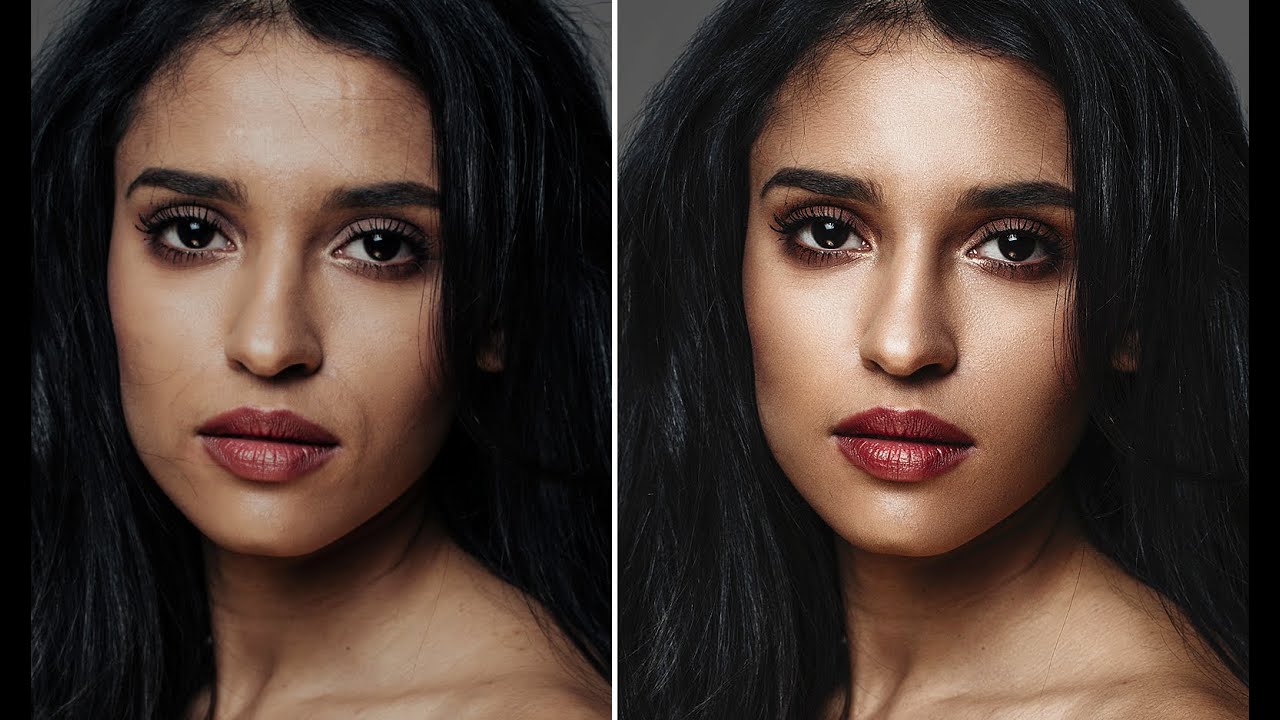
The first headshot I ever retouched that a client actually complained about wasn’t overexposed or poorly cropped. It was technically clean. Sharp eyes, even skin tone, good contrast. The client called me and said, very politely, “I just look kind of… plastic?” I had smoothed her skin so aggressively that the natural texture was gone, and what was left was something between a wax figure and a LinkedIn filter. I kept that file.

The 10-Minute Portrait Cleanup That Makes Every Other Edit Land Better

The 10-Minute Portrait Cleanup That Makes Every Other Edit Land Better

The first time a client told me my retouching looked “plastic,” I was mortified. I’d spent three hours on a single portrait, pushing and pulling at skin until it was perfectly smooth. What I thought looked polished, she called a “mannequin.” I hadn’t done anything wrong, technically. I’d just skipped the cleanup phase entirely and gone straight into the heavy work. Without a clean foundation, every technique I applied afterward amplified the problems rather than solving them.

The First 10 Minutes: How I Clean Up a Portrait Before Any Real Retouching Begins

The First 10 Minutes: How I Clean Up a Portrait Before Any Real Retouching Begins

The file comes in. Maybe it’s from a photographer you trust, maybe it’s from a client who shot it themselves on a mirrorless they bought six months ago. Either way, before you even think about skin texture or luminosity masks, there’s a layer of chaos sitting on top of the image that will quietly sabotage every adjustment you make if you don’t deal with it first. Stray hairs crossing the face.

Why Portrait Editors Need Clear Language to Defend Their Craft

Why Portrait Editors Need Clear Language to Defend Their Craft

Building Trust Through Clear Communication I’ve been thinking lately about a question that comes up constantly in our community: Why do some edited portraits feel authentic while others feel overstyled? The answer, I believe, lies in something we rarely discuss—our ability to articulate why we make the choices we do. When I first started in beauty retouching, I could explain the mechanics: how to smooth skin, enhance eyes, adjust color grading.

Why Your Portraits Look Flat (And How Dodge and Burn Fixes It in Photoshop)

Why Your Portraits Look Flat (And How Dodge and Burn Fixes It in Photoshop)

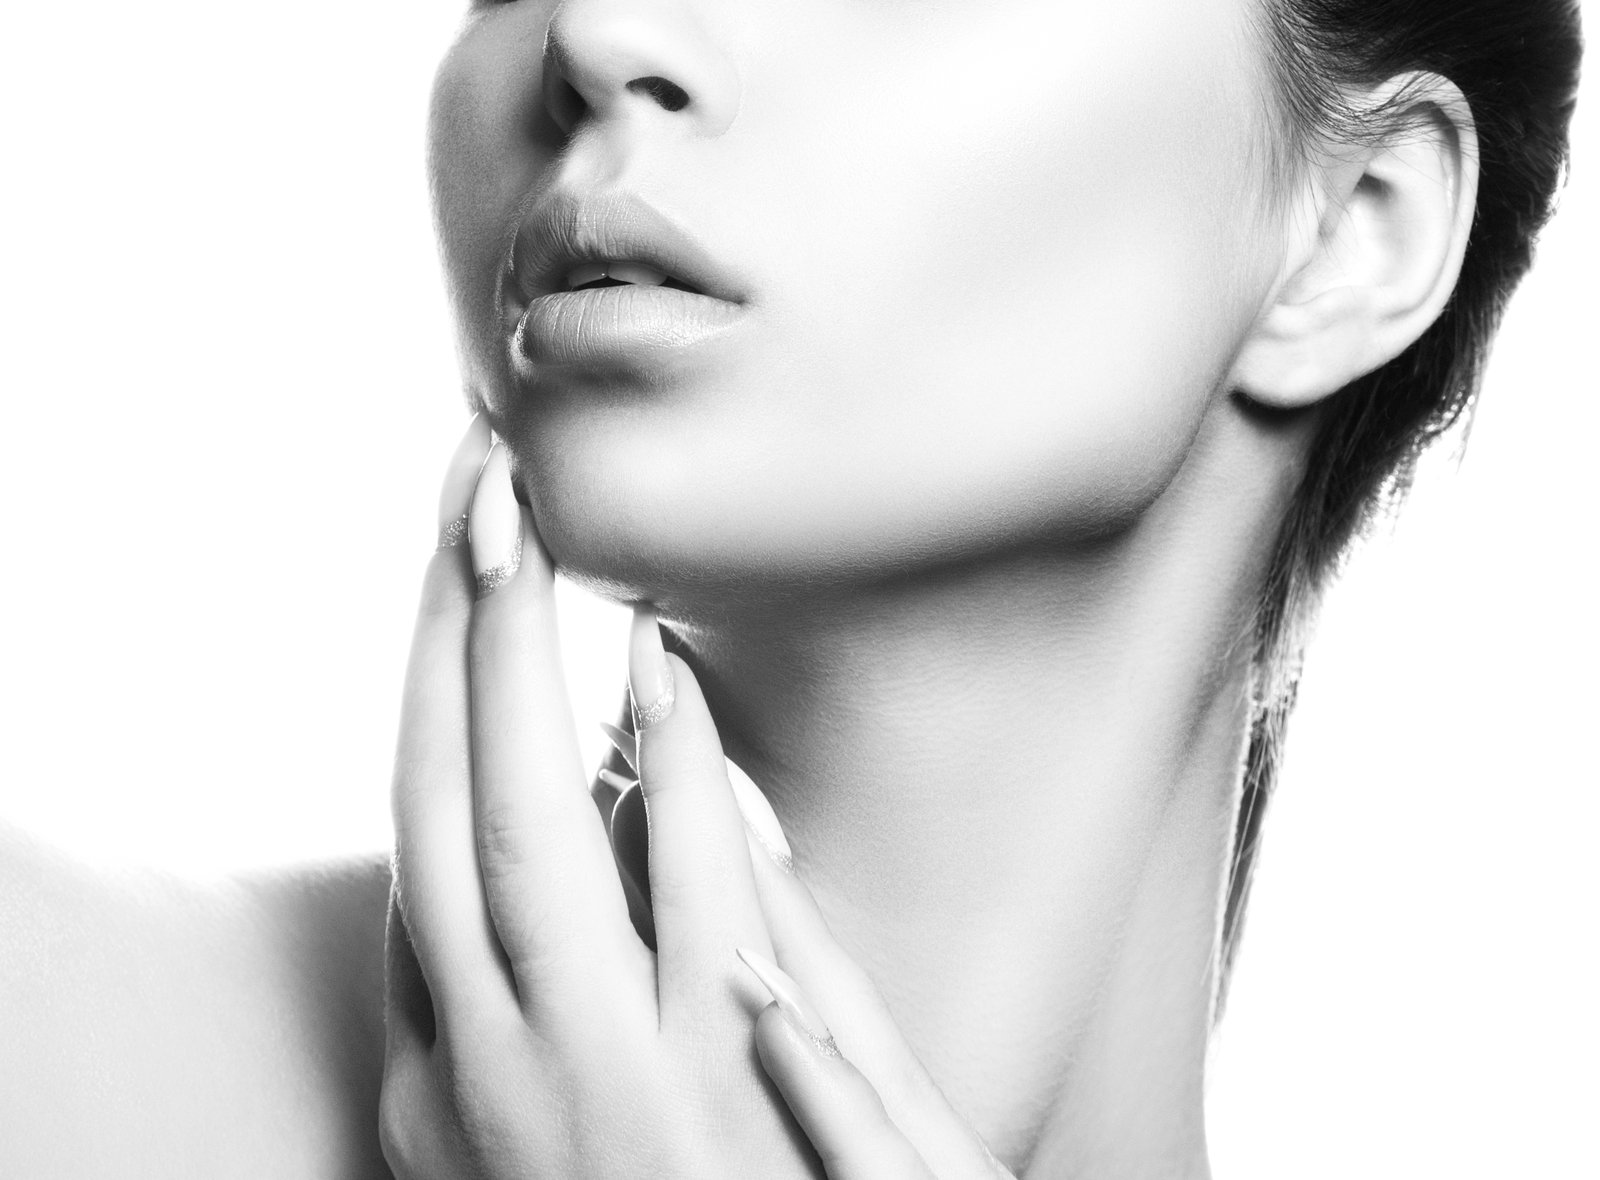
Early in my retouching career, a client sent back a batch of portraits with a note that still stings a little: “These look like wax figures. Can you make them look like real people again?” I had smoothed the skin, evened the tones, removed every shadow I could find. I thought I was doing my job. What I was actually doing was stripping out all the information that makes a face look three-dimensional.