Beauty Dish Positioning for Portraits: What the Light Is Actually Doing (And Why It Matters)

Beauty Dish Positioning for Portraits: What the Light Is Actually Doing (And Why It Matters)

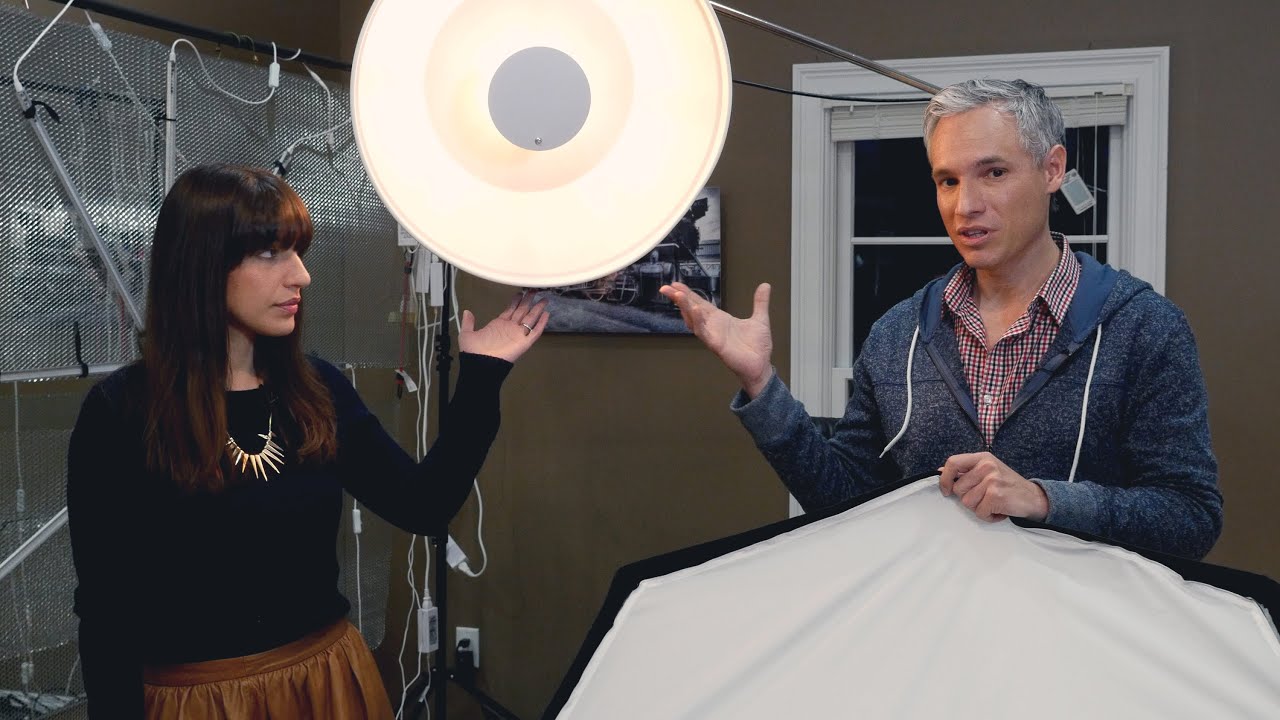
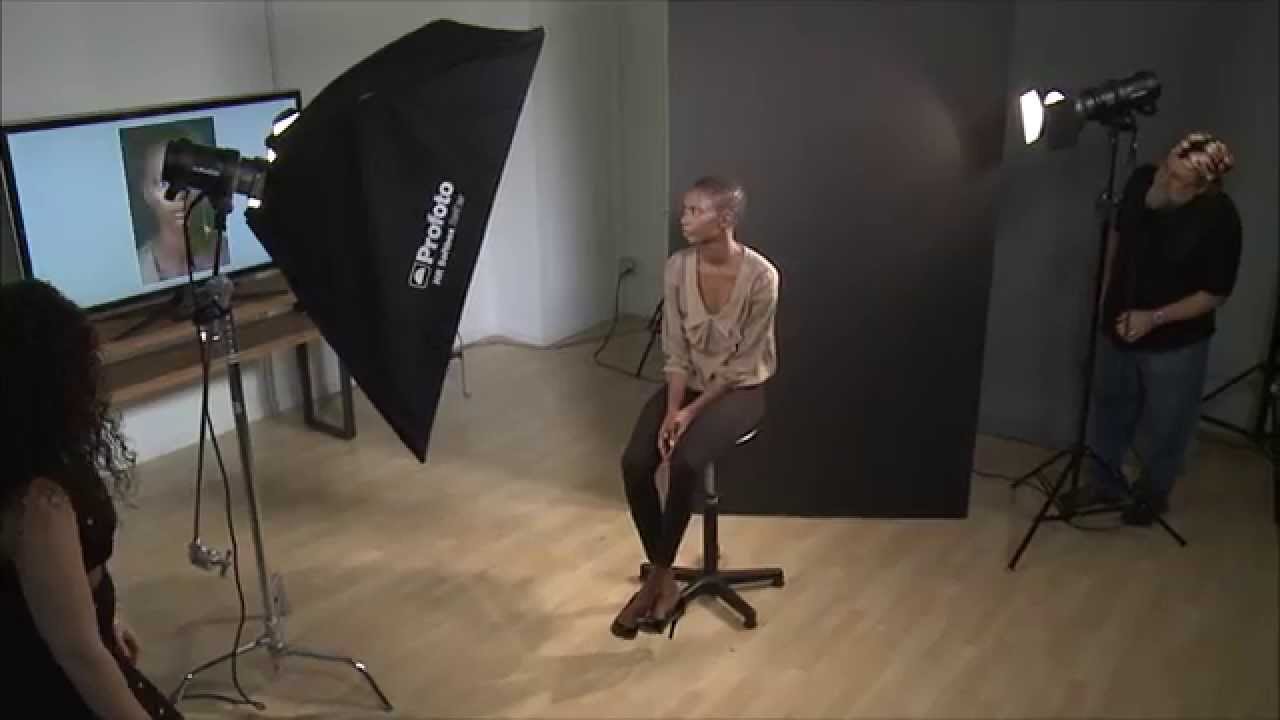
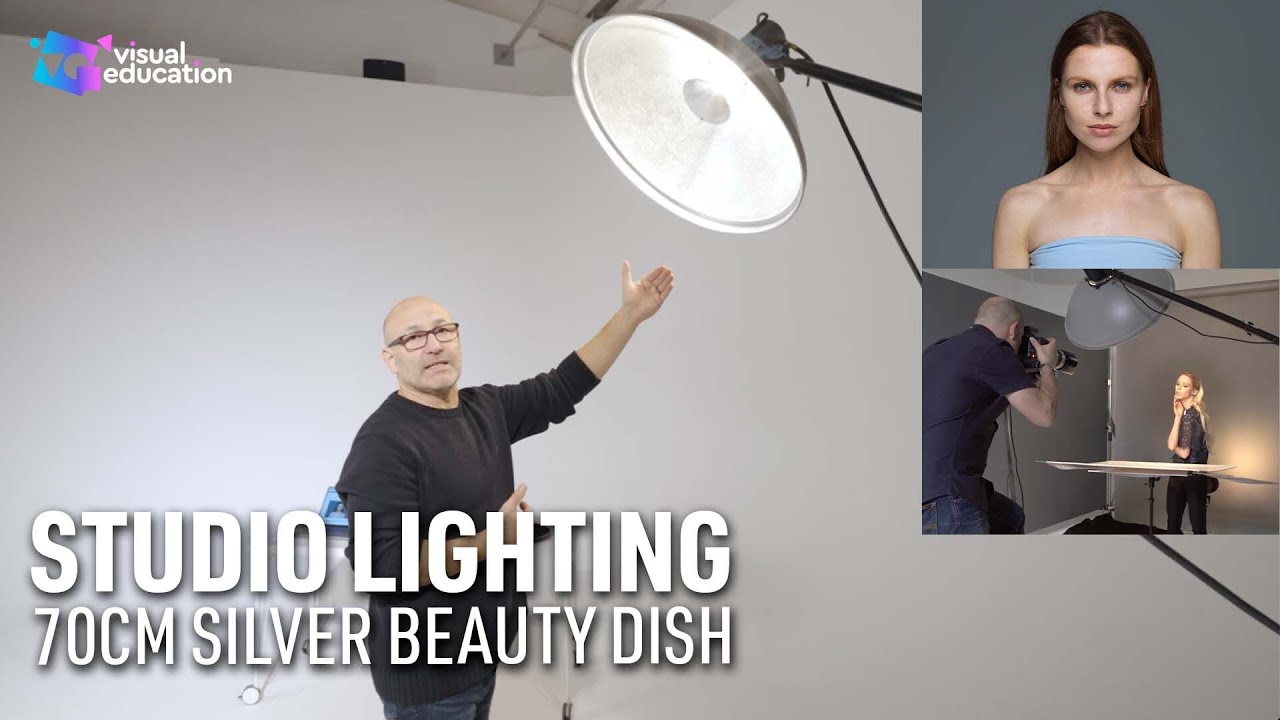
There’s a gap between knowing a beauty dish produces beautiful light and actually understanding why it does — and that gap shows up in your photos. For years when I was shooting weddings, I treated modifiers like interchangeable parts. A beauty dish was just the round thing that made skin look good. It wasn’t until I slowed down and started studying the mechanics of light that the results in my work actually changed.

What Scott Kelby's Light It. Shoot It. Retouch It. Finally Gets Right About Teaching Portrait Retouching

What Scott Kelby's Light It. Shoot It. Retouch It. Finally Gets Right About Teaching Portrait Retouching

There’s a particular kind of frustration that every self-taught retoucher knows. You find a tutorial with gorgeous results, you follow along as carefully as you can, and what you end up with looks nothing like the final image. Not even close. The gap between “here’s the concept” and “here’s exactly how to do it” is where most instructional content quietly falls apart. I spent years filling that gap by trial and error, and I have a hard drive full of over-processed, plastic-looking portraits to prove it.

Beauty Dish Lighting for Portrait Photographers: What Makes It Worth Every Penny

Beauty Dish Lighting for Portrait Photographers: What Makes It Worth Every Penny

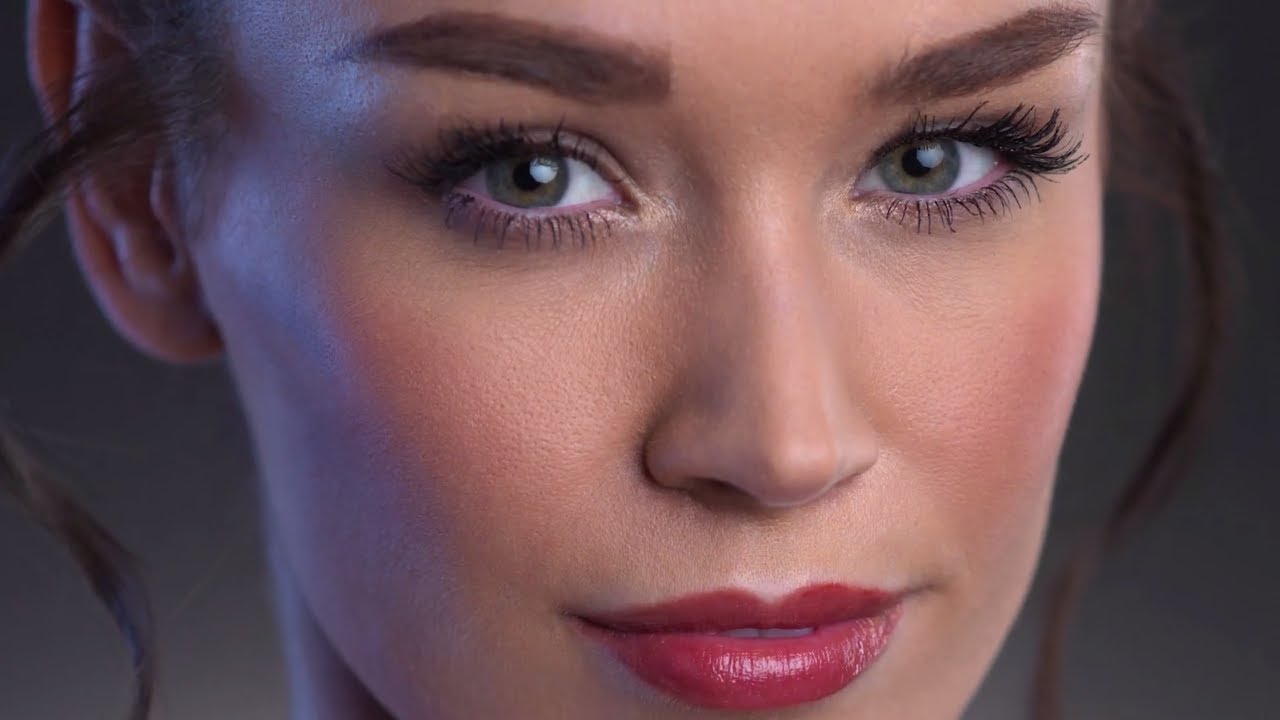
I’ve spent a lot of time on the retouching side of beauty photography, which means I’ve also spent a lot of time studying the images that arrive in my inbox before I ever open Photoshop. The lighting in those source files tells me everything. A flat, overexposed beauty shot gives me almost nothing to work with. But an image shot with dimensional, sculpted light? That’s where retouching actually gets to shine, because you’re enhancing something that’s already working rather than trying to manufacture structure that was never there to begin with.

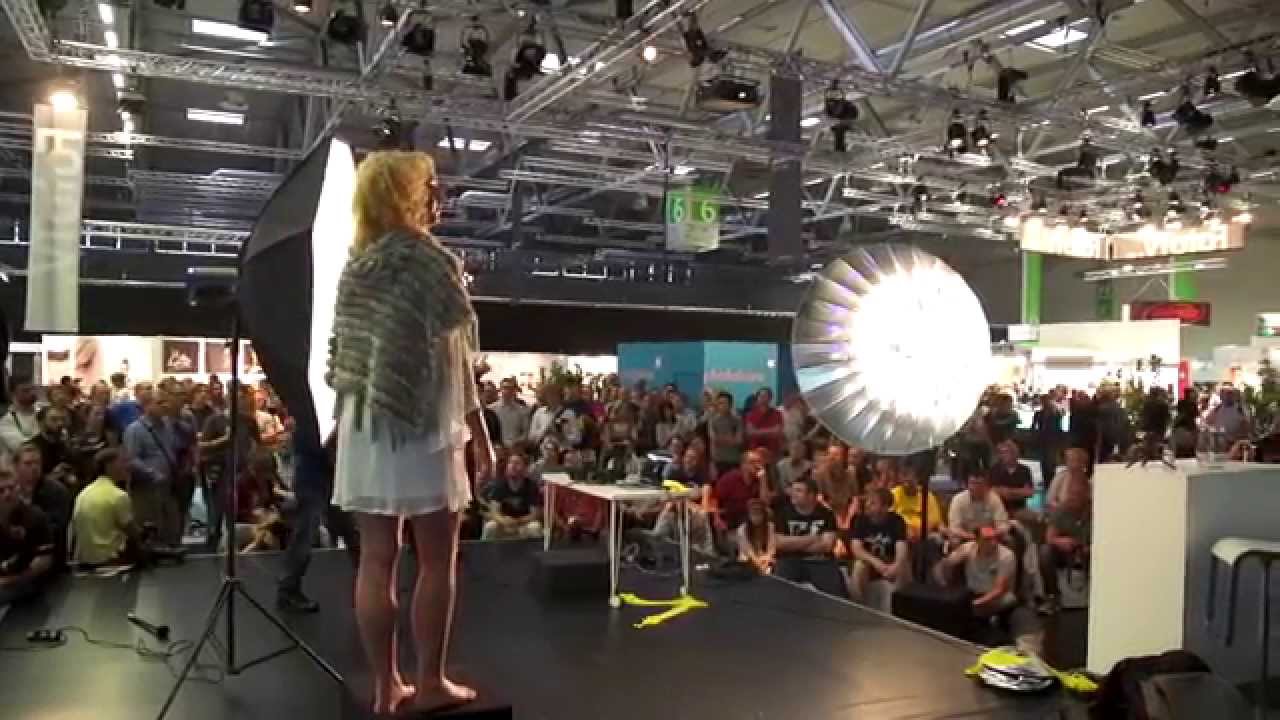
Light in Layers: How Karl Taylor's Live Beauty Shoot Cracked My Lighting Logic

Light in Layers: How Karl Taylor's Live Beauty Shoot Cracked My Lighting Logic

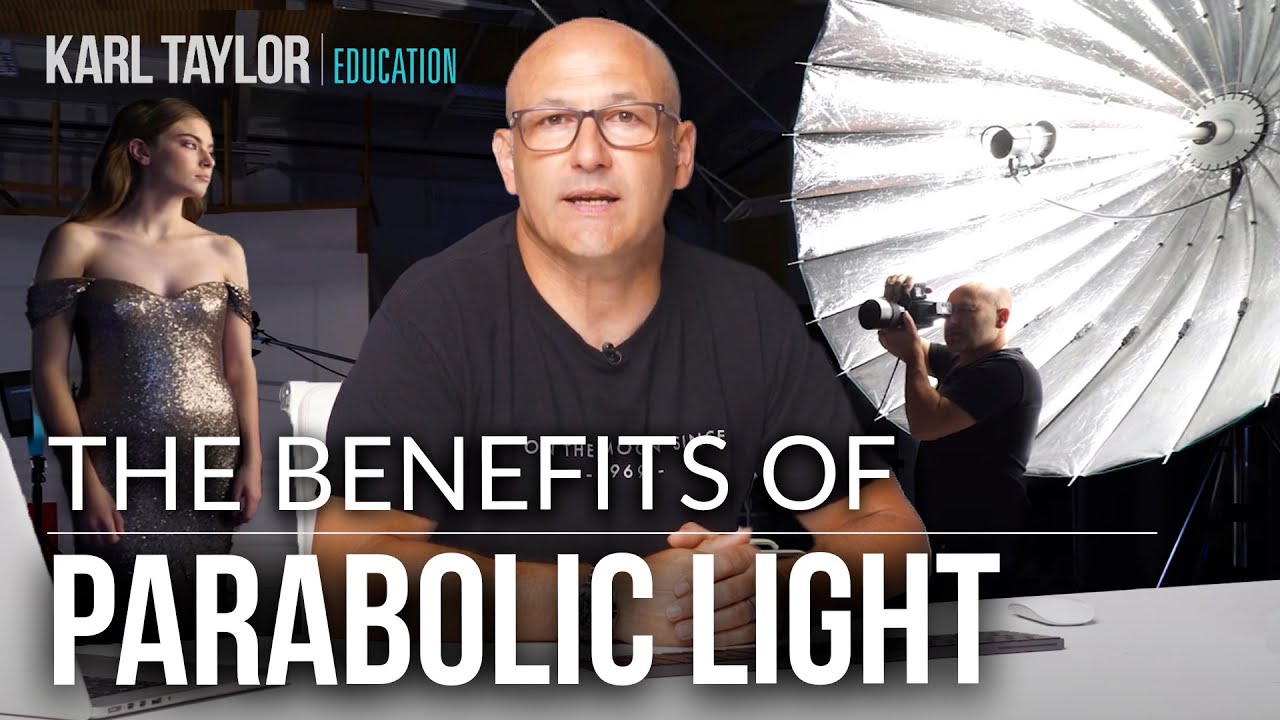
There’s a gap that most retouchers know intimately, even if we don’t talk about it out loud. We can fix almost anything in post. But when the light in the original image is genuinely good, the retouch work shrinks to almost nothing. The skin holds its texture. The shadows fall where they should. The whole edit takes a fraction of the time. That’s why I keep circling back to lighting education, even though my day job is retouching rather than shooting.

Beauty Dish vs. Umbrella: What Every Retoucher Needs to Understand About Studio Light Quality

Beauty Dish vs. Umbrella: What Every Retoucher Needs to Understand About Studio Light Quality

There’s a moment every retoucher knows well. You open a file, squint at the skin, and realize the problem isn’t texture or tone. It’s the light itself. Shadows landing in the wrong places, catchlights that look chaotic, a general scrappiness to the image that no frequency separation layer is going to fix. I spent years treating lighting as the photographer’s problem and post-processing as mine, and that division cost me hours of unnecessary work.

Shooting for the Composite: What a Halloween Zombie Setup Taught Me About Commercial Lighting

Shooting for the Composite: What a Halloween Zombie Setup Taught Me About Commercial Lighting

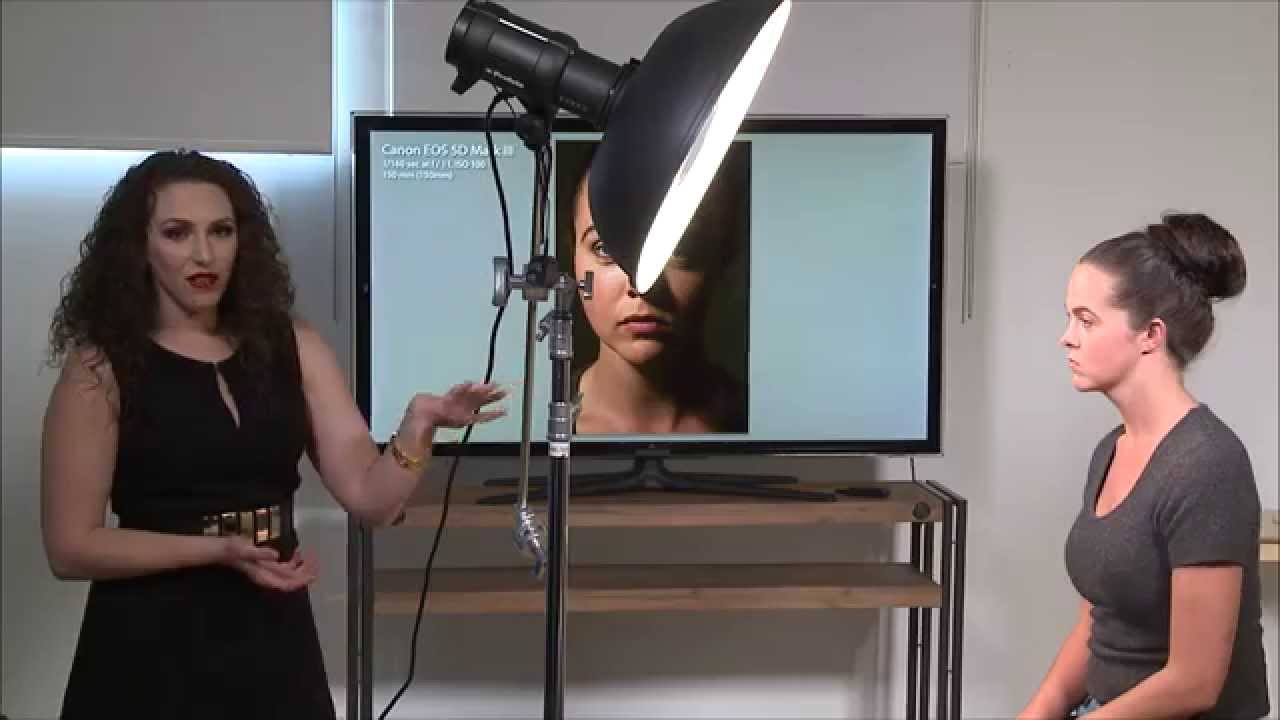
Every few years, a tutorial stops me mid-green-tea and makes me rethink something I thought I already understood. I was prepping for a beauty retouching workshop when I pulled up Watch the full tutorial on YouTube — a CreativeLive segment where photographer Lindsay Adler walks through a Halloween-themed portrait shoot. The subject has a full zombie makeup look, which honestly makes the lighting instruction easier to follow: you can see every shadow and highlight doing its job in real time.