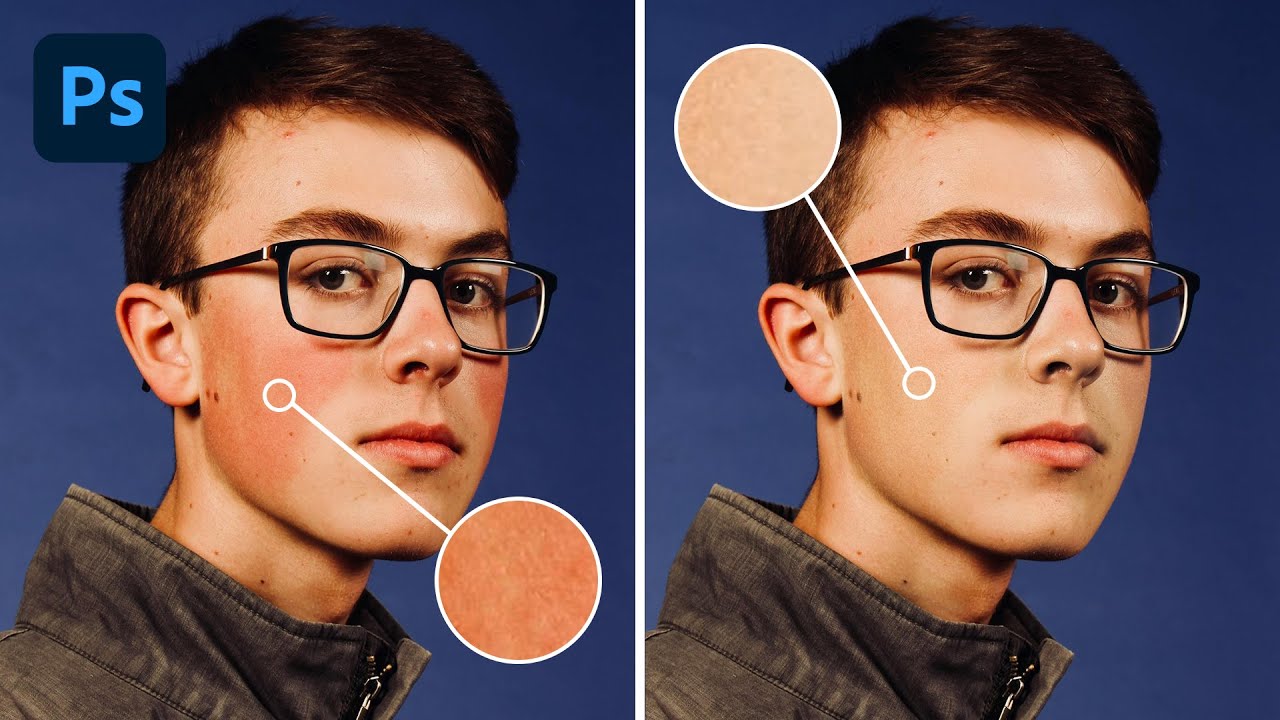
Four Ways to Fix Red Skin in Photoshop (Without Making Your Subject Look Plastic)

Four Ways to Fix Red Skin in Photoshop (Without Making Your Subject Look Plastic)

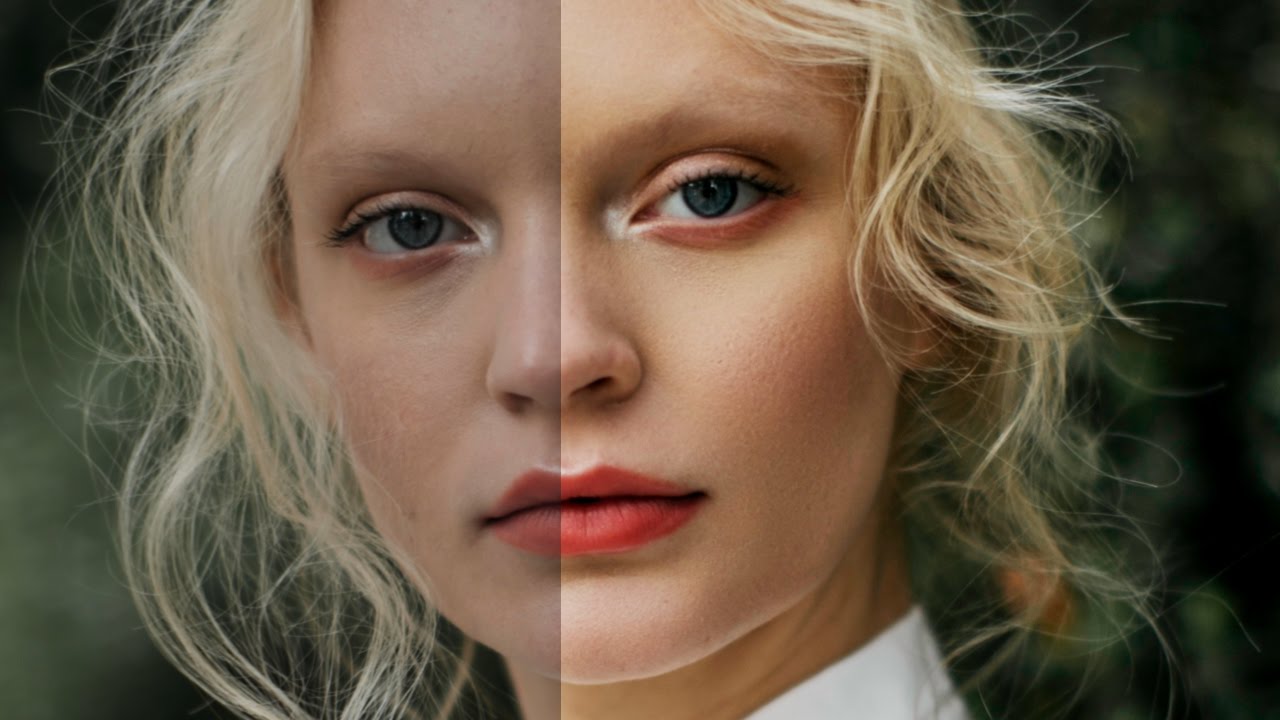
Red skin is one of those problems that sounds simple until you’re sitting across from a client who keeps saying “can you just fix the redness?” and every approach you try either makes them look sallow, gray, or – my personal low point – vaguely seasick. Early in my retouching work I leaned too hard on desaturation, which flattens everything and gives skin that telltale plastic quality that clients hate even when they can’t name exactly why.
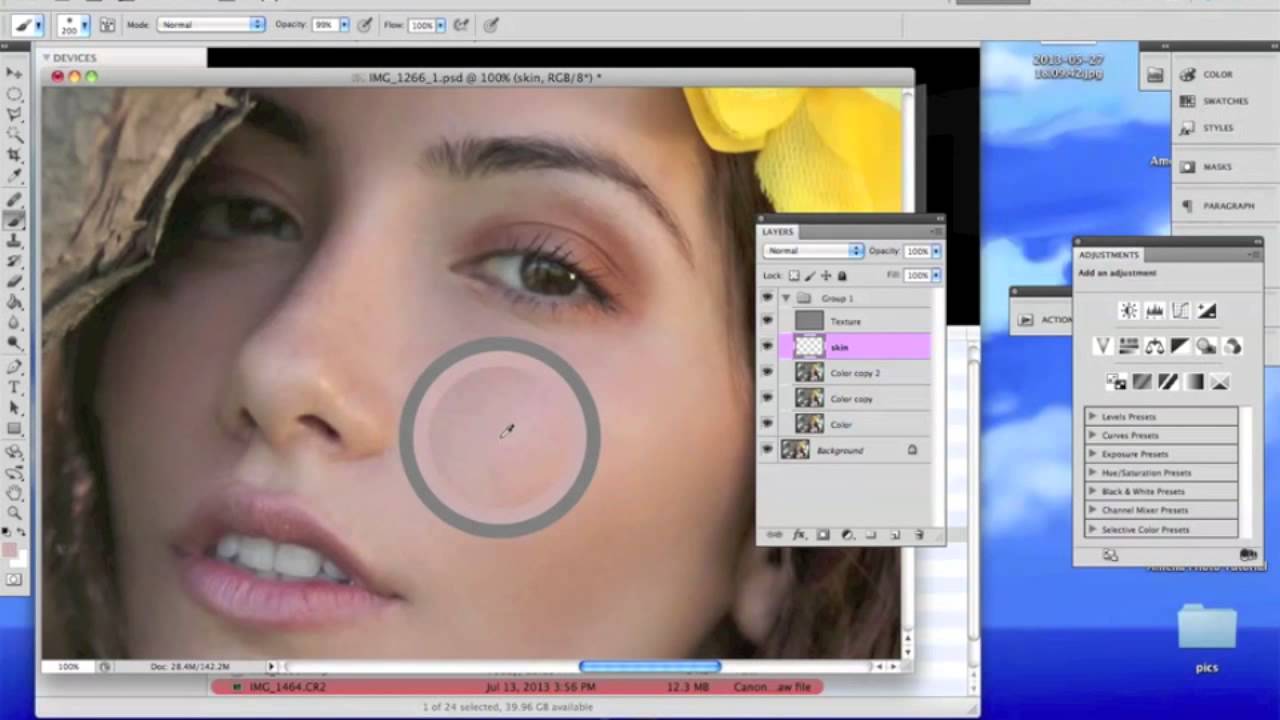
Frequency Separation in Photoshop: A Step-by-Step Skin Retouching Guide (Based on Jessica Kobeissi's Technique)

Frequency Separation in Photoshop: A Step-by-Step Skin Retouching Guide (Based on Jessica Kobeissi's Technique)

There’s a specific kind of dread that comes from delivering a round of portraits and hearing back that the skin looks “plastic.” I know that dread firsthand. Early in my retouching career, I was so focused on removing every blemish and evening out every tone that I was essentially painting over my subjects’ faces. The results were technically smooth and completely lifeless. Learning frequency separation was the moment that changed everything for me, because it finally let me work on the color and texture of skin as two separate problems instead of one blunt instrument.

How to Handle Unwanted Shadows When Compositing Portrait Photos

How to Handle Unwanted Shadows When Compositing Portrait Photos

Shadow problems have a way of showing up exactly where you don’t want them. A subject’s arm falls across their torso, a leg casts a hard line across a background you spent twenty minutes setting up, and suddenly the composite you were proud of has a giveaway edge that screams “two separate images.” I used to patch these situations with heavy cloning and hope nobody noticed. They noticed. Watch the full tutorial on YouTube

What Landscape Photographers Know About Light That We Should Steal for Beauty Work

What Landscape Photographers Know About Light That We Should Steal for Beauty Work

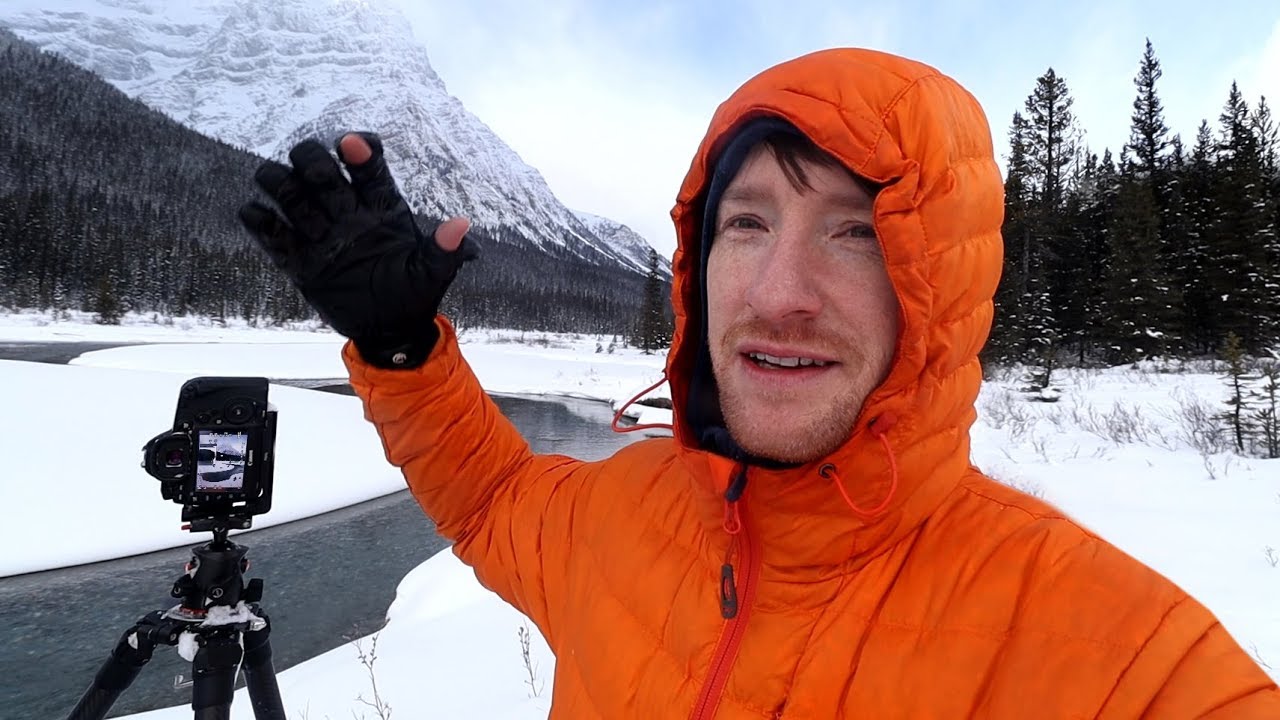
There is a particular kind of frustration I know well: you have a subject in front of you, the light is almost right, and you are burning through time waiting for the moment to either arrive or not. I felt that frustration constantly in my wedding days, and I still feel a version of it now when I am trying to coax a beauty edit into looking natural rather than constructed.

How to Dodge & Burn Landscapes Without Destroying the Highlights (A PHLEARN Breakdown)

How to Dodge & Burn Landscapes Without Destroying the Highlights (A PHLEARN Breakdown)

There is a moment in almost every landscape edit where the image looks technically correct but emotionally flat. The exposure is fine. The colors are fine. And yet something is missing, that sense that the rocks have weight, that the light is actually landing somewhere, that the scene exists in three dimensions. For years I tried to fix this with curves adjustments and vignettes and, honestly, a lot of hoping. It was not until I started paying closer attention to dodge and burn as a sculpting tool, not just a correction tool, that my landscape edits started feeling alive.

How to Remove Skin Redness in Photoshop Using Hue/Saturation (The Right Way)

How to Remove Skin Redness in Photoshop Using Hue/Saturation (The Right Way)

There’s a specific kind of client email I used to dread. The one that arrives two days after delivery, very polite, that says something like: “The skin still looks a little red in a few spots.” Early in my retouching work, my answer to redness was almost always the same wrong tool: the Brush tool, a sampled skin tone, and way too much opacity. The results looked painted. I’d fix the redness and introduce something worse.

Face-Aware Liquify in Photoshop CC 2015.5: A Portrait Retoucher's Step-by-Step Breakdown

Face-Aware Liquify in Photoshop CC 2015.5: A Portrait Retoucher's Step-by-Step Breakdown

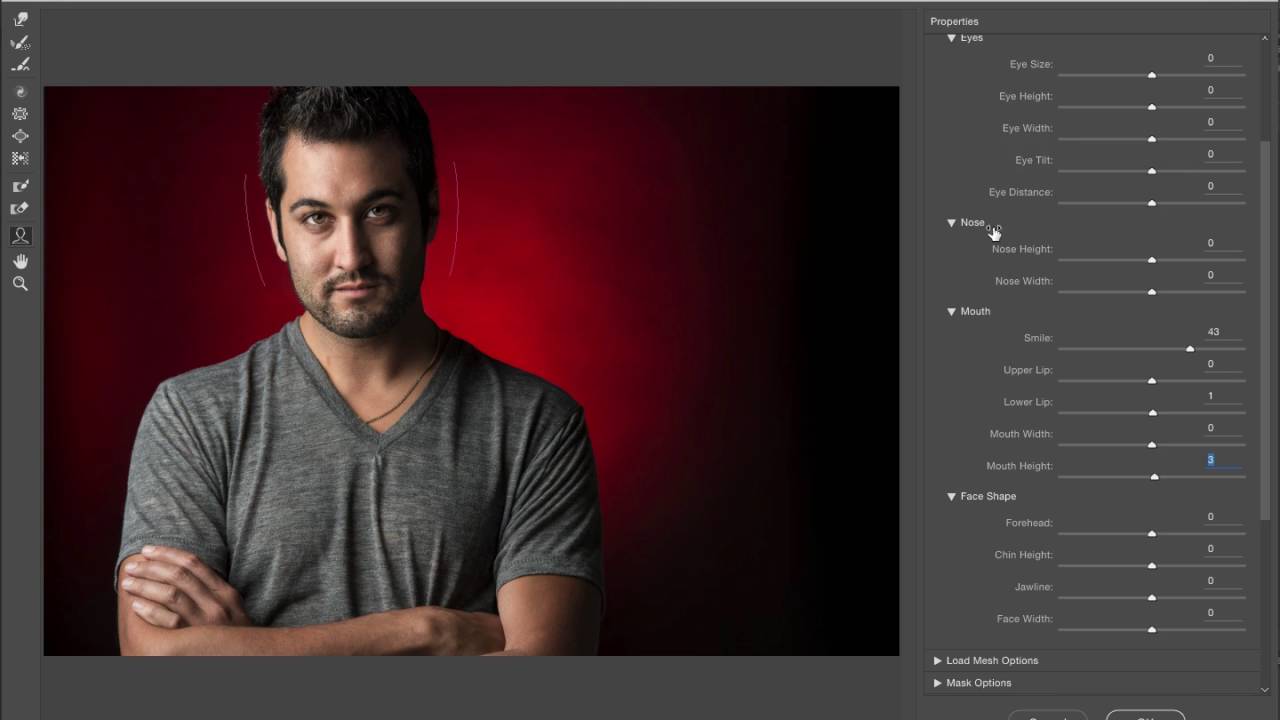
Before Face-Aware Liquify existed, reshaping a face in Photoshop meant dragging the standard Liquify brush around like you were trying to ice a cake with a spatula. You’d nudge a jawline, overshoot it, pull it back, and end up with something that looked vaguely melted. I burned through a lot of hours that way early in my retouching career, and more than one client politely described my results as “a little off.

Dodge & Burn Without Destroying Your Image: The Curves Layer Method

Dodge & Burn Without Destroying Your Image: The Curves Layer Method

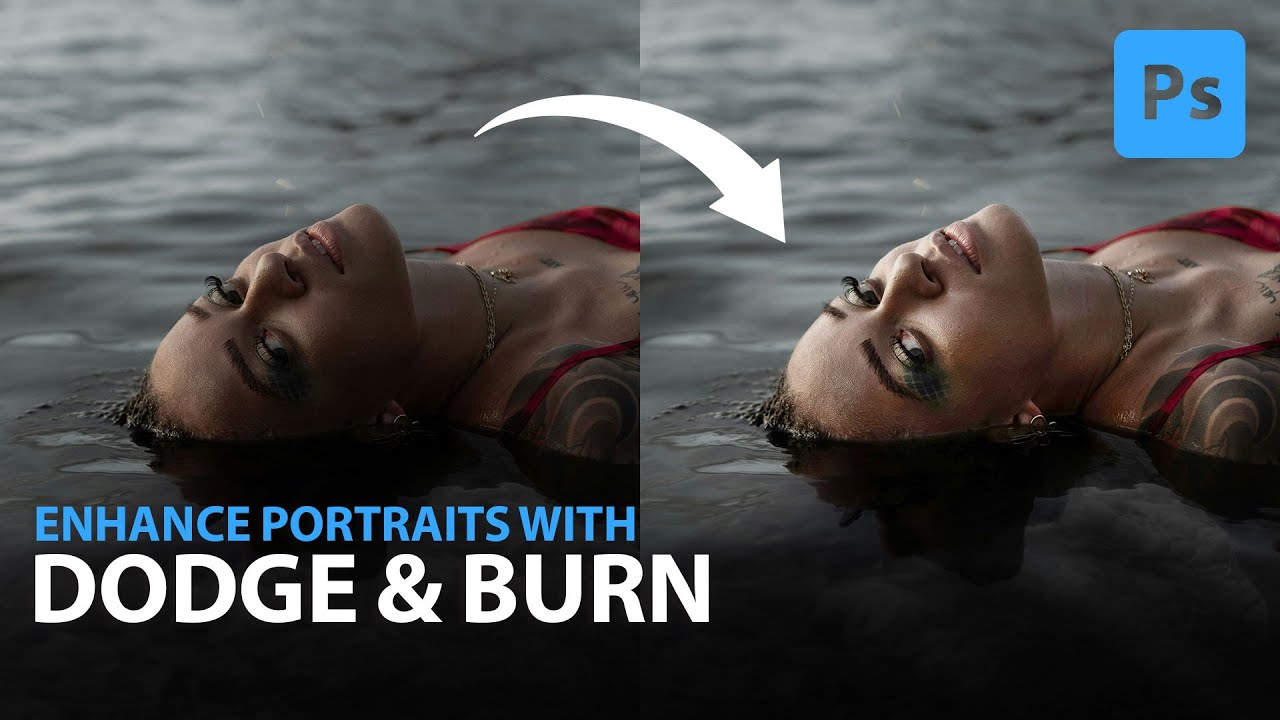
For a long time, my dodge and burn work looked exactly like what it was: painted-on light that had no business being on a human face. I’d grab the Dodge tool, scrub it across a highlight, and end up with something chalky and flat. A client once described my edits as “a little too perfect,” which is a polite way of saying they looked fake. It took me longer than I’d like to admit to realize the problem wasn’t my eye for light.

Frequency Separation for Beginners: A Working Retoucher's Guide to Jessica Kobeissi's Method

Frequency Separation for Beginners: A Working Retoucher's Guide to Jessica Kobeissi's Method

Early in my retouching career, I had a client look at a finished portrait and tell me the skin looked “like a wax figure.” She wasn’t wrong. I’d been painting over everything on a single merged layer, smoothing out texture along with blemishes, and the result was exactly as plastic as she described. That comment sent me down a long road of learning how to separate what I was fixing from what I needed to preserve.

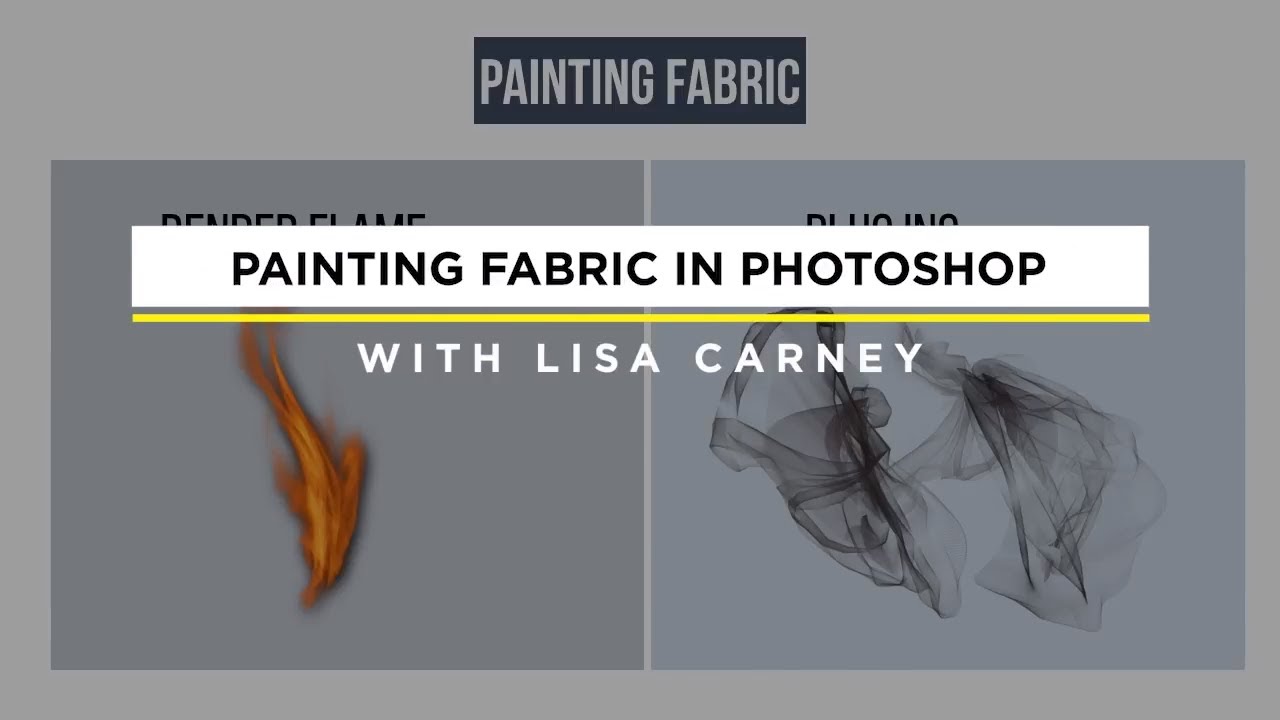
Painting Fabric from Flame: A Photoshop Trick That Changed How I Think About Clothing Retouching

Painting Fabric from Flame: A Photoshop Trick That Changed How I Think About Clothing Retouching

There’s a specific kind of panic that sets in when a client sends you an image and says, “We love everything except… can you do something about the top?” Early in my retouching career, “do something” meant cloning, healing, and praying. The results were usually unconvincing at best. What I’ve since learned is that sometimes the most elegant solution isn’t to fix what’s there. It’s to replace it entirely with something that looks completely intentional.

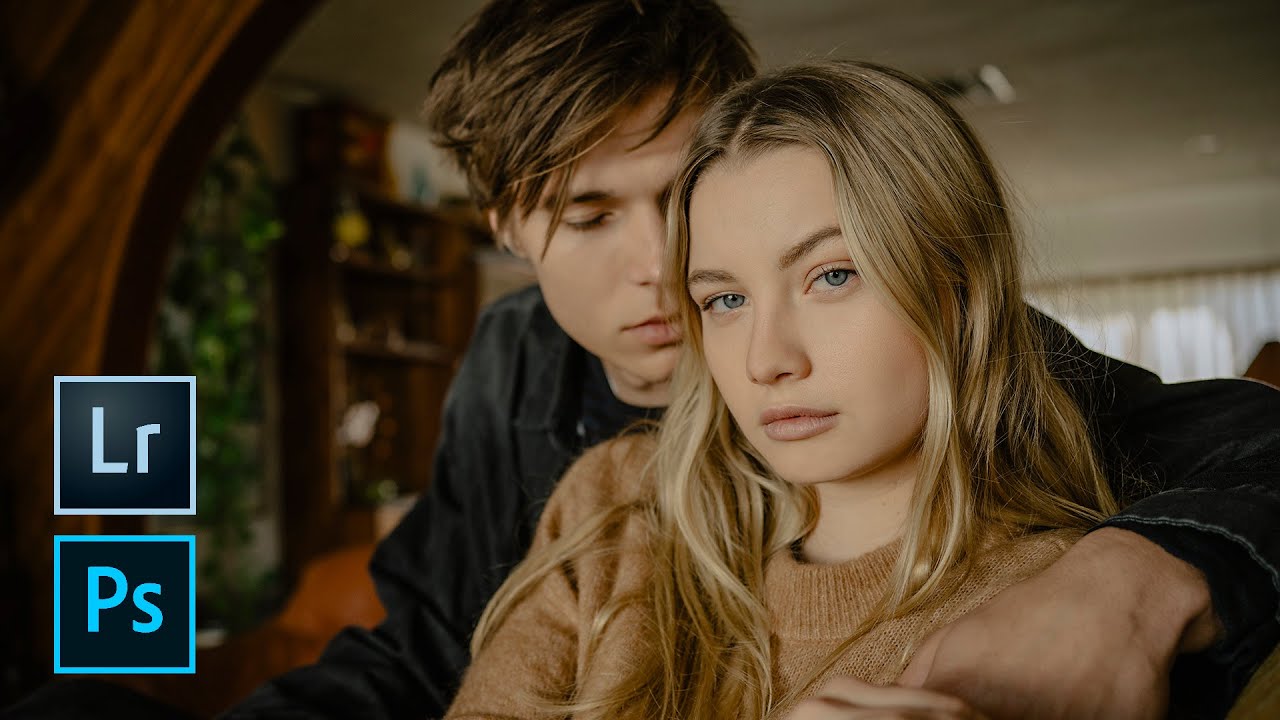
5 Skin Retouching Methods That Actually Work: A Lightroom and Photoshop Breakdown

5 Skin Retouching Methods That Actually Work: A Lightroom and Photoshop Breakdown

There is a version of a retouched portrait that looks incredible at 100% zoom and completely wrong the moment you step back. I know this because I used to produce that version regularly. Early in my retouching career, a client told me my edits looked “plastic,” and she was not wrong. The skin was smooth the way a vinyl doll is smooth, not the way a real person is smooth. What I was missing was a system.

Beauty Dish Lighting for Portrait Photographers: What Makes It Worth Every Penny

Beauty Dish Lighting for Portrait Photographers: What Makes It Worth Every Penny

I’ve spent a lot of time on the retouching side of beauty photography, which means I’ve also spent a lot of time studying the images that arrive in my inbox before I ever open Photoshop. The lighting in those source files tells me everything. A flat, overexposed beauty shot gives me almost nothing to work with. But an image shot with dimensional, sculpted light? That’s where retouching actually gets to shine, because you’re enhancing something that’s already working rather than trying to manufacture structure that was never there to begin with.