Frequency Separation in Photoshop: A Step-by-Step Breakdown of Aaron Nace's Game-Changing Technique

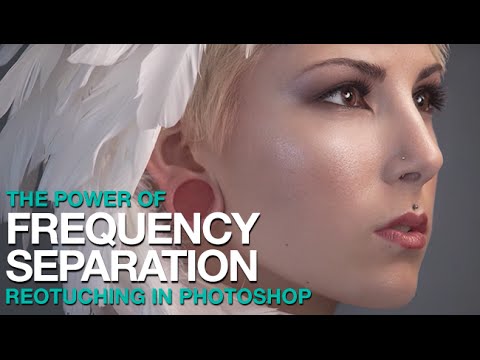
Frequency Separation in Photoshop: A Step-by-Step Breakdown of Aaron Nace's Game-Changing Technique

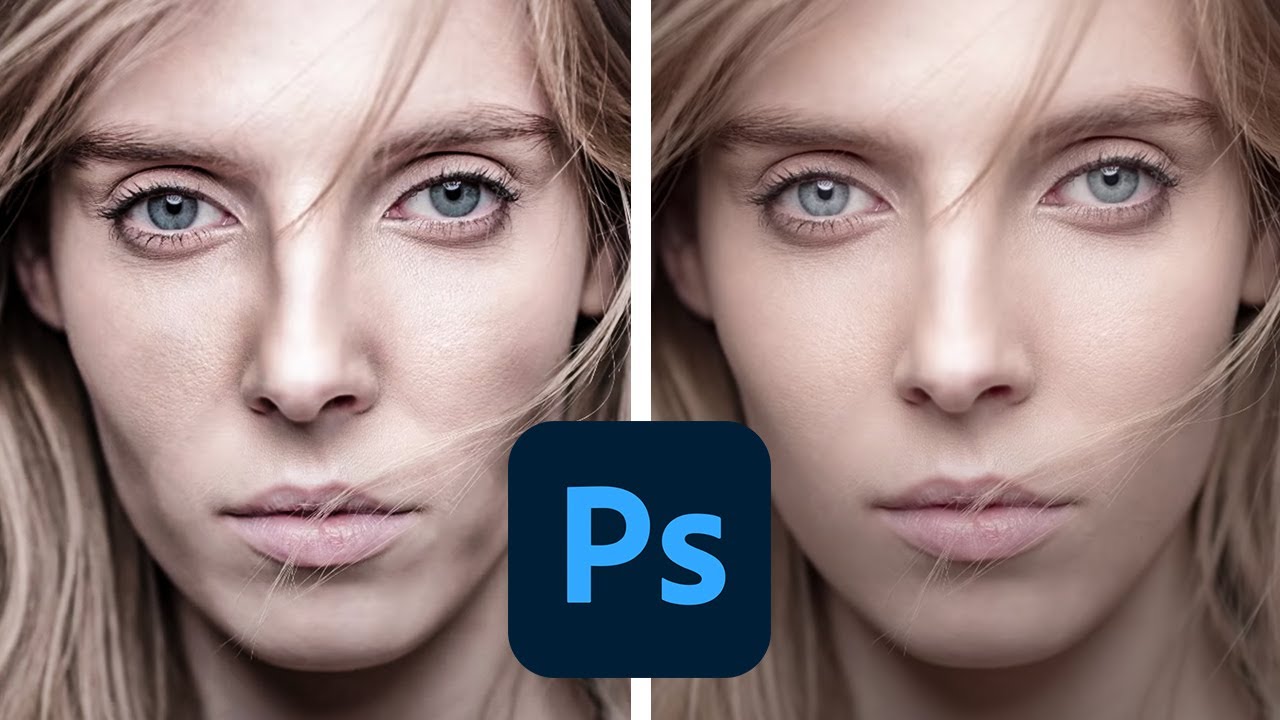
There is a specific kind of dread that comes with zooming into 100% on a retouched face and realizing the skin looks like a wax museum exhibit. I know that dread well. Early in my retouching career, I was so focused on erasing every shadow and blotch that I was also erasing everything that made the skin look like skin. A client put it plainly: “She looks plastic.” That note stung, but it pushed me to find a better way.

Dark Canvas First: What Urban Dodge and Burn Taught Me About My Portrait Work

Dark Canvas First: What Urban Dodge and Burn Taught Me About My Portrait Work

I came up through wedding photography, which means I learned to retouch under pressure and mostly by instinct. Skin, hair, the soft glow of a ceremony room — that was my world for years. So when I started freelancing for beauty brands and teaching retouching workshops, I had to deliberately go looking for techniques outside my comfort zone. That’s what led me to Watch the full tutorial on YouTube — a Kelvin Designs episode on dodge and burn for urban landscapes.

How to Retouch a Car in Photoshop: Scott Kelby's Workflow Broken Down Step by Step

How to Retouch a Car in Photoshop: Scott Kelby's Workflow Broken Down Step by Step

Most of my work lives in faces. Skin texture, under-eye circles, the way light catches a cheekbone. But the principles that make beauty retouching work, cleaning up distracting reflections, creating seamless backgrounds, making an image look inevitable rather than labored, apply everywhere. Including, it turns out, cars. I stumbled onto this tutorial while looking for a cleaner way to handle background reflections in product work, and it genuinely reframed how I think about any kind of studio shot.

How to Expose and Light Group Portraits When Skin Tones Vary Widely

How to Expose and Light Group Portraits When Skin Tones Vary Widely

Group portraits are one of those assignments that look simple on paper until you’re actually standing there with three people in front of your lens, each with a completely different skin tone, and your camera is doing something odd with the exposure. I’ve been there more times than I’d like to admit. Even after years of shooting weddings and transitioning into beauty work, mixed-skin-tone group shots still require deliberate thinking at every stage, from how you set your light to how you read your meter.

From Art Director to Portrait Photographer: What Valerie Bogle's Studio Setup Teaches Us About Intentional Beauty Work

From Art Director to Portrait Photographer: What Valerie Bogle's Studio Setup Teaches Us About Intentional Beauty Work

There’s a particular kind of client who walks into a beauty shoot convinced the camera will confirm every bad thing she’s ever believed about herself. I’ve worked with enough of them, on the post-processing side at least, to know that what happens before the shutter clicks matters just as much as what happens in Photoshop afterward. That’s why a studio tour like the one Valerie Bogle gives in Watch the full tutorial on YouTube hit me differently than a standard lighting breakdown or gear review.

How to Paint Light and Volume Back Into a Face Using Photoshop Layers

How to Paint Light and Volume Back Into a Face Using Photoshop Layers

There’s a specific kind of defeat that comes from delivering a gallery and hearing back that the edits look “a little flat.” I’ve been there. Early in my beauty retouching career, I was so focused on removing things, smoothing, erasing, fixing, that I forgot skin has actual shape. It catches light on a nose bridge. It has shadow under a cheekbone. When you retouch that dimension away, even a perfectly exposed photo can start to look like a wax figure.

Stop Fighting Your Masks: How the Subtract Tool Turns Messy Selections Into Clean Edits

Stop Fighting Your Masks: How the Subtract Tool Turns Messy Selections Into Clean Edits

There’s a particular kind of frustration that comes from making a solid selection, bumping the exposure, and then noticing that weird glowing halo creeping around the edges of your subject. I ran into this constantly when I first started doing beauty work, and for a long time my solution was either to accept the flaw or spend twenty minutes in Photoshop doing painstaking manual cleanup. Neither option felt right. When I came across this Matt Kloskowski tutorial on the power of the Subtract tool in Lightroom and Photoshop masking, I realized I had been overcomplicating something that has a much more elegant fix built right into the tools I already use every day.

How Lightroom's New Masking Tools Can Transform the Way You Make Local Adjustments

How Lightroom's New Masking Tools Can Transform the Way You Make Local Adjustments

There’s a moment in almost every retouching session where I think: if I could just isolate that one thing without painting around it for ten minutes, this would be perfect. For portrait work, that’s usually a sky blowing out behind a subject, or a background that needs to be cooled down while the skin stays warm. For years, Lightroom’s local adjustment tools were a workaround at best, and I’d end up hopping over to Photoshop just to grab a clean mask.

How to Mask Any Color-Based Element in Lightroom Without Touching a Selection Tool

How to Mask Any Color-Based Element in Lightroom Without Touching a Selection Tool

There’s a particular kind of editing frustration I know well: you’re looking at an image and you need to isolate something specific, something Lightroom’s AI has no preset button for. Not the sky. Not the subject. Something in between, like a textured roof, a mountain range, a fabric pattern in the background. For years, my reflex was to sigh, open Photoshop, and start drawing paths. That workflow costs time, and time is the thing I never have enough of between client deliveries and workshop prep.

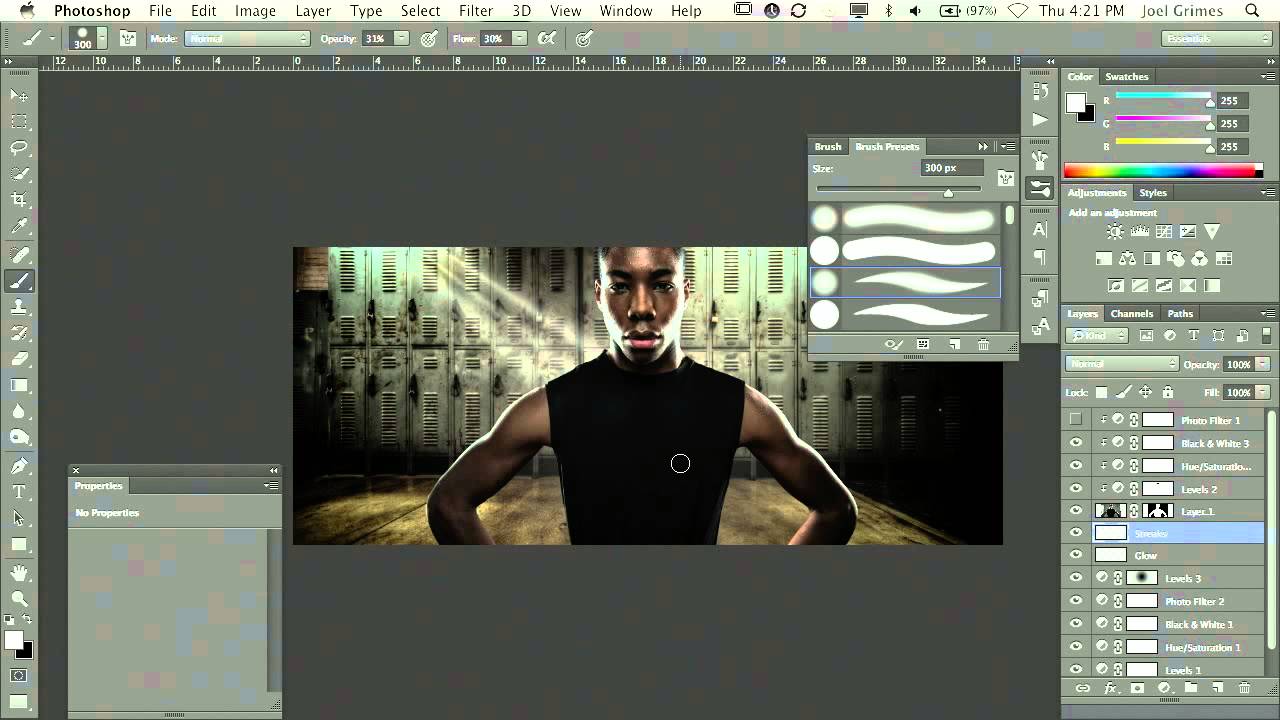
Three Tools, One Great Portrait: Breaking Down Joel Grimes' No-Fuss Retouching Workflow

Three Tools, One Great Portrait: Breaking Down Joel Grimes' No-Fuss Retouching Workflow

There’s a version of me from a few years back who would have spent three hours on a single portrait, chasing some imaginary level of perfection, and still delivered something that looked overworked. A client once told me my edits looked “a little plastic” and I still think about that comment every time I open a new file. What I’ve learned since then is that the best retouching is almost invisible, and the best workflows are simpler than you’d expect.

The One Lightroom Masking Mode Most People Never Switch On

The One Lightroom Masking Mode Most People Never Switch On

There’s a specific frustration I run into constantly when editing beauty and product work: the background needs its own treatment, completely separate from the subject. Sometimes it’s a seamless sweep that needs to pop. Sometimes it’s a reflective floor that should feel glossier, or a wall that’s pulling attention away from the face I’ve spent an hour perfecting. The subject selection tools in Lightroom are genuinely impressive now, but they’re built around the assumption that the subject is the thing you want to adjust.

How to Freestyle a Portrait Retouch in Photoshop (Without a Rigid Plan)

How to Freestyle a Portrait Retouch in Photoshop (Without a Rigid Plan)

There’s a version of portrait retouching that feels like following a recipe. Same steps, same order, same result every time. For a long time, that was me. I built elaborate action sets (I still name them after movies – my frequency separation stack is called “The Prestige”) and ran every portrait through the same pipeline. It was efficient. It was also making my work look a little lifeless, like I was manufacturing faces rather than finishing photographs.