The 15-Minute Eye Enhancement Workflow That Stopped Making My Subjects Look Alien

The 15-Minute Eye Enhancement Workflow That Stopped Making My Subjects Look Alien

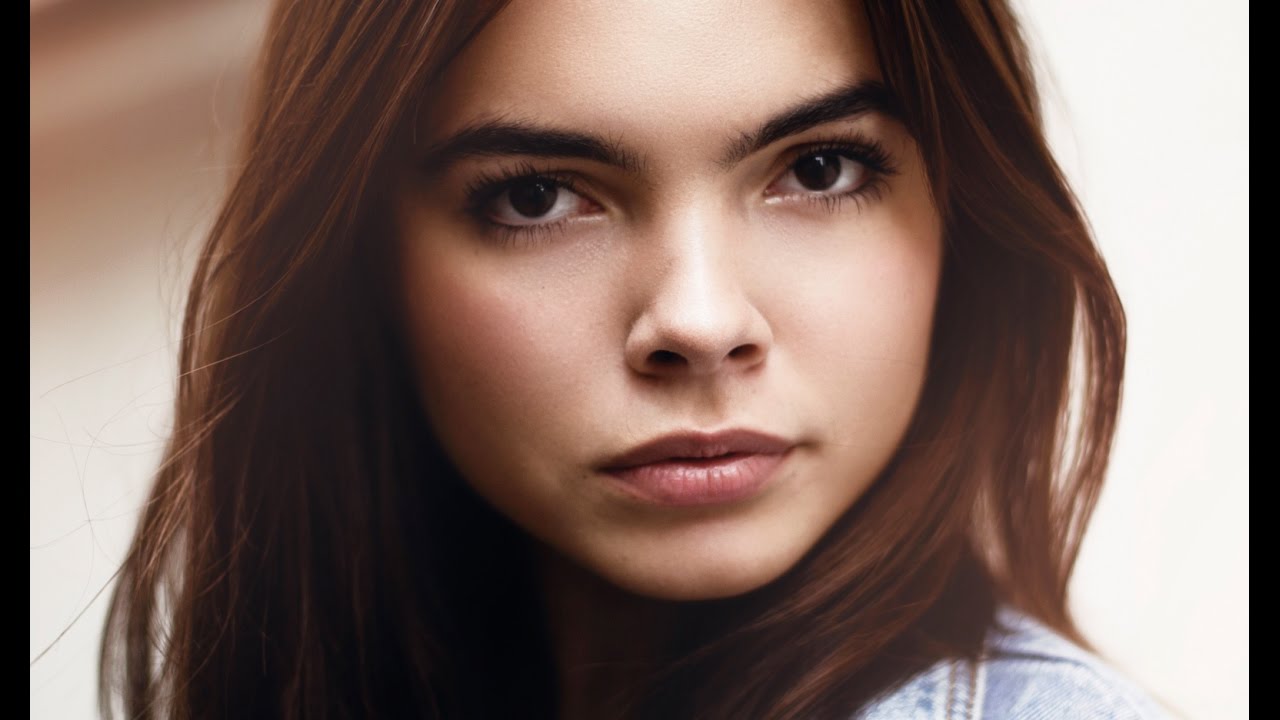
The first time a client told me my retouching looked “a little off,” I pulled up the file and stared at it for a long time. The eyes. I had over-brightened the irises, cloned out every tiny vessel, and added a specular highlight so crisp it looked like a render from a video game. She wasn’t wrong. The subject looked like a beautiful doll, and not in a good way. I still have that file.

Redirect the Viewer's Eye: A Beauty Retouching Workflow That Actually Works

Redirect the Viewer's Eye: A Beauty Retouching Workflow That Actually Works

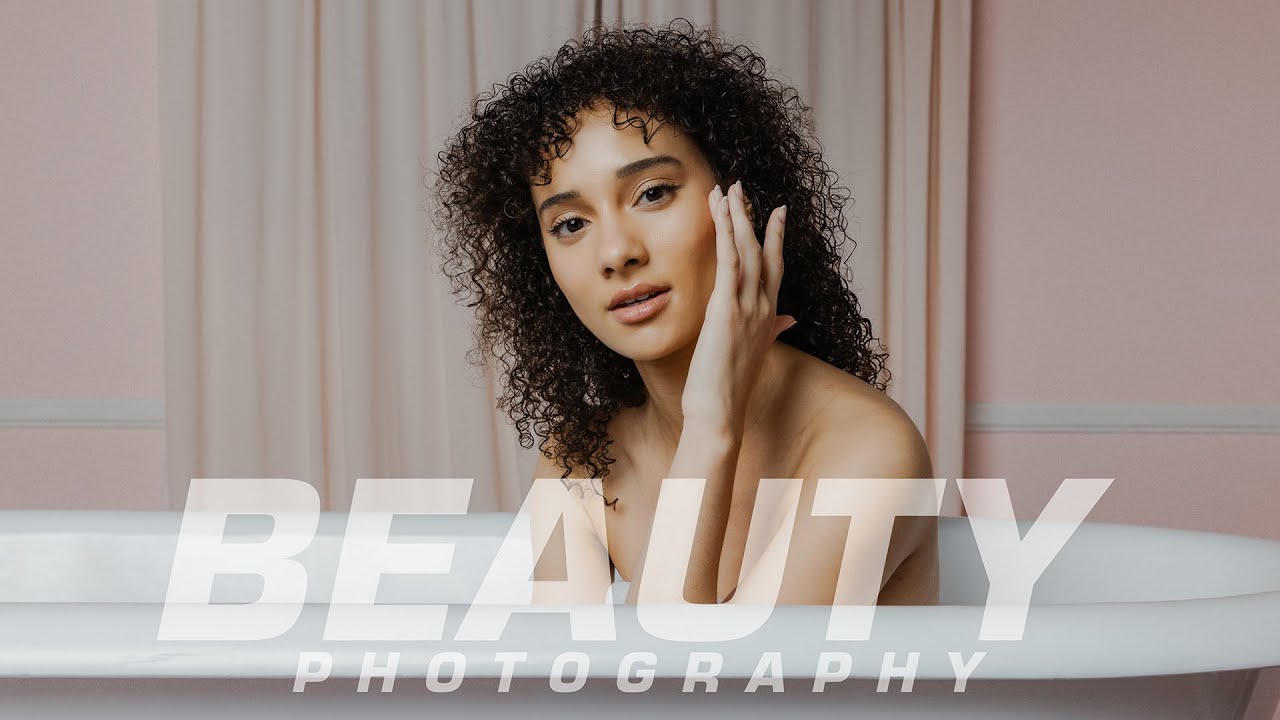
There’s a specific failure mode I see constantly in beauty edits, including some of my own early ones. The retoucher fixes everything they were asked to fix, the skin looks clean, the colors are balanced, and yet something about the image feels off. The viewer’s eye wanders to the wrong place. That’s not a technical problem. It’s a compositional one, and no amount of frequency separation will solve it. What solves it is learning to think about visual weight and flow after the camera has already captured the shot.

Two Lights, One Setup: How Karl Taylor Builds Airy Beauty Shadows That Don't Go Dark

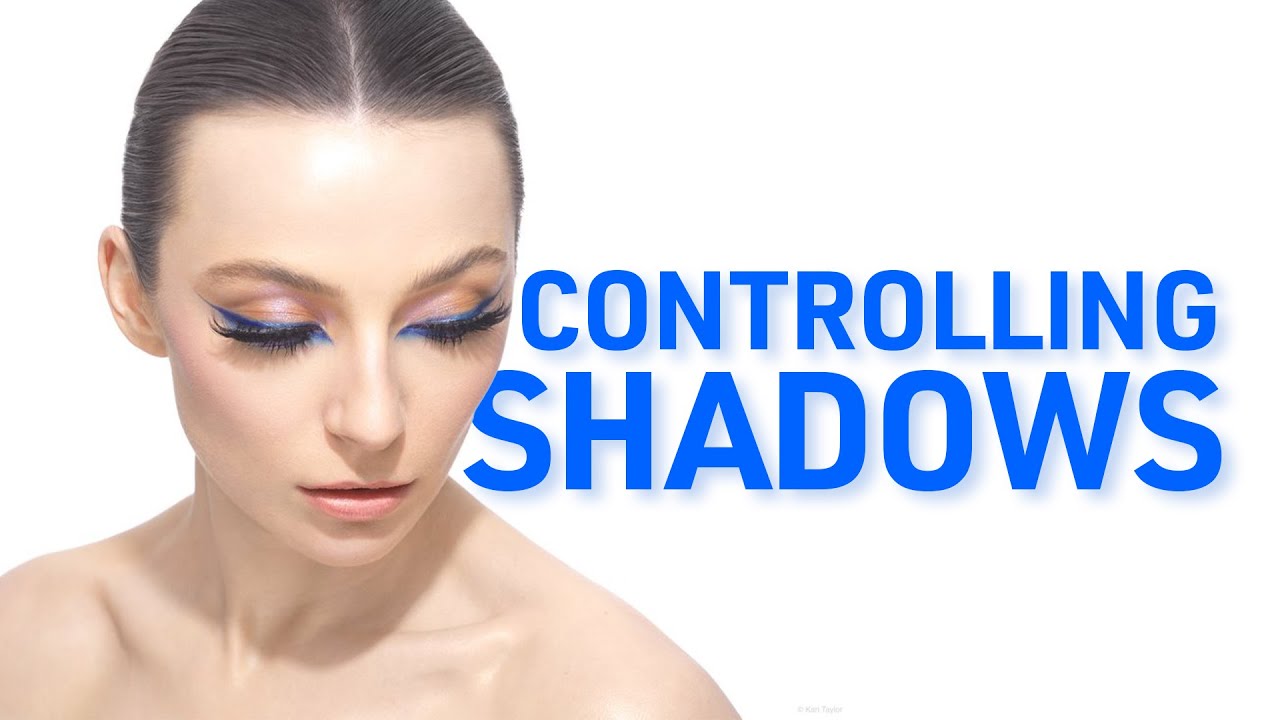
Two Lights, One Setup: How Karl Taylor Builds Airy Beauty Shadows That Don't Go Dark

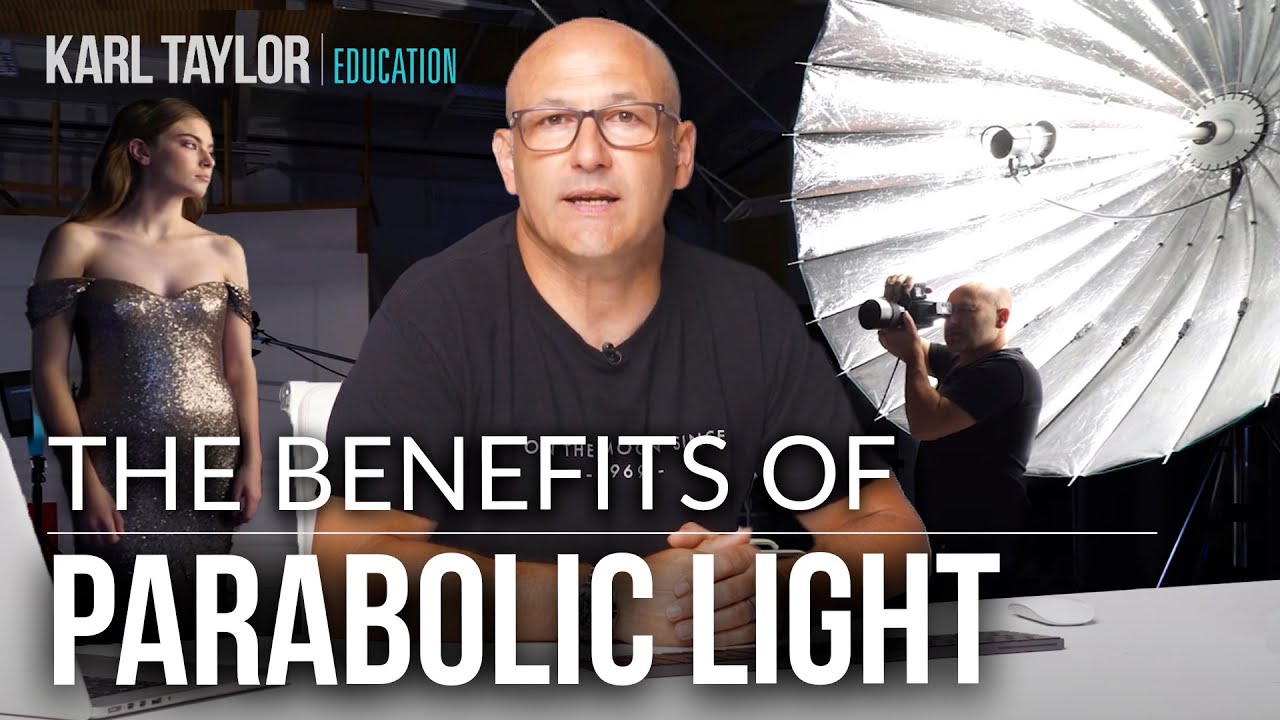
There’s a specific problem I run into constantly when I’m retouching beauty work: the shadows look either completely flat or oppressively dark, and neither one feels right. Flat shadows make skin look two-dimensional, which means I end up doing twice the work in post trying to sculpt cheekbones and collarbones that should have been lit properly on set. Dense black shadows swing to the other extreme, giving the whole image a dramatic, almost harsh energy that doesn’t match the soft, polished aesthetic most beauty clients want.

Frequency Separation the Right Way: A Walkthrough of Jessica Kobeissi's Gaussian Blur Method

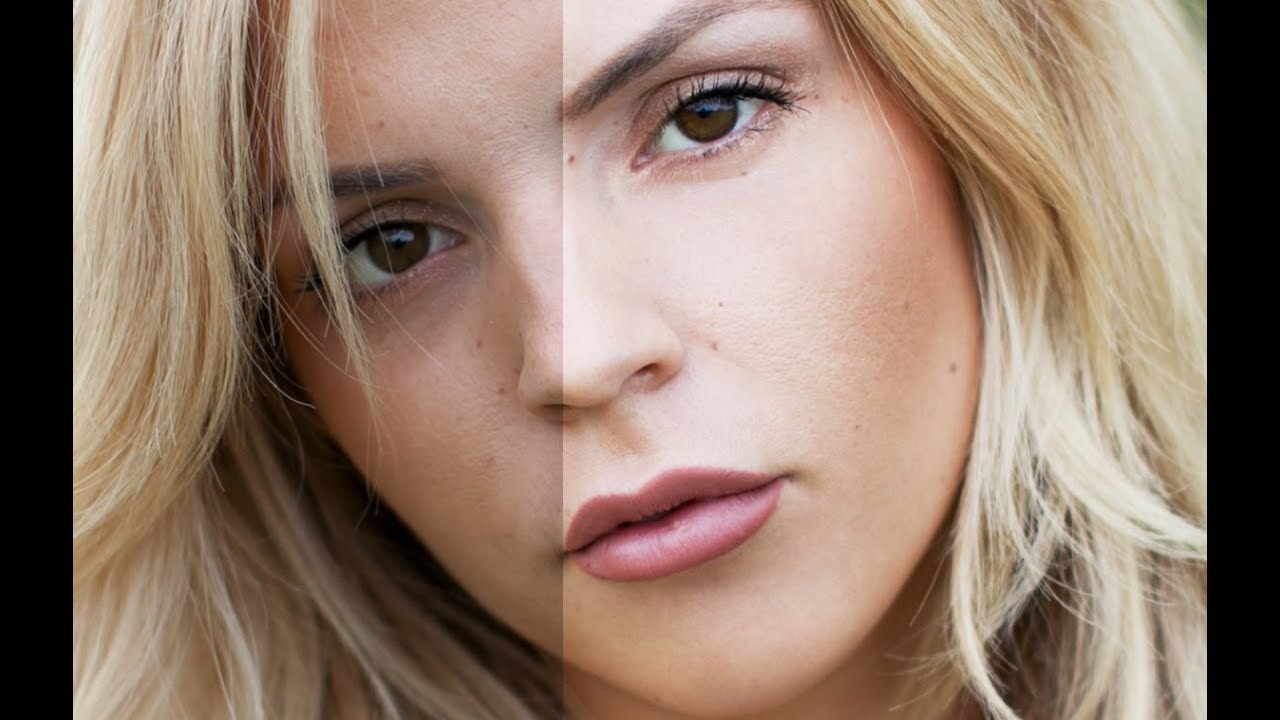
Frequency Separation the Right Way: A Walkthrough of Jessica Kobeissi's Gaussian Blur Method

There is a specific kind of client feedback that stays with you. Mine came early in my retouching career, when a beauty brand coordinator replied to a delivered gallery with three words: “looks too plastic.” I had smoothed everything. Pores, texture, the slight variation in tone across the cheekbones. The skin looked like a render, not a person. I had been treating the entire face as one problem to solve instead of two separate problems: color and texture.

How I Watch a Headshot Retouching Timelapse and Actually Learn From It

How I Watch a Headshot Retouching Timelapse and Actually Learn From It

There is a particular kind of client who emails you the morning after delivery to say the portraits look “a little overdone.” I got that email early in my retouching career, and it stung more than I want to admit. The problem was not that I was working too hard on the skin. The problem was that I had no real workflow. I was just pushing sliders around until something looked smooth, and smooth is not the same as natural.

How to Read a Beauty Lighting Setup From a Single Catchlight (And Recreate It)

How to Read a Beauty Lighting Setup From a Single Catchlight (And Recreate It)

There’s a specific kind of frustration that comes from receiving a beauty image to retouch when you have no idea how it was lit. You can see something is off in the skin tones, or the shadows feel muddy, but you can’t diagnose it because you weren’t in the room. Understanding lighting setups, even as a retoucher, changes how you read an image entirely. It tells you which shadows are intentional, which highlights belong there, and where the photographer was going emotionally with the shot.

The 4-Layer Method I Use to Retouch Eyes That Actually Look Alive

The 4-Layer Method I Use to Retouch Eyes That Actually Look Alive

A few years into freelancing, I had a client send back a batch of beauty headshots with a note that stopped me cold. “The eyes look like marbles,” she wrote. She wasn’t wrong. I had sharpened the irises, brightened the whites, and painted in a catch light I thought looked natural. What I’d actually done was strip out every subtle tonal variation that makes eyes read as human. They were technically clean and completely lifeless.

Frequency Separation Without the Headache: A Step-by-Step Breakdown of Joel Grimes' Approach

Frequency Separation Without the Headache: A Step-by-Step Breakdown of Joel Grimes' Approach

There is a specific kind of dread that comes from over-retouching skin. I know it well. Early in my retouching career, I handed a beauty client a set of images so smoothed-out that she emailed back asking if I had accidentally used a blur filter on her face. I had not. I had just been using the wrong tools with too much confidence. Frequency separation was the technique that eventually pulled me out of that hole, but for a long time I avoided it because every tutorial I found turned it into a 45-minute production involving terminology that felt designed to intimidate.

The 15-Minute Eye Enhancement Workflow That Stopped My Clients From Asking for 'More Pop'

The 15-Minute Eye Enhancement Workflow That Stopped My Clients From Asking for 'More Pop'

A few years into freelancing, I had a client send back a batch of beauty shots with one word in the subject line: “More.” She wanted more brightness, more color, more life in the eyes. I’d already dodged the irises, boosted the whites, and painted in a catch light. The eyes looked like something out of an animated film. I sat back from my (perpetually lowered) standing desk, made a fresh cup of green tea, and realized the problem wasn’t that I hadn’t done enough.

The 15-Minute Eye Enhancement Workflow That Stopped My Clients Saying Make Them Pop

The 15-Minute Eye Enhancement Workflow That Stopped My Clients Saying Make Them Pop

A few years back, a client sent me a revision note that read: “Can you make the eyes more… alive?” I had spent forty minutes on that image. The skin was clean, the color grade was warm and editorial, and the composition was genuinely lovely. But she was right. The eyes looked like they belonged to someone who had just heard mildly disappointing news. Everything else in the frame was doing its job, and the eyes were not.

Why Hair Retouching Falls Apart at the Edges (And How to Fix It Layer by Layer)

Why Hair Retouching Falls Apart at the Edges (And How to Fix It Layer by Layer)

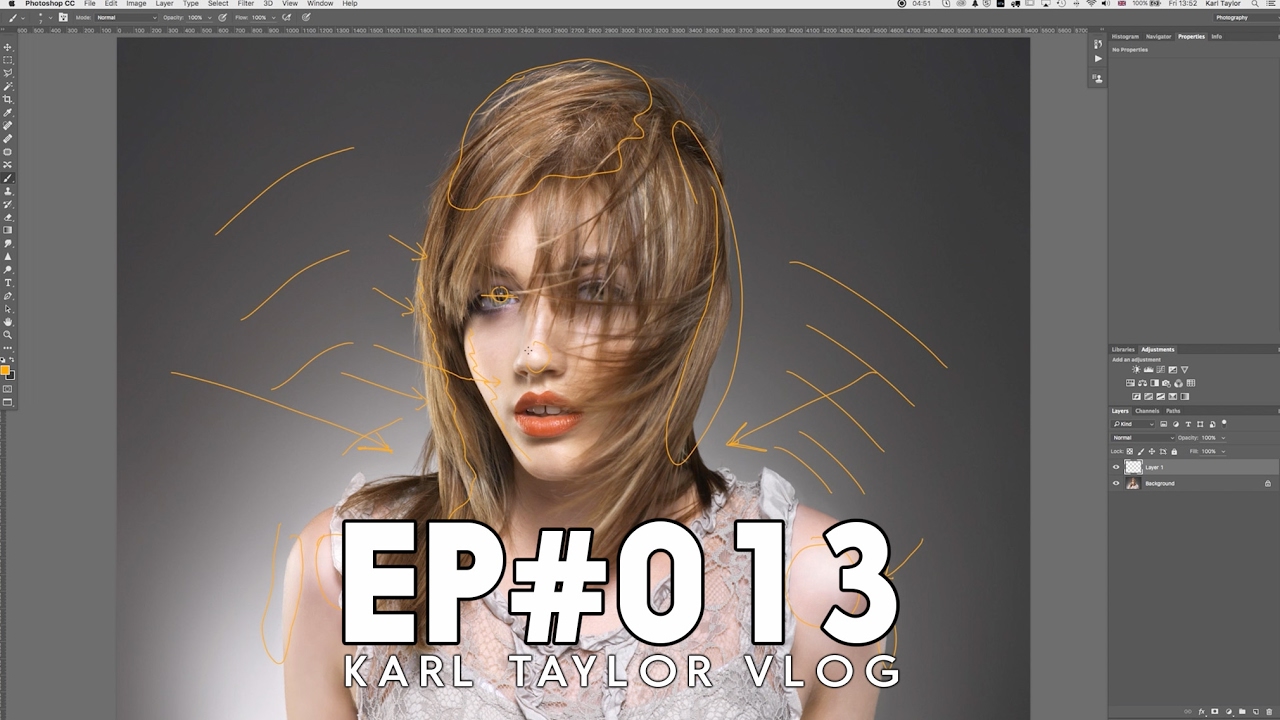
Why Hair Retouching Falls Apart at the Edges (And How to Fix It Layer by Layer) By Maya Chen The file came in on a Tuesday morning: a beauty campaign shot, studio-lit, clean background, gorgeous subject. The hair was this wild, expressive curtain of coils that the photographer had clearly worked hard to capture well. My job was to clean it up without flattening it. Three hours later I had something that looked like a wig glued to a mannequin.

Lightroom's April 2026 Masking Updates Are Quietly a Big Deal for Beauty Retouchers

Lightroom's April 2026 Masking Updates Are Quietly a Big Deal for Beauty Retouchers

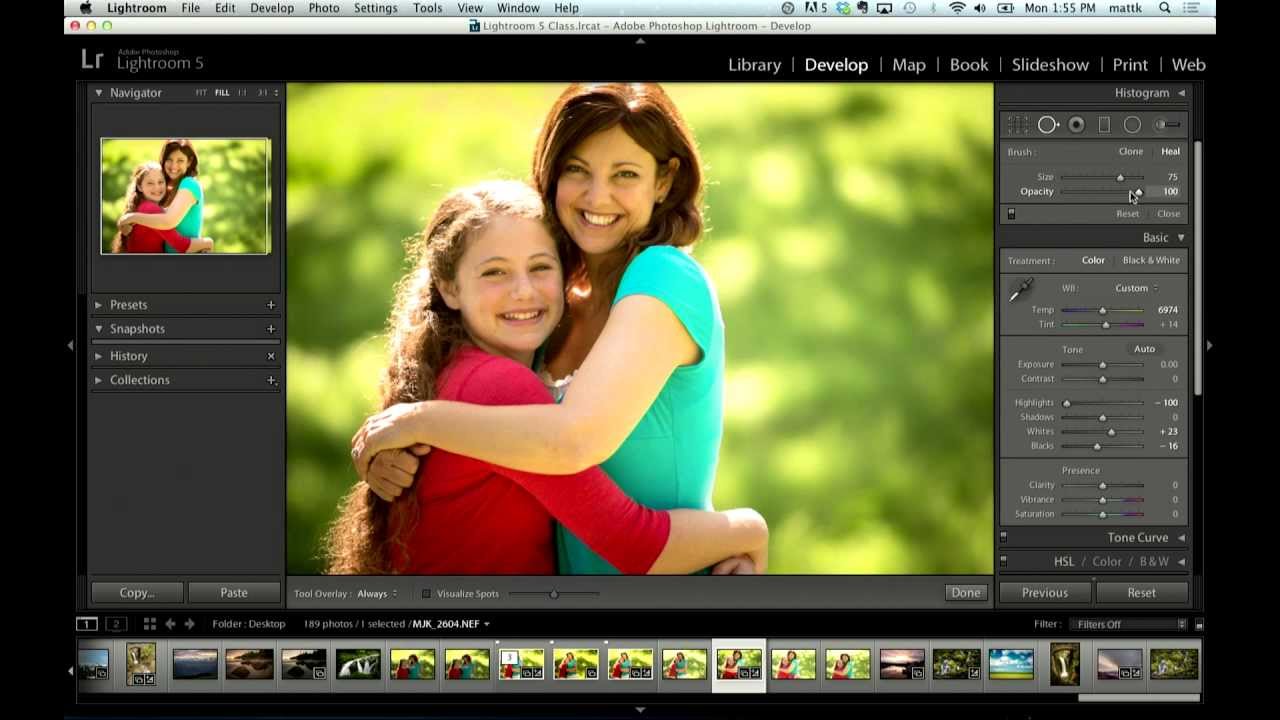
If you do any volume of beauty or portrait work, you already know that waiting on Lightroom is part of the job. Waiting for exports, waiting for AI masking, waiting for denoise to grind through a raw file while your cursor just sits there, taunting you. I’ve lost whole stretches of productive time staring at a progress bar when I could have been culling the next batch or answering emails. So when Adobe drops an update that actually addresses a real workflow bottleneck, I pay attention.