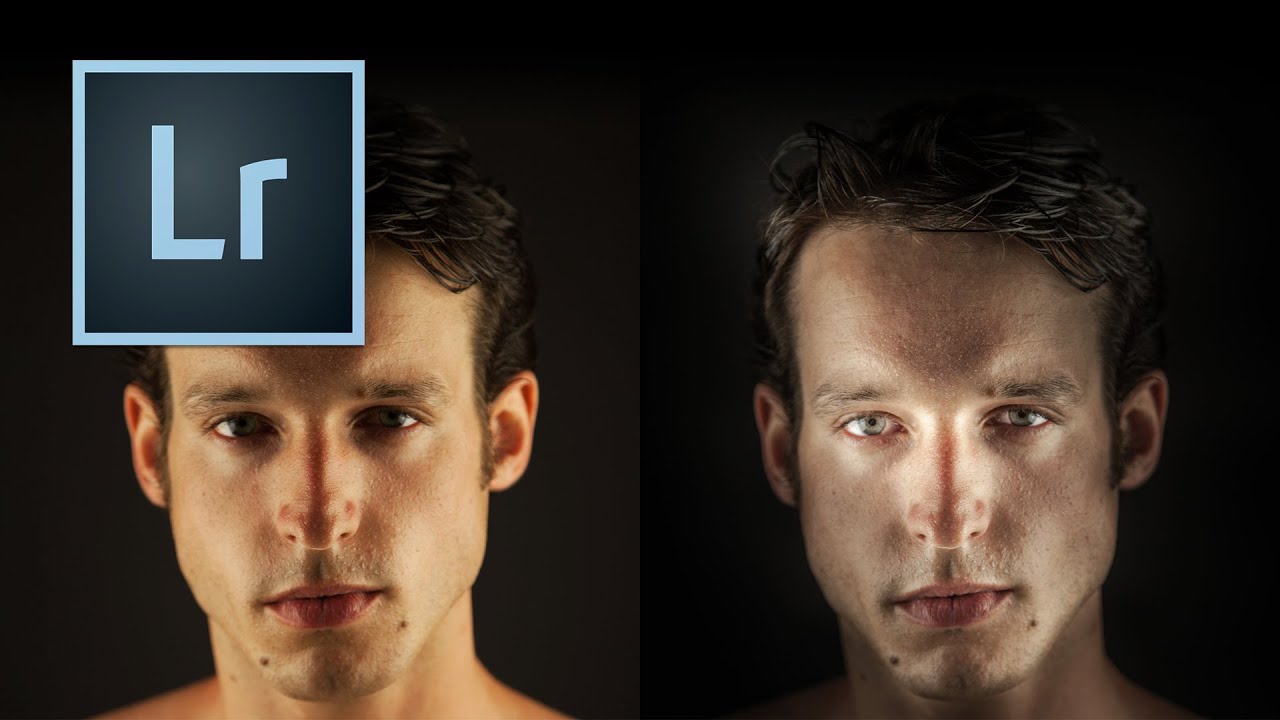
How to Sculpt Light After the Shot: A Practical Guide to Dodge and Burn in Photoshop

How to Sculpt Light After the Shot: A Practical Guide to Dodge and Burn in Photoshop

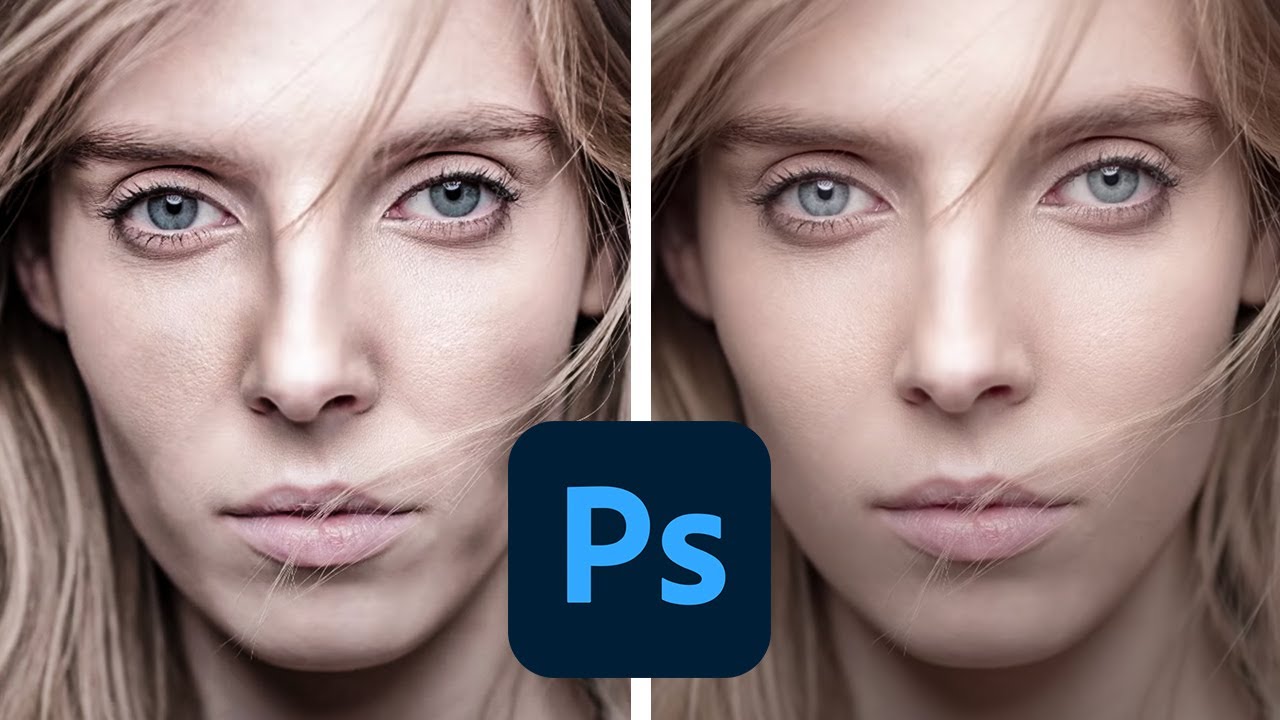
There’s a specific kind of frustration that comes from photographing a subject in beautiful light and then watching that light flatten out the moment you open the file. The highlights that looked dimensional in the studio read as a blown patch on screen. The shadow that gave her cheekbone its shape disappears into the midtones. The camera captured what was there, not what you saw. For years, my answer to this problem was to push sliders around in Lightroom and hope for the best.

The 15-Minute Eye Enhancement Workflow That Stopped My Clients From Asking for 'More Pop'

The 15-Minute Eye Enhancement Workflow That Stopped My Clients From Asking for 'More Pop'

A few years into freelancing, I had a client send back a batch of beauty shots with one word in the subject line: “More.” She wanted more brightness, more color, more life in the eyes. I’d already dodged the irises, boosted the whites, and painted in a catch light. The eyes looked like something out of an animated film. I sat back from my (perpetually lowered) standing desk, made a fresh cup of green tea, and realized the problem wasn’t that I hadn’t done enough.

What 5 Fiverr Retouches Taught Me About Pricing, Quality, and What Clients Actually Notice

What 5 Fiverr Retouches Taught Me About Pricing, Quality, and What Clients Actually Notice

There’s a question I get from newer retouchers constantly: how do you know what your work is worth? I used to fumble through that answer. Now I point people toward data. Real comparisons, same photo, different hands, different price points. That’s exactly what makes Watch the full tutorial on YouTube this experiment from photographer Jessica Kobeissi so useful. She hired five strangers on Fiverr at $5, $20, $50, $100, and $300, sent them all the same portrait, and then tried to guess which price matched which result.

Dodge and Burn in Lightroom: The Portrait Technique I Wish I'd Known Earlier

Dodge and Burn in Lightroom: The Portrait Technique I Wish I'd Known Earlier

There’s a specific kind of portrait that used to make me nervous to retouch – the ones where the subject’s skin is blotchy, the lighting is a little flat, and the whole image feels like it needs something you can’t quite name. For a long time, I’d throw frequency separation at it, or get heavy-handed with the HSL panel, and the result would look corrected rather than beautiful. What was missing, more often than not, was intentional light shaping directly on the face.

The 15-Minute Eye Enhancement Workflow That Stopped My Clients Saying Make Them Pop

The 15-Minute Eye Enhancement Workflow That Stopped My Clients Saying Make Them Pop

A few years back, a client sent me a revision note that read: “Can you make the eyes more… alive?” I had spent forty minutes on that image. The skin was clean, the color grade was warm and editorial, and the composition was genuinely lovely. But she was right. The eyes looked like they belonged to someone who had just heard mildly disappointing news. Everything else in the frame was doing its job, and the eyes were not.

Why Your Portraits Look Flat (And How Dodge and Burn Fixes It in Photoshop)

Why Your Portraits Look Flat (And How Dodge and Burn Fixes It in Photoshop)

Early in my retouching career, a client sent back a batch of portraits with a note that still stings a little: “These look like wax figures. Can you make them look like real people again?” I had smoothed the skin, evened the tones, removed every shadow I could find. I thought I was doing my job. What I was actually doing was stripping out all the information that makes a face look three-dimensional.

How Sean Tucker's Lightroom Portrait Workflow Finally Got My Skin Tones Right

How Sean Tucker's Lightroom Portrait Workflow Finally Got My Skin Tones Right

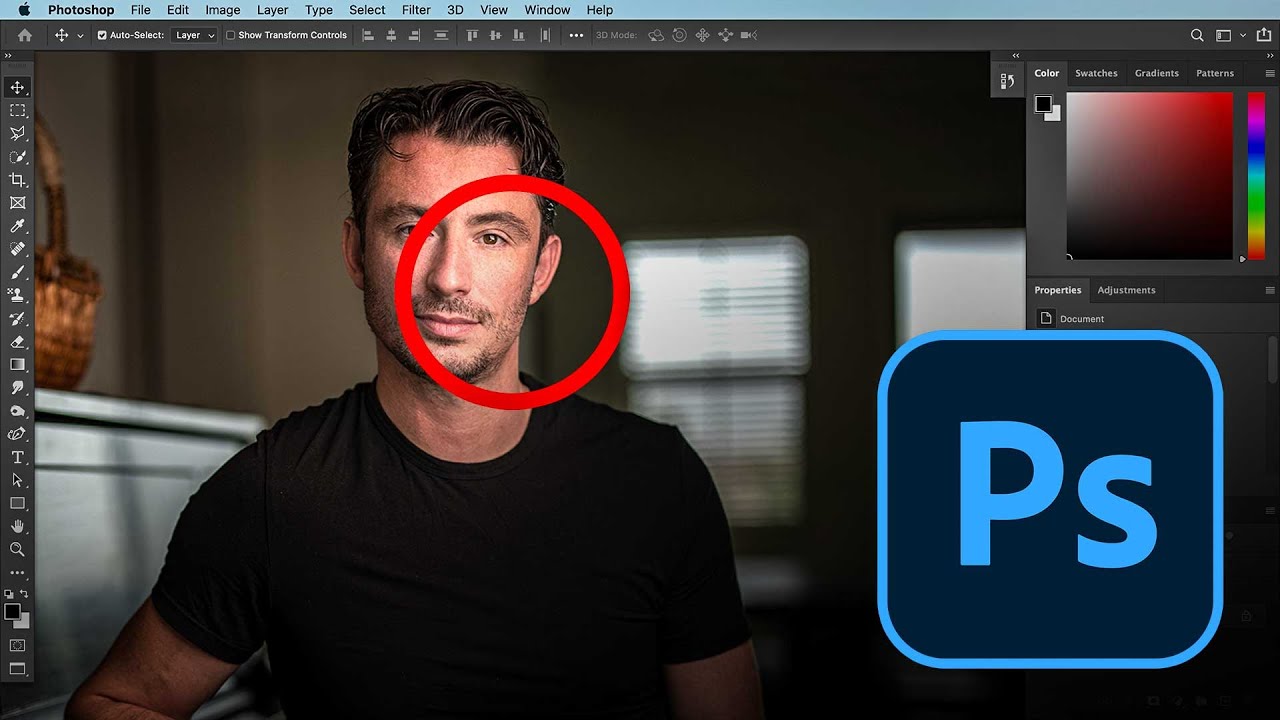
I’ll be honest with you: for years, I was a Photoshop-or-nothing person. Coming from wedding photography into beauty retouching, I built my entire workflow around layers, frequency separation, and a library of actions I’ve named after films. Lightroom felt like the place where images stopped, not where they got made. Then I sat down with Watch the full tutorial on YouTube this Sean Tucker tutorial on editing environmental portraits completely inside Lightroom, and I had one of those quiet, humbling moments where a working professional shows you that your assumptions were costing you time.

Why Your Portraits Look Flat (And How Dodge and Burn Actually Fixes It)

Why Your Portraits Look Flat (And How Dodge and Burn Actually Fixes It)

The first time a client told me my retouching looked “plastic,” I was mortified. I had spent two hours on that image. The skin was smooth, the blemishes were gone, and the color was even. It looked, to my untrained eye, finished. What I didn’t understand yet was that I had removed not just the flaws but the depth. The face had no shadow, no structure, no life. It looked like a mask sitting in front of a head rather than an actual human face.

Why Dodge and Burn Is the Last Retouching Skill You'll Want to Learn (and the First You Should)

Why Dodge and Burn Is the Last Retouching Skill You'll Want to Learn (and the First You Should)

I still have the file. It lives in a folder I’ve never deleted, labeled “DO NOT SHOW ANYONE,” and every time I open Photoshop it’s sitting there, waiting. My first serious retouching attempt on a beauty portrait. The skin looks like it was painted with a foam roller. No dimension, no depth, no life. Just a flat, airbrushed approximation of a human face. What I was missing wasn’t a better plugin or a fancier frequency separation technique.

The 20-Minute Eye Enhancement Workflow That Makes Portraits Feel Alive

The 20-Minute Eye Enhancement Workflow That Makes Portraits Feel Alive

A few years back, a client emailed me after receiving her finished gallery. She loved everything, she said, except one thing: her eyes looked “like a doll’s.” Not a compliment. I went back to the file and stared at what I’d done. The whites were blown out to pure paper, the irises had been saturated to an almost cartoon blue, and the catch lights had been cloned into perfect symmetrical circles.

Why Your Portraits Look Flat (And How Dodge and Burn Fixes It From the Inside Out)

Why Your Portraits Look Flat (And How Dodge and Burn Fixes It From the Inside Out)

A few years into my retouching career, I got a message from a client that I still think about. She’d sent her finished portraits to a makeup artist friend, who looked at them and said they looked “a little plastic.” Not bad, exactly. Just… off. Like the face had been buffed smooth and then lit from nowhere in particular. I knew exactly what had gone wrong. I’d been so focused on removing what I didn’t want that I’d forgotten to keep what made the face look real.

The 20-Minute Eye Enhancement Workflow That Stopped Making My Portraits Look Fake

The 20-Minute Eye Enhancement Workflow That Stopped Making My Portraits Look Fake

A few years into freelancing, I had a client sit across from me at a coffee shop, laptop open, and say the words every retoucher dreads: “She looks like a doll. Not in a good way.” The portrait was technically clean. Skin was smooth, the background was polished, the color grade was consistent. But the eyes, which I had spent probably forty minutes on, looked like they’d been swapped in from a video game character.