Dodge & Burn Without Destroying Your Image: The Curves Layer Method

Dodge & Burn Without Destroying Your Image: The Curves Layer Method

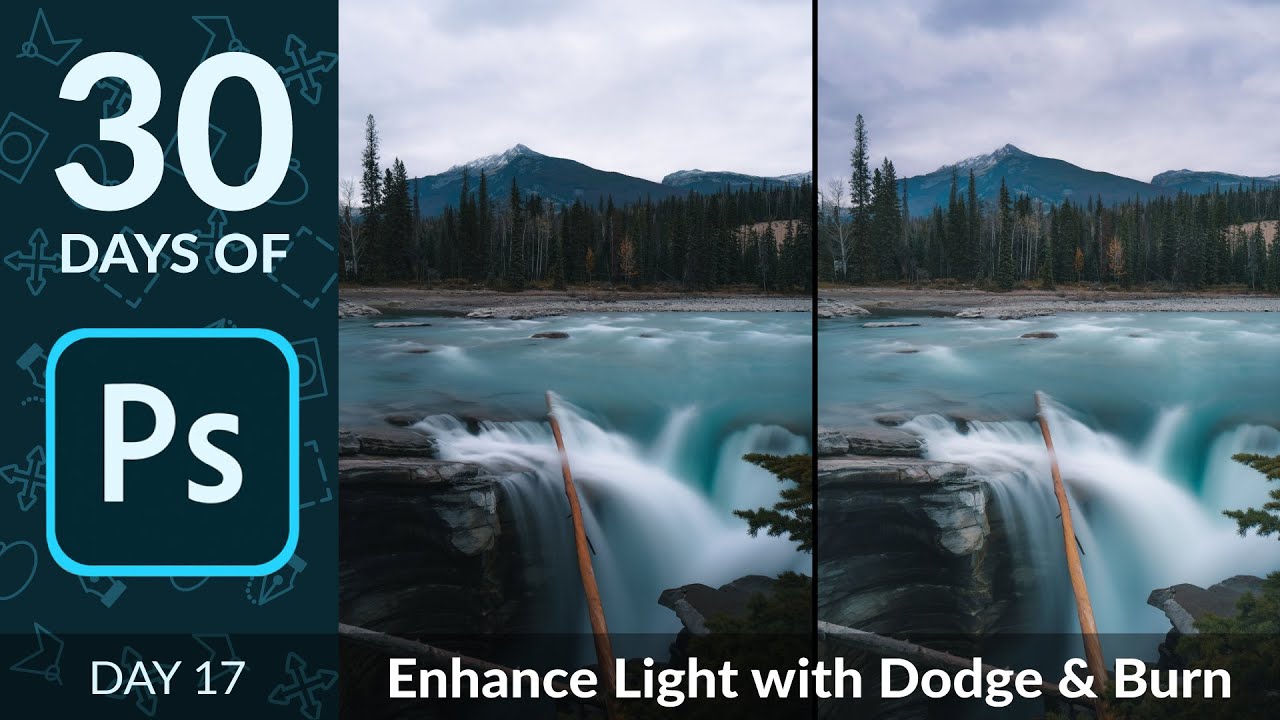
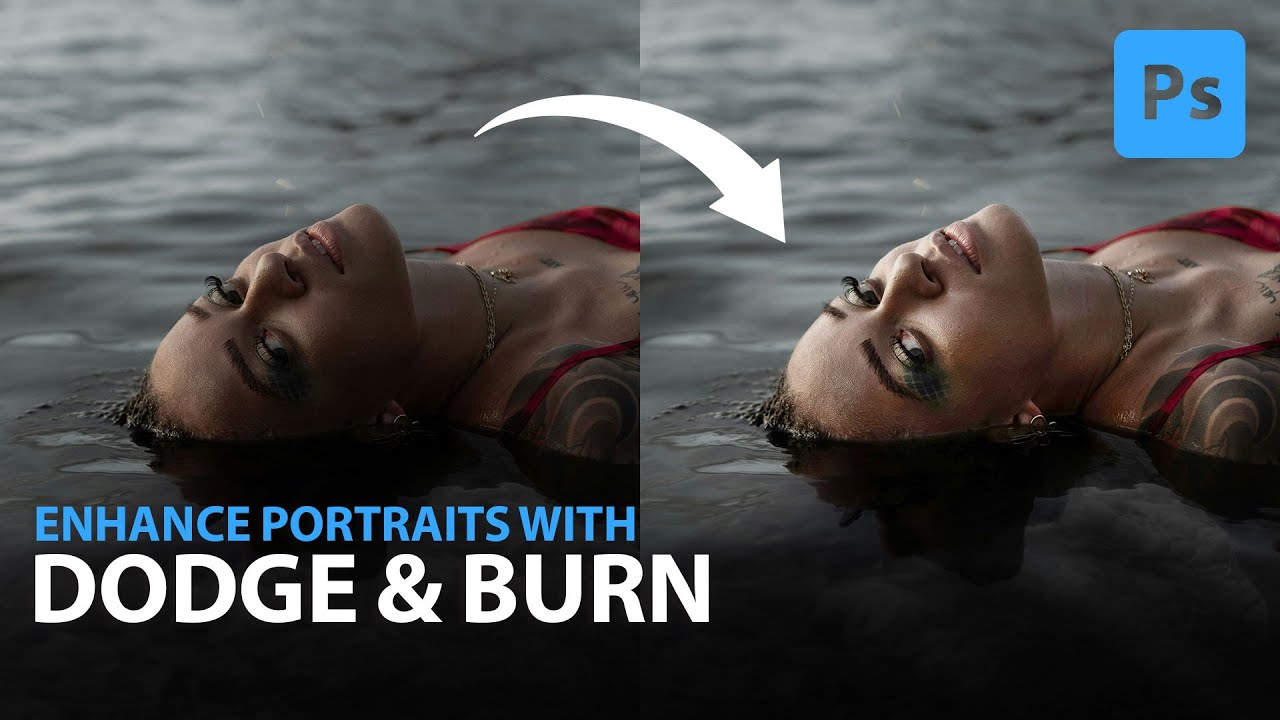
For a long time, my dodge and burn work looked exactly like what it was: painted-on light that had no business being on a human face. I’d grab the Dodge tool, scrub it across a highlight, and end up with something chalky and flat. A client once described my edits as “a little too perfect,” which is a polite way of saying they looked fake. It took me longer than I’d like to admit to realize the problem wasn’t my eye for light.

Redirect the Viewer's Eye: A Beauty Retouching Workflow That Actually Works

Redirect the Viewer's Eye: A Beauty Retouching Workflow That Actually Works

There’s a specific failure mode I see constantly in beauty edits, including some of my own early ones. The retoucher fixes everything they were asked to fix, the skin looks clean, the colors are balanced, and yet something about the image feels off. The viewer’s eye wanders to the wrong place. That’s not a technical problem. It’s a compositional one, and no amount of frequency separation will solve it. What solves it is learning to think about visual weight and flow after the camera has already captured the shot.

Two Techniques That Changed How I Retouch Skin (A Breakdown of Joel Grimes' Frequency Separation and Dodge & Burn Method)

Two Techniques That Changed How I Retouch Skin (A Breakdown of Joel Grimes' Frequency Separation and Dodge & Burn Method)

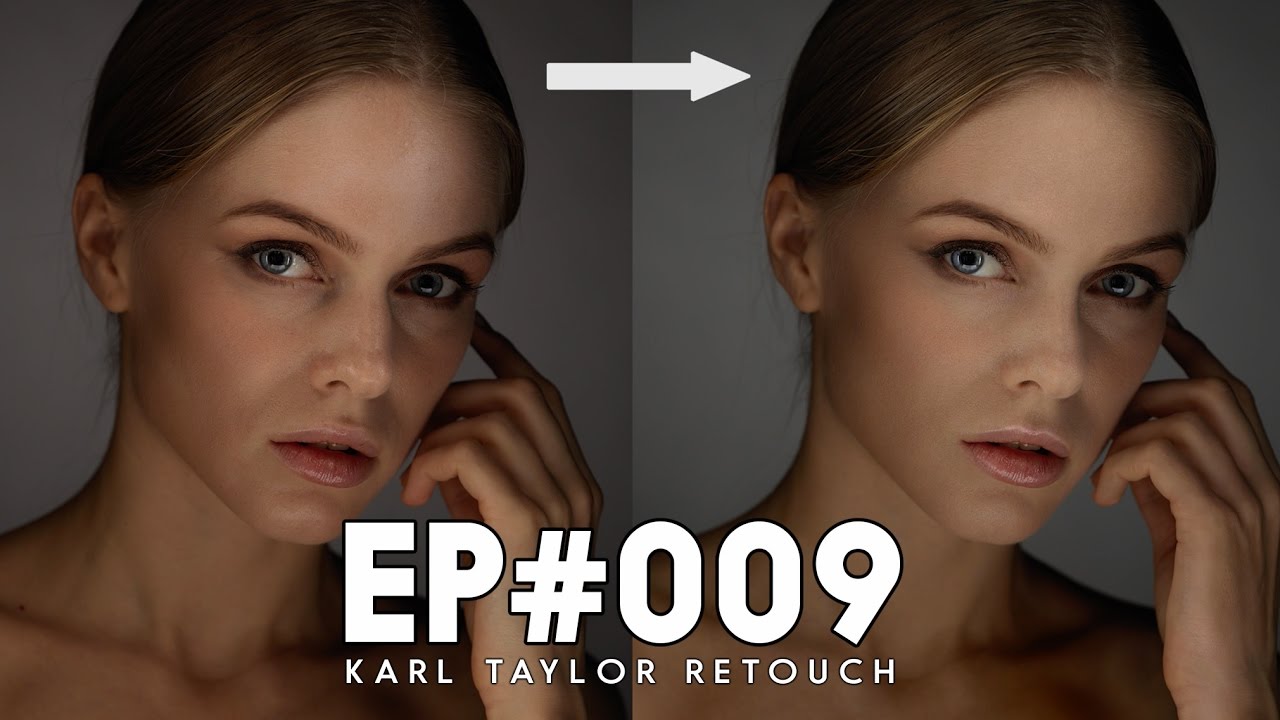
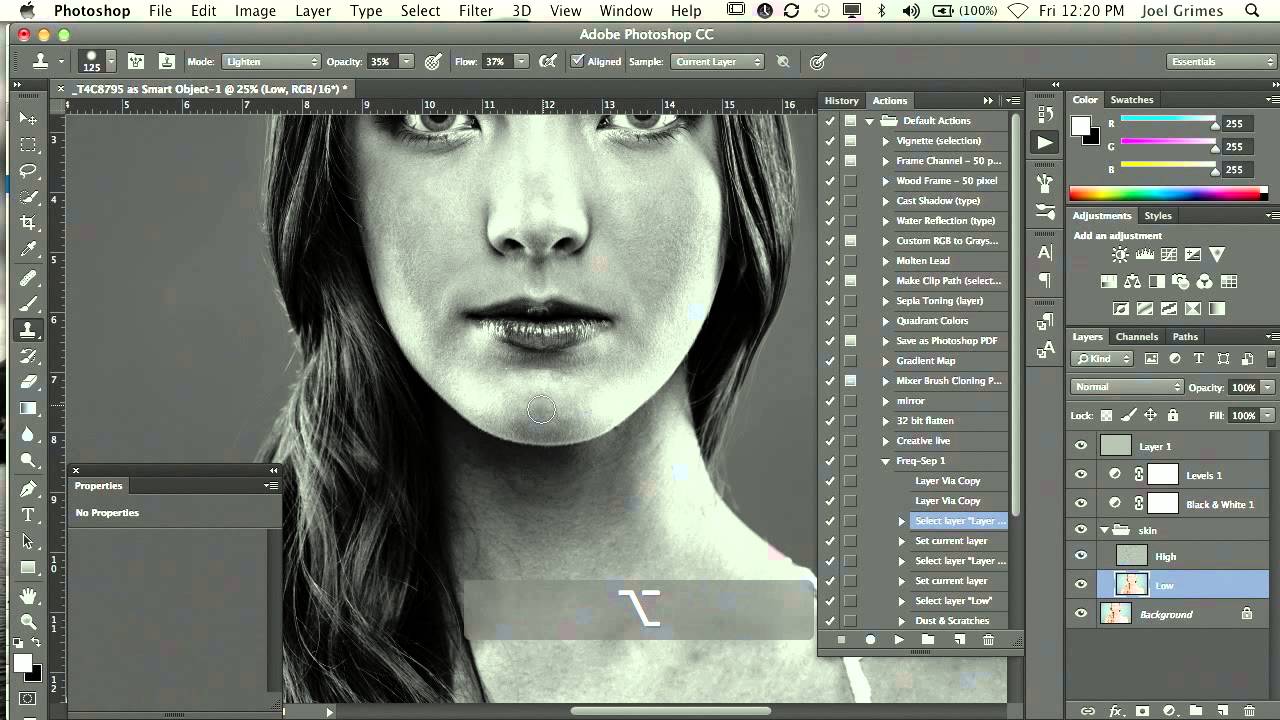
There’s a specific kind of client feedback that stays with you. Mine came early in my retouching career, when someone told me my skin edits looked “like plastic.” She wasn’t wrong. I’d been over-smoothing, chasing perfection in all the wrong ways, and the results looked like my subjects had been wrapped in cellophane. That comment sent me down a long road of studying how professional retouchers actually work, and one of the techniques that genuinely changed my approach was watching Joel Grimes demonstrate his skin retouching workflow in a CreativeLive session.

The Foolproof Dodge & Burn Method That Finally Made My Edits Look Real

The Foolproof Dodge & Burn Method That Finally Made My Edits Look Real

For a long time, my dodge and burn work looked exactly like what it was: painted-on brightness with no relationship to the actual light in the image. I had a client early in my retouching career who told me, pretty directly, that the skin in her campaign shots looked “plastic.” She wasn’t wrong. I was using the literal Dodge and Burn tools, dragging them across the skin in big sweeping strokes, and wondering why nothing ever looked natural.

Stop Burning Out Your Skin Retouching: How to Use Dodge & Burn the Way It Actually Works

Stop Burning Out Your Skin Retouching: How to Use Dodge & Burn the Way It Actually Works

For a long time, I was that retoucher whose skin edits looked like they’d been ironed flat. A client once told me my portraits looked “a little plastic,” and I knew exactly what she meant, even if I didn’t want to admit it. I was heavy-handed with my tools, rushing toward a result instead of building toward it. Dodge and burn was supposed to be my solution, but I’d learned it in a way that made things worse, not better.

Three AI Retouching Plugins That Replaced an Hour of My Workflow (And the Masks Are Insane)

Three AI Retouching Plugins That Replaced an Hour of My Workflow (And the Masks Are Insane)

There’s a specific kind of dread I used to feel opening a beauty close-up in Photoshop. Not the creative kind of challenge, the kind where you know what needs to happen, you know how long it’s going to take, and you also know the client wants it back by Thursday. Spot healing, frequency separation, then the real time sink: building out a dodge and burn structure that actually sculpts the face without making the skin look like a vinyl tablecloth.

Dark Canvas First: What Urban Dodge and Burn Taught Me About My Portrait Work

Dark Canvas First: What Urban Dodge and Burn Taught Me About My Portrait Work

I came up through wedding photography, which means I learned to retouch under pressure and mostly by instinct. Skin, hair, the soft glow of a ceremony room — that was my world for years. So when I started freelancing for beauty brands and teaching retouching workshops, I had to deliberately go looking for techniques outside my comfort zone. That’s what led me to Watch the full tutorial on YouTube — a Kelvin Designs episode on dodge and burn for urban landscapes.

Three Tools, One Great Portrait: Breaking Down Joel Grimes' No-Fuss Retouching Workflow

Three Tools, One Great Portrait: Breaking Down Joel Grimes' No-Fuss Retouching Workflow

There’s a version of me from a few years back who would have spent three hours on a single portrait, chasing some imaginary level of perfection, and still delivered something that looked overworked. A client once told me my edits looked “a little plastic” and I still think about that comment every time I open a new file. What I’ve learned since then is that the best retouching is almost invisible, and the best workflows are simpler than you’d expect.

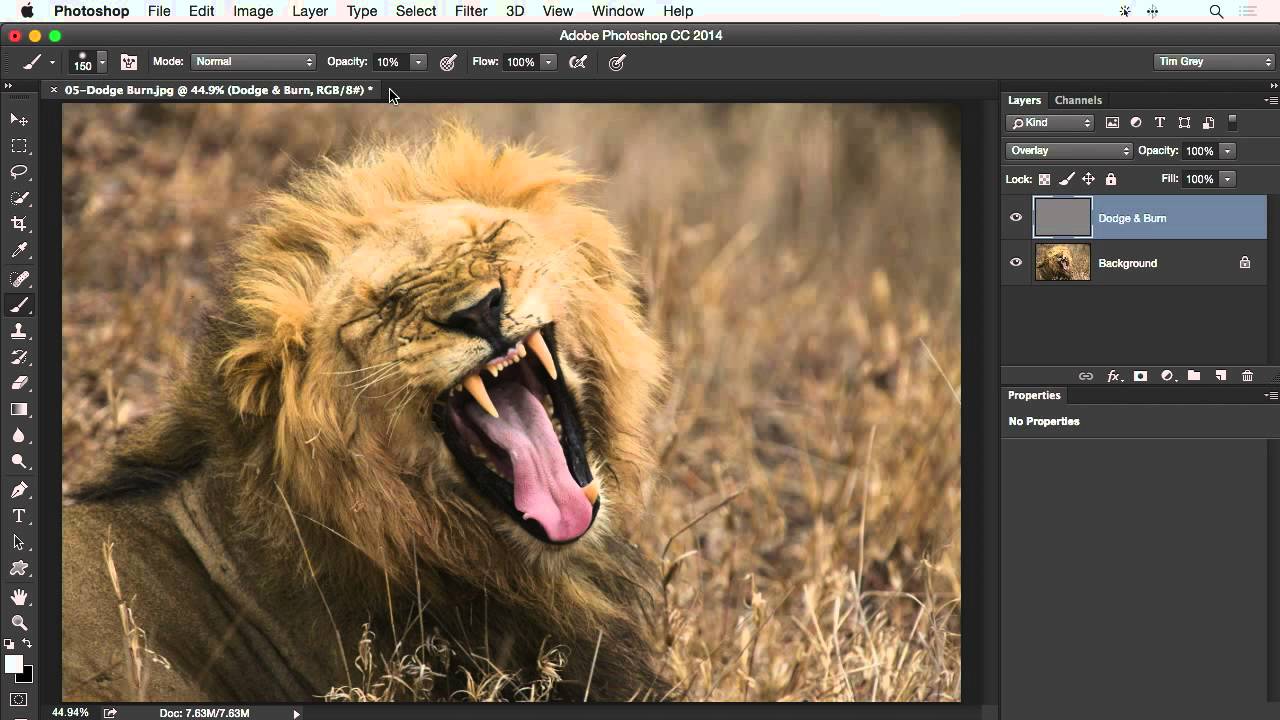
How to Sculpt Light After the Shot: A Practical Guide to Dodge and Burn in Photoshop

How to Sculpt Light After the Shot: A Practical Guide to Dodge and Burn in Photoshop

There’s a specific kind of frustration that comes from photographing a subject in beautiful light and then watching that light flatten out the moment you open the file. The highlights that looked dimensional in the studio read as a blown patch on screen. The shadow that gave her cheekbone its shape disappears into the midtones. The camera captured what was there, not what you saw. For years, my answer to this problem was to push sliders around in Lightroom and hope for the best.

The 15-Minute Eye Enhancement Workflow That Stopped My Clients From Asking for 'More Pop'

The 15-Minute Eye Enhancement Workflow That Stopped My Clients From Asking for 'More Pop'

A few years into freelancing, I had a client send back a batch of beauty shots with one word in the subject line: “More.” She wanted more brightness, more color, more life in the eyes. I’d already dodged the irises, boosted the whites, and painted in a catch light. The eyes looked like something out of an animated film. I sat back from my (perpetually lowered) standing desk, made a fresh cup of green tea, and realized the problem wasn’t that I hadn’t done enough.

What 5 Fiverr Retouches Taught Me About Pricing, Quality, and What Clients Actually Notice

What 5 Fiverr Retouches Taught Me About Pricing, Quality, and What Clients Actually Notice

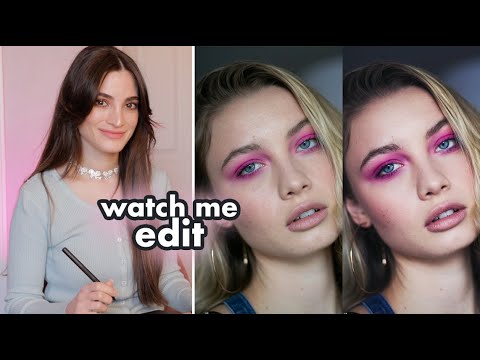
There’s a question I get from newer retouchers constantly: how do you know what your work is worth? I used to fumble through that answer. Now I point people toward data. Real comparisons, same photo, different hands, different price points. That’s exactly what makes Watch the full tutorial on YouTube this experiment from photographer Jessica Kobeissi so useful. She hired five strangers on Fiverr at $5, $20, $50, $100, and $300, sent them all the same portrait, and then tried to guess which price matched which result.

Dodge and Burn in Lightroom: The Portrait Technique I Wish I'd Known Earlier

Dodge and Burn in Lightroom: The Portrait Technique I Wish I'd Known Earlier

There’s a specific kind of portrait that used to make me nervous to retouch – the ones where the subject’s skin is blotchy, the lighting is a little flat, and the whole image feels like it needs something you can’t quite name. For a long time, I’d throw frequency separation at it, or get heavy-handed with the HSL panel, and the result would look corrected rather than beautiful. What was missing, more often than not, was intentional light shaping directly on the face.