Video Tutorials
The Foolproof Dodge & Burn Method That Finally Made My Edits Look Real
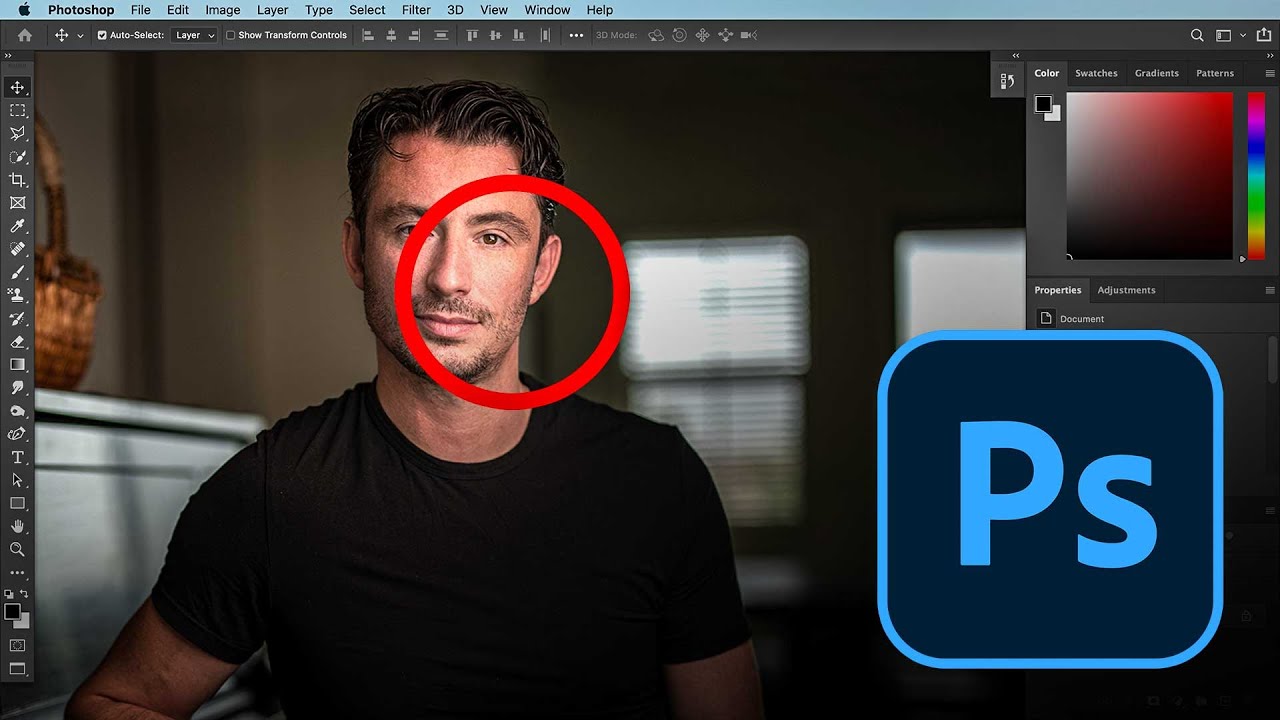
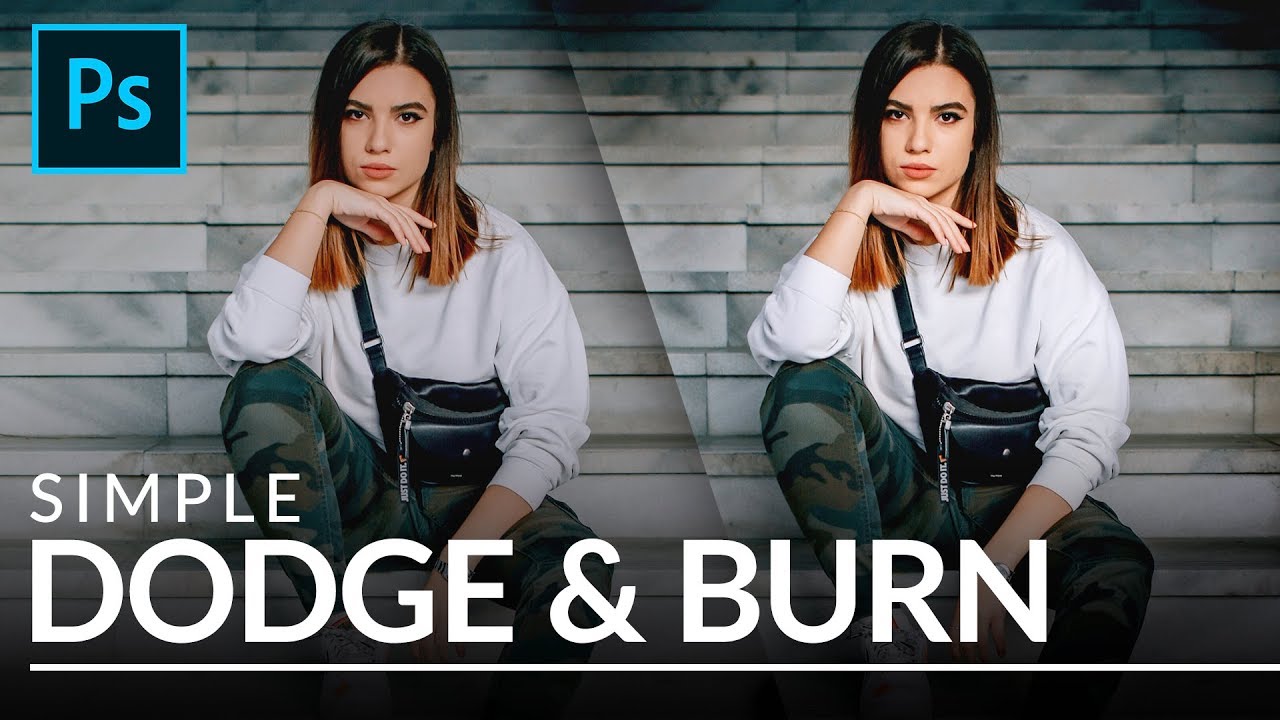
For a long time, my dodge and burn work looked exactly like what it was: painted-on brightness with no relationship to the actual light in the image. I had a client early in my retouching career who told me, pretty directly, that the skin in her campaign shots looked “plastic.” She wasn’t wrong. I was using the literal Dodge and Burn tools, dragging them across the skin in big sweeping strokes, and wondering why nothing ever looked natural.