How to Paint Light and Volume Back Into a Face Using Photoshop Layers

How to Paint Light and Volume Back Into a Face Using Photoshop Layers

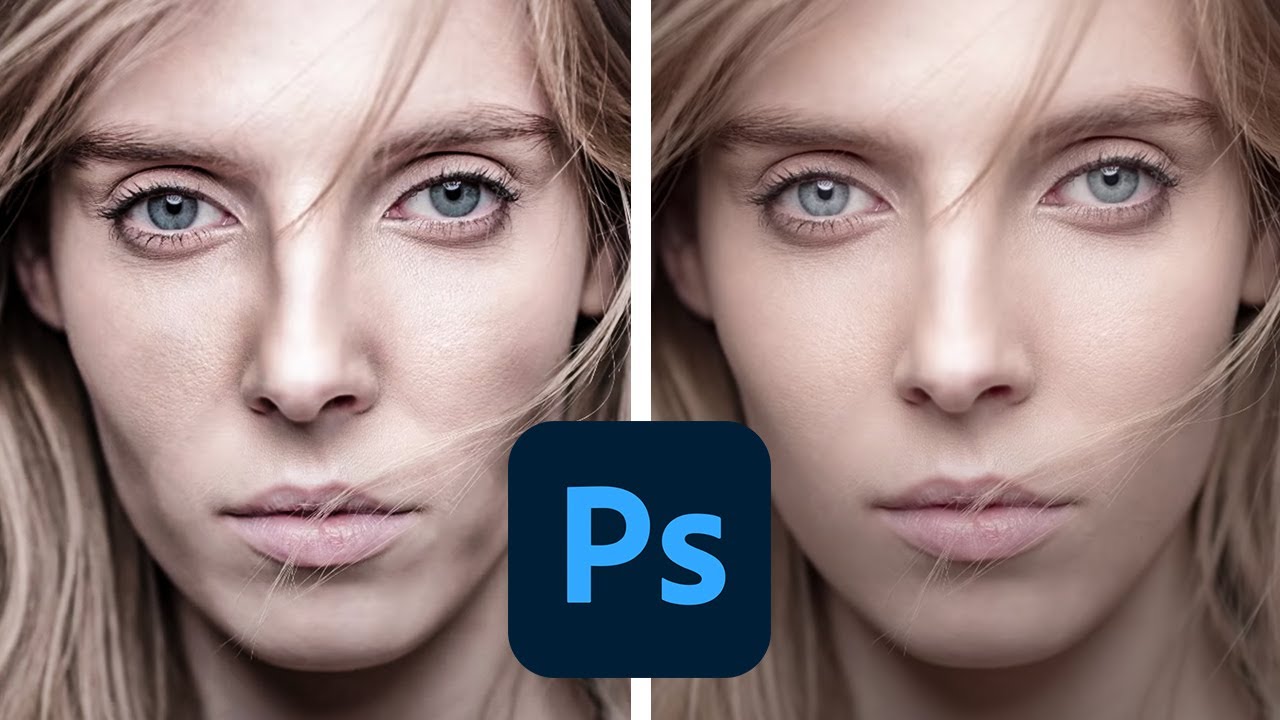
There’s a specific kind of defeat that comes from delivering a gallery and hearing back that the edits look “a little flat.” I’ve been there. Early in my beauty retouching career, I was so focused on removing things, smoothing, erasing, fixing, that I forgot skin has actual shape. It catches light on a nose bridge. It has shadow under a cheekbone. When you retouch that dimension away, even a perfectly exposed photo can start to look like a wax figure.

Frequency Separation Without the Headache: A Step-by-Step Breakdown of Joel Grimes' Approach

Frequency Separation Without the Headache: A Step-by-Step Breakdown of Joel Grimes' Approach

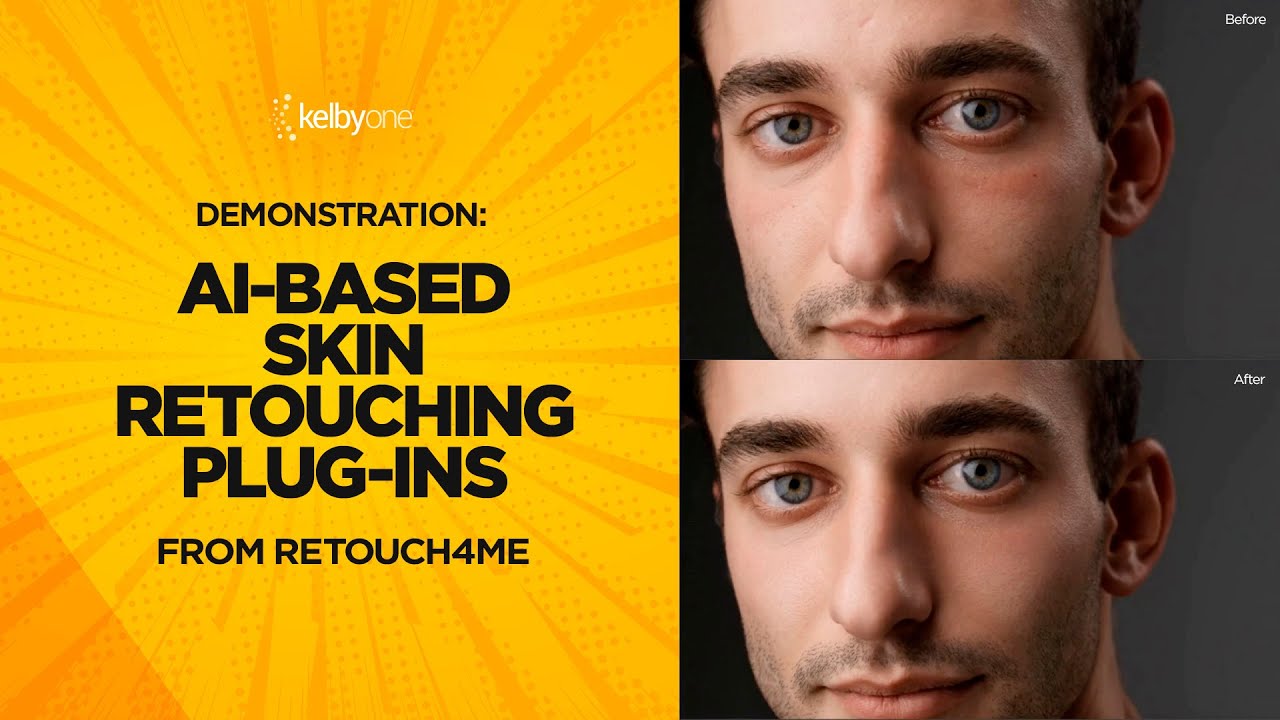
There is a specific kind of dread that comes from over-retouching skin. I know it well. Early in my retouching career, I handed a beauty client a set of images so smoothed-out that she emailed back asking if I had accidentally used a blur filter on her face. I had not. I had just been using the wrong tools with too much confidence. Frequency separation was the technique that eventually pulled me out of that hole, but for a long time I avoided it because every tutorial I found turned it into a 45-minute production involving terminology that felt designed to intimidate.

Warm Skin, Honest Color: A Working Retoucher's Notes on Jessica Kobeissi's Portrait Editing Workflow

Warm Skin, Honest Color: A Working Retoucher's Notes on Jessica Kobeissi's Portrait Editing Workflow

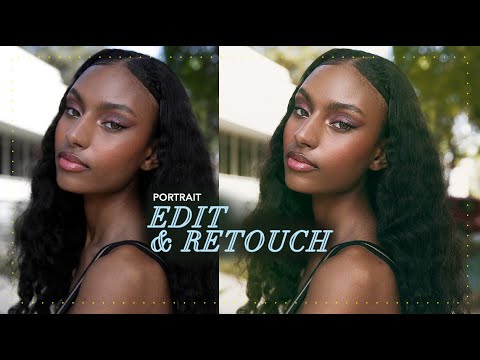
There’s a particular kind of portrait that comes back from a sunny outdoor shoot looking almost right. The skin is warm, the light is flattering, and then you open it in Photoshop and realize the greens in the background are fighting with everything, the saturation is cranked up too high straight out of camera, and you have about forty decisions to make before the image feels settled. I used to dread those files.

What 5 Fiverr Retouches Taught Me About Pricing, Quality, and What Clients Actually Notice

What 5 Fiverr Retouches Taught Me About Pricing, Quality, and What Clients Actually Notice

There’s a question I get from newer retouchers constantly: how do you know what your work is worth? I used to fumble through that answer. Now I point people toward data. Real comparisons, same photo, different hands, different price points. That’s exactly what makes Watch the full tutorial on YouTube this experiment from photographer Jessica Kobeissi so useful. She hired five strangers on Fiverr at $5, $20, $50, $100, and $300, sent them all the same portrait, and then tried to guess which price matched which result.

Photoshop's Bidirectional Gradient Masks Finally Make Skin Blending Feel Natural

Photoshop's Bidirectional Gradient Masks Finally Make Skin Blending Feel Natural

There’s a particular kind of frustration that comes from knowing exactly what you need to do to a photo and not having the right tool to do it cleanly. I’ve felt it dozens of times working on beauty campaigns where the light hits a subject’s face in a long, narrow band, and I want to enhance just that band without blowing out the edges or dragging a complicated luminosity mask into the mix.

Why Your Headshots Look Retouched (And How to Fix That Before the Client Notices)

Why Your Headshots Look Retouched (And How to Fix That Before the Client Notices)

The first headshot I ever retouched that a client actually complained about wasn’t overexposed or poorly cropped. It was technically clean. Sharp eyes, even skin tone, good contrast. The client called me and said, very politely, “I just look kind of… plastic?” I had smoothed her skin so aggressively that the natural texture was gone, and what was left was something between a wax figure and a LinkedIn filter. I kept that file.

The 10-Minute Portrait Cleanup That Makes Every Other Edit Land Better

The 10-Minute Portrait Cleanup That Makes Every Other Edit Land Better

The first time a client told me my retouching looked “plastic,” I was mortified. I’d spent three hours on a single portrait, pushing and pulling at skin until it was perfectly smooth. What I thought looked polished, she called a “mannequin.” I hadn’t done anything wrong, technically. I’d just skipped the cleanup phase entirely and gone straight into the heavy work. Without a clean foundation, every technique I applied afterward amplified the problems rather than solving them.

The Hidden Frequency Separation Secret That Saves Flat-Looking Skin

The Hidden Frequency Separation Secret That Saves Flat-Looking Skin

The Hidden Frequency Separation Secret That Saves Flat-Looking Skin I’ve noticed something fascinating happening in portrait retouching conversations lately. Editors everywhere are discovering that their beautifully smoothed skin often loses something critical the moment a client zooms out. The detailed, dimensional quality vanishes, leaving behind a plastic-looking result that feels disconnected from reality. Here’s what I’ve found: there’s a specific step within the frequency separation workflow that most of us gloss over—and it’s actually the key to maintaining that natural, three-dimensional quality we’re all chasing.

Why Your Portraits Look Flat (And How Dodge and Burn Fixes It in Photoshop)

Why Your Portraits Look Flat (And How Dodge and Burn Fixes It in Photoshop)

Early in my retouching career, a client sent back a batch of portraits with a note that still stings a little: “These look like wax figures. Can you make them look like real people again?” I had smoothed the skin, evened the tones, removed every shadow I could find. I thought I was doing my job. What I was actually doing was stripping out all the information that makes a face look three-dimensional.

Why Your Portraits Look Flat (And How Dodge and Burn Actually Fixes It)

Why Your Portraits Look Flat (And How Dodge and Burn Actually Fixes It)

The first time a client told me my retouching looked “plastic,” I was mortified. I had spent two hours on that image. The skin was smooth, the blemishes were gone, and the color was even. It looked, to my untrained eye, finished. What I didn’t understand yet was that I had removed not just the flaws but the depth. The face had no shadow, no structure, no life. It looked like a mask sitting in front of a head rather than an actual human face.

Why Your Skin Retouching Looks Fake (And the Frequency Separation Fix That Actually Works)

Why Your Skin Retouching Looks Fake (And the Frequency Separation Fix That Actually Works)

Early in my retouching career, a client sent back a set of beauty portraits with a note that still lives rent-free in my head: “The model looks like she’s made of wax.” I had smoothed the skin beautifully, or so I thought. The color was even, the blemishes were gone, and the whole image had this clean, polished look I was genuinely proud of. But she was right. I had removed every pore, every subtle shadow, every piece of visual information that tells your brain you’re looking at a human face.

Why Your Headshot Edits Look Overdone (And the Exact Workflow That Fixed Mine)

Why Your Headshot Edits Look Overdone (And the Exact Workflow That Fixed Mine)

A client once told me my retouching looked “like a wax museum.” She wasn’t wrong. I still have that file saved in a folder called “Humbling Moments,” and I open it maybe once a year to remind myself what over-processing actually looks like when you’re too close to the screen to see it. Headshots are the trickiest category in portrait retouching, not because the techniques are complicated, but because the margin for error is almost zero.