Video Tutorials
Frequency Separation the Right Way: A Walkthrough of Jessica Kobeissi's Gaussian Blur Method
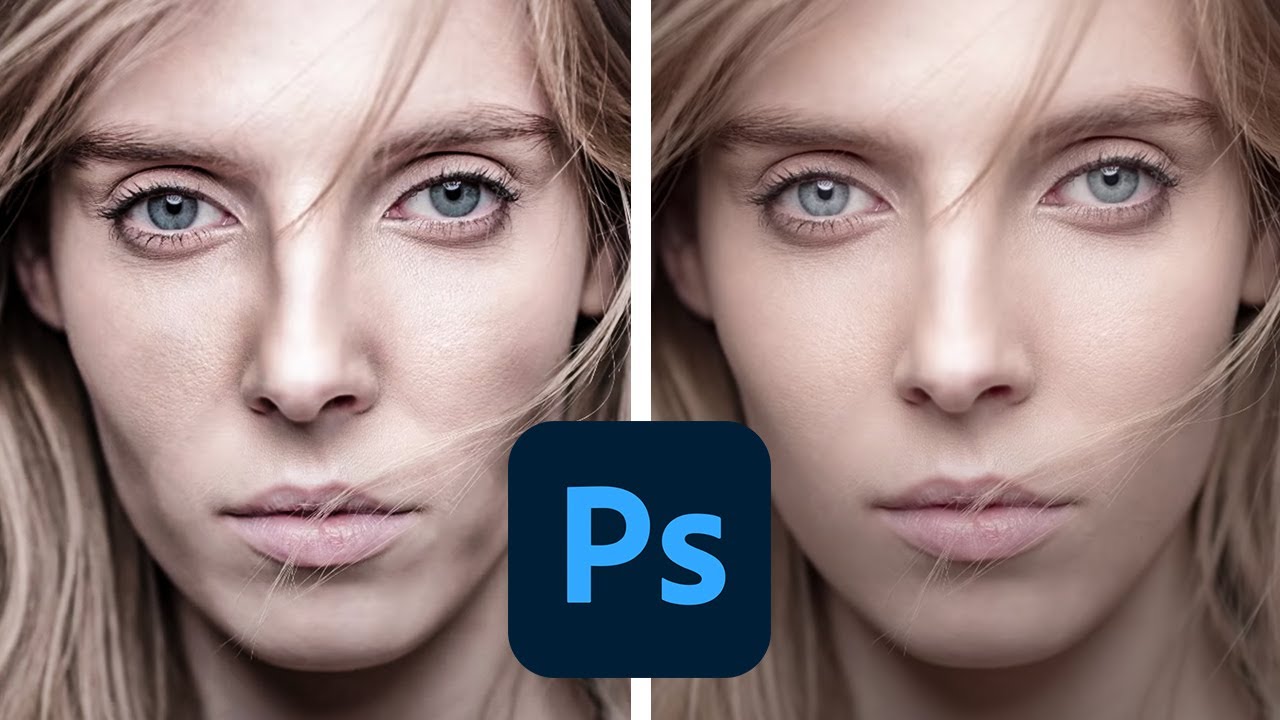
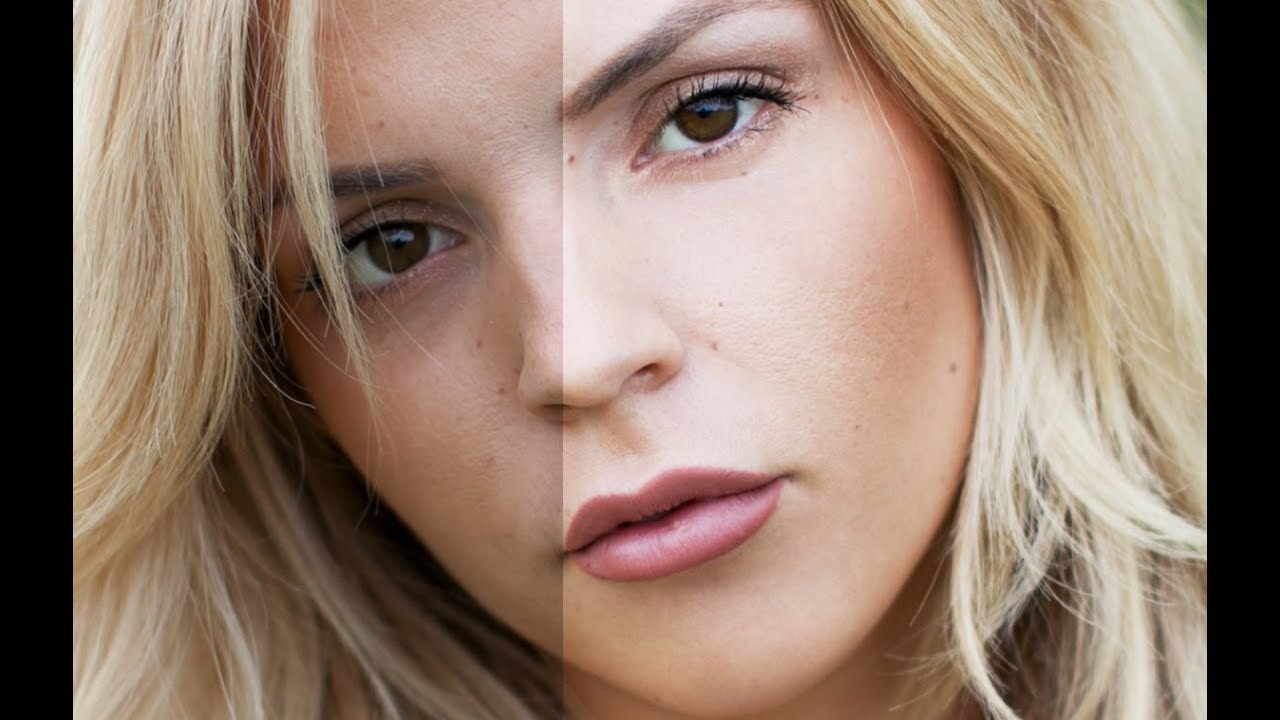
There is a specific kind of client feedback that stays with you. Mine came early in my retouching career, when a beauty brand coordinator replied to a delivered gallery with three words: “looks too plastic.” I had smoothed everything. Pores, texture, the slight variation in tone across the cheekbones. The skin looked like a render, not a person. I had been treating the entire face as one problem to solve instead of two separate problems: color and texture.