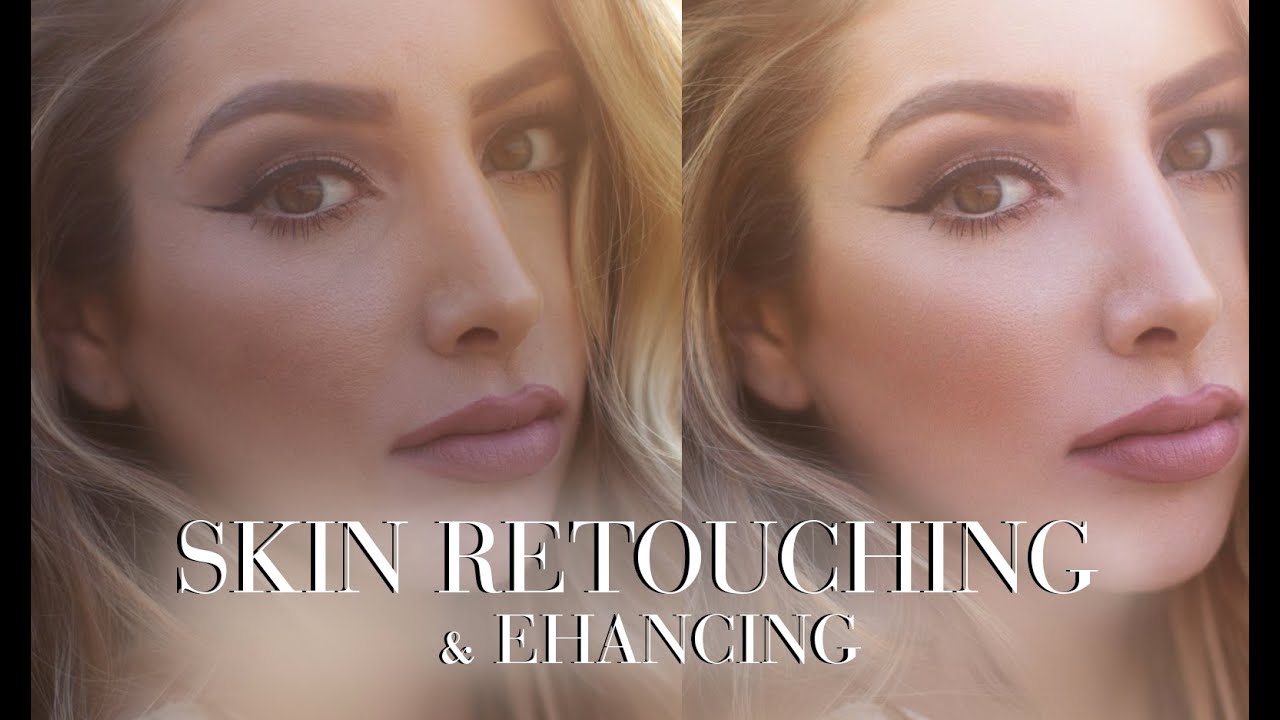
What America's Next Top Model's Bare-Skin Shoot Teaches Us About Honest Beauty Retouching

What America's Next Top Model's Bare-Skin Shoot Teaches Us About Honest Beauty Retouching

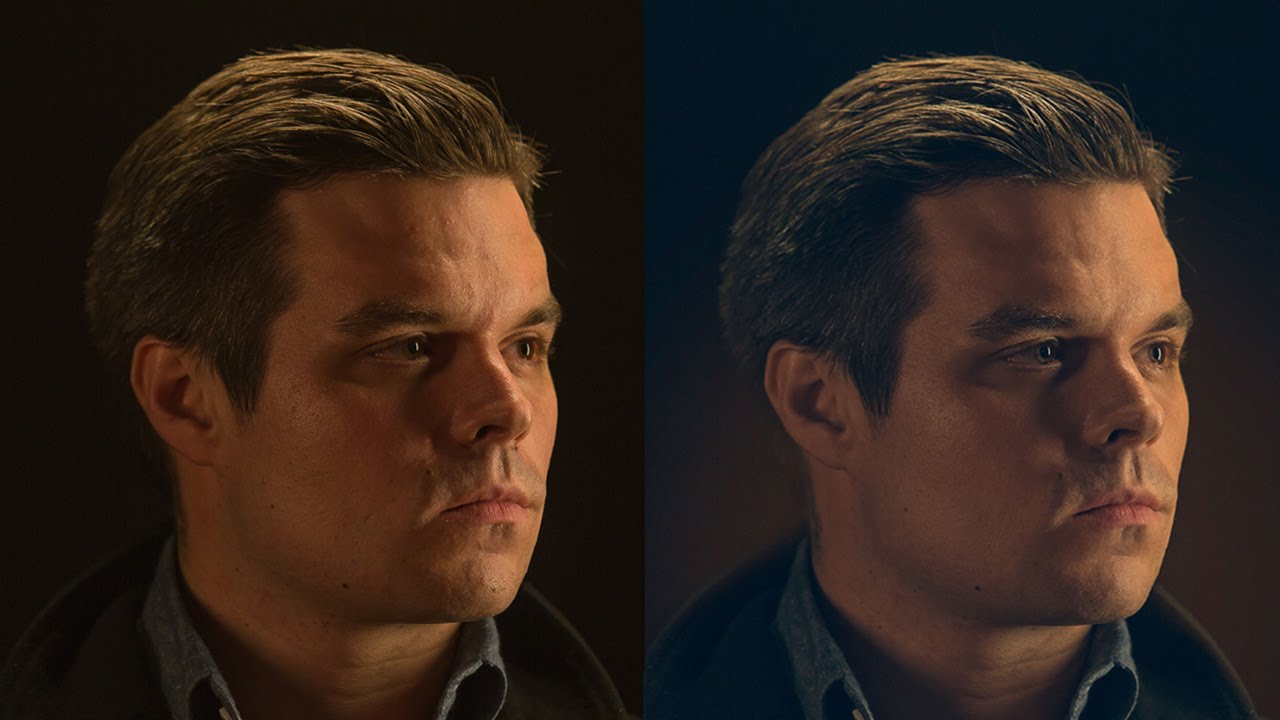
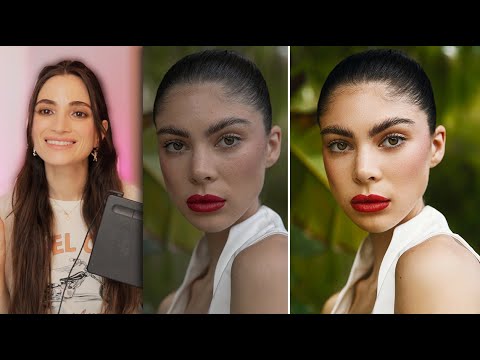
There’s a particular kind of dread I recognize in the faces of those America’s Next Top Model contestants before their no-makeup shoot. I felt a version of it myself years ago, early in my retouching career, when a client sent back my work with the note: “These look real.” She did not mean it as a compliment. That moment cracked something open for me about what we actually owe the people we photograph and retouch – and what “beautiful” is even supposed to mean when we strip away all the tools we usually reach for.

Four Ways to Fix Red Skin in Photoshop (Without Making Your Subject Look Plastic)

Four Ways to Fix Red Skin in Photoshop (Without Making Your Subject Look Plastic)

Red skin is one of those problems that sounds simple until you’re sitting across from a client who keeps saying “can you just fix the redness?” and every approach you try either makes them look sallow, gray, or – my personal low point – vaguely seasick. Early in my retouching work I leaned too hard on desaturation, which flattens everything and gives skin that telltale plastic quality that clients hate even when they can’t name exactly why.

Frequency Separation in Photoshop: A Step-by-Step Skin Retouching Guide (Based on Jessica Kobeissi's Technique)

Frequency Separation in Photoshop: A Step-by-Step Skin Retouching Guide (Based on Jessica Kobeissi's Technique)

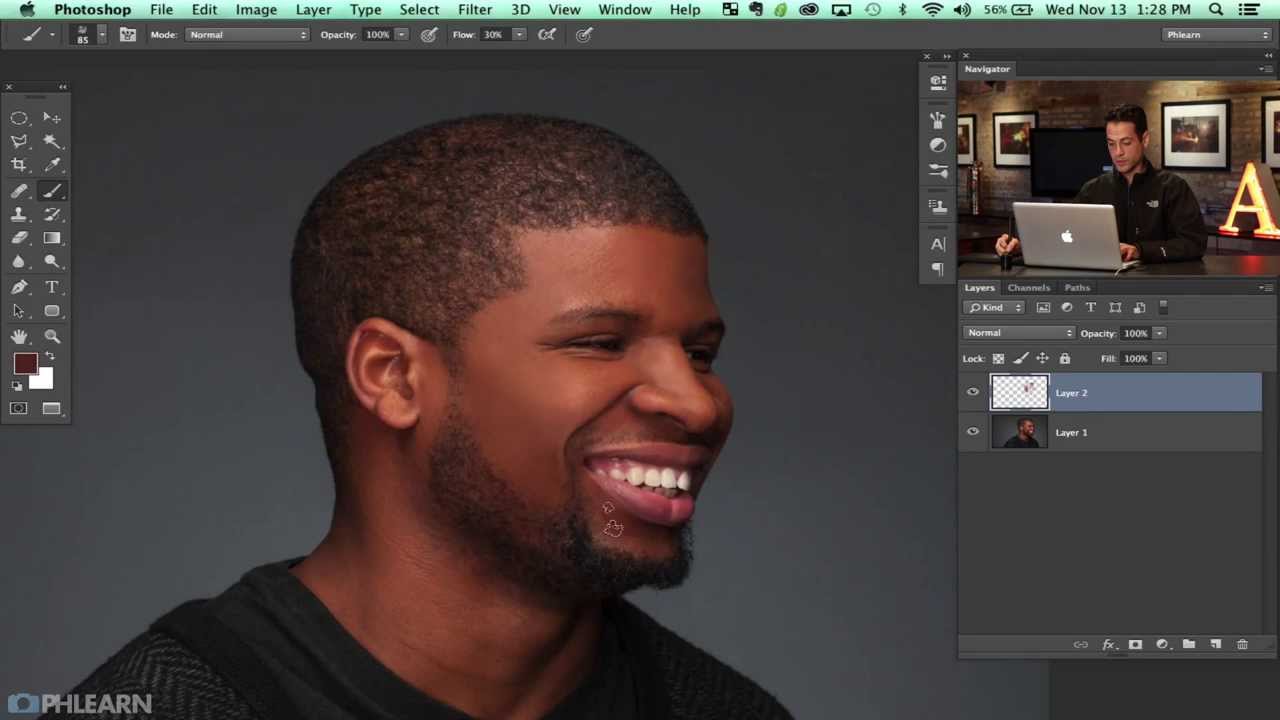
There’s a specific kind of dread that comes from delivering a round of portraits and hearing back that the skin looks “plastic.” I know that dread firsthand. Early in my retouching career, I was so focused on removing every blemish and evening out every tone that I was essentially painting over my subjects’ faces. The results were technically smooth and completely lifeless. Learning frequency separation was the moment that changed everything for me, because it finally let me work on the color and texture of skin as two separate problems instead of one blunt instrument.

Frequency Separation for Beginners: A Working Retoucher's Guide to Jessica Kobeissi's Method

Frequency Separation for Beginners: A Working Retoucher's Guide to Jessica Kobeissi's Method

Early in my retouching career, I had a client look at a finished portrait and tell me the skin looked “like a wax figure.” She wasn’t wrong. I’d been painting over everything on a single merged layer, smoothing out texture along with blemishes, and the result was exactly as plastic as she described. That comment sent me down a long road of learning how to separate what I was fixing from what I needed to preserve.

5 Skin Retouching Methods That Actually Work: A Lightroom and Photoshop Breakdown

5 Skin Retouching Methods That Actually Work: A Lightroom and Photoshop Breakdown

There is a version of a retouched portrait that looks incredible at 100% zoom and completely wrong the moment you step back. I know this because I used to produce that version regularly. Early in my retouching career, a client told me my edits looked “plastic,” and she was not wrong. The skin was smooth the way a vinyl doll is smooth, not the way a real person is smooth. What I was missing was a system.

Redirect the Viewer's Eye: A Beauty Retouching Workflow That Actually Works

Redirect the Viewer's Eye: A Beauty Retouching Workflow That Actually Works

There’s a specific failure mode I see constantly in beauty edits, including some of my own early ones. The retoucher fixes everything they were asked to fix, the skin looks clean, the colors are balanced, and yet something about the image feels off. The viewer’s eye wanders to the wrong place. That’s not a technical problem. It’s a compositional one, and no amount of frequency separation will solve it. What solves it is learning to think about visual weight and flow after the camera has already captured the shot.

From Over-Edited to Intentional: How Jessica Kobeissi Retouches Her Old Photos (And What It Teaches Us About Growth)

From Over-Edited to Intentional: How Jessica Kobeissi Retouches Her Old Photos (And What It Teaches Us About Growth)

I still have my first retouching attempt saved on an old hard drive somewhere. It looked like someone had ironed the skin flat, cranked the saturation up to a setting I’d now describe as “fever dream,” and then added a glow filter just to make sure nobody could identify the original human underneath. I keep it around on purpose. It’s a useful reminder that craft takes time, and that looking back at old work with honest eyes is one of the fastest ways to figure out where you’ve actually grown.

How to Retouch a Whole Batch of Portrait Images at Once (Without Losing Your Mind)

How to Retouch a Whole Batch of Portrait Images at Once (Without Losing Your Mind)

There is a specific kind of dread that comes from finishing a wedding gallery, sending it off, and then realizing you forgot to add a key line to every single image. Or that the skin smoothing you applied so carefully to the hero shot looks nothing like what you did to the rest of the series. I lived that dread more times than I care to admit before I started treating multi-image retouching as a real, deliberate workflow instead of just “doing it again for each photo.

Two Techniques That Changed How I Retouch Skin (A Breakdown of Joel Grimes' Frequency Separation and Dodge & Burn Method)

Two Techniques That Changed How I Retouch Skin (A Breakdown of Joel Grimes' Frequency Separation and Dodge & Burn Method)

There’s a specific kind of client feedback that stays with you. Mine came early in my retouching career, when someone told me my skin edits looked “like plastic.” She wasn’t wrong. I’d been over-smoothing, chasing perfection in all the wrong ways, and the results looked like my subjects had been wrapped in cellophane. That comment sent me down a long road of studying how professional retouchers actually work, and one of the techniques that genuinely changed my approach was watching Joel Grimes demonstrate his skin retouching workflow in a CreativeLive session.

Frequency Separation in Photoshop: A Step-by-Step Guide to Skin Retouching That Actually Looks Real

Frequency Separation in Photoshop: A Step-by-Step Guide to Skin Retouching That Actually Looks Real

I spent the better part of a year convinced that good retouching meant smoothing everything until the skin looked like poured wax. A client finally told me my edits looked “plastic,” and honestly, she was right. What I was missing was a way to work on color and texture as two separate problems, because they are. Uneven skin tone is a color problem. A rough patch of texture is a texture problem.

Frequency Separation the Right Way: A Walkthrough of Jessica Kobeissi's Gaussian Blur Method

Frequency Separation the Right Way: A Walkthrough of Jessica Kobeissi's Gaussian Blur Method

There is a specific kind of client feedback that stays with you. Mine came early in my retouching career, when a beauty brand coordinator replied to a delivered gallery with three words: “looks too plastic.” I had smoothed everything. Pores, texture, the slight variation in tone across the cheekbones. The skin looked like a render, not a person. I had been treating the entire face as one problem to solve instead of two separate problems: color and texture.

Frequency Separation First: How Jessica Kobeissi's Retouching Workflow Keeps Skin Looking Real

Frequency Separation First: How Jessica Kobeissi's Retouching Workflow Keeps Skin Looking Real

There’s a particular kind of client feedback that sticks with you. Mine came early in my retouching career, when someone looked at a portrait I’d spent two hours on and said the skin looked “like a wax figure.” She wasn’t wrong. I’d been painting over everything with the healing brush, obliterating texture, smoothing out all the natural variation that makes skin look like skin. That comment sent me down a long road of learning, and frequency separation became the technique that finally changed how my work looked.