Video Tutorials
Frequency Separation for Real Skin: What I Took Away from Jessica Kobeissi's Retouch & Chill
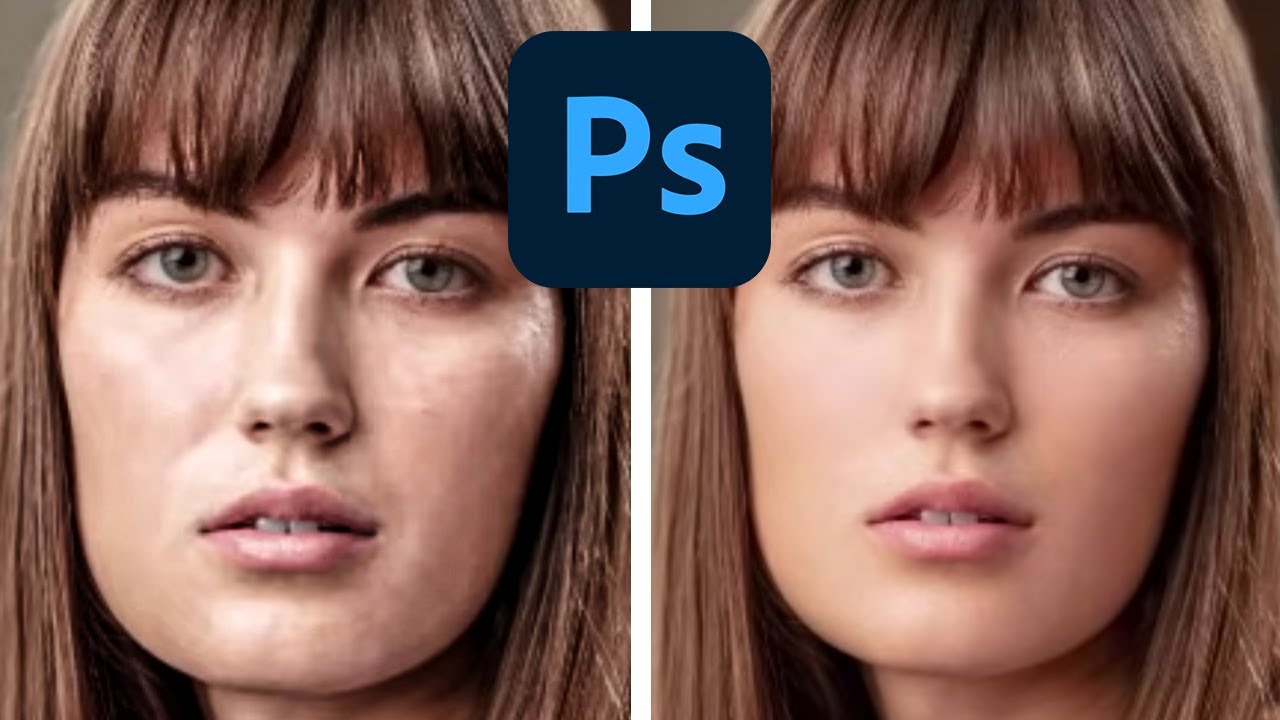
There is a particular kind of dread that comes with opening a portrait file and seeing skin that needs serious work. Not “dust off a blemish” work. Real texture, real unevenness, real light that caught every pore. Early in my retouching career I handled that dread badly. I’d over-smooth, over-blur, and hand back something that looked more like a vinyl doll than a person. A client once told me the skin looked “plastic.