How to Add Texture Overlays to Portrait Photos for a Dreamy, Editorial Finish

How to Add Texture Overlays to Portrait Photos for a Dreamy, Editorial Finish

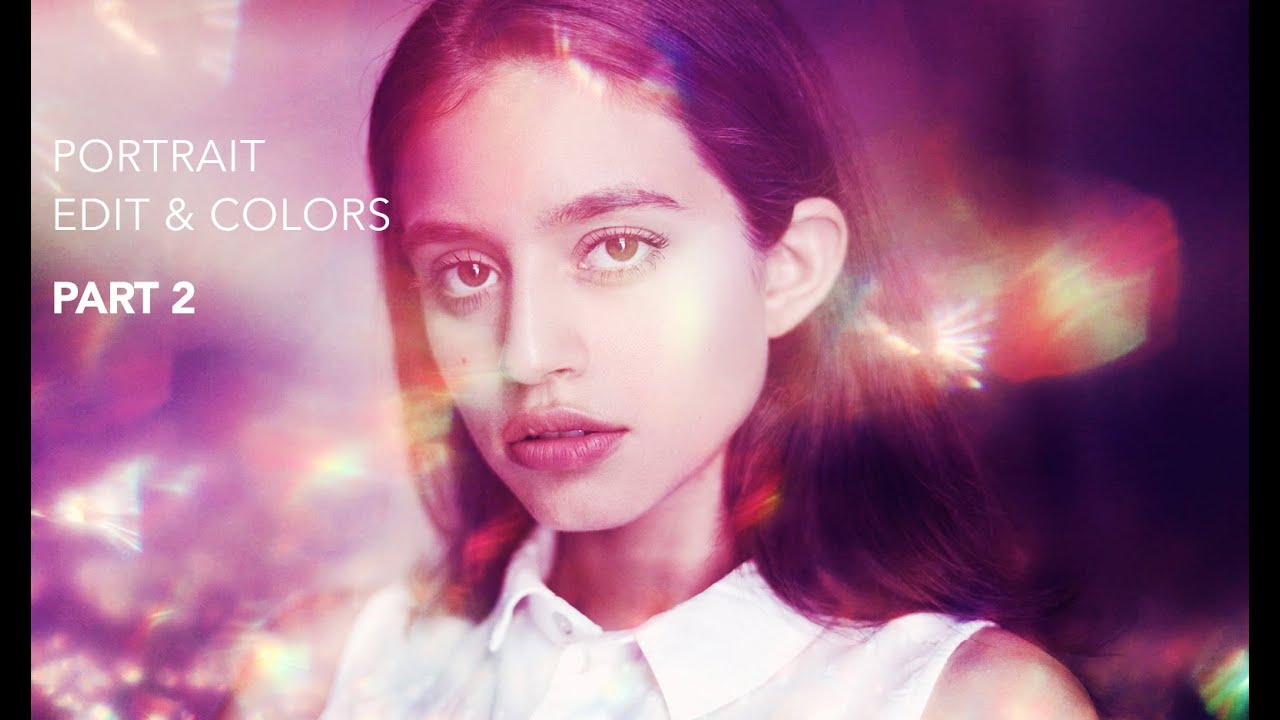
There is a specific kind of portrait that stops you mid-scroll. The skin looks real, the light feels warm, and there is something almost painterly happening in the background or around the edges that you cannot quite name. For a long time, I chased that quality by pushing color grading harder and harder, wondering why my results kept feeling flat. It was not a color problem. It was a texture problem.
Beyond the Landscape: How Composition Principles Transform Portrait Retouching

Beyond the Landscape: How Composition Principles Transform Portrait Retouching

Why Composition Matters in Portrait Retouching When we think about composition, our minds often drift toward sweeping vistas and dramatic natural landscapes. But I’ve discovered something fascinating working with beauty editors and portrait retouchers: the fundamental principles that make landscapes compelling are equally powerful when applied to facial retouching and beauty work. The difference? Instead of arranging elements across a canvas, we’re orchestrating features within a face. Instead of guiding the viewer’s eye through a scene, we’re drawing attention to the subject’s most flattering characteristics.

What 6 Fiverr Retouchers Taught Me About Giving (and Getting) Better Editing Briefs

What 6 Fiverr Retouchers Taught Me About Giving (and Getting) Better Editing Briefs

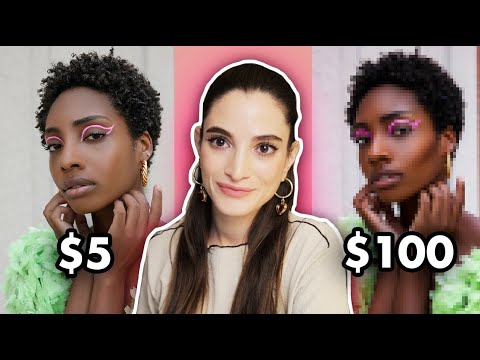
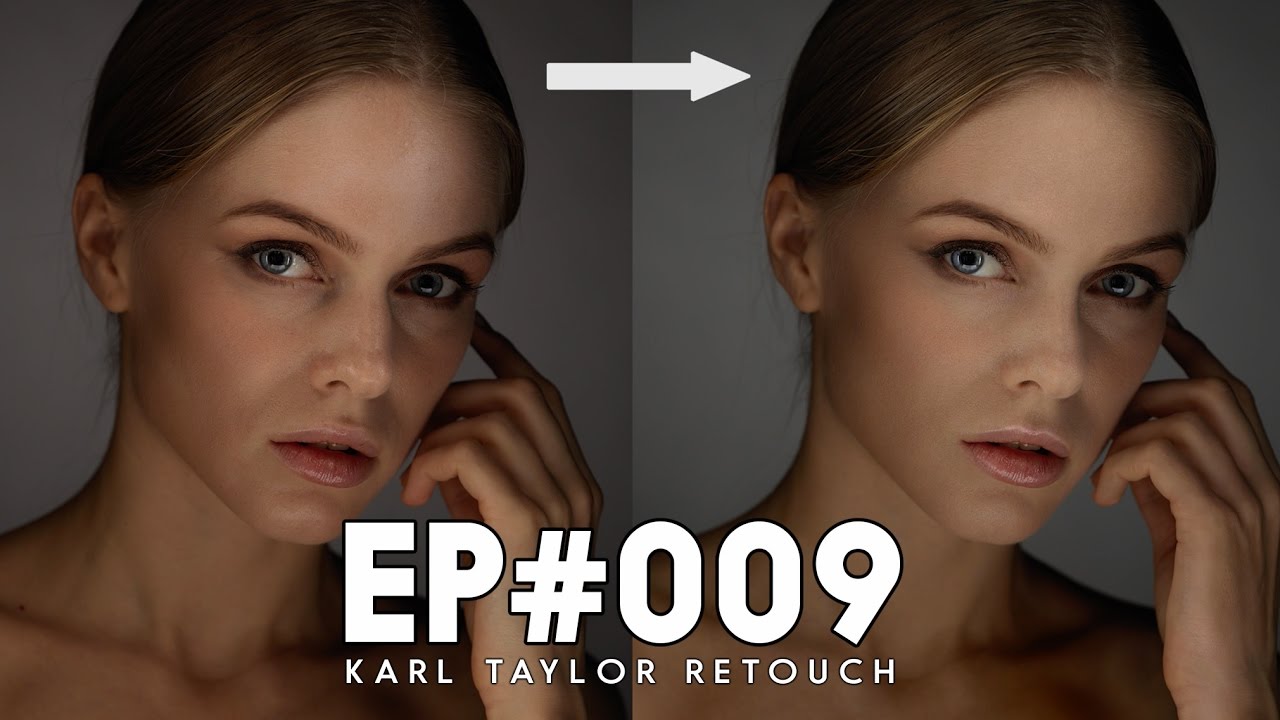
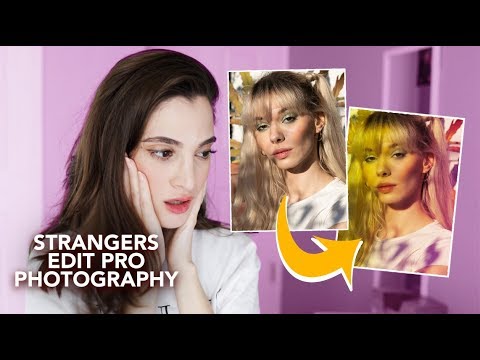
There is a particular kind of dread that comes with handing your work to someone else. I felt it acutely early in my retouching career, when a client looked at a portrait I had spent two hours on and said, flatly, that it looked “plastic.” That comment recalibrated everything about how I approach skin, light, and instruction. So when I came across a Jessica Kobeissi tutorial where she commissions six strangers on Fiverr to retouch the same professional portrait, I watched it twice.

How to Edit Skin That Actually Glows: A Lightroom Brush Workflow Worth Stealing

How to Edit Skin That Actually Glows: A Lightroom Brush Workflow Worth Stealing

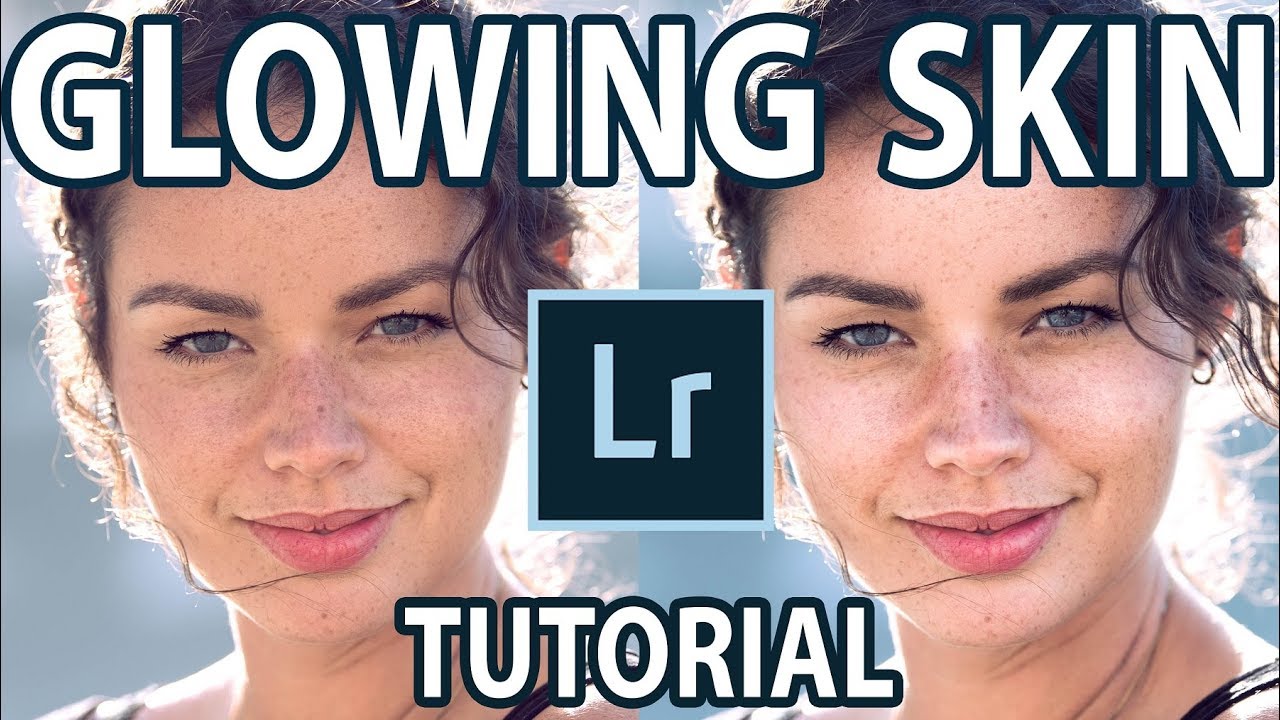
Backlit portraits are some of the most beautiful images you can shoot, and also some of the most frustrating to edit. The light wraps around the hair like a halo, the background glows, and then you look at the face and it’s flat. Muddy. Nothing. I’ve delivered more than a few portraits where I thought the backlit glow was carrying the whole image, only to have a client point out that the skin looked lifeless.

What 5 Fiverr Retouchers Taught Me About the Mistakes We All Make on Skin

What 5 Fiverr Retouchers Taught Me About the Mistakes We All Make on Skin

One of the fastest ways to sharpen your eye as a retoucher is to look at someone else’s work and pinpoint exactly why it feels off. Not to be harsh, but because your brain starts building a catalog of what to avoid, and that catalog saves you from making the same calls on your own edits. I stumbled into retouching the hard way, after a client once told me my portraits looked “plastic,” and that word stuck with me like a splinter.

The Dodge & Burn Layer Trick That Changed How I Retouch Skin

The Dodge & Burn Layer Trick That Changed How I Retouch Skin

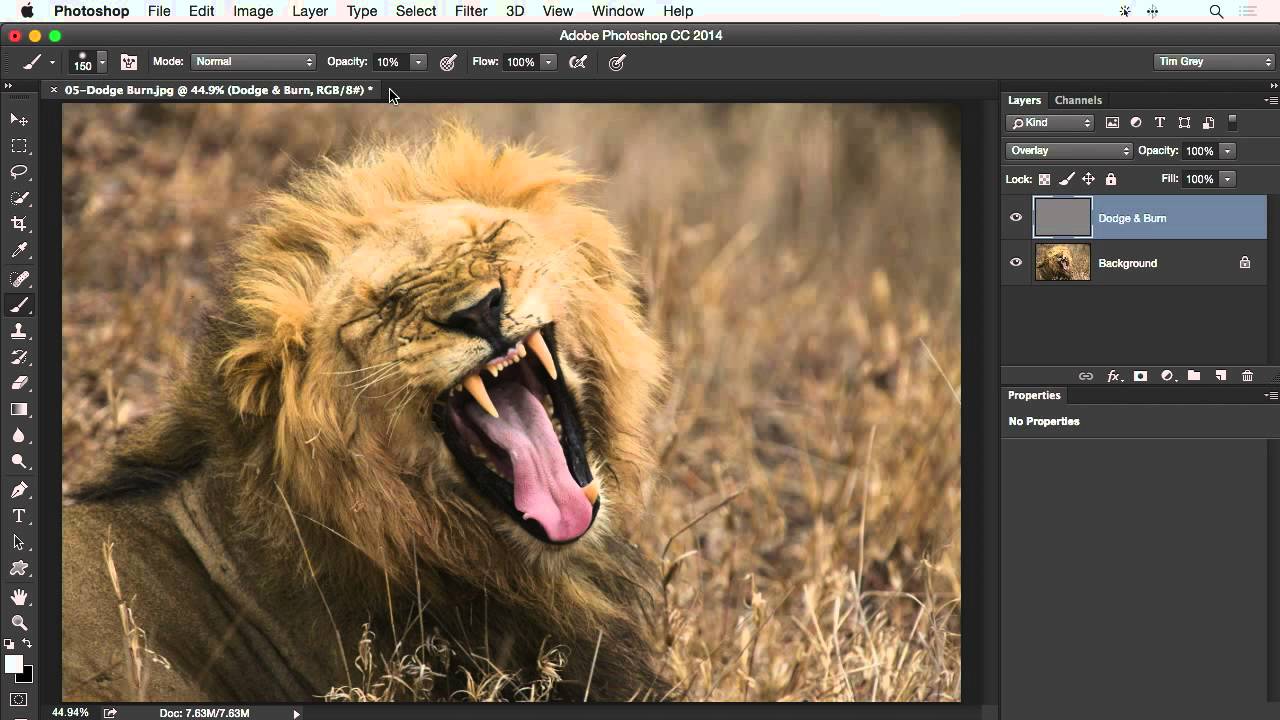
There’s a moment in retouching when you realize that chasing perfection with the wrong tools is actually making things worse. For me, that moment came early in my beauty retouching career, when a client told me my edits looked “plastic.” She wasn’t wrong. I was dodging and burning with Photoshop’s built-in Dodge and Burn tools, directly on the pixel layer, and the results were muddy, flat, and irreversible. One mistake and I was undoing fifteen minutes of work.

Why Your Hair Retouching Looks Fake (And the Layer-by-Layer Fix That Changed My Workflow)

Why Your Hair Retouching Looks Fake (And the Layer-by-Layer Fix That Changed My Workflow)

The first time a client told me my retouching looked “plastic,” I was sitting in my car in a Trader Joe’s parking lot reading the email on my phone. I had spent three hours on that image. The skin was smooth, the shadows were clean, and I thought it looked polished. What I hadn’t realized was that I’d treated the hair the same way I treated the skin, painting over it with a heavy hand and zero understanding of what makes hair look real.

Fixing Tan Lines and Sunburn in Photoshop: A Color Range Selection Workflow That Actually Works

Fixing Tan Lines and Sunburn in Photoshop: A Color Range Selection Workflow That Actually Works

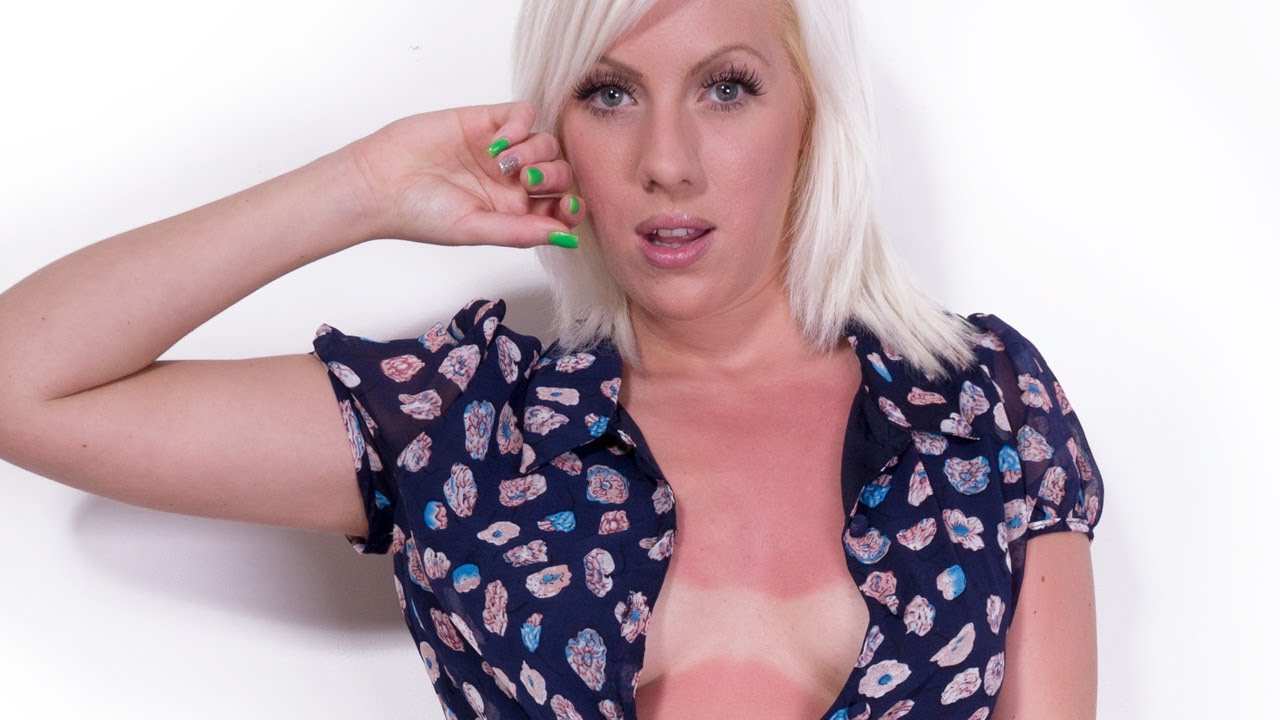
Summer shoots are some of my favorites to work on. The light is gorgeous, the energy is high, and then the files land in my inbox and I remember: tan lines. Swimsuit straps, watch marks, sock lines, the full chest-and-shoulder sunburn that turns an otherwise beautiful portrait into a puzzle. Early in my retouching career I used to attack these with a Hue/Saturation layer applied to the whole image and wonder why it looked wrong.

What Award-Winning Night Sky Photography Teaches Us About Dramatic Lighting in Portraits

What Award-Winning Night Sky Photography Teaches Us About Dramatic Lighting in Portraits

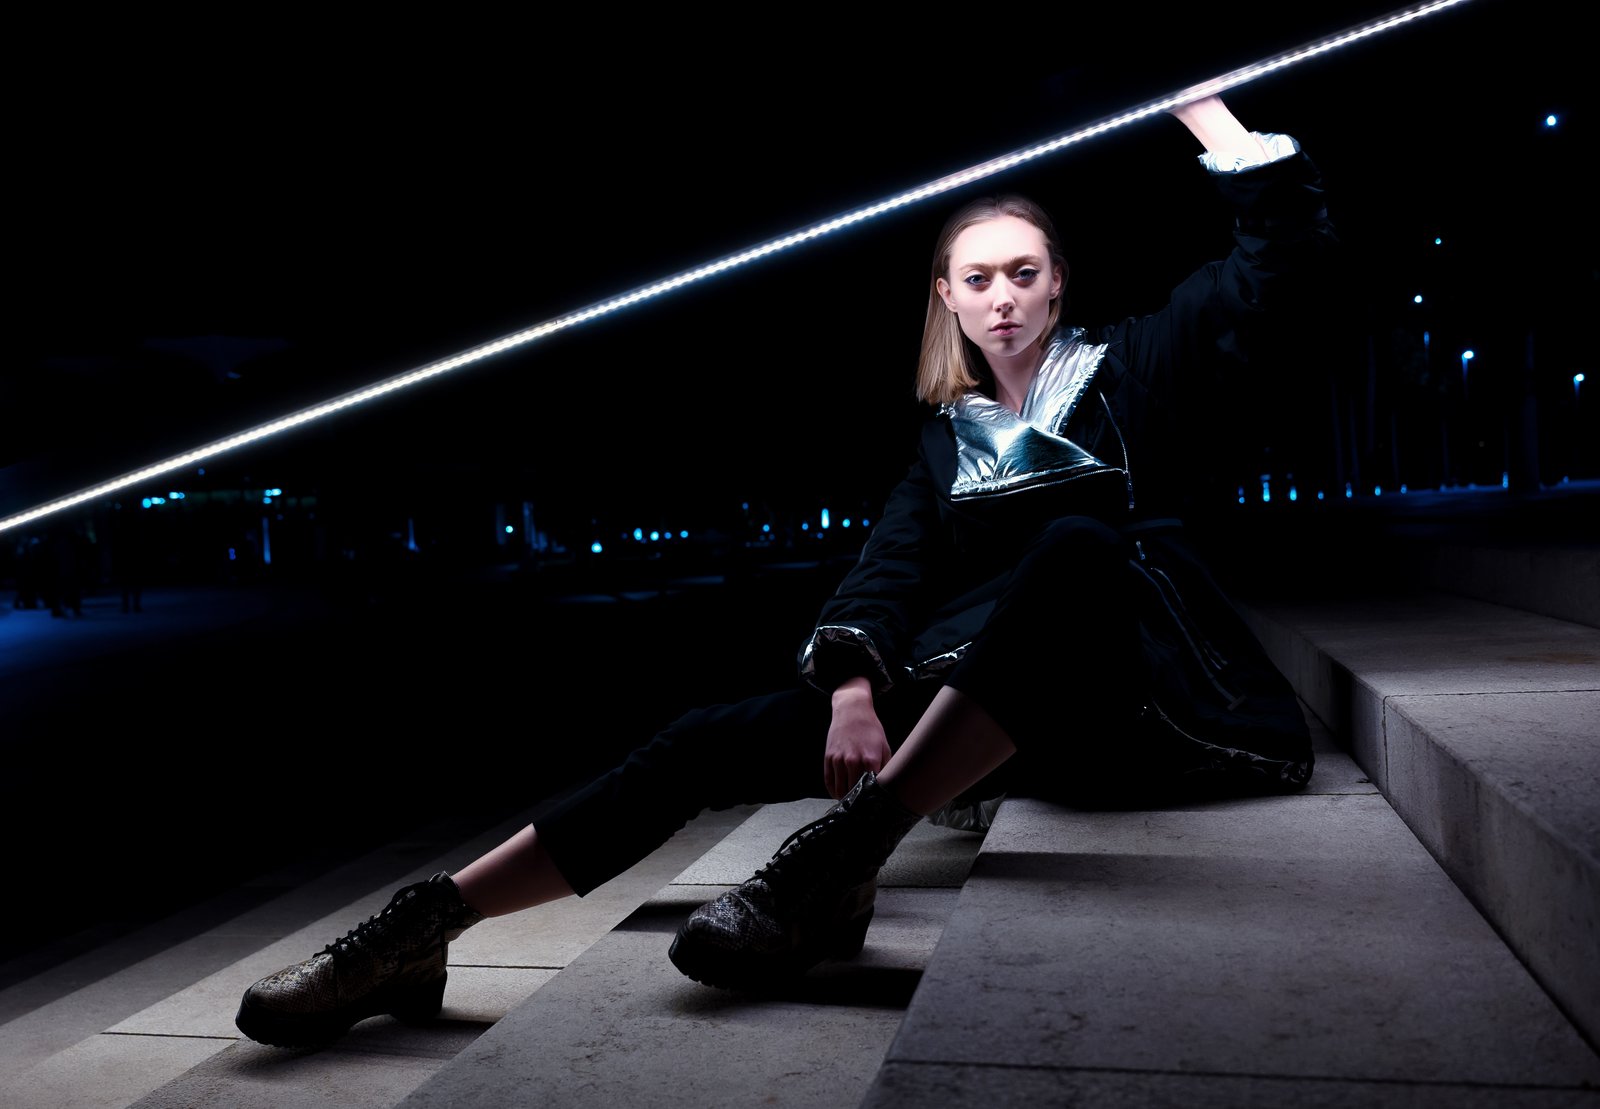
What Award-Winning Night Sky Photography Teaches Us About Dramatic Lighting in Portraits I’ve always believed that the best creative inspiration comes from unexpected places. This month, I’ve been reflecting on how a major international nighttime photography competition reveals principles that directly apply to our work in portrait retouching and beauty editing. DarkSky International recently announced the winners of their 2026 photography contest, and I found myself captivated—not just by the stunning imagery, but by what these winning photographs can teach us about managing light and shadow in our own specialty.

A Working Retoucher's Walkthrough: Beauty Retouching in Photoshop from Scratch

A Working Retoucher's Walkthrough: Beauty Retouching in Photoshop from Scratch

Early in my retouching career, a client looked at a set of beauty edits I’d delivered and said the skin looked “like plastic.” She wasn’t wrong. I’d been smoothing and softening without any real understanding of light and shadow on a face, and the results showed it. What I was missing wasn’t a better tool. It was a proper workflow that treated the face as a three-dimensional thing with real tonal structure.

Hair Volume, Skin Highlights, and the Liquify Trick I Wish I'd Known Earlier

Hair Volume, Skin Highlights, and the Liquify Trick I Wish I'd Known Earlier

There’s a specific kind of client portrait that used to trip me up constantly: the studio shot where the hair falls flat, the lighting creates shadows that feel muddy instead of dramatic, and the overall image just needs a lift without looking like it’s been through a filter factory. For years, I’d either over-edit my way out of the problem or leave too much on the table. What I needed was a cleaner workflow that addressed these issues in the right order, with the right tools.

Why Your Makeup Retouching Looks Fake (And the Frequency Separation Fix That Changed Everything)

Why Your Makeup Retouching Looks Fake (And the Frequency Separation Fix That Changed Everything)

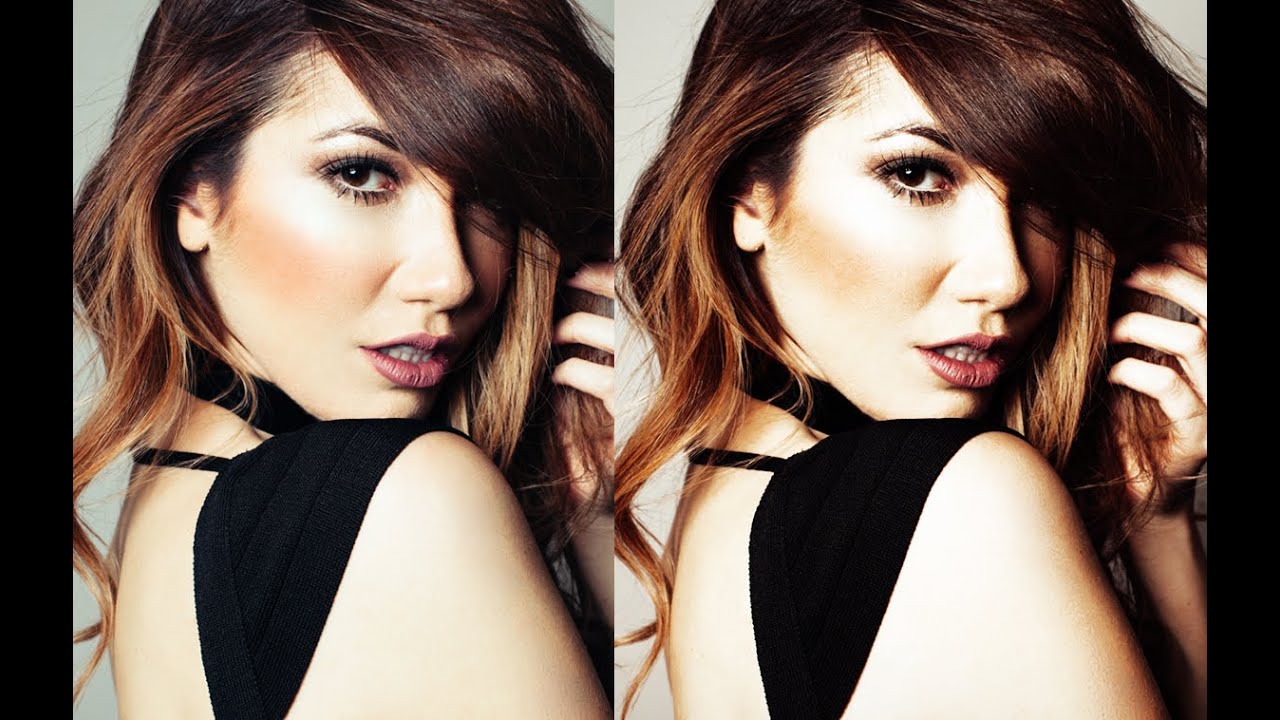
A few years into my retouching career, a client sent me a single-line email that I still think about: “She looks like a doll. Can you make her look like a person again?” The image in question was a beauty shot I had spent three hours on. The foundation looked airbrushed in the worst possible sense. The blush gradient had been smoothed into a flat wash of color. The highlighter on her cheekbones, which had been this gorgeous, dimensional thing in the original file, was completely gone.