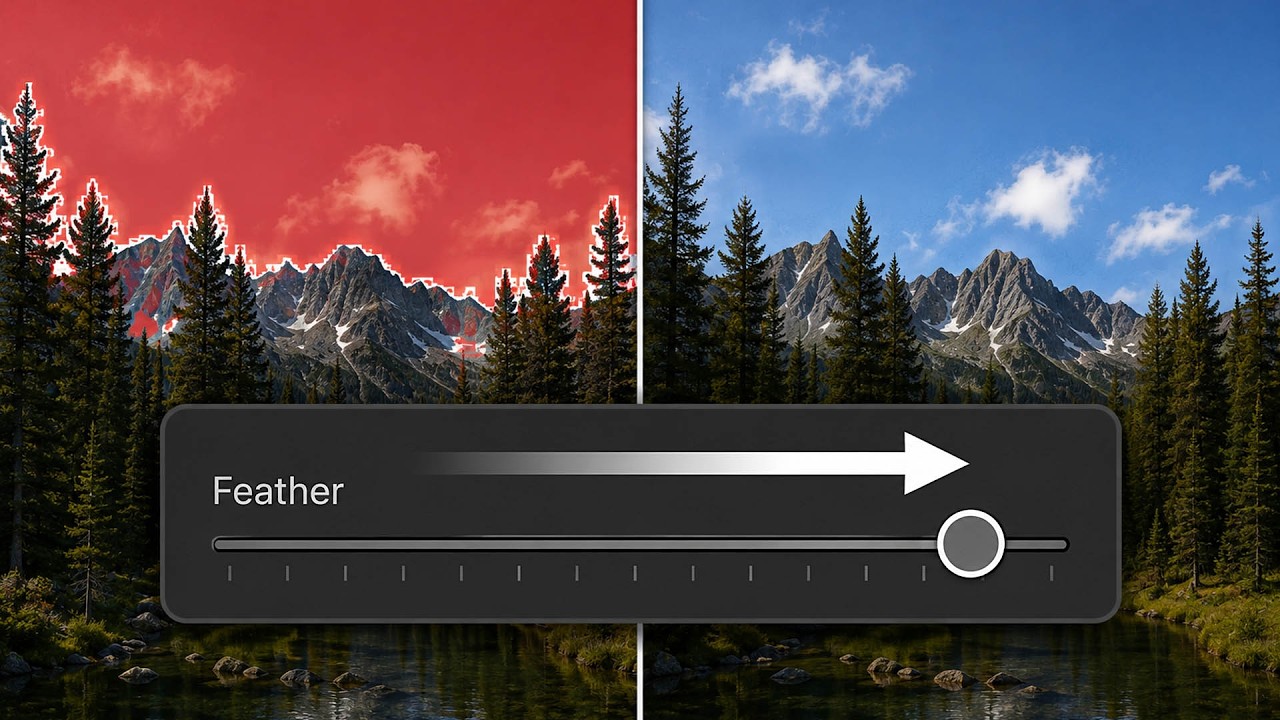
Lightroom's New Feather and Edge Sliders Just Fixed the Mask Problem I've Been Working Around for Years

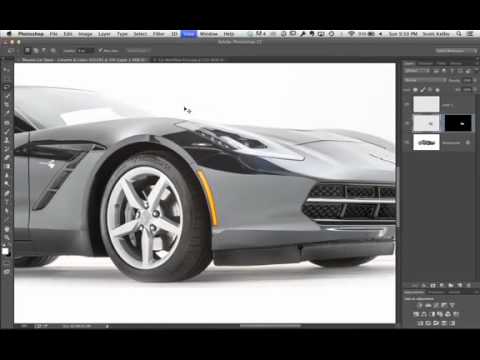
Lightroom's New Feather and Edge Sliders Just Fixed the Mask Problem I've Been Working Around for Years

There is a specific kind of frustration that only retouchers understand: you build a careful mask, apply a gorgeous tonal adjustment, and then zoom in to find a halo of blown-out sky bleeding into the hair, or a mushy, undefined edge where a clean line should be. For years I handled this with a combination of workarounds, luminance masks, manual brushing, and a fair amount of sighing into my green tea.

How to Mark Up a Portrait for Your Retoucher (and Actually Get What You Want)

How to Mark Up a Portrait for Your Retoucher (and Actually Get What You Want)

There’s a specific kind of frustration that comes from sending a file to a retoucher and getting back something that looks nothing like what you imagined. I’ve been on both sides of that exchange. Early in my retouching career, a client told me my edits looked “plastic” and I was devastated, mostly because I knew she was right. The problem wasn’t technical skill. It was communication, and a complete lack of a shared visual language between the photographer, the retoucher, and the final image.

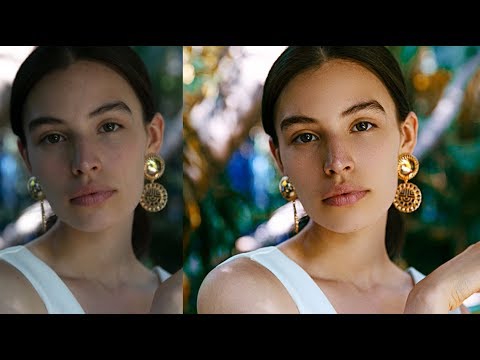
Camera Raw to Photoshop: How Jessica Kobeissi Builds a Portrait Retouch from Scratch

Camera Raw to Photoshop: How Jessica Kobeissi Builds a Portrait Retouch from Scratch

There’s a specific kind of client email that used to send me into a spiral. It would arrive two days after delivery, and it would say something like: “These look great, but can you make the skin look a little more… natural?” I knew exactly what it meant. I had over-processed again. My highlights were blown, my skin tones were plastic, and somewhere between Camera Raw and my seventeenth Photoshop layer, I had lost the person entirely.

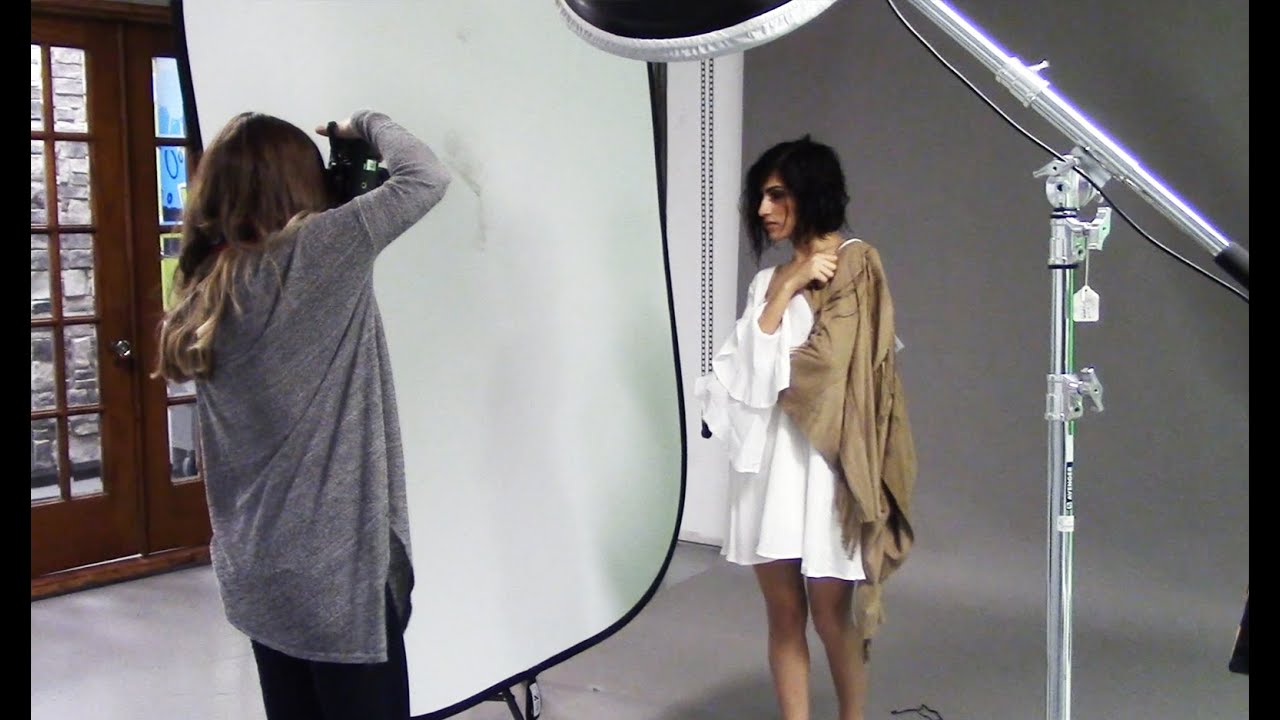
Warm Light, Cold Shadows: How Colored Gels Can Transform a Beauty Portrait Setup

Warm Light, Cold Shadows: How Colored Gels Can Transform a Beauty Portrait Setup

There’s a version of a beauty portrait that most of us have shot a hundred times: soft main light, maybe a reflector underneath, clean background. Safe. Competent. Forgettable. For a long time, I thought the path to better beauty work ran almost entirely through retouching. Add more light in post, finesse the skin, call it done. It took me longer than I’d like to admit to understand that the most interesting thing you can do for your retouching workflow is to give yourself better raw material to start with.

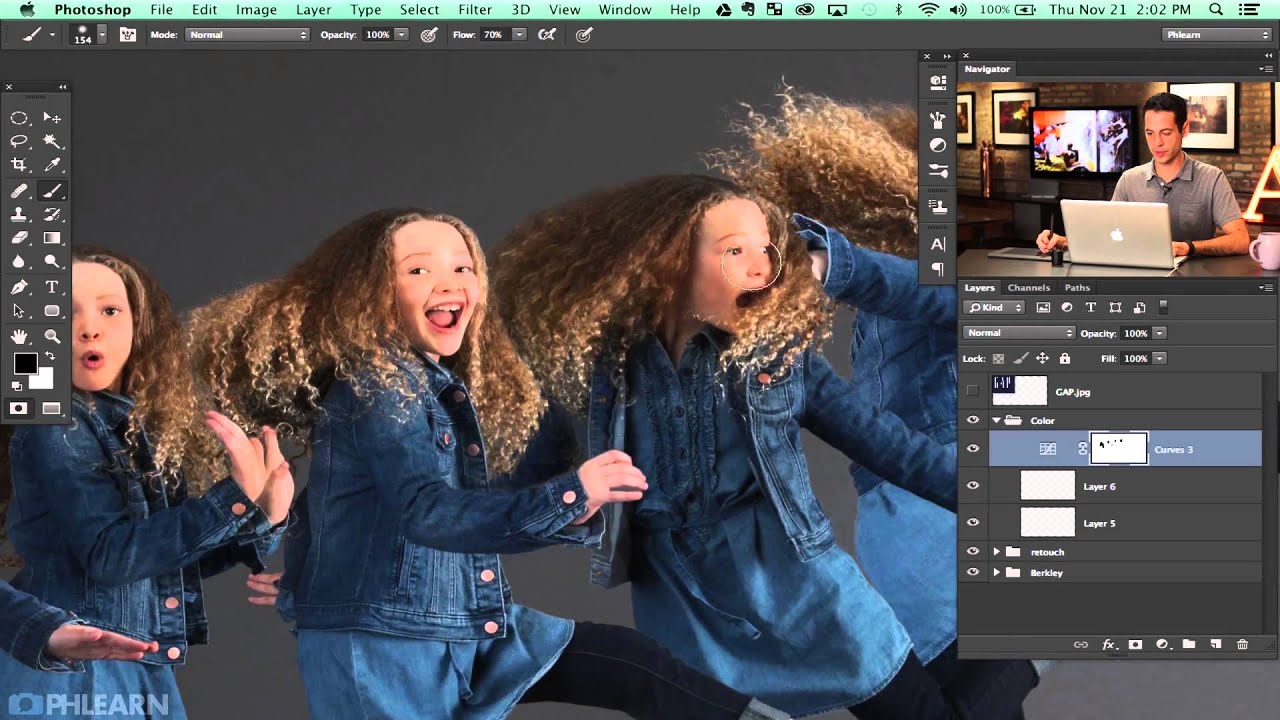
How to Color Hair Realistically in Photoshop Using Quick Mask and Curves

How to Color Hair Realistically in Photoshop Using Quick Mask and Curves

One of the trickiest requests I get from beauty clients is changing or enhancing hair color without it looking like someone ran a filter over a stock photo. For a long time, my go-to was Hue/Saturation on a clipped layer, and it worked fine, until a client pointed out that the color looked “painted on.” That one comment sent me deep into researching better workflows, and I’ve never fully recovered. What I’ve landed on is a combination of Quick Mask selection, Curves for contrast and base color, and a clipped Hue/Saturation layer on top.

Clean, Polished Hair in Photoshop: A Retoucher's Breakdown of Aaron Nace's Three-Tool Method

Clean, Polished Hair in Photoshop: A Retoucher's Breakdown of Aaron Nace's Three-Tool Method

Hair is the thing that will make or break a beauty retouch. I learned this the hard way early in my retouching career, when a client sent back a set of edits with a note that the skin looked “plastic.” I had spent all my time on the face and basically ignored the flyaways and ragged edges around the hair. The result was this uncanny valley effect: impossibly smooth skin surrounded by chaotic, untouched hair.

What Happens When Non-Retouchers Edit Pro Photos (And What It Teaches Us About the Basics)

What Happens When Non-Retouchers Edit Pro Photos (And What It Teaches Us About the Basics)

There’s a particular kind of clarity that comes from watching someone with zero retouching experience open Photoshop for the first time. No habits, no muscle memory, no shortcuts. Just instinct. When I first started retouching wedding portraits years ago, I made a lot of the same moves I see beginners make now: grabbing the wrong tool, fixing one small thing while accidentally breaking something else, and calling it done way too soon.

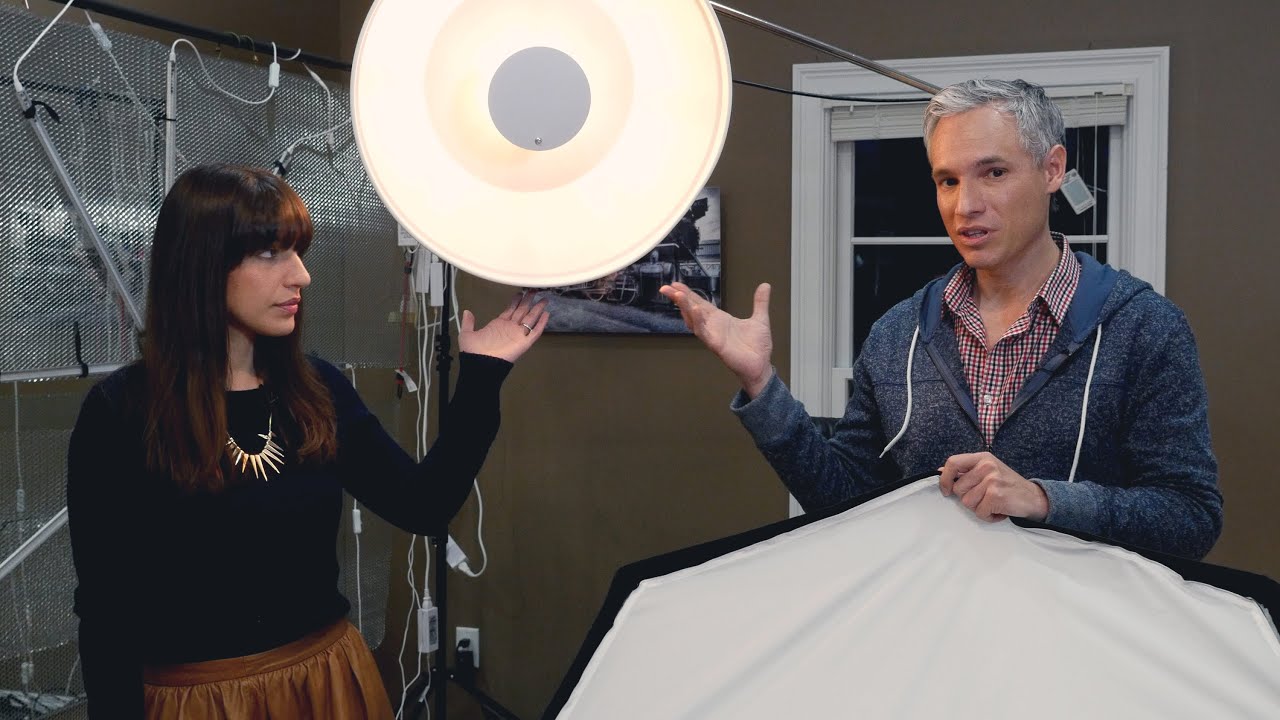
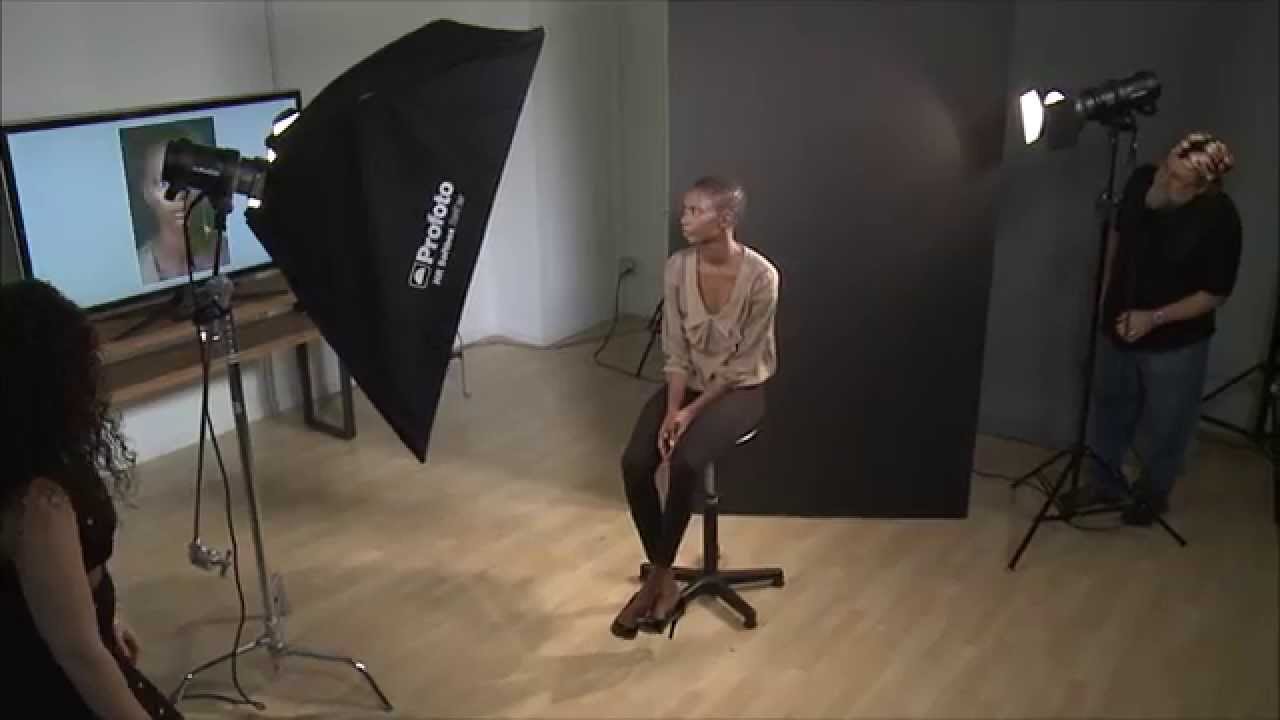
What Parabolic Lighting Actually Does to Skin (And Why It Changes How I Retouch)

What Parabolic Lighting Actually Does to Skin (And Why It Changes How I Retouch)

There’s a pattern I’ve noticed after years of retouching images for beauty brands: the shots that take me forty-five minutes to retouch and the ones that take three hours aren’t separated by the model’s skin, the makeup, or even the photographer’s skill level. They’re separated by the light. When the lighting is doing its job well, the skin already has dimension, the shadows fall cleanly, and my job becomes refinement rather than reconstruction.

What 5 Fiverr Retouchers Taught Me About the Details That Actually Matter

What 5 Fiverr Retouchers Taught Me About the Details That Actually Matter

There’s a moment early in my retouching career I still think about. A client flipped through her gallery, paused on a close-up, and said, “She looks like a doll. That’s not what I wanted.” The skin was flawless. It was also completely dead. I’d smoothed away every pore, every subtle shadow, every trace of dimension, and what was left looked like a render, not a person. That feedback stung, but it was the most useful thing anyone ever said to me.

Start in Lightroom, Finish in Photoshop: A Portrait Retoucher's Workflow Breakdown

Start in Lightroom, Finish in Photoshop: A Portrait Retoucher's Workflow Breakdown

There was a period early in my retouching career when I was jumping into Photoshop the moment a file landed on my hard drive. No sorting, no initial tone work, no white balance correction. Just straight into layers and healing brushes, wondering why my skin work always felt like I was fighting the image instead of working with it. It took me an embarrassingly long time to understand that the order of operations matters as much as the techniques themselves.

Aperture, Dodge & Burn, and the Lighting Truth Every Portrait Retoucher Needs to Hear

Aperture, Dodge & Burn, and the Lighting Truth Every Portrait Retoucher Needs to Hear

There’s a specific kind of frustration that comes from receiving a portrait file where the photographer made choices you now have to work around in post. Muddy backgrounds competing with the subject. A face that’s half-lit because the aperture was set too wide on a two-person shot. Or skin tones so blown out from compensating for a dark environment that no amount of careful retouching will save the highlight detail. I’ve been on the receiving end of all of these, and after years of freelancing for beauty brands, I can tell you that understanding the relationship between aperture, light, and skin texture is just as important for retouchers as it is for photographers.

Dodge & Burn Without Destroying Your Image: A Non-Destructive Photoshop Walkthrough

Dodge & Burn Without Destroying Your Image: A Non-Destructive Photoshop Walkthrough

There’s a version of my early retouching work that I keep buried in a hard drive somewhere as a reminder. Flat skin, blown-out highlights, shadows crushed into muddy gray. I thought I was fixing photos. I was actually just smashing the light out of them. The turning point wasn’t one big revelation - it was learning that dodging and burning didn’t have to be permanent, and that you could teach Photoshop to apply tonal changes only where they actually made sense.