How Sean Tucker's Lightroom Portrait Workflow Finally Got My Skin Tones Right

How Sean Tucker's Lightroom Portrait Workflow Finally Got My Skin Tones Right

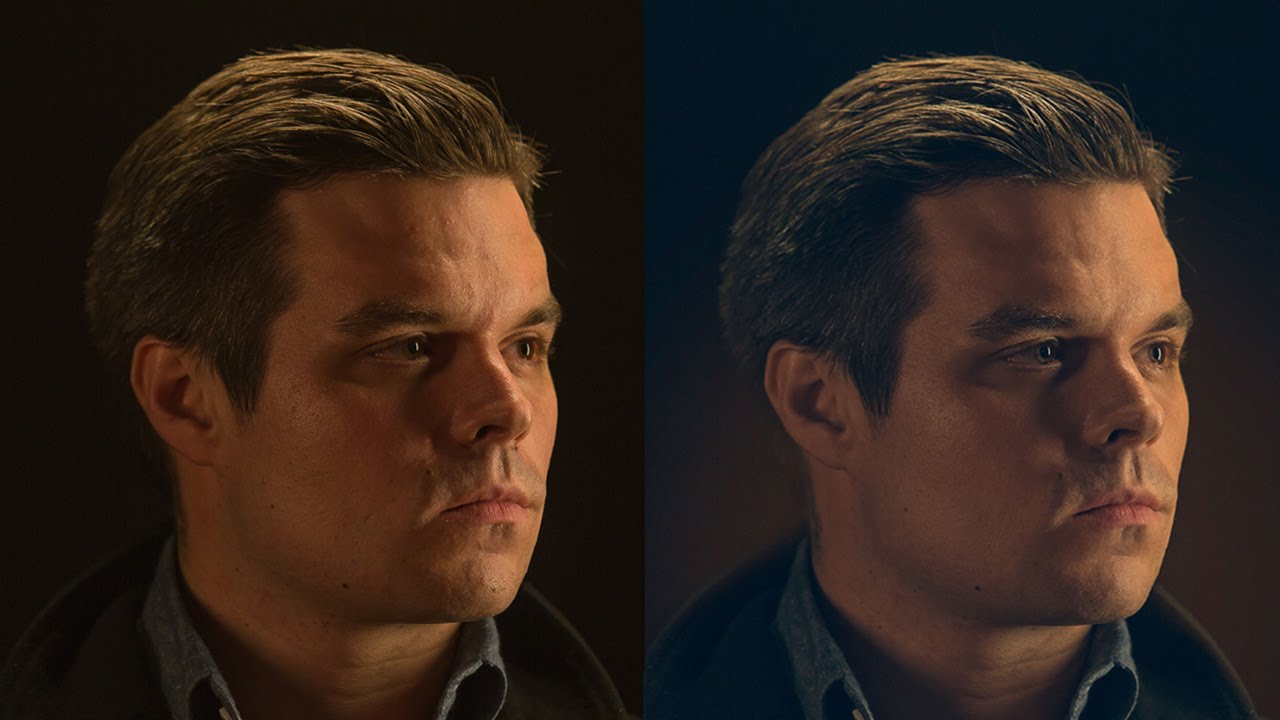
I’ll be honest with you: for years, I was a Photoshop-or-nothing person. Coming from wedding photography into beauty retouching, I built my entire workflow around layers, frequency separation, and a library of actions I’ve named after films. Lightroom felt like the place where images stopped, not where they got made. Then I sat down with Watch the full tutorial on YouTube this Sean Tucker tutorial on editing environmental portraits completely inside Lightroom, and I had one of those quiet, humbling moments where a working professional shows you that your assumptions were costing you time.

What a Mandalorian Scene Taught Me About Cinematic Light (And Why It Matters for Beauty Work)

What a Mandalorian Scene Taught Me About Cinematic Light (And Why It Matters for Beauty Work)

There’s a moment in almost every beauty retouching project where the background just isn’t working. The studio wall is too flat, the location shot has distracting elements, and stock photos feel like stock photos no matter how well you blend them. I spent a long time solving this problem with Photoshop alone, layering textures and painting light, and the results were fine. Fine is not what we’re going for. What I actually wanted were environments that felt cinematic, dimensional, and completely under my control.

What Adobe Actually Changed in Photoshop This April (And What It Means for Your Retouching Workflow)

What Adobe Actually Changed in Photoshop This April (And What It Means for Your Retouching Workflow)

Every few months Adobe drops a Photoshop update, and most of the time I skim the release notes, nod politely, and go back to whatever action I was running (currently the entire Blade Runner franchise, in case you were wondering). But the April 2026 update genuinely caught my attention, partly because of a Matt Kloskowski tutorial I watched while finishing my third cup of green tea on a Tuesday morning. Watch the full tutorial on YouTube – it runs about four minutes and covers the highlights quickly and clearly.

How Serge Ramelli's Frame Within a Frame Technique Quietly Transforms a Flat Travel Portrait

How Serge Ramelli's Frame Within a Frame Technique Quietly Transforms a Flat Travel Portrait

There’s a specific kind of photo that stops me mid-scroll. Not the technically perfect ones, not the overlit, every-detail-present shots. The ones that stop me are the ones that feel like a secret. Something contained. A world inside a world. That quality has a name: frame within a frame. And for years I understood it as a compositional idea, something you think about before you press the shutter. What I hadn’t fully appreciated was how much of that feeling gets built, or destroyed, in post-processing.

Why I Stopped Duplicating Layers for Every Retouch (And What I Do Instead)

Why I Stopped Duplicating Layers for Every Retouch (And What I Do Instead)

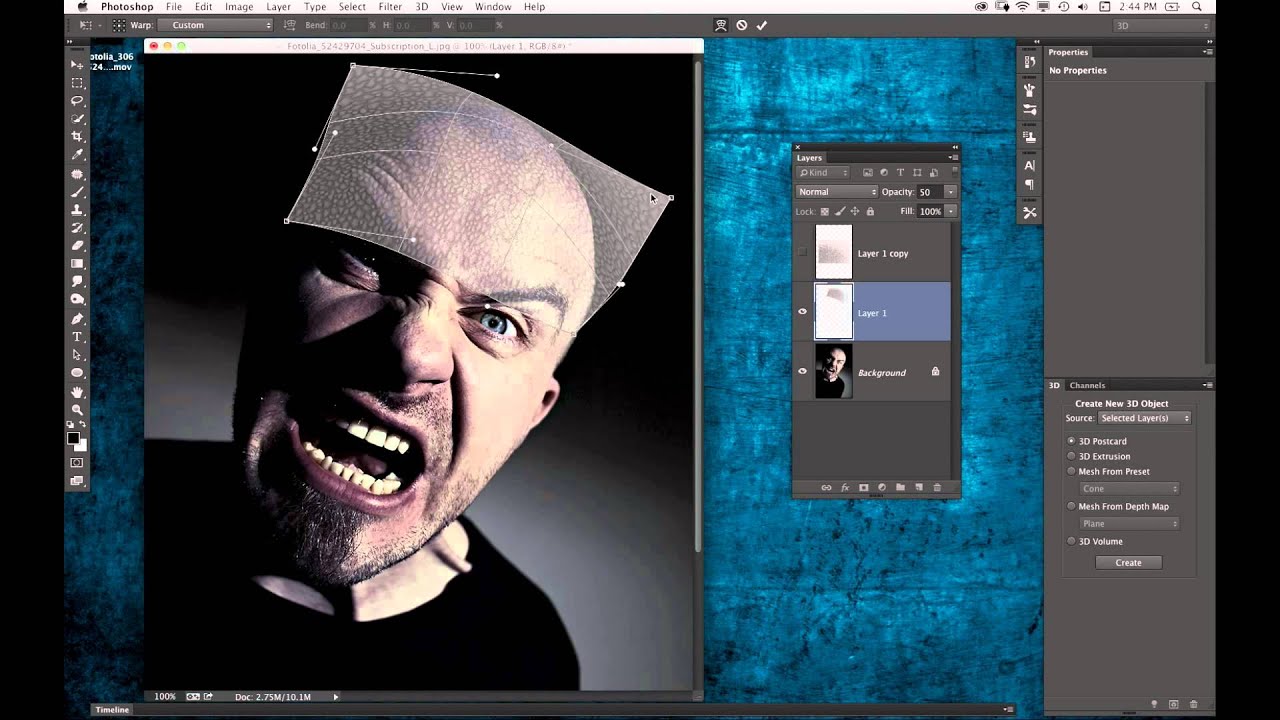
When I was first learning Photoshop, I duplicated every layer before touching anything. It was practically a reflex. Open file, hit Command-J, breathe. Nobody ever explained why we did it. It was just the rule, passed down from tutorial to tutorial like a photographic commandment. It took me years of freelance work, and honestly a few bloated, chaotic PSD files sent to clients, before I started questioning whether the habit still made sense.

How to Add Depth and Dimension to Flat-Looking Portrait Photos in Photoshop

How to Add Depth and Dimension to Flat-Looking Portrait Photos in Photoshop

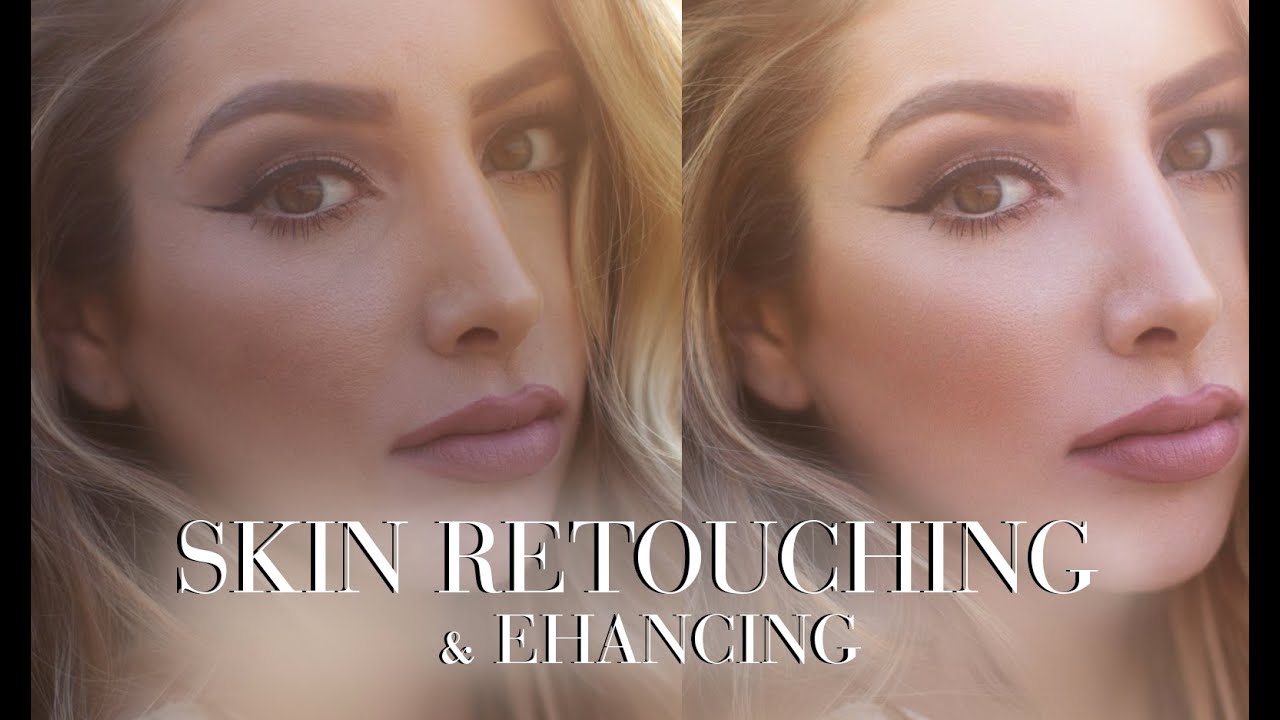
There’s a particular kind of frustration that comes from delivering a beauty retouch that looks completely flat on screen. The skin is clean, the tones are balanced, the color is consistent, and yet something is missing. Dimension. The sense that there’s actual space between the subject and the world behind them. For a long time, the only reliable fix I had was to manually paint luminosity masks or fake a depth-of-field effect with blur layers and a lot of patient masking.

The Westcott S18 Mini Flash: A Game-Changer for Portable Portrait Retouching

The Westcott S18 Mini Flash: A Game-Changer for Portable Portrait Retouching

The Westcott S18 Mini Flash: A Game-Changer for Portable Portrait Retouching When I first started exploring portable lighting solutions for portrait work, I kept running into the same frustration: every flash felt like a compromise. Either it was powerful enough but bulky, or it was compact but underpowered. Then I discovered the Westcott S18 Mini Flash, and honestly, it changed how I approach location shooting. In this excellent tutorial, Joel Grimes introduces us to a flash that finally bridges that gap.

Your First Unreal Engine 5 Project: A Beginner's Complete Guide to 3D Scene Creation

Your First Unreal Engine 5 Project: A Beginner's Complete Guide to 3D Scene Creation

When I first approached Unreal Engine 5, I felt overwhelmed by the interface and endless possibilities. But in this excellent tutorial, Serge Ramelli shows us that creating professional 3D scenes isn’t as intimidating as it seems. His beginner-friendly breakdown walks you through everything from installation to final render in under an hour. Let me break down this comprehensive guide so you can follow along confidently. Getting Started: Installation and Setup The foundation of any UE5 project begins with proper installation.

Mastering Urban Portrait Retouching: A Complete Guide to the Bir Hakeim Bridge Technique

Mastering Urban Portrait Retouching: A Complete Guide to the Bir Hakeim Bridge Technique

Mastering Urban Portrait Retouching: A Complete Guide to the Bir Hakeim Bridge Technique I’ve always found that some of the most transformative retouching lessons come from real-world shooting scenarios—especially when we’re working with the challenging lighting and composition that urban environments throw at us. In this excellent tutorial, Serge Ramelli shows us how to take a portrait shot at the iconic Bir Hakeim Bridge in Paris and transform it into a polished, professional image using systematic retouching and beauty editing techniques.

How to Use Lightroom Mobile's New AI Blemishes Tool for Professional Portrait Retouching

How to Use Lightroom Mobile's New AI Blemishes Tool for Professional Portrait Retouching

There’s a specific kind of dread that comes with opening a portrait from a last-minute shoot and realizing the skin needs serious work before the client’s deadline in two hours. I’ve been there more times than I’d like to admit, and for years my answer was to open Photoshop, set up my layers, and start healing stamp by healing stamp. It works. It’s also slow, and on mobile it’s basically impossible.