Three Lights, One Stunning Beauty Shot: What Carl Taylor's Godox Setup Taught Me About Lighting Control

Three Lights, One Stunning Beauty Shot: What Carl Taylor's Godox Setup Taught Me About Lighting Control

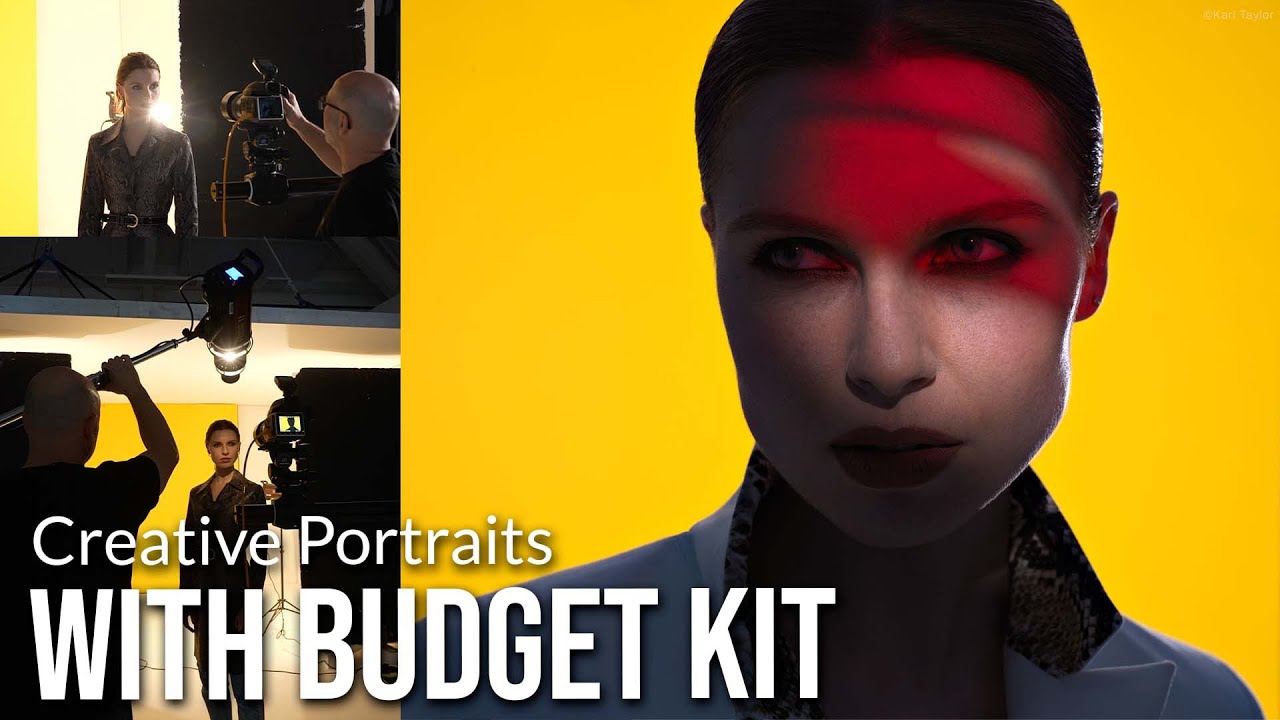
There’s a moment every retoucher knows well: you open a file and realize the photographer was fighting the light instead of using it. The background is uneven, the shadows are muddy, and the skin tones have that gray, uncertain quality that no amount of frequency separation is going to rescue. You can fix a lot in post, but you cannot manufacture the quality of light that was never there to begin with.
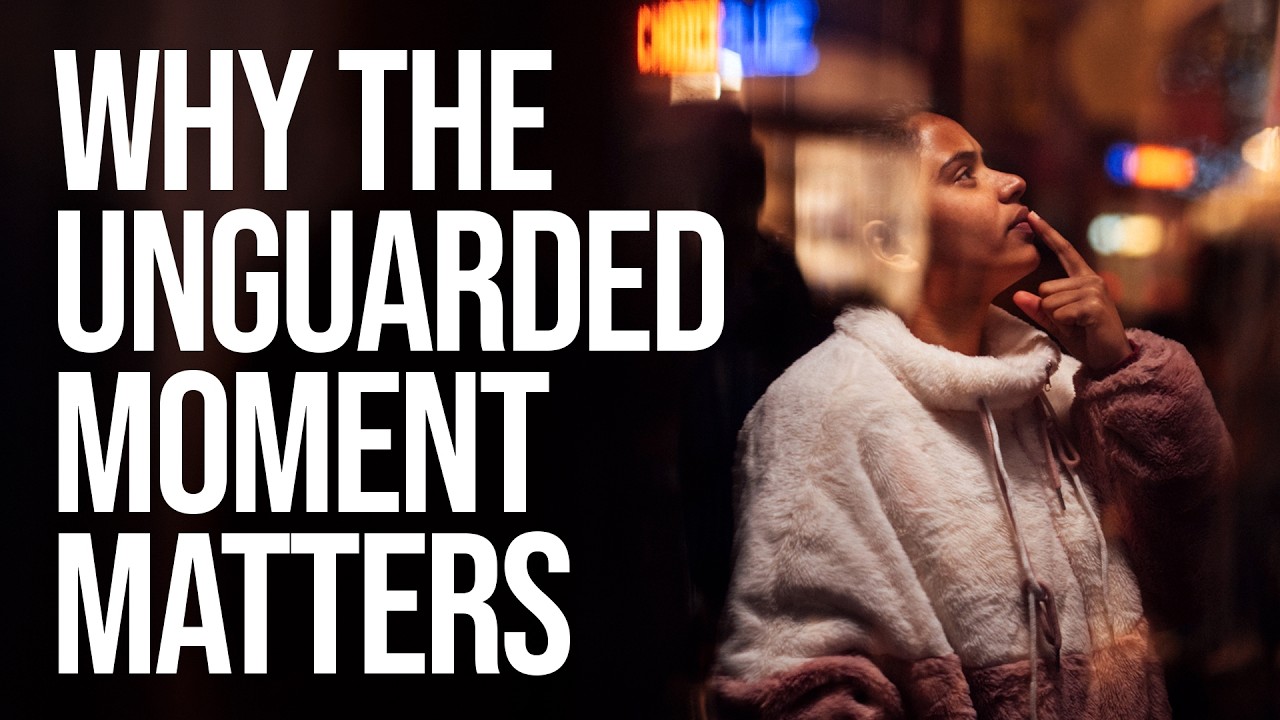

The Unguarded Moment: What Street Photography Taught Me About Capturing People Authentically

The Unguarded Moment: What Street Photography Taught Me About Capturing People Authentically

There’s a tension I’ve carried since my wedding photography days that I never quite had a name for. When I’d lift the camera during the ceremony, guests would stiffen. The flower girl would stop being a flower girl and start being a performer. I’d get the shot, but I’d lose the moment. It took me years of working in retouching - staring at the difference between a face that’s alive and a face that’s posing - to understand what was actually happening.

What 5 Fiverr Retouchers Taught Me About the Mistakes We All Make on Skin

What 5 Fiverr Retouchers Taught Me About the Mistakes We All Make on Skin

One of the fastest ways to sharpen your eye as a retoucher is to look at someone else’s work and pinpoint exactly why it feels off. Not to be harsh, but because your brain starts building a catalog of what to avoid, and that catalog saves you from making the same calls on your own edits. I stumbled into retouching the hard way, after a client once told me my portraits looked “plastic,” and that word stuck with me like a splinter.

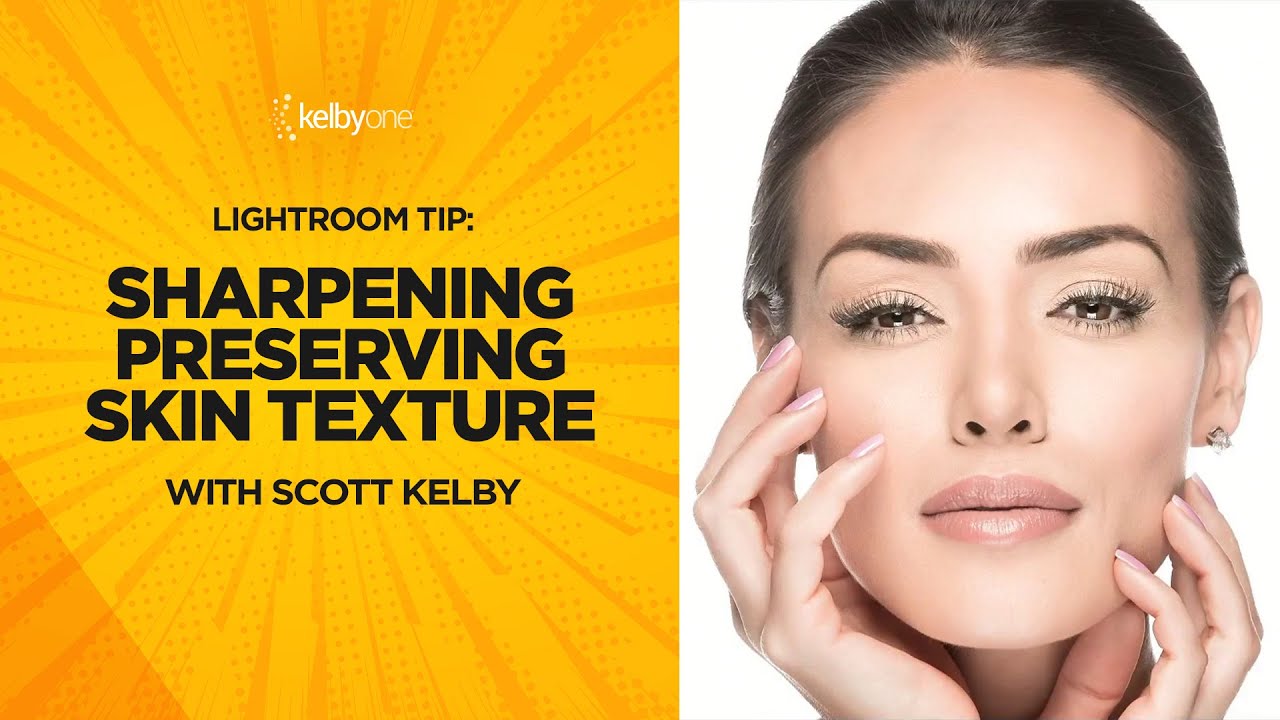
Sharpen Portrait Details Without Wrecking Skin Texture - A Lightroom Masking Trick Worth Knowing

Sharpen Portrait Details Without Wrecking Skin Texture - A Lightroom Masking Trick Worth Knowing

There was a period early in my retouching career when I was convinced that sharp meant better. Sharp everything, everywhere, always. Then a client looked at a beauty edit I’d delivered and said the skin looked “like sandpaper.” She wasn’t wrong. I’d applied aggressive sharpening globally and the result was texture that read as gritty instead of detailed, harsh instead of refined. That one comment sent me down a rabbit hole of learning how sharpening actually works for skin, and more specifically, how to apply it selectively so your edges and details pop without making a person’s complexion look like it was rendered in a video game from 2003.

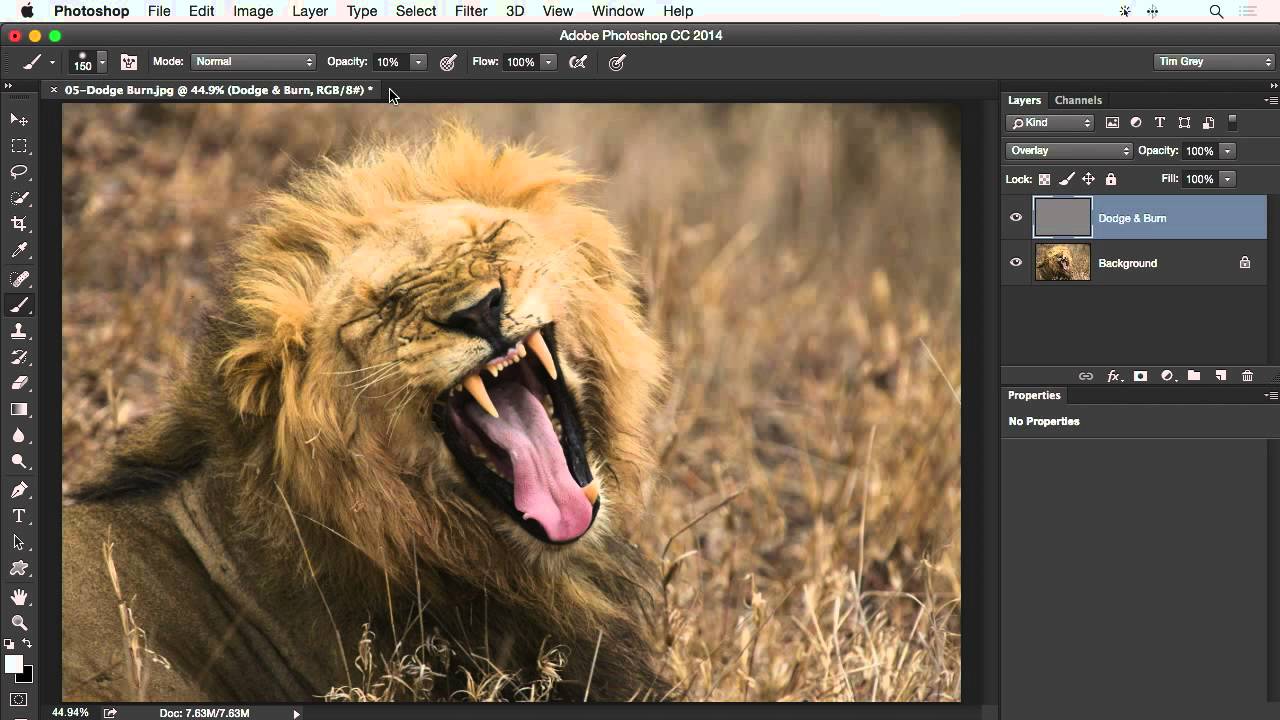
The Dodge & Burn Layer Trick That Changed How I Retouch Skin

The Dodge & Burn Layer Trick That Changed How I Retouch Skin

There’s a moment in retouching when you realize that chasing perfection with the wrong tools is actually making things worse. For me, that moment came early in my beauty retouching career, when a client told me my edits looked “plastic.” She wasn’t wrong. I was dodging and burning with Photoshop’s built-in Dodge and Burn tools, directly on the pixel layer, and the results were muddy, flat, and irreversible. One mistake and I was undoing fifteen minutes of work.

Lighting, Bounce Cards, and Background Work: What a 70,000-Product Photographer Does Differently

Lighting, Bounce Cards, and Background Work: What a 70,000-Product Photographer Does Differently

Product photography and portrait retouching overlap more than most people expect. When a beauty brand sends me a flat-lay or a packshot alongside a model image, the background work is often the thing that eats my afternoon. Wrinkled seamless paper, color casts bleeding into product surfaces, shadows that read as accidental rather than intentional. I’ve spent more time than I’d like to admit patching out the corner of a sweep or neutralizing a green bounce from a colored wall.

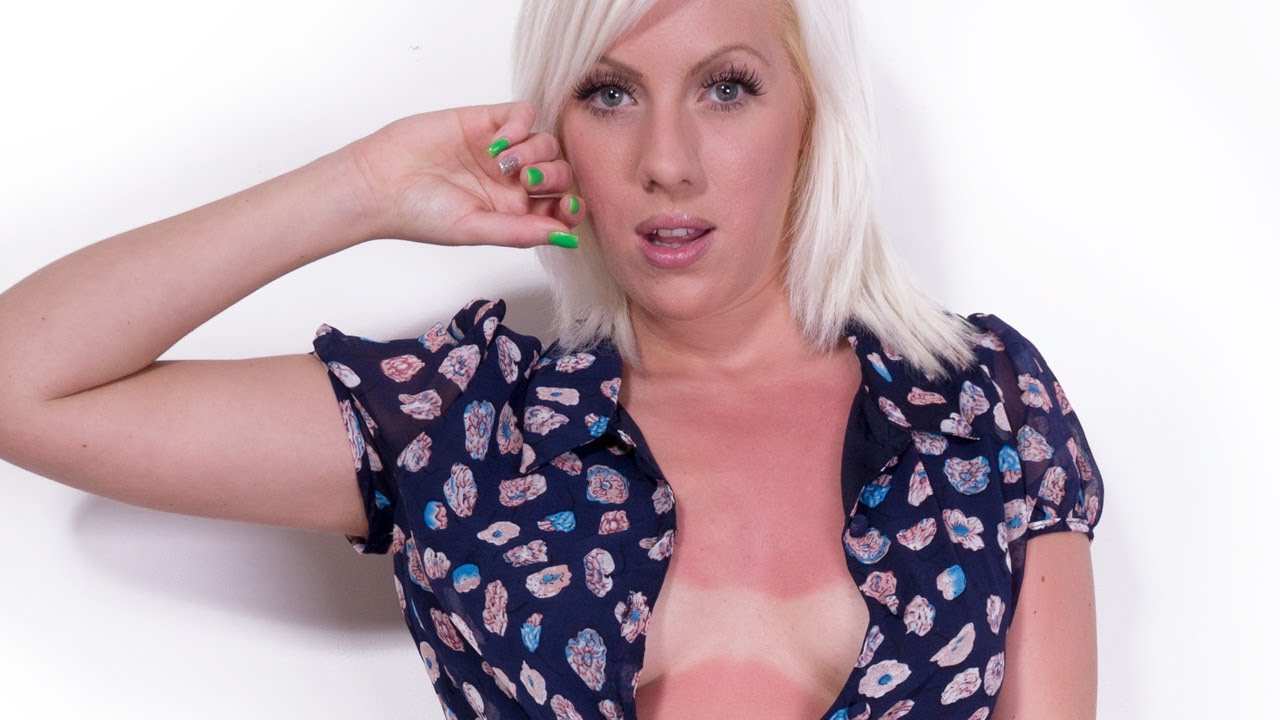
Fixing Tan Lines and Sunburn in Photoshop: A Color Range Selection Workflow That Actually Works

Fixing Tan Lines and Sunburn in Photoshop: A Color Range Selection Workflow That Actually Works

Summer shoots are some of my favorites to work on. The light is gorgeous, the energy is high, and then the files land in my inbox and I remember: tan lines. Swimsuit straps, watch marks, sock lines, the full chest-and-shoulder sunburn that turns an otherwise beautiful portrait into a puzzle. Early in my retouching career I used to attack these with a Hue/Saturation layer applied to the whole image and wonder why it looked wrong.

DSLR Video for Photographers: The Three Settings That Actually Make Footage Look Cinematic

DSLR Video for Photographers: The Three Settings That Actually Make Footage Look Cinematic

There is a specific kind of panic that hits when a client asks for a short behind-the-scenes video alongside their portraits and you realize your DSLR is sitting there fully capable of shooting it, and you have no idea where to start. I ran into this exact wall a couple of years into my freelance work. I knew how to light a face, how to direct a subject, how to get a technically clean RAW file.

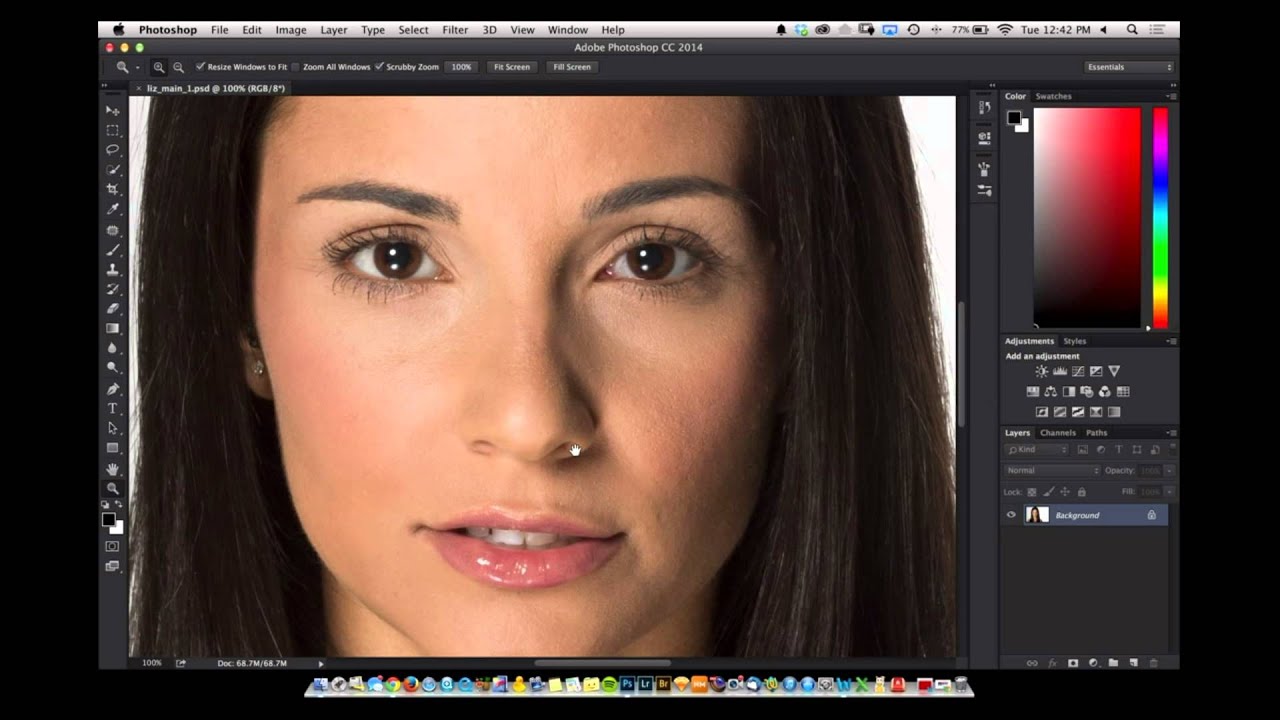
A Working Retoucher's Walkthrough: Beauty Retouching in Photoshop from Scratch

A Working Retoucher's Walkthrough: Beauty Retouching in Photoshop from Scratch

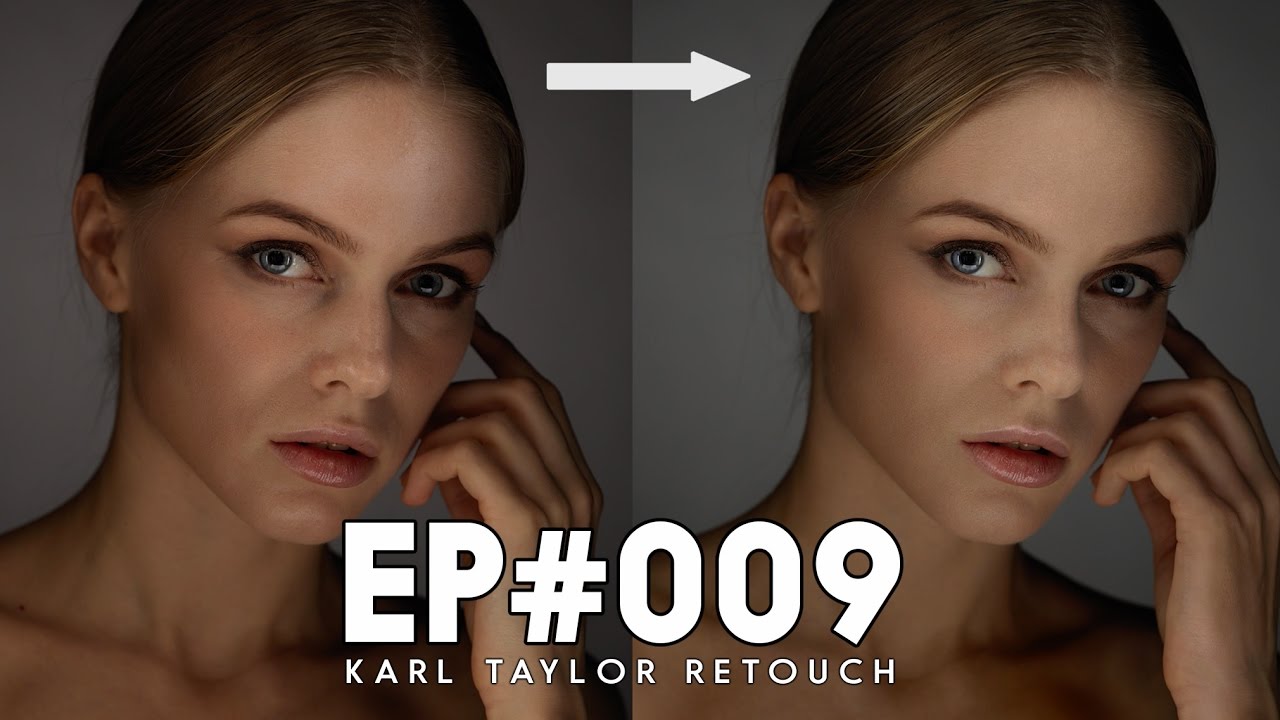
Early in my retouching career, a client looked at a set of beauty edits I’d delivered and said the skin looked “like plastic.” She wasn’t wrong. I’d been smoothing and softening without any real understanding of light and shadow on a face, and the results showed it. What I was missing wasn’t a better tool. It was a proper workflow that treated the face as a three-dimensional thing with real tonal structure.

Hair Volume, Skin Highlights, and the Liquify Trick I Wish I'd Known Earlier

Hair Volume, Skin Highlights, and the Liquify Trick I Wish I'd Known Earlier

There’s a specific kind of client portrait that used to trip me up constantly: the studio shot where the hair falls flat, the lighting creates shadows that feel muddy instead of dramatic, and the overall image just needs a lift without looking like it’s been through a filter factory. For years, I’d either over-edit my way out of the problem or leave too much on the table. What I needed was a cleaner workflow that addressed these issues in the right order, with the right tools.

Contour With Light: Using Dodge & Burn in Lightroom to Shape a Portrait Like a Makeup Artist

Contour With Light: Using Dodge & Burn in Lightroom to Shape a Portrait Like a Makeup Artist

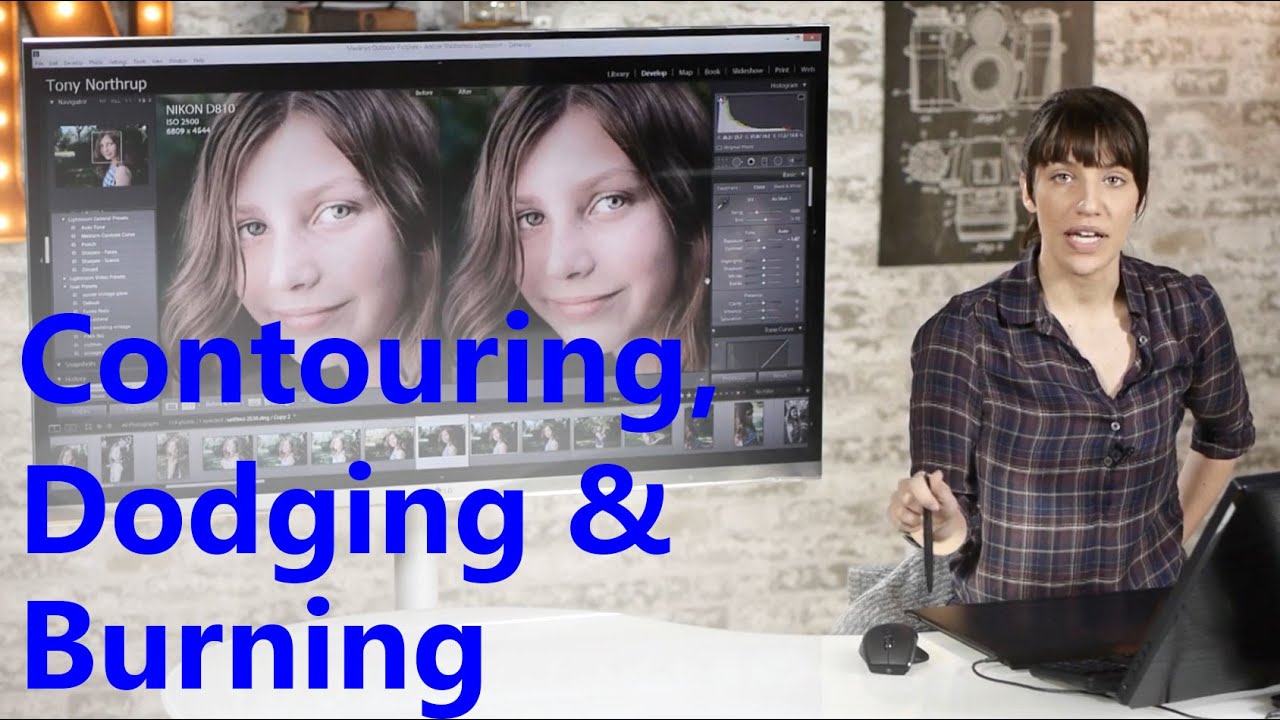
There is a specific kind of client feedback that stays with you. Early in my retouching career, someone described my skin edits as “plastic-looking,” and I spent the next several months trying to figure out exactly what I had done wrong. The answer, it turned out, was that I had been treating exposure as a global problem. I would lift or lower the whole image and call it a day. What I was missing was the understanding that light shapes a face the same way a makeup artist does, and that Lightroom’s adjustment brush gives us the precision to do that shaping ourselves, one brushstroke at a time.

When the Sky Does the Work: Lessons from a Burnt-Out Photographer That Every Retoucher Needs to Hear

When the Sky Does the Work: Lessons from a Burnt-Out Photographer That Every Retoucher Needs to Hear

There’s a particular kind of tired that photographers know well. Not the good tired you feel after a long shoot where everything clicked. The other kind - the one where you’re staring at a Lightroom catalog at midnight and wondering why you started doing this at all. I ran headlong into that wall after my third consecutive 60-hour wedding weekend, and it was the moment I finally understood that how you approach a shoot changes everything that happens afterward in post.