From Flat to Striking: A Retoucher's Guide to Making Bottle Photos Pop

From Flat to Striking: A Retoucher's Guide to Making Bottle Photos Pop

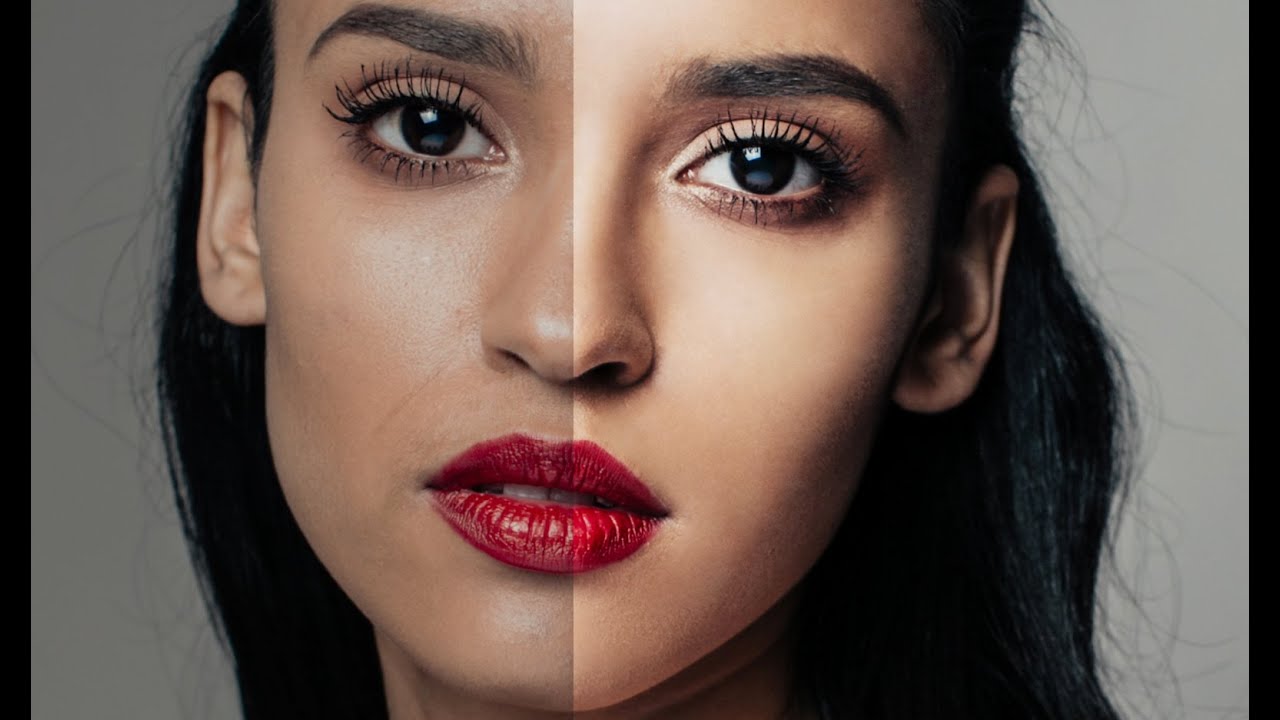
There’s a category of product photo that arrives in my inbox looking almost great. Not broken, not hopeless. Just… flat. The light is decent, the composition is solid, but something about it sits on the screen like a damp cloth. Early in my freelance career, I’d hand those images back with heavy-handed contrast pumped across the whole frame and call it done. Clients were polite about it. They weren’t thrilled. It took a while to understand that “making it pop” is actually a layered, surgical process, not a single slider move.

Shooting for the Composite: What a Halloween Zombie Setup Taught Me About Commercial Lighting

Shooting for the Composite: What a Halloween Zombie Setup Taught Me About Commercial Lighting

Every few years, a tutorial stops me mid-green-tea and makes me rethink something I thought I already understood. I was prepping for a beauty retouching workshop when I pulled up Watch the full tutorial on YouTube — a CreativeLive segment where photographer Lindsay Adler walks through a Halloween-themed portrait shoot. The subject has a full zombie makeup look, which honestly makes the lighting instruction easier to follow: you can see every shadow and highlight doing its job in real time.

Stop Burning Out Your Skin Retouching: How to Use Dodge & Burn the Way It Actually Works

Stop Burning Out Your Skin Retouching: How to Use Dodge & Burn the Way It Actually Works

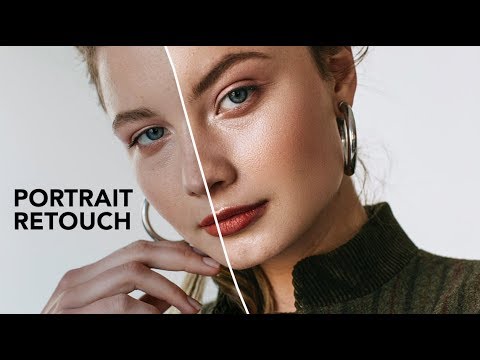
For a long time, I was that retoucher whose skin edits looked like they’d been ironed flat. A client once told me my portraits looked “a little plastic,” and I knew exactly what she meant, even if I didn’t want to admit it. I was heavy-handed with my tools, rushing toward a result instead of building toward it. Dodge and burn was supposed to be my solution, but I’d learned it in a way that made things worse, not better.

The Channel Extraction Trick I Wish I'd Known Years Ago (Plus a 3D Paint Splatter Technique Worth Stealing)

The Channel Extraction Trick I Wish I'd Known Years Ago (Plus a 3D Paint Splatter Technique Worth Stealing)

There’s a specific kind of frustration that comes from spending twenty minutes wrestling with Quick Selection on a wispy, complex subject, only to end up with a mask that looks like it was cut out with safety scissors. I’ve been there more times than I care to admit. Early in my retouching work, I treated channels like that drawer in the kitchen where you throw things you don’t understand but can’t bring yourself to delete.

Frequency Separation for Real Skin: What I Took Away from Jessica Kobeissi's Retouch & Chill

Frequency Separation for Real Skin: What I Took Away from Jessica Kobeissi's Retouch & Chill

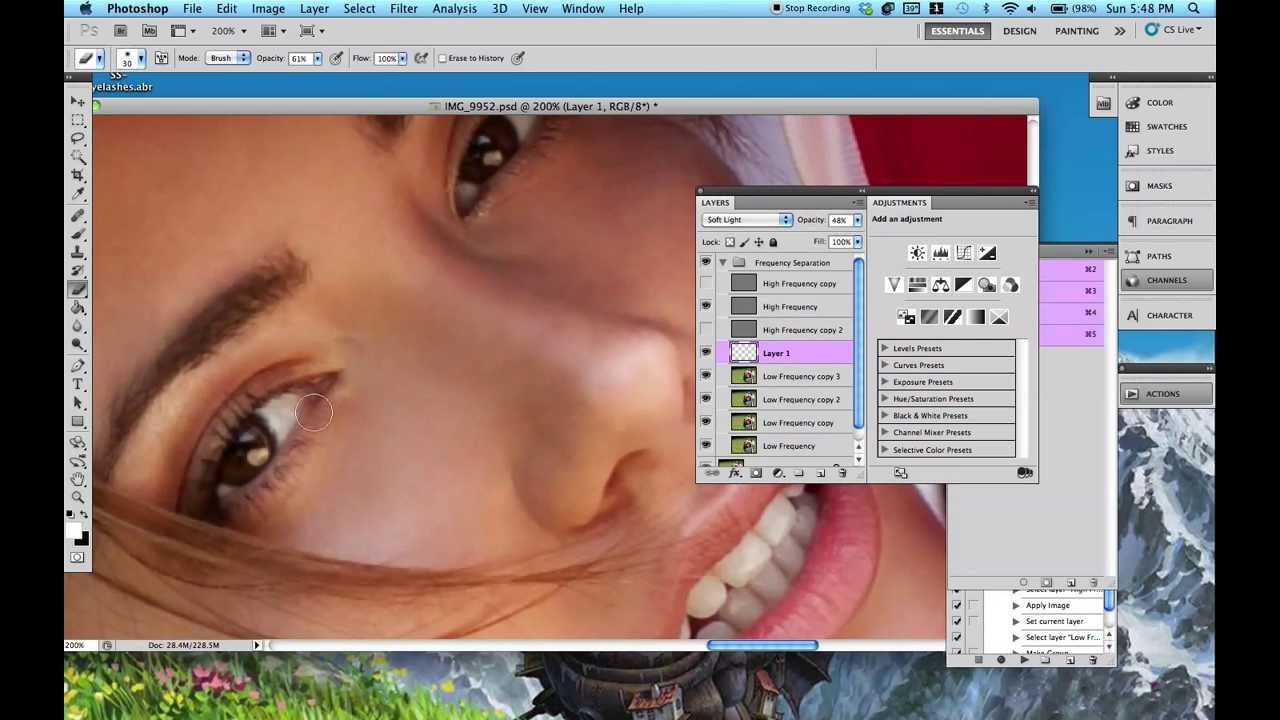
There is a particular kind of dread that comes with opening a portrait file and seeing skin that needs serious work. Not “dust off a blemish” work. Real texture, real unevenness, real light that caught every pore. Early in my retouching career I handled that dread badly. I’d over-smooth, over-blur, and hand back something that looked more like a vinyl doll than a person. A client once told me the skin looked “plastic.

Before You Touch a Single Slider: What Professional Photo Editors Actually Look For

Before You Touch a Single Slider: What Professional Photo Editors Actually Look For

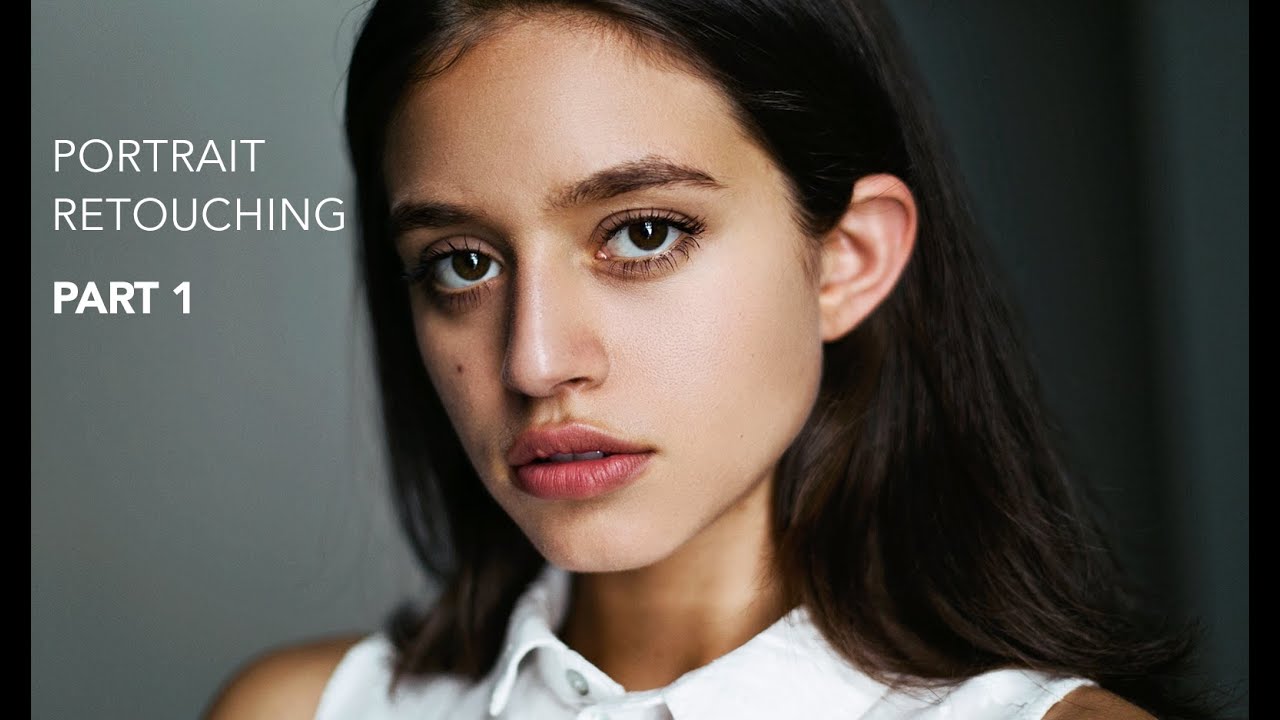
There’s a skill that took me years to develop, and it has nothing to do with Photoshop. It’s knowing what to look at before you open a single panel. Early in my retouching career, I would dive straight into skin work, dodging and burning and smoothing, only to deliver a finished file and have a client point out that the framing was off, or that a distracting element was pulling the eye away from the subject.

How to Paint Convincing Light Streaks in Photoshop Using a Wacom Tablet

How to Paint Convincing Light Streaks in Photoshop Using a Wacom Tablet

There is a specific kind of frustration that comes from knowing exactly what a finished image should look like and not having the tools to get there. For years, I added light effects to my beauty work with a mouse, and the results were stiff. The streaks were uniform. The glow felt pasted on. It was not until I finally committed to learning a pressure-sensitive tablet that everything clicked, and it happened faster than I expected.

Three AI Retouching Plugins That Replaced an Hour of My Workflow (And the Masks Are Insane)

Three AI Retouching Plugins That Replaced an Hour of My Workflow (And the Masks Are Insane)

There’s a specific kind of dread I used to feel opening a beauty close-up in Photoshop. Not the creative kind of challenge, the kind where you know what needs to happen, you know how long it’s going to take, and you also know the client wants it back by Thursday. Spot healing, frequency separation, then the real time sink: building out a dodge and burn structure that actually sculpts the face without making the skin look like a vinyl tablecloth.

Frequency Separation in Photoshop: A Step-by-Step Breakdown of Aaron Nace's Game-Changing Technique

Frequency Separation in Photoshop: A Step-by-Step Breakdown of Aaron Nace's Game-Changing Technique

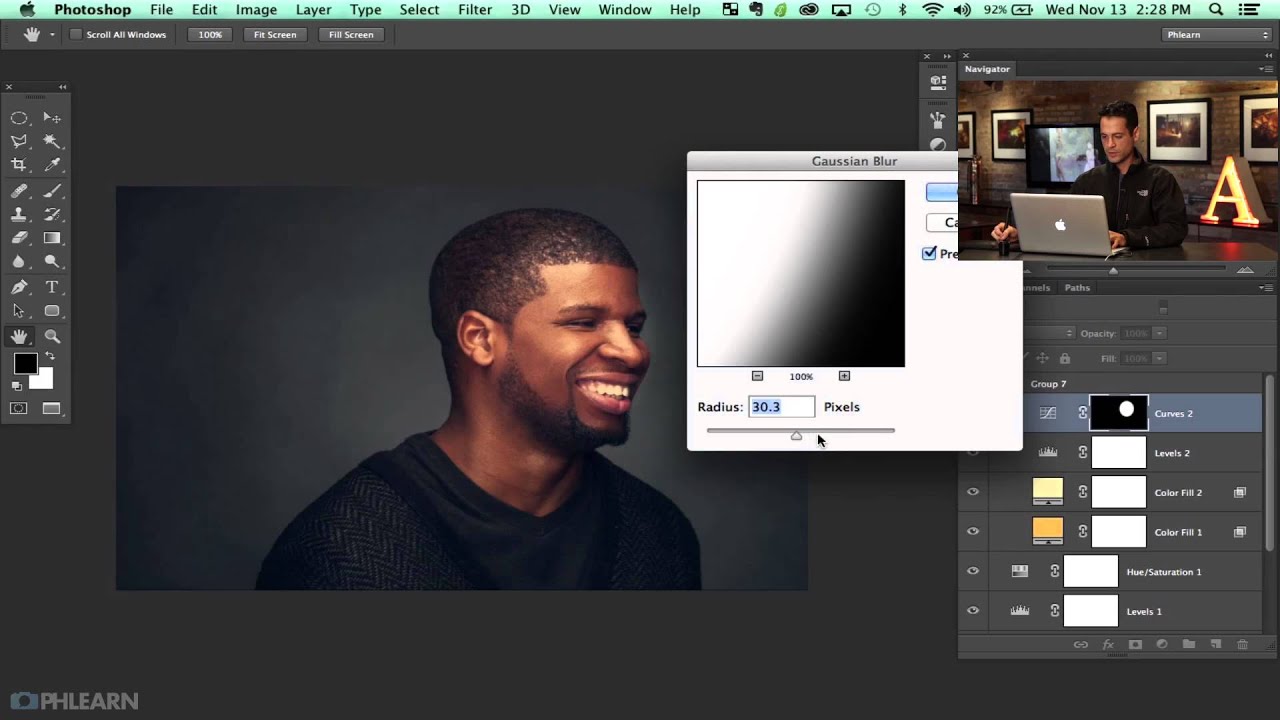
There is a specific kind of dread that comes with zooming into 100% on a retouched face and realizing the skin looks like a wax museum exhibit. I know that dread well. Early in my retouching career, I was so focused on erasing every shadow and blotch that I was also erasing everything that made the skin look like skin. A client put it plainly: “She looks plastic.” That note stung, but it pushed me to find a better way.

Dark Canvas First: What Urban Dodge and Burn Taught Me About My Portrait Work

Dark Canvas First: What Urban Dodge and Burn Taught Me About My Portrait Work

I came up through wedding photography, which means I learned to retouch under pressure and mostly by instinct. Skin, hair, the soft glow of a ceremony room — that was my world for years. So when I started freelancing for beauty brands and teaching retouching workshops, I had to deliberately go looking for techniques outside my comfort zone. That’s what led me to Watch the full tutorial on YouTube — a Kelvin Designs episode on dodge and burn for urban landscapes.

How to Retouch a Car in Photoshop: Scott Kelby's Workflow Broken Down Step by Step

How to Retouch a Car in Photoshop: Scott Kelby's Workflow Broken Down Step by Step

Most of my work lives in faces. Skin texture, under-eye circles, the way light catches a cheekbone. But the principles that make beauty retouching work, cleaning up distracting reflections, creating seamless backgrounds, making an image look inevitable rather than labored, apply everywhere. Including, it turns out, cars. I stumbled onto this tutorial while looking for a cleaner way to handle background reflections in product work, and it genuinely reframed how I think about any kind of studio shot.

How to Expose and Light Group Portraits When Skin Tones Vary Widely

How to Expose and Light Group Portraits When Skin Tones Vary Widely

Group portraits are one of those assignments that look simple on paper until you’re actually standing there with three people in front of your lens, each with a completely different skin tone, and your camera is doing something odd with the exposure. I’ve been there more times than I’d like to admit. Even after years of shooting weddings and transitioning into beauty work, mixed-skin-tone group shots still require deliberate thinking at every stage, from how you set your light to how you read your meter.